Country Crochet Pumpkin Pattern
Disclosure: This post may contain affiliate links. As an Amazon Associate, I earn from qualifying purchases. Please visit my Privacy Policy for disclosures and more information.
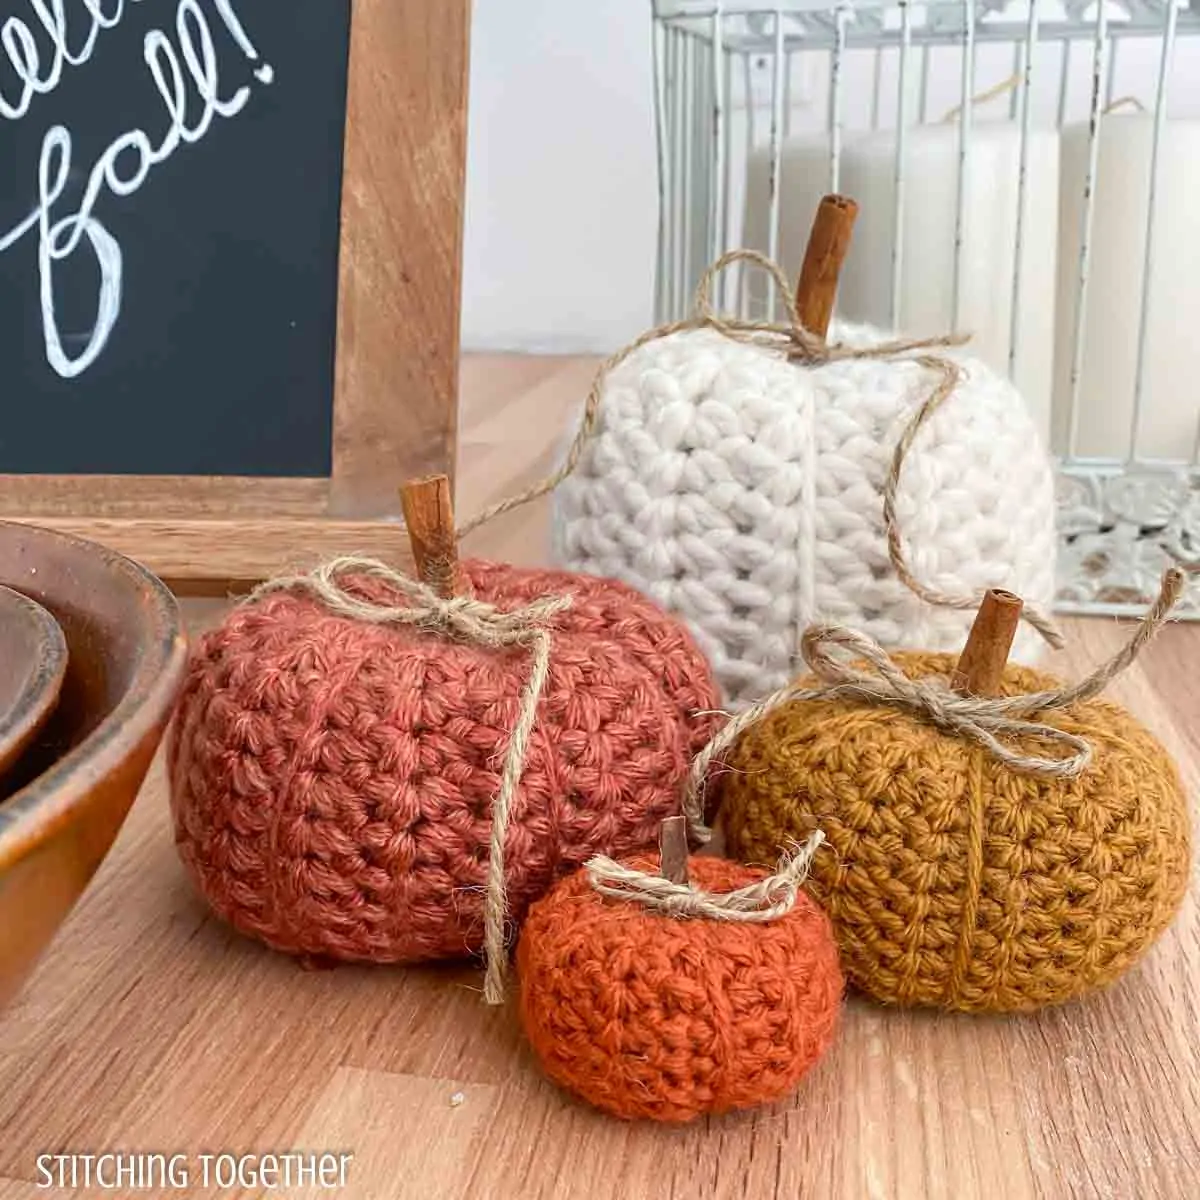
Perhaps you’ve been seeing them everywhere and now you’re wondering how to crochet a pumpkin. You can learn with these cute little crochet pumpkins you can add to your fall crochet patterns. Make a few for your fall centerpiece, some for the mantle, and more for areas that need a touch of farmhouse fall!

Keep reading for the crochet pumpkin pattern free or you can purchase the Country Crochet Bundle and get the entire Country collection of PDFs for cheap!
.
These cute little Country Crochet Pumpkins fit perfectly with the farmhouse theme of the other Crochet Country patterns which includes these amazing patterns:
You can purchase all 8 patterns in PDF form together in this low price bundle.
.
How do you Crochet a Pumpkin?
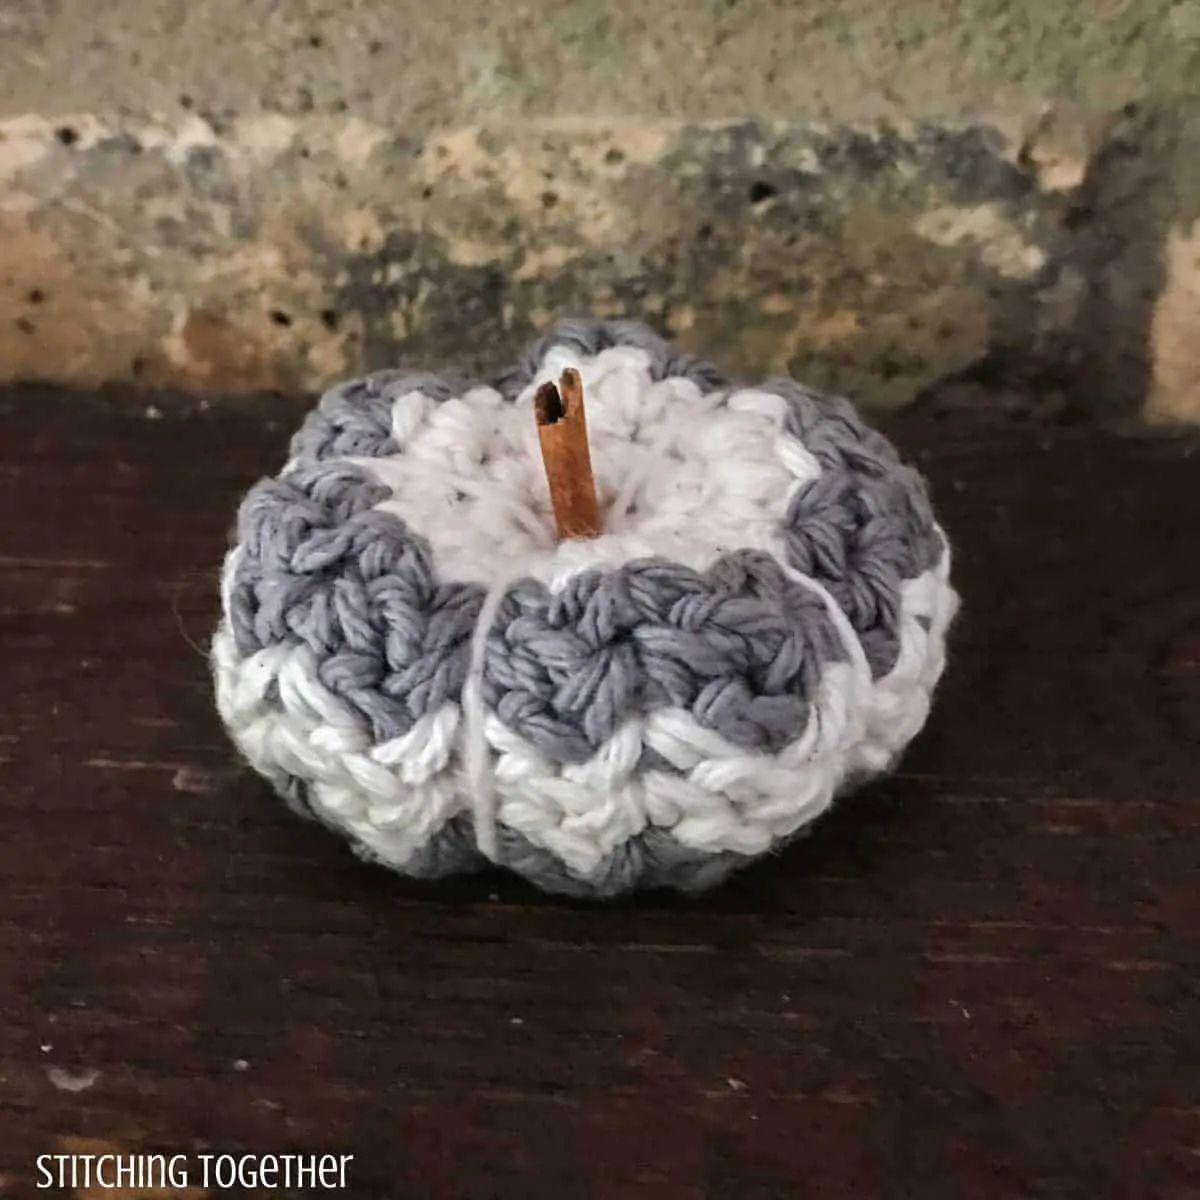
These adorable small crochet pumpkins are made by first crocheting a round(ish) ball, stuffing it, then weaving the yarn through the center and around to create that final pumpkin shape.
Once you start making them, you won’t want to stop!
You can crochet a stem and leaves for your pumpkin, but I like finish off my farmhouse crochet pumpkin with a cinnamon stick made even cuter with some twine.
Related: Crochet Pumpkin Coaster Pattern
What stitches are used in the Pumpkin Crochet Pattern?
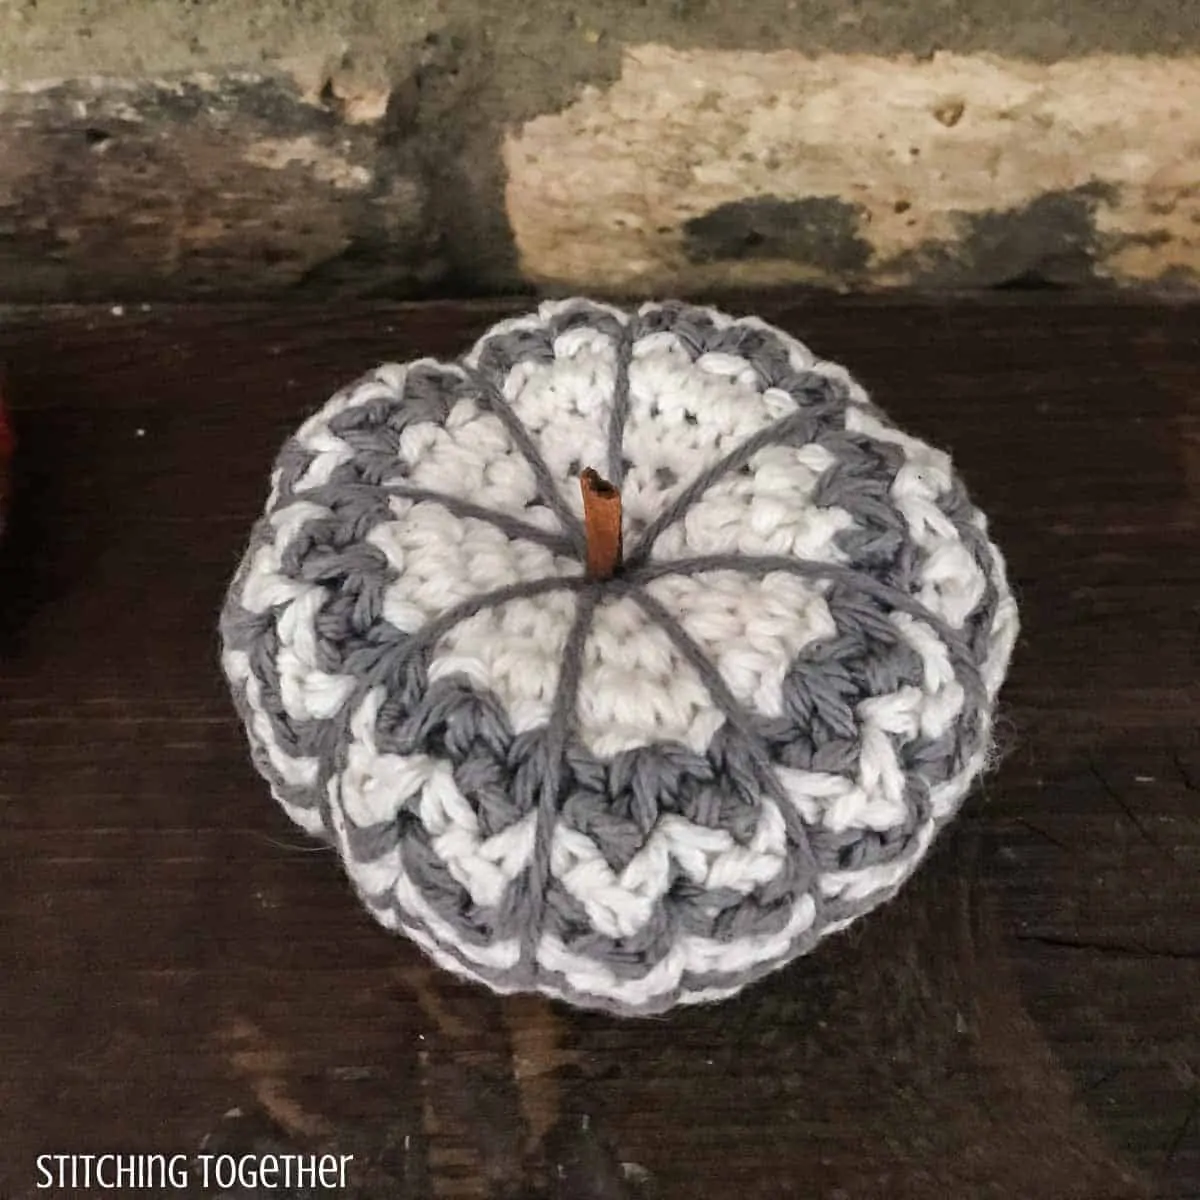
Like the rest of the Country Crochet Patterns, these cute little pumpkins are made using the Spider Stitch, which is like a v-stitch but with single crochets.
If you haven’t worked a spider stitch before, you can see my step by step spider stitch tutorial to get you started.
The spider stitch is great because it easily gives some ridges and texture to the crochet pumpkins like you’d find in a real pumpkin.
What Yarn do I Use to Crochet Pumpkins?
Here’s a great thing about this pattern, use whatever yarn you’d like! You can make them striped and in cotton yarn like the Farmhouse Crochet Pumpkins or you can make them in a solid acrylic.
Either way they look adorable. I even make one with Jumbo Yarn last year and it turned out great!

Just use a hook that is the size recommended for the yarn if you are a tight crocheter or a size smaller if your tension tends to be loose.
Related: Halloween Trick or Treat Bags
I’ve been on a pumpkin crocheting kick lately and whipped up each of these pumpkins quickly. The largest one used Lion Brand Wool Ease Thick and Quick and I added some rounds to the middle to make it taller. The next size used 2 strands held together of a worsted weight acrylic and the 2 smallest used 1 strand of worsted weight acrylic.
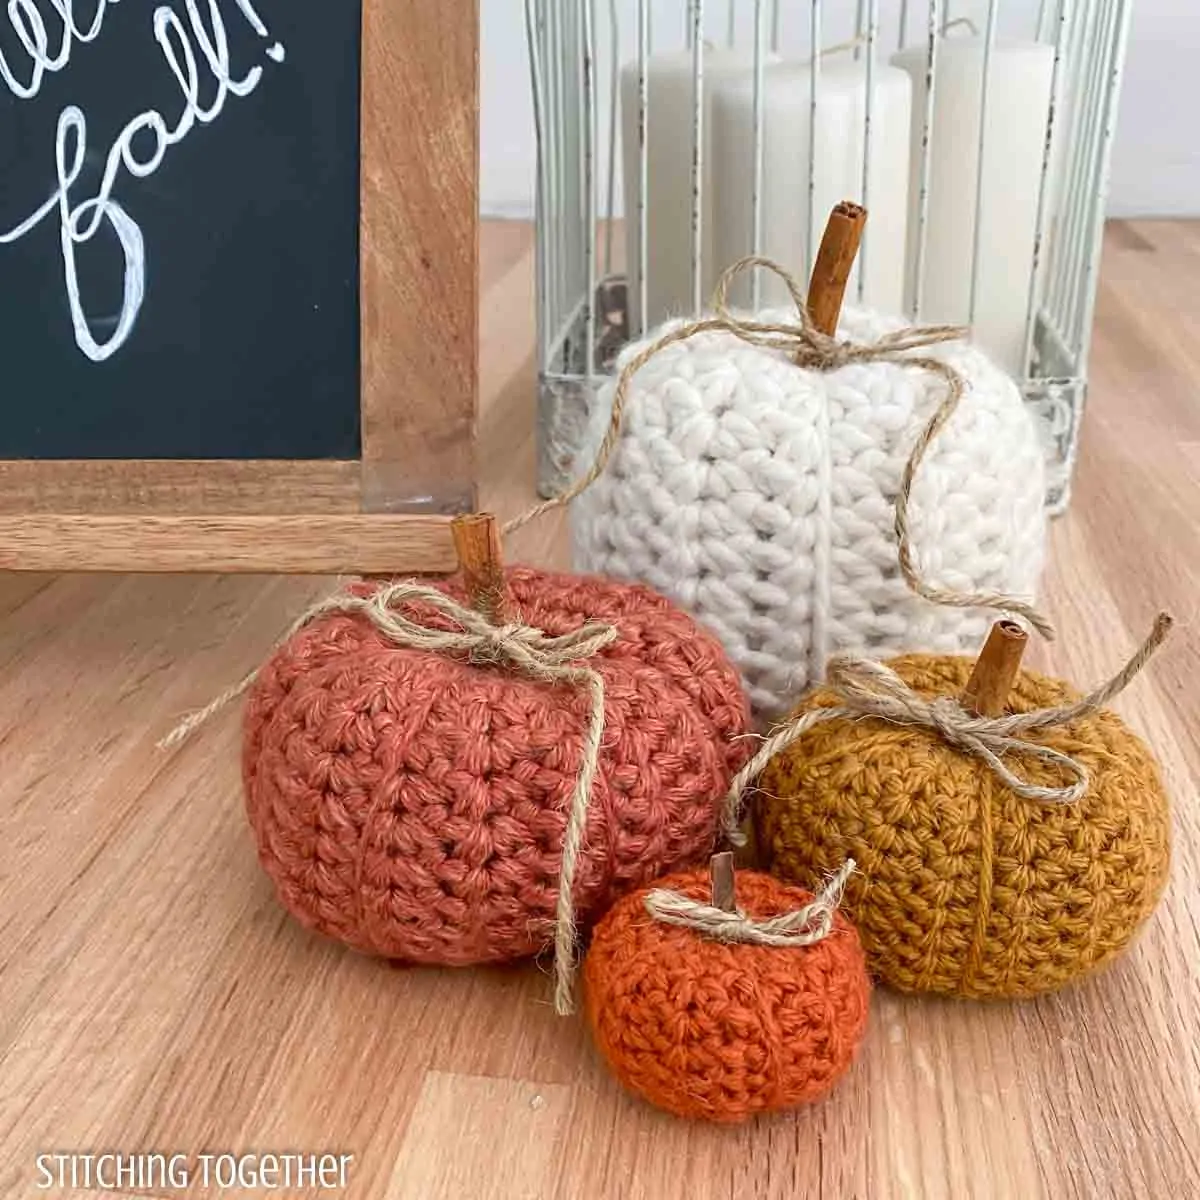
The patterns are written to make 2 small pumpkins so be aware that the larger of the two, is still smallish. Like I did, you can use different yarn, different hooks, and even add rounds to modify these pumpkins and make them look how you would like.
The bigger pumpkin one is called the Small Crochet Pumpkin Pattern and the tinier pumpkin is the Petite Pumpkin Pattern. (I love alliteration!)
****Before we get to the pattern, save this on Pinterest!****
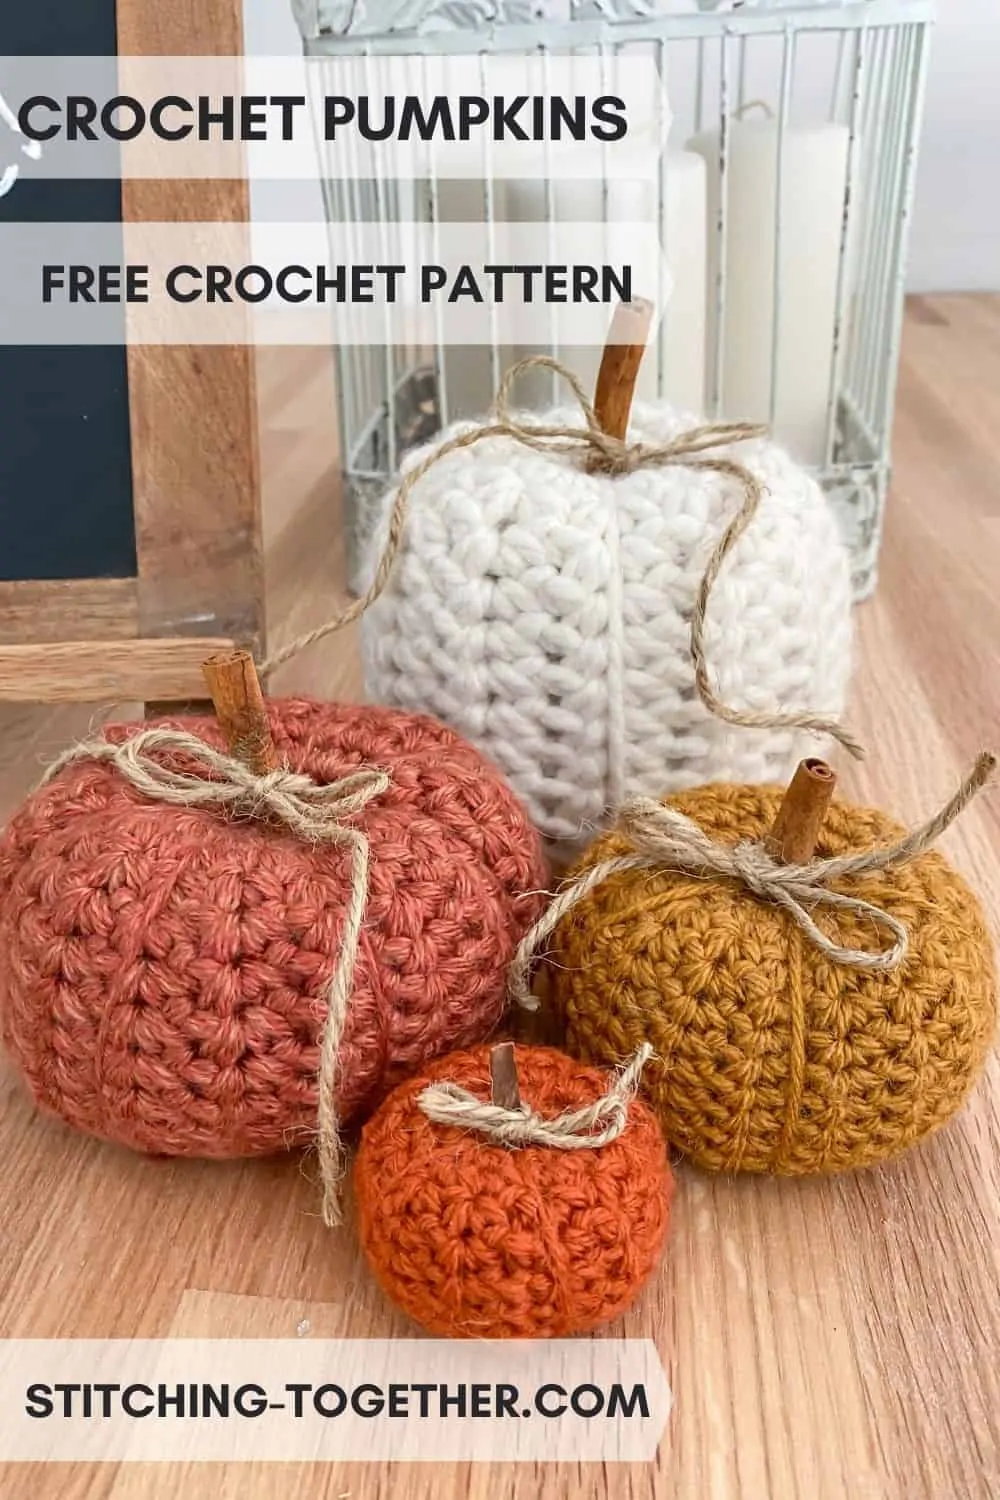
Country Crochet Pumpkin Pattern Free
Materials
US-Size I/9 Crochet Hook
Scrap yarn
Samples used Lily’s Sugar and Cream Yarn (100% Cotton 4 Medium weight, 2.5 oz / 71g, 120 yards / 109 meters) in Ecru and Overcast
Large Eye Tapestry Needle
Fiber fill
Cinnamon stick (optional)
.
Everything you need for this project can be ordered right on Amazon.
Save time and shop online!
.
Abbreviations:
ch(s): chain(s)
sc(s): single crochet(s)
st(s): stitch(es)
sp: space
yo: yarn over
sl st: slip stitch
sk: skip
MC: Main Color
CC: Contrasting Color
sc2tog: Single crochet 2 together
Crochet Pumpkins Finished Sizes:
Petite Crochet Pumpkin: approximately 2.5″ in diameter and 1.25″ tall
Small Crochet Pumpkin: approximately 3.5″ in diameter and 1.5″ tall
Gauge:
Gauge is not critical
Notes:
How to Crochet the Spider Stitch
Keep a tight tension especially as you start working the spider stitch rows.
When you change colors, there is no need to cut the yarn, just pull the next color up on the inside of the pumpkin.
I used the bottom of the pumpkin (where the magic ring is) as the top when the pumpkin was finished.
To attach the cinnamon sticks, you can use a dot of hot glue to hold them on. I broke my cinnamon sticks into smaller pieces and just pushed them into the center of the pumpkin without using glue.
Small Crochet Pumpkin Pattern Instructions
Start with a magic ring with MC
R1: 6 sc in circle, join with sl st to first sc, pull ring closed. (6)
R2: ch 1, 2 scs in ea sc, join with sl st to first sc. (12)
R3: ch 1, 2 scs in ea sc, join with sl st to first sc. (24)
R4: ch 1, *2 scs in st, sc in next st, repeat from * around, join with sl st to first sc. (36)
R5: With CC, ch 1, *(sc, ch 1, sc) in sc, sk next st, repeat from * around, join with sl st to first sc
R6-R13: (Change colors every other row) ch 1, (sc, ch 1, sc) in each ch-1 sp, join with sl st to first sc.
R14: With MC, ch 1, sc in each ch-1 sp, join with sl st to first sc. (18)
R15: ch 1, sc in each st, join with sl st to first sc. (18) Add fiber fill to the pumpkin before starting round 16.
R16: ch 1, sc2tog around, do not join, continue to sc2tog until hole closes. Fasten off leaving a long tail (enough to wrap around the pumpkin several times).
Using a large tapestry needle push the yarn through the center of the pumpkin from the top and out the other side. Wrap yarn from the bottom of the pumpkin to the top and go back into the center. Continue wrapping until you’ve cinched your pumpkin into a pumpkin shape. The small pumpkin is divided into 8 sections. Secure the yarn and weave in or push in any ends. Add optional cinnamon stick.
Petite Pumpkin Pattern Instructions
Start with a magic ring with MC
R1: 6 sc in circle, join with sl st to first sc, pull ring closed. (6)
R2: ch 1, 2 scs in ea sc, join with sl st to first sc. (12)
R3: ch 1, 2 scs in ea sc, join with sl st to first sc. (24)
R4: With CC, ch 1, *(sc, ch 1, sc) in sc, sk next st, repeat from * around, join with sl st to first sc.
R5: ch 1, (sc, ch 1, sc) in each ch-1 sp, join with sl st to first sc
R6-7: With MC, ch 1, (sc, ch 1, sc) in each ch-1 sp, join with sl st to first sc.
R8-9: With CC, ch 1, (sc, ch 1, sc) in each ch-1 sp, join with sl st to first sc.
R10: With MC, ch 1, sc in each ch-1 sp, join with sl st to first sc. (12)
R11: ch 1, sc in each st, join with sl st to first sc. (12) Add fiber fill to the pumpkin before starting round 12.
R12: ch 1, sc2tog around, do not join, continue to sc2tog until hole closes. Fasten off leaving a long tail if you want to use the MC to cinch your pumpkin (enough to wrap around the pumpkin several times).
Using a large tapestry needle push the yarn through the center of the pumpkin from the top and out the other side. Wrap yarn from the bottom of the pumpkin to the top and go back into the center. Continue wrapping until you’ve cinched your pumpkin into a pumpkin shape. The petite pumpkin is divided into 5 sections. Secure the yarn and weave in or push in any ends. Add optional cinnamon stick.
These adorable country crochet pumpkins are going to live on my fireplace mantle for the fall! Where will you put yours?
Will you share pictures of your finished projects?
- Tag Stitching Together on Instagram with @stitching_together and use the #stitchingtog
- Upload your picture in the Tried It section of this pin
- Share your work in the Stitching Together Community.

If you like having ready formatted PDFs of your patterns, you can purchase this pattern in the following places:
Stitching Together Shop as part of the Country Crochet Bundle
