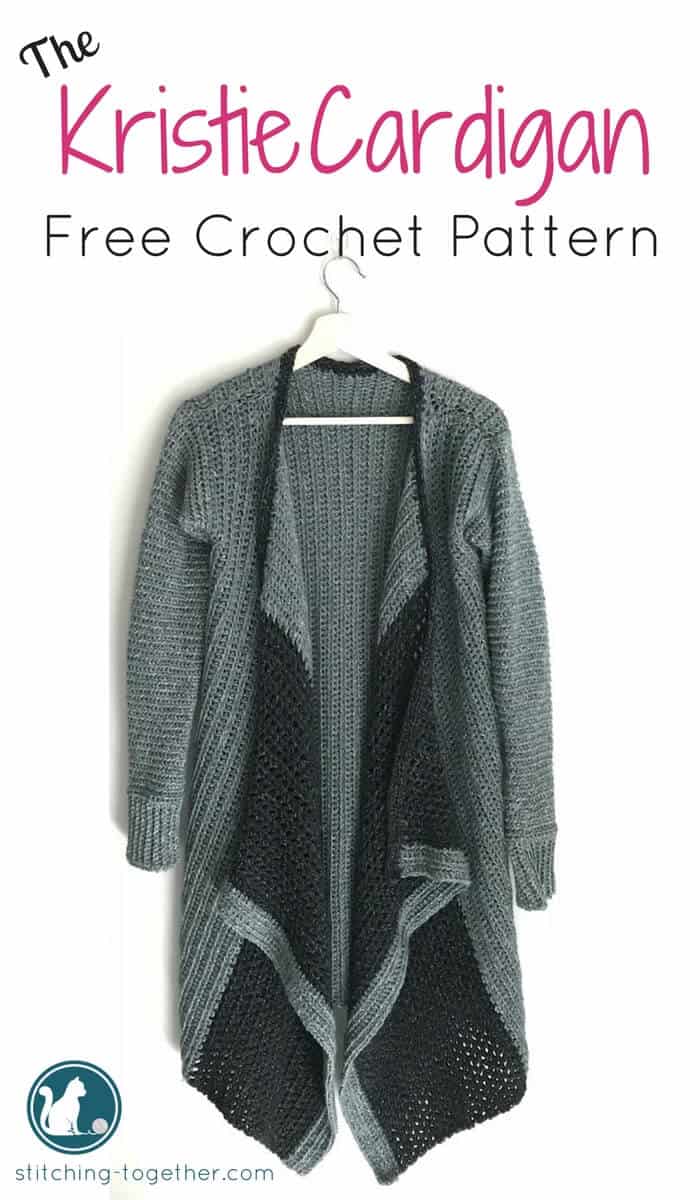
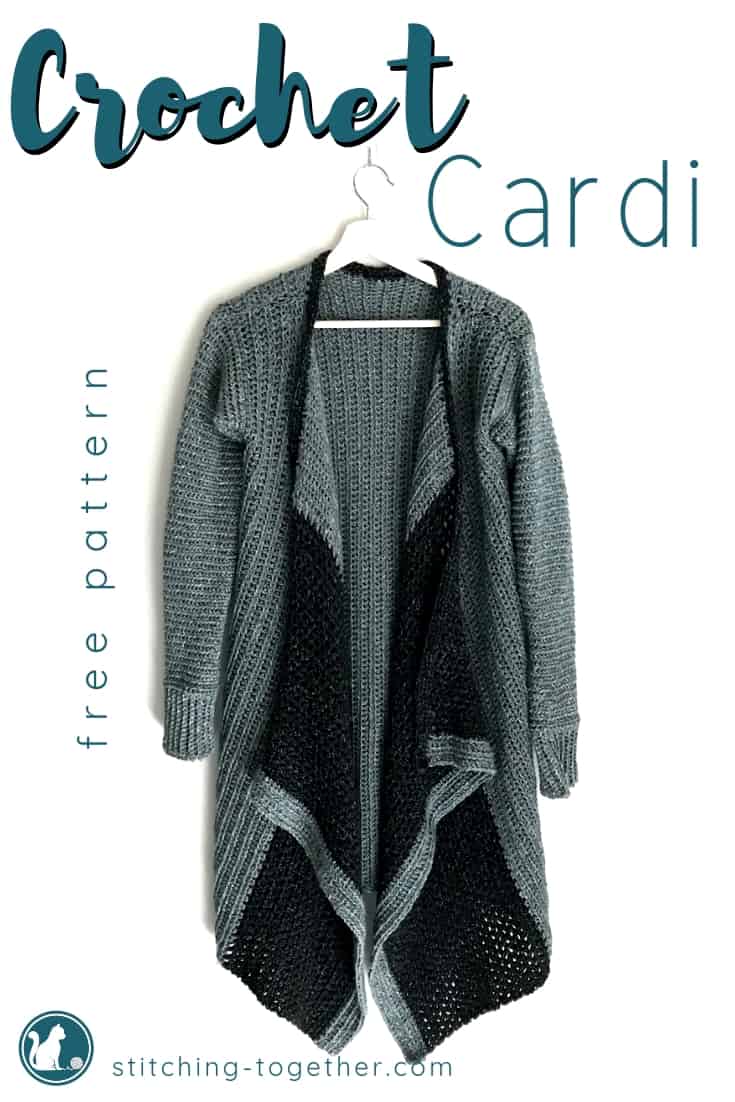
The Kristie Cardi – A Crochet Blanket Cardigan
Disclosure: This post may contain affiliate links. As an Amazon Associate, I earn from qualifying purchases. Please visit my Privacy Policy for disclosures and more information.
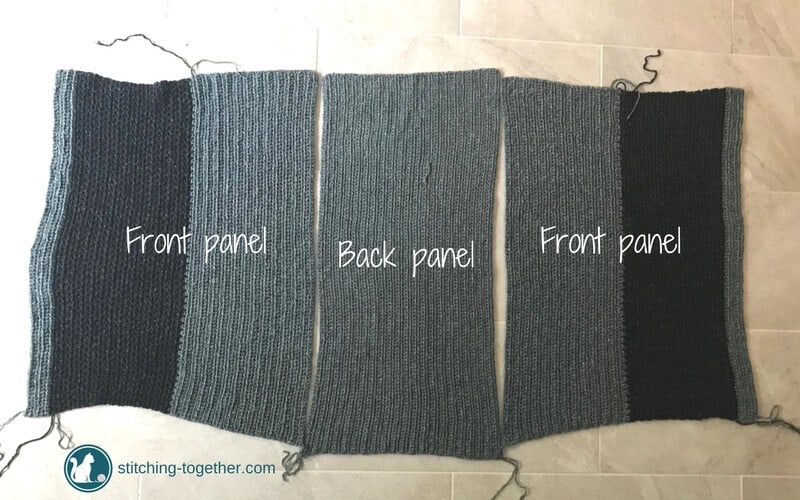
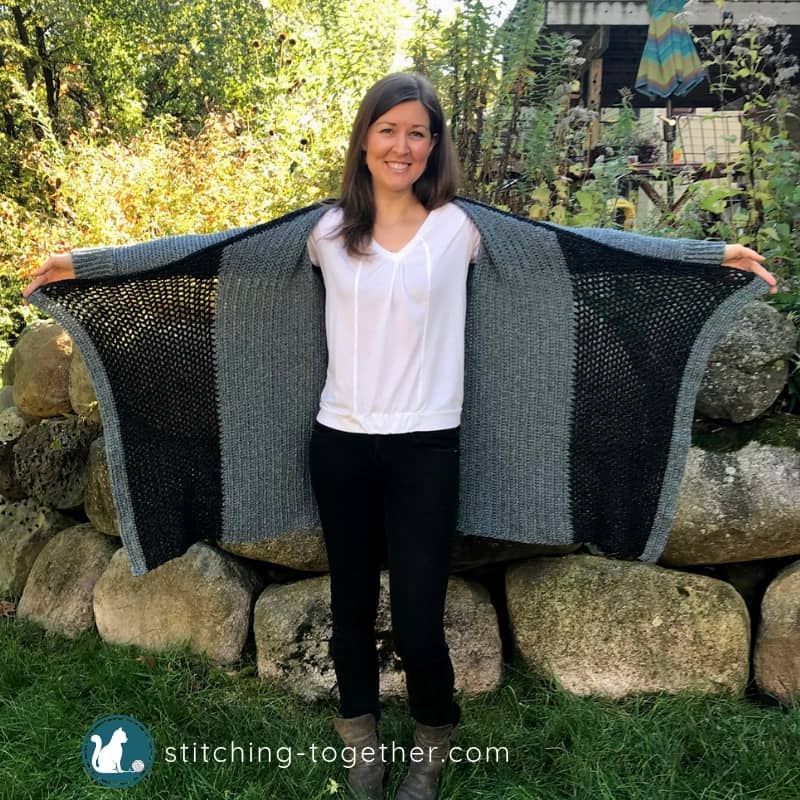
This crochet blanket cardigan is surprisingly simple to make as it is just three rectangles sewn together with added sleeves. Don’t forget to pin it!
Last year my sweet friend picked up these amazing blanket cardigans for me at Target. They are pretty much my favorite cardigans ever. It is like wearing a comfy blanket, but cute.
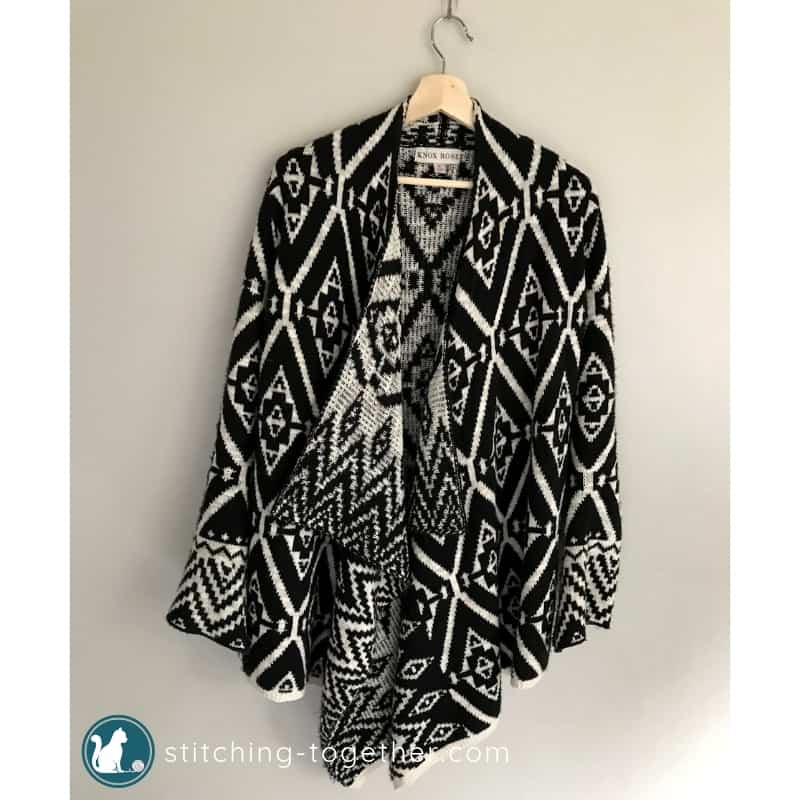
A couple of weeks ago she mentioned that she wishes she would have bought a few for herself and then and there I determined I would design a crochet blanket cardigan for her!
Once I got going it was surprisingly easy. The texture is created just using variations of half double crochets. (Have I mentioned before that the good ‘ole hdc is my favorite stitch?) Easy sewing and sleeves are done in the round make it a nice and simple project.
Related: Pine Gap Pocket Shawl Crochet Pattern
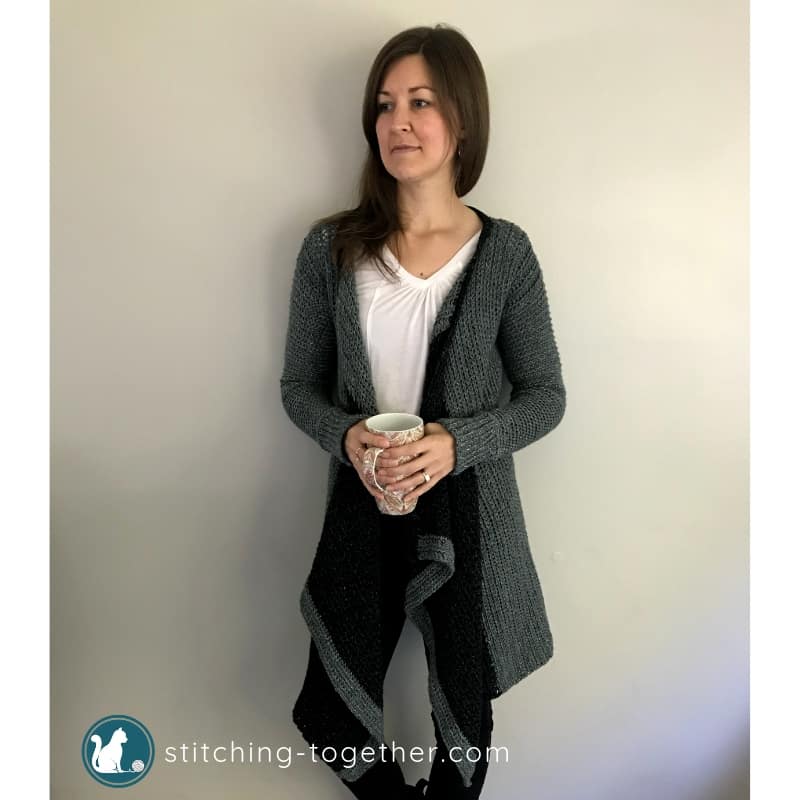
I couldn’t wait to be finished with this and give it to her. I ask for her input in almost all my designs so it was SUPER DIFFICULT to keep this a surprise. There was no way it was waiting until Christmas. Now, I can’t wait to see all your finished crochet blanket cardigans!
Please tag me on social and use #stitchingtog to show off your finished cardigans
Check out the end of the post for a surprising benefit of this crochet cardi and why you might want to make one for your next BABY shower gift.
The Kristie Cardi – A Crochet Blanket Cardigan
Materials for the Crochet Blanket Cardi
- Medium weight, 4, yarn – 3.5oz/100g, 246yd/225m
- Color A: 6 skeins Lion Brand Jeans Yarn in Vintage
- Color B: 2 skeins Lion Brand Jeans Yarn in Stovepipe
- US size J/10 crochet hook
- US size K crochet hook
- Large eye needle
Save time and shop the materials online!
- Lion Brand Jeans Yarn found on Amazon
- Lion Brand Jeans Yarn found on Lion Brand Online
- J/10, 6.0 mm Clover Amour Hook found on Amazon
- K, 6.5 mm Clover Amour Hook found on Amazon
- Set of 10 ergonomic, high quality crochet hooks found on Amazon (BEST DEAL!)
- Tapestry Needles found on Amazon
Abbreviations
Fhdc: foundation half double crochet
ch (s): chains
slst: slip stitch
flo: front loop only
blo: back loop only
hdc(s): half double crochet
All terms are American crochet terms
Notes
Sizing
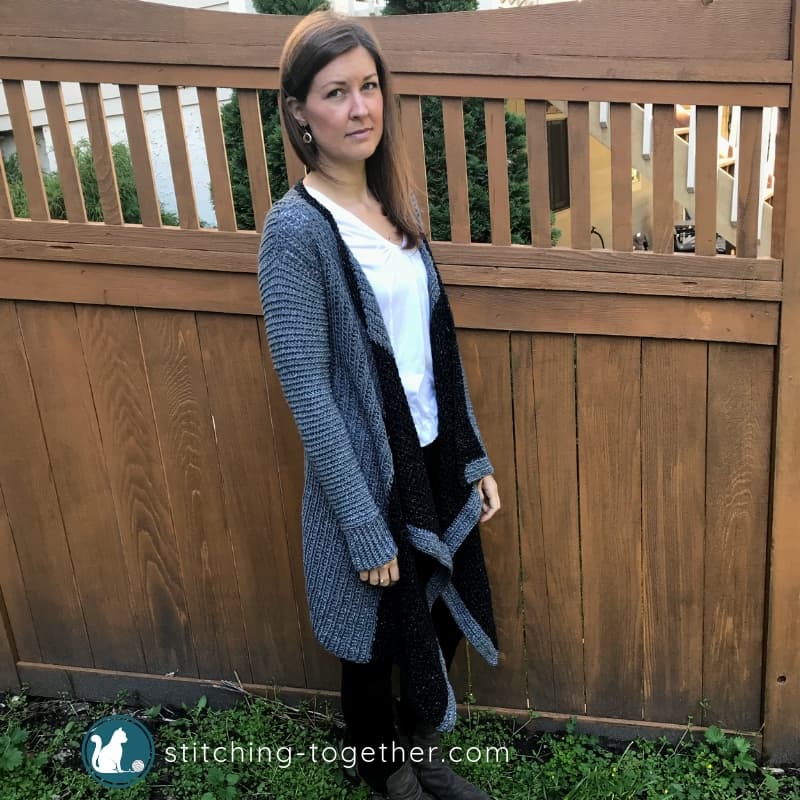
The instructions listed are for a small sized cardigan for a tallish gal (5’8”). Unless you are much shorter or much taller, the front panels won’t need adjusting. The front panels measure 22″ across. If you have more curves, you may want to make the front panels wider by adding more rows.
The main two areas to adjust for sizing are the back panel and the arm holes. For both areas, I used the guidelines provided by the Craft Yarn Council.
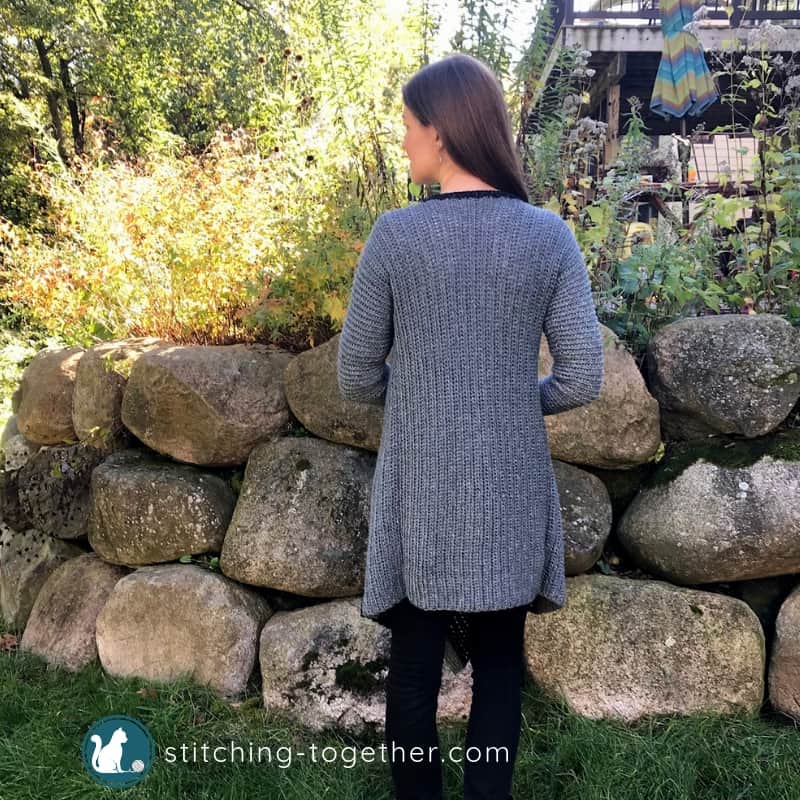
The back panel (cross back/shoulder to shoulder) measures 15”. To increase or decrease the size, add or subtract rows. The back panel measures 32” long when hanging. To make it longer or shorter, adjust the starting row but keep it an even number.
The arm depth measures 7”. The arm depth is the easiest to adjust as you just sew up the sides a little more or a little less to adjust the opening. Because the front panels and back use a different hook size, the panel lengths will not line up perfectly. When sewing up the sides it is very helpful to pin the sides together with the first pin at the bottom of your armhole and the last holding the sides evenly at the bottom.
Gauge
4”x4”:
Back panel with J hook 17 hdc by 10 rows
Front panel with K hook 16 hdc by 9 rows
Instructions
Back panel
With J hook and Color A
fhdc 116, turn (alternately you can chain 117 and hdc in the 2nd ch from the hook and each ch across.)
Row 1: ch 1, flo hdc in each stitch across
Repeat row 1 for a total of 42 rows (including the foundation row) *add/subtract rows to increase/decrease size*
Front panels
(create two identical front panels)
With K hook and color A
Fhdc 104, turn
Row 1: ch 1, flo hdc in each stitch across
Continue for 25 rows including the foundation row.
Join Color B
Row 26: Ch 2, hdc in the first stitch (not the stitch at the base of the chain 2), *ch 1, sk 1, hdc*, repeat from * to the end of the row, turn.
Row 27: Ch2, hdc in ch 1 space, *ch 1, hdc in each ch 1 sp*, repeat from * to the end of the row, turn.
Repeat row 27 for a total of 27 rows with color B
Join color A
Row 52: ch 1, hdc in each st across (104 stitches)
Repeat row 52 for a total of 4 rows.
Joining
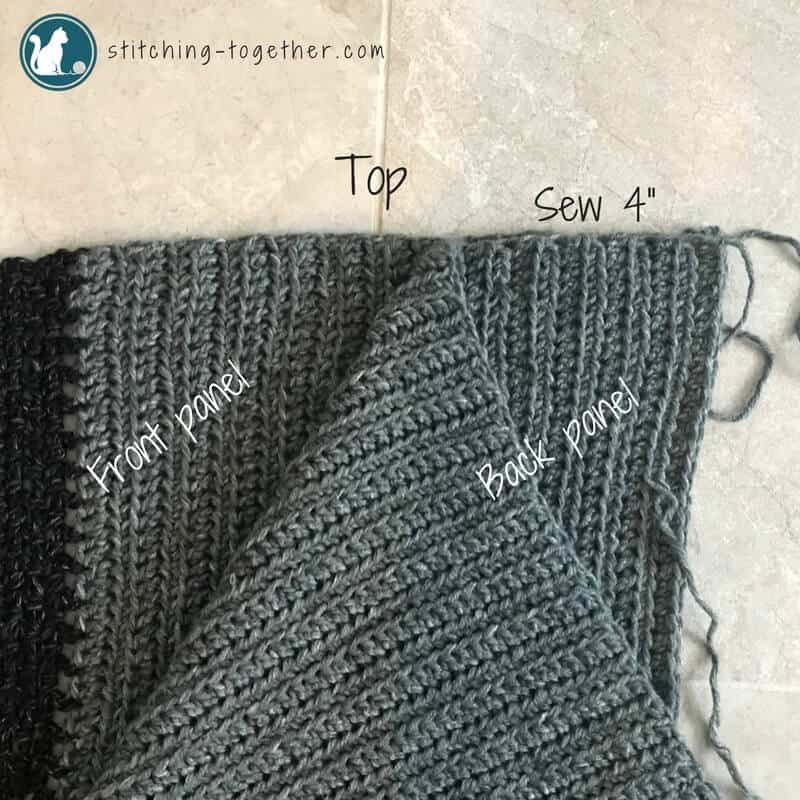
At the shoulders: Place the back panel on top of one of the front panels lining up the top and outer edge. (The large section of color A on the front panel should be at the outer edge.) Starting from the corner, using Color A, sew 4” in toward the neck line. Finish seam with some whip stitches. (If your back panel is larger, you may want to sew in more than 4”.) Repeat with the other front panel on the other side.
Up the sides: Start at the bottom and sew the sides of the front and back panel together. (See notes on pinning the panels.) Stop 7” from the top to leave an opening for the armhole. Finish the seam with whip stitches to secure. Repeat on the other side.
Lining
With K hook join color B to the top outer corner of one of the front panels. Do 2 rows of hdc along the entire top edge of the front panel, back panel, and other front panel.
Sleeves
With J hook, join color A next to the seam on the bottom of the armhole.
Round 1: Ch 1, hdc in each stitch around including the stitch at the base of the ch 1. (For my 7” armhole I had 50 hdcs.) Join with a slipstitch to the first st.
Rounds 2-11: ch 1, blo hdc in each st around. (Maintain 50 stitches) join with a slipstitch to the first st.
Rounds 12-17: ch1, skip 1 st, blo hdc in each st around (decrease 1 st each round until there are 44 stitches) join with a slipstitch to the first st.
Rounds 18-27: ch 1, blo hdc in each st (maintain 44 stitches) join with a slipstitch to the first st.
Rounds 28-37: ch1, skip 1 st, blo hdc in each st around (decrease 1 st each round until there are 34 stitches) join with a slipstitch to the first st.
Rounds 38-47: ch 1, blo hdc in each st around. (Maintain 34 stitches) join with a slipstitch to the first st. Do not bind off – continue to cuff
Cuffs
Ch 16
Row 1: sc in 2nd ch from hook. sc in each st. join to the next st in the sleeve with a slst.
Row 2: slst to the next st in the sleeve (functions as a ch 1), blo sc in each st
Row 3: ch 1, blo sc in each st, join to the next st in the sleeve with a slst
Repeat rows 2-3 around the sleeve. Sew the cuff together. Repeat for other sleeve.
A crochet cardigan for baby shower gift?!?
When my baby was about 7 mo old, I had to travel for work and I took him with me. I brought one of my blanket cardigans and wore it on the plane. IT WAS PERFECT! I could cover up and nurse discreetly without fumbling for a nursing cover and when he fell asleep I kept him wrapped in the folds of the cardigan. We were both warm and cozy without extra covers or blankets to worry about. If you’re having trouble deciding on a baby shower gift and do not want to make another blanket, why not give the sweet mama a blanket she can wear and still look adorable? Plus, extra fabric is almost always welcome for the postpartum body.
Don’t forget to save this pattern to Ravelry!
Use the image below to Pin!