Night Out Bag – Easy Crochet Mini Purse Pattern
Disclosure: This post may contain affiliate links. As an Amazon Associate, I earn from qualifying purchases. Please visit my Privacy Policy for disclosures and more information.
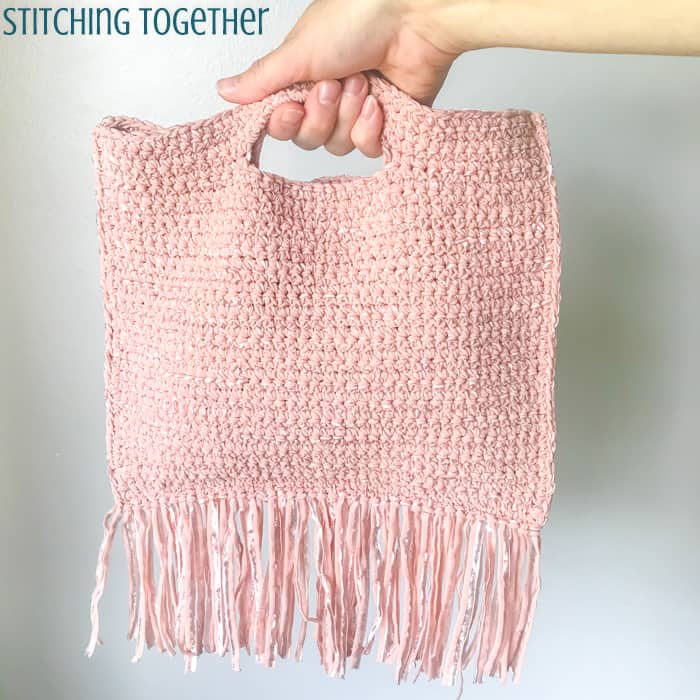
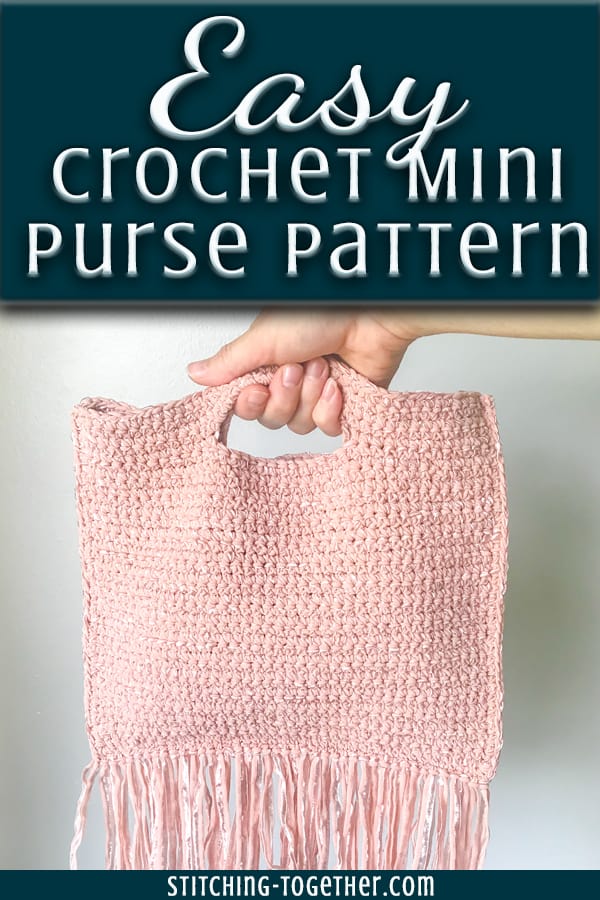
You’ll love this easy crochet mini purse, the Night Out Bag, perfect for beginners or anyone looking to make a cute and easy bag.
Scroll down for the free crochet pattern or purchase the PDF that is formatted for printing.
Let’s be honest, as a mom of three who are 4 and under, I don’t get many nights out in this season of life. To continue honesty, I am a stay home in pjs with a good book or a hook and Netflix kind of gal so I don’t REALLY mind being tethered closer to home.
When I do happen to escape go out, I have a favorite little bag to take which I stole from my mom (there has to be a better word… commandeered? Does that sound less thievish?) Let’s not forget to mention the simple freedom one feels when walking out of the house without a giant diaper bag. Unfortunately, my go-to bag has seen better days.
It was time to make myself a new bag! I used some yarn from my stash that I have had hanging around for so many years that they no longer make it.
***I’ve updated the pattern using Lion Brand Ribbonaire yarn. It is similar to the yarn used in the first edition of the night out bag, but it is much thinner.****
Basic Construction of the Night Out Crochet Bag
The pattern is still simple and is more beginner friendly than it once was because now you can get the exact yarn I used.
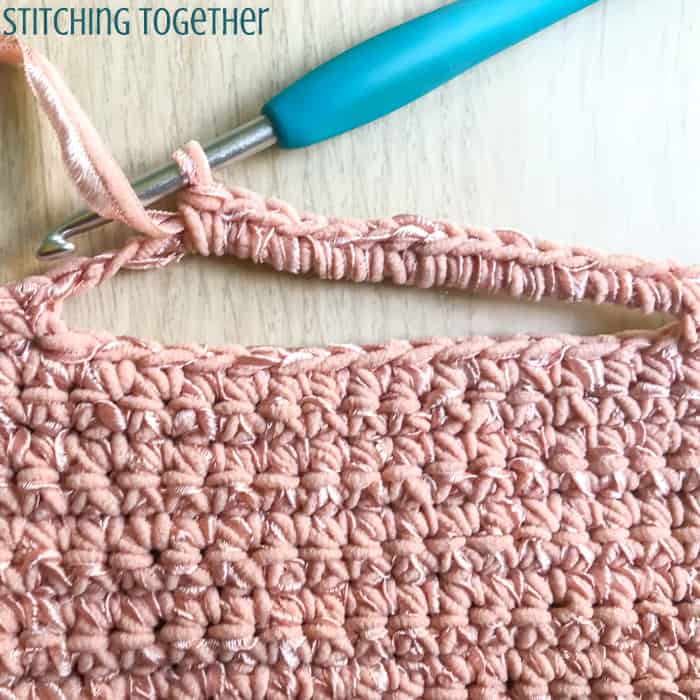
The Ribbonaire yarn creates such lovely stitches with a bit of shimmer from the ribbon part. It was fairly easy to work with although my hook would stick through the ribbon part now and then. The yarn is a nylon polyester blend that comes in six different colors.
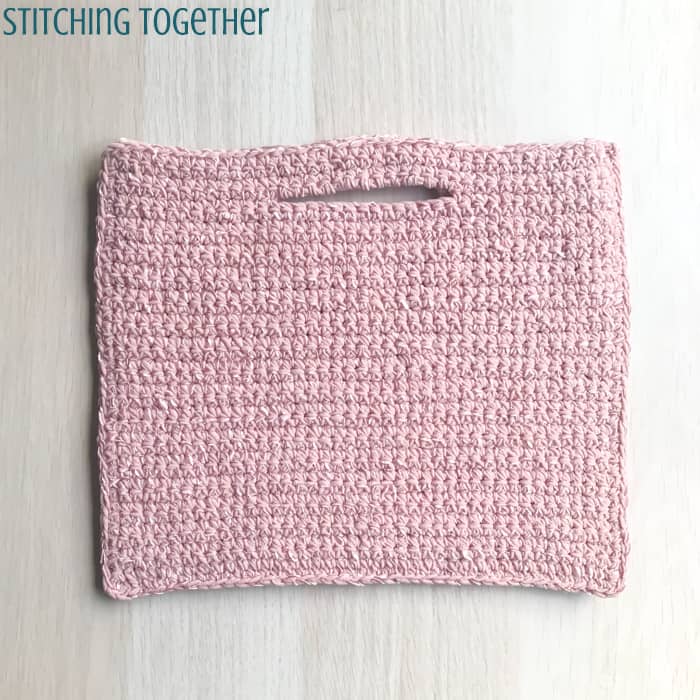
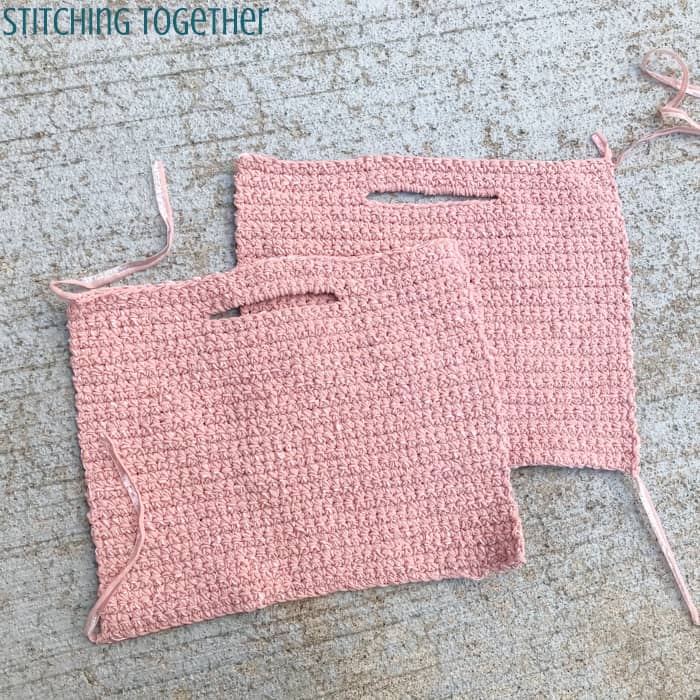
The easy crochet purse is made by crocheting two rectangles, leaving an opening in both sides for the handle and then single crocheting the sides together.
If you do end up using a thicker ribbon yarn, but would like make a bag this size, just work to the finished measurements instead of the stitch counts. The first version of the bag started with a chain of 29 where are with this thinner yarn it starts with a chain of 41. Both bags were around 11″ wide.
A larger bag would benefit from being lined and having some sort of closure. Since this bag is small, I haven’t found it necessary to add a lining or closure.
Save the Night Out Small Crochet Bag on Pinterest
Night Out Bag – Easy Crochet Mini Purse
Purchase and ad-free printable PDF of the pattern here
Materials:
Please visit my Resources page to see why I recommend these tools and to see other recommendations.
Size 7/4.5 mm crochet hook (You can get this size hook on Amazon by itself or as part of this great set.)
#5 Bulky Yarn 5 oz/100 g, 196 yds/180 m
- Lion Brand Ribbonaire
- 1 ball Rose Cloud
Large Eye Yarn Needle (These are my favorite needles and they work great with bulky yarns!)
Abbreviations:
ch(s): chain(s)
sc(s): single crochet(s)
st(s): stitch(es)
sk: skip
sp: space
Gauge: 4” x 4 =16 scs by 17 rows
Finished Size: 11” x 9”
Notes:
To adjust the size, keep the starting chain a multiple of 2+1
Easy Crochet Mini Purse Pattern:
Ch 41
Row 1: sc in the 2nd ch from the hook and in each ch across, turn. (40)
Row 2: ch 1, sc in each st across, turn.
Row 3-32: repeat row 2
Row 33: ch 1, sc in the next 13 sts, ch 14, sk 14 sts, sc in the next 13 sts, turn.
Row 34: ch 1, sc in the next 13 sts, sc 14 in the ch-14 sp, sc in the next 13 sts, turn.
Row 35: ch 1, sc in each st across, turn.
Row 36-37: repeat row
Repeat instructions to make a second side – do not fasten off the second side
Joining the sides:
Hold the two bag sides together. Sc both sides together, leaving the top open.
Place one sc at the end of each row, one in each ch along the bottom, and 3 scs in both corners. Fasten off and weave in ends.
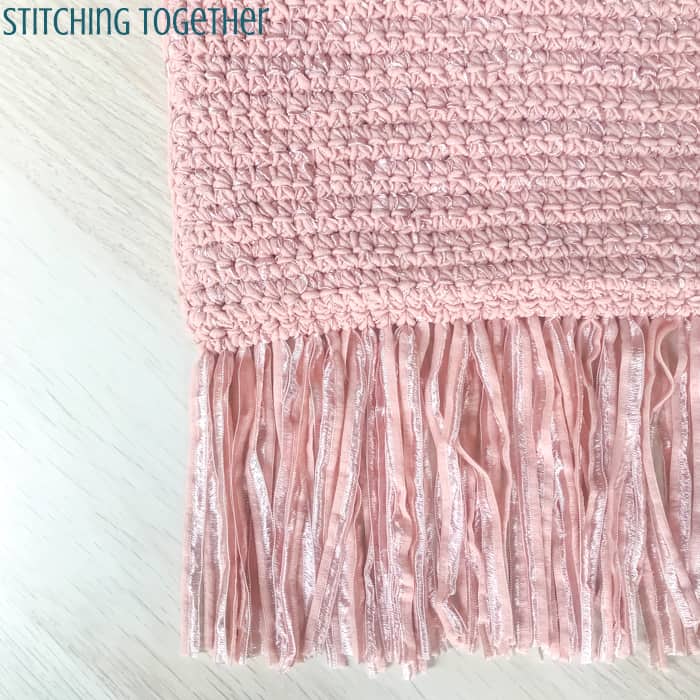
Optional fringe: cut 42, 10” pieces of yarn and attach them to the bottom.
Will you share pics of your finished projects? You can do that in several ways:
-
Tag Stitching Together on Instagram with @stitching_together and use the #stitchingtog
-
Upload your picture in the Tried It section of this pin
-
Save your project on Ravelry and link it to this pattern
-
Share your work in the Stitching Together Community.
