Desert Diamonds Crochet Pouch Pattern
Disclosure: This post may contain affiliate links. As an Amazon Associate, I earn from qualifying purchases. Please visit my Privacy Policy for disclosures and more information.
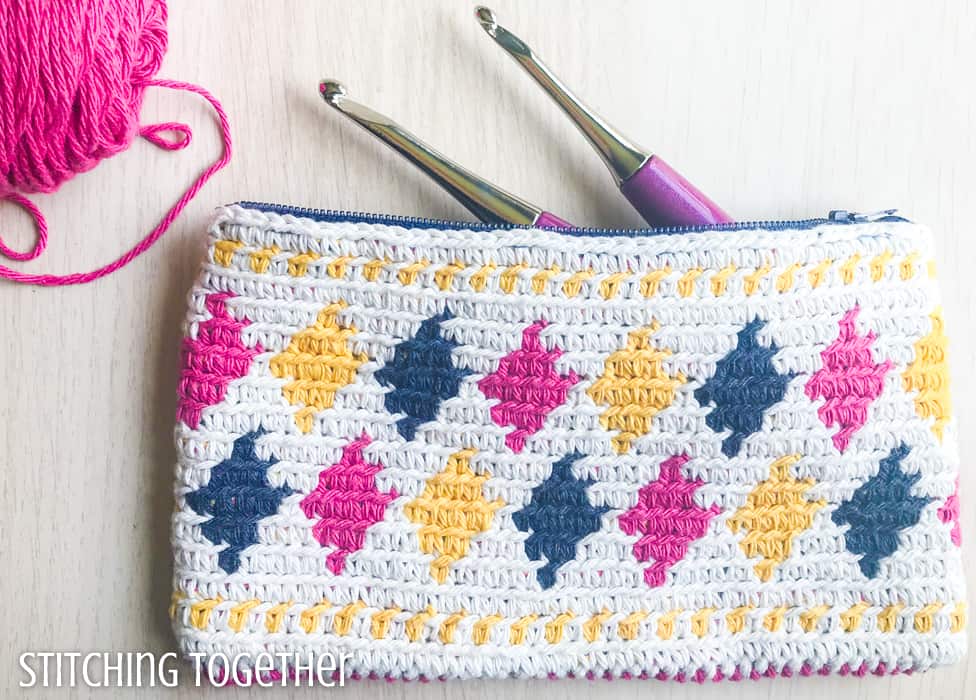
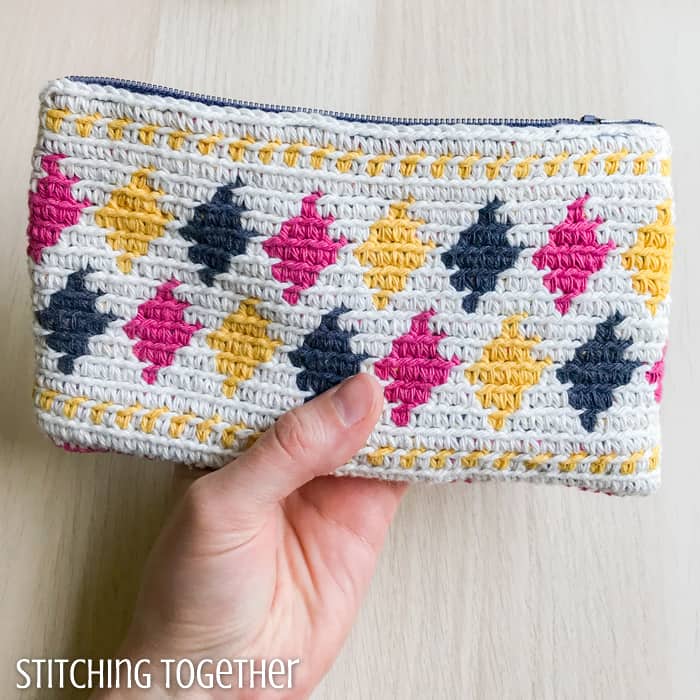
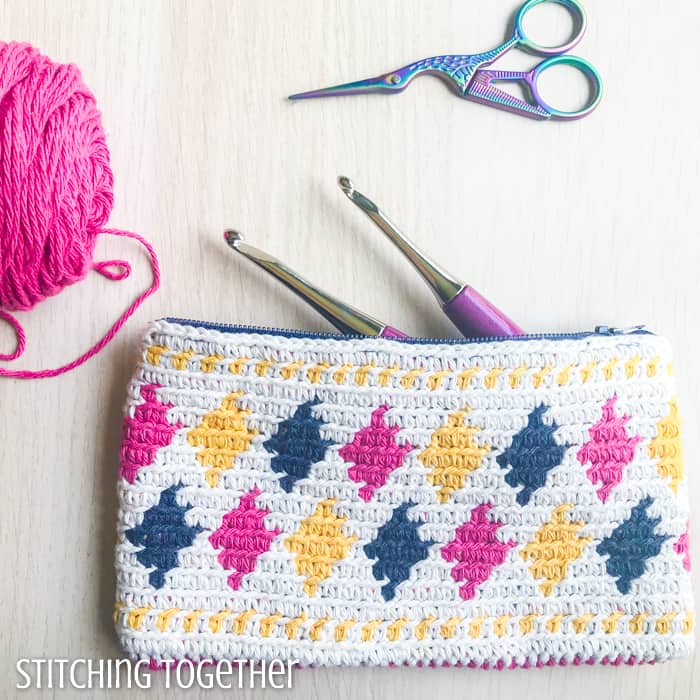
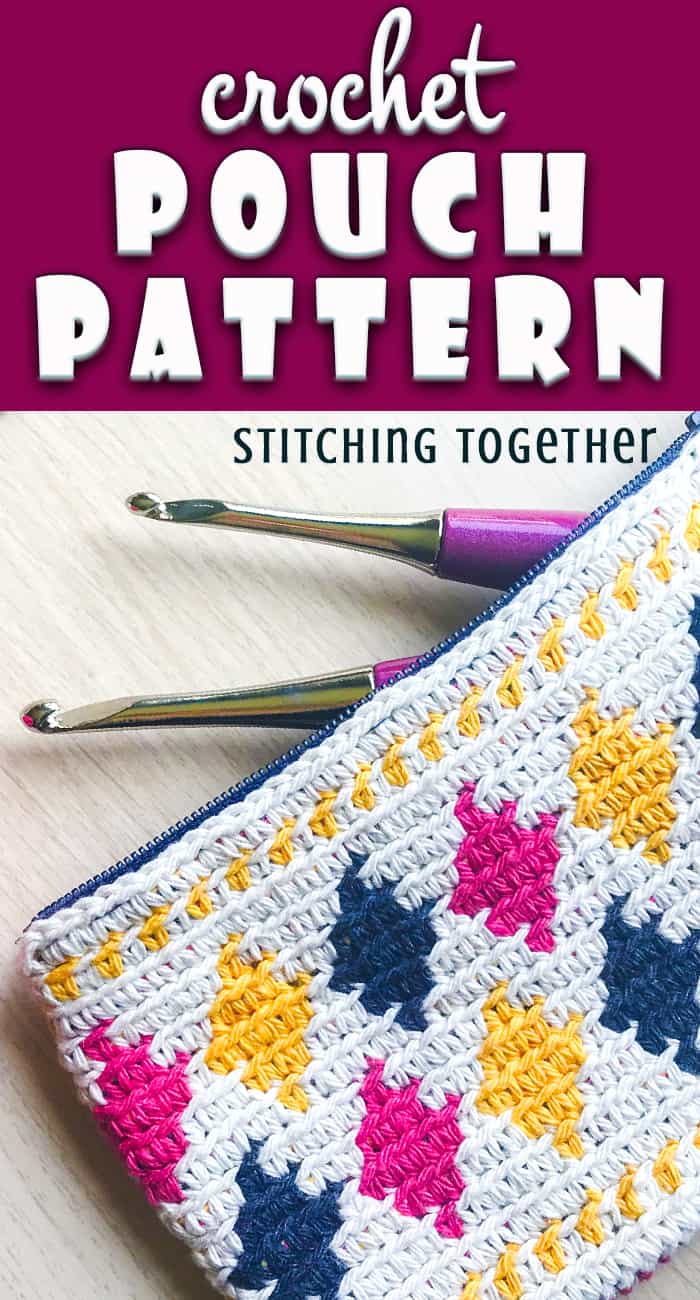
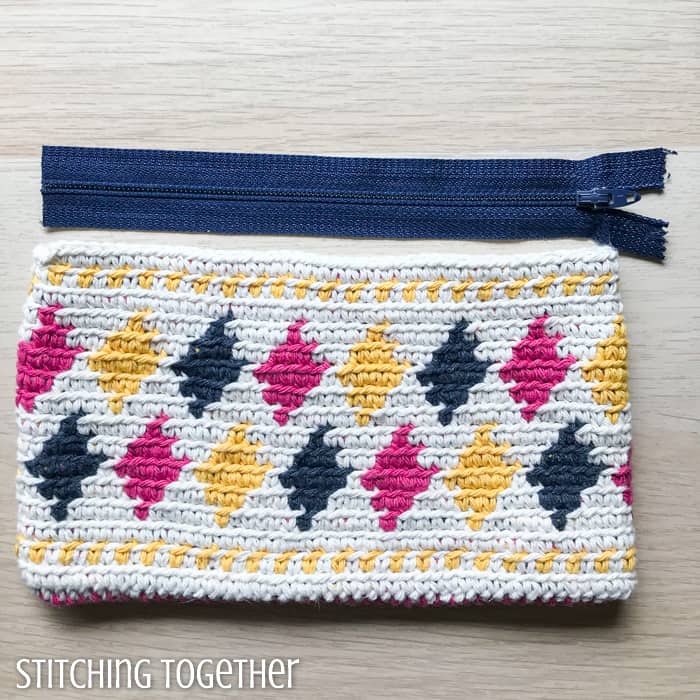
You can make this stunning crochet pouch perfect for helping you triumph over untamed spaces in your life. It’s a great size for a makeup bag, pencil case, hook holder, or catchall for your purse.
Below you’ll find the free pattern or you can purchase the PDF formatted for printing and your convenience (on sale for a limited time!)
I once had the pleasure of watching Jerry Seinfeld live when we were living in New Mexico. As part of his act, he pointed out that the buildings and houses of New Mexico completely blend in with the landscape.
Of course he managed to deliver an obvious truth both hilariously and elegantly, but the part I remember most was him saying as he was motioning across an invisible landscape and up a building: “brown, brown, brown, brown, brown….”
It is SO true and was such a huge adjustment for me after moving from the lush greenery of Minnesota. BUT what New Mexico may seem to lack in color on the outside, is more than made up for on the inside.
Color is not used conservatively for interior design and decor especially in historical sites, restaurants, and tourist attractions.
You walk in from brown to – BAM – bright, beautiful, and bold exploding at your eyeballs.
It is quite lovely especially to this gal whose wildest paint color choice is a medium blue on two walls in the kitchen.
The whole point of sharing that was that this cute little crochet zipper pouch reminds me of the Southwest and the desert.
Bold and bright diamonds that stand out against a neutral backdrop.
How do you crochet a pouch?
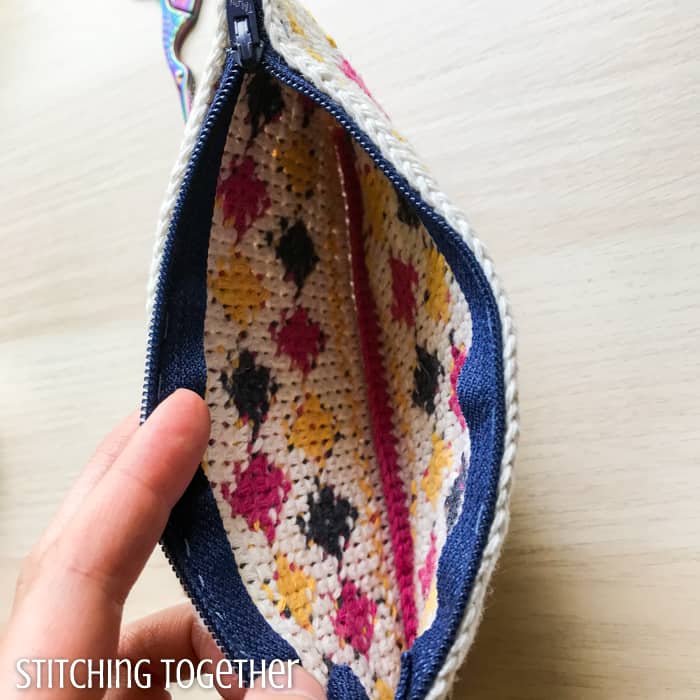
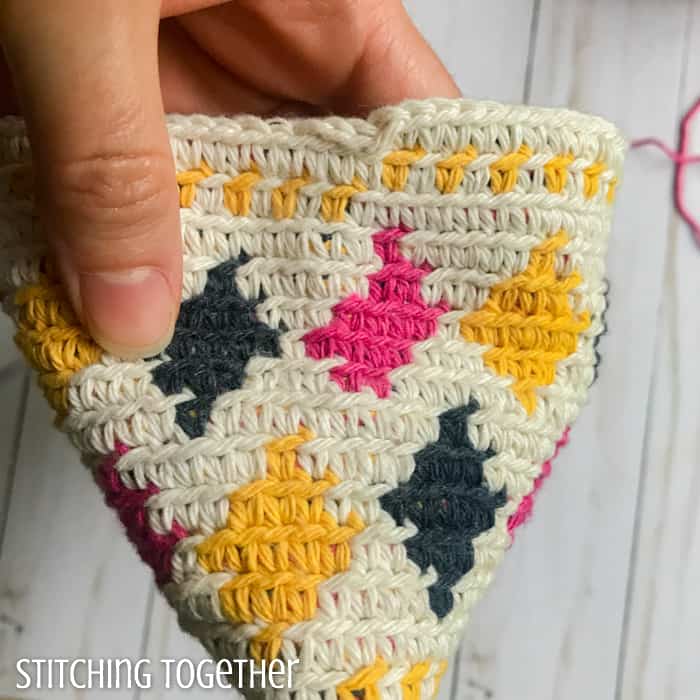
The construction of the bag is simple. You are going to crochet a small tube of all single crochets, then stitch closed one end and add some sort of closure, like a zipper, to the other end.
That’d be it if it was all done in the same color, but of course there is some color work involved.
Stitches and color work for the crochet pouch pattern
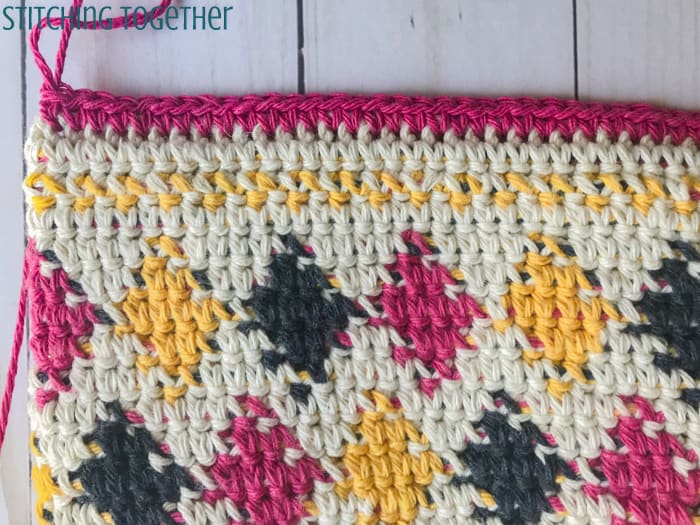
My original plan was to pull the yarn across the back instead of carrying it under each stitch. I tried about half the bag this way, but realized that my tension was all over the place!
I struggled not to pull the yarn too tightly across the back or leave it too loose. And it seemed like I was getting even more tangles as I went.
Next I planned on doing some sort of bobbins so I wouldn’t have to carry the yarn. Thankfully, before I started trying that, I realized that the number of bobbins I’d need plus the ends I’d have to weave did not make that a good option at all.
Carrying the yarn and doing this tapestry style was the best option in the end. All the yarn that is used for the bag, so all four colors, are carried along starting in the first row.
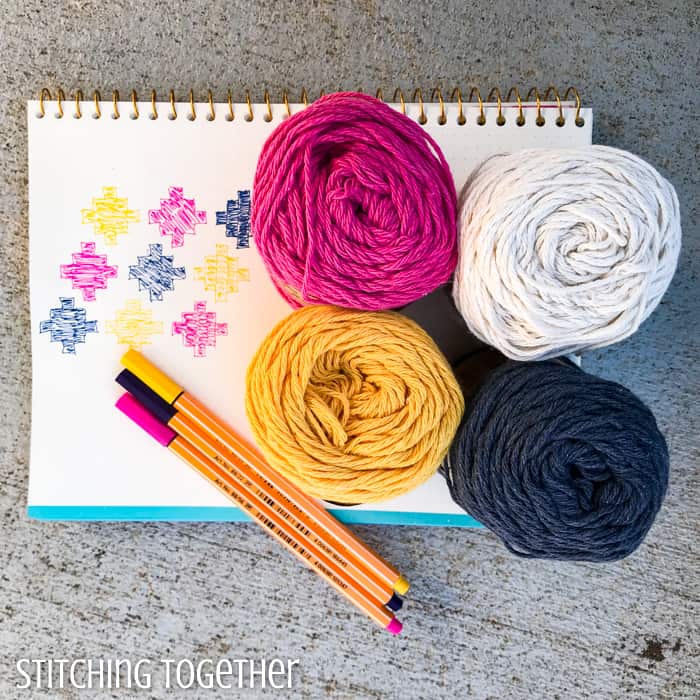
Yarn used in the Cute Crochet Pouch
Lion Brand recently release a new recycled cotton yarn with a smidge of polyester (85% Cotton, 15% Polyester) that can be machine washed and dried. (I haven’t washed the pouch yet to see how the colors hold up.) I was surprised how soft it was and easy to work with!
Re-up comes in 18 different colors which includes solids and prints. It’s a thinner category 4 weight yarn so keep that in mind if you decided to sub yarn for this pattern.
Desert Diamonds Crochet Pouch
Skill: Easy
Gauge:
4″ x 4″ = 24 sc by 15 rows
Finished Size:
approx 7.75″ by 4.5″
Abbreviations:
ch(s): chain(s)
sc(s): single crochet(s)
sl st: slip stitch
st(s): stitch(es)
Materials:
H/5.0 mm Crochet hook (Check out my favorite hooks available on Amazon or read my clover amour hook review)
Re Up yarn by Lion Brand (Lion Brand affiliate link)
(114 yds / 105 m, 2.5 oz / 70 g)
- .4 oz of Sunflower
- .4 oz Raspberry
- .35 oz Denim
- 1.09 oz of Ecru
Zipper (Optional)
Stitch markers
Notes:
Start carrying all of the colors at the first row even though the first row only uses one color
Size of the bag can be changed be keeping a multiple of 18
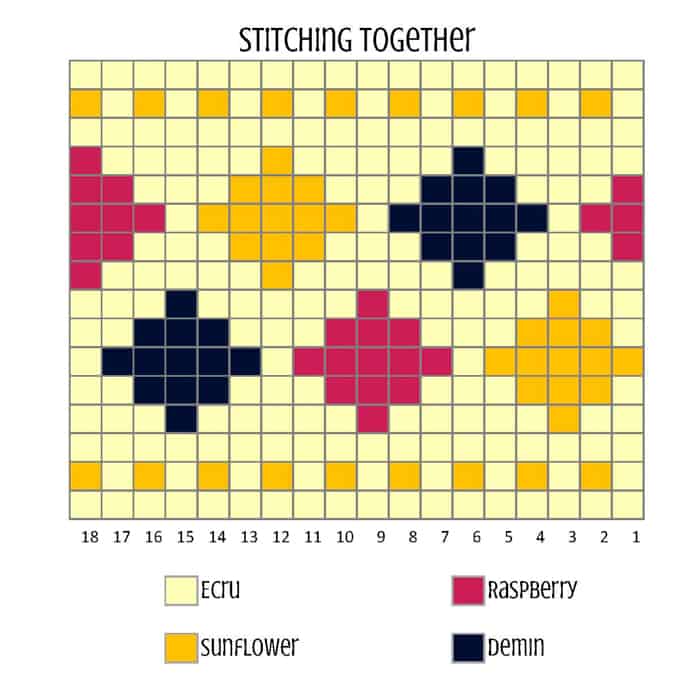
When reading the graph, you’ll start at the lower right hand corner and read the graph from right to left. Each row of the graph will be repeated 5 times before moving up to the next row.
Each row is read right to left and not back and forth and its worked in a continuous round and not joined rounds. (You will not join with a slip stitch at the end of a row and do not chain 1 at the beginning of the next row.)
Place a stitch marker in the first stitch of each row to keep track of the rows as you work around.
When you fold the bag to stitch up the bottom, fold on the “seam” where the pattern doesn’t fully line up.
Crochet Pouch Pattern Instructions
ch 90, join with a sl st to form a circle
Row 1: ch 1, following the chart, sc in each ch, do not join with a slip stitch but continue to sc around, marking the first st of each row with a stitch marker.
Repeat each row of the graph 5 times before moving up to the next row. (90 sts)
Once finished sl st into the next 2 sts, fasten off and weave in ends. Turn the bag inside out and sc or sl st along the bottom to close it. You can do this in a contrasting color or in the main color of your bag.
Adding an optional zipper
Measure the opening of your bag, cut the zipper to fit in the bag (I had a 22″ zipper on hand and cut it down to be a little more than 7″ long.)
Hand sew the zipper into the bag making sure the teeth of the zipper site right above the edge of the bag.
What will you put in your small crochet bag?
Will you let me know and share pics of your finished projects? You can do that several ways:
- Leave a comment!
- Tag Stitching Together on Instagram with @stitching_together and use the #stitchingtog
- Upload your picture in the Tried It section of this pin
- Save your project on Ravelry and link it to this pattern
- Share your work in the Stitching Together Community.
Purchase a PDF of this pattern:
