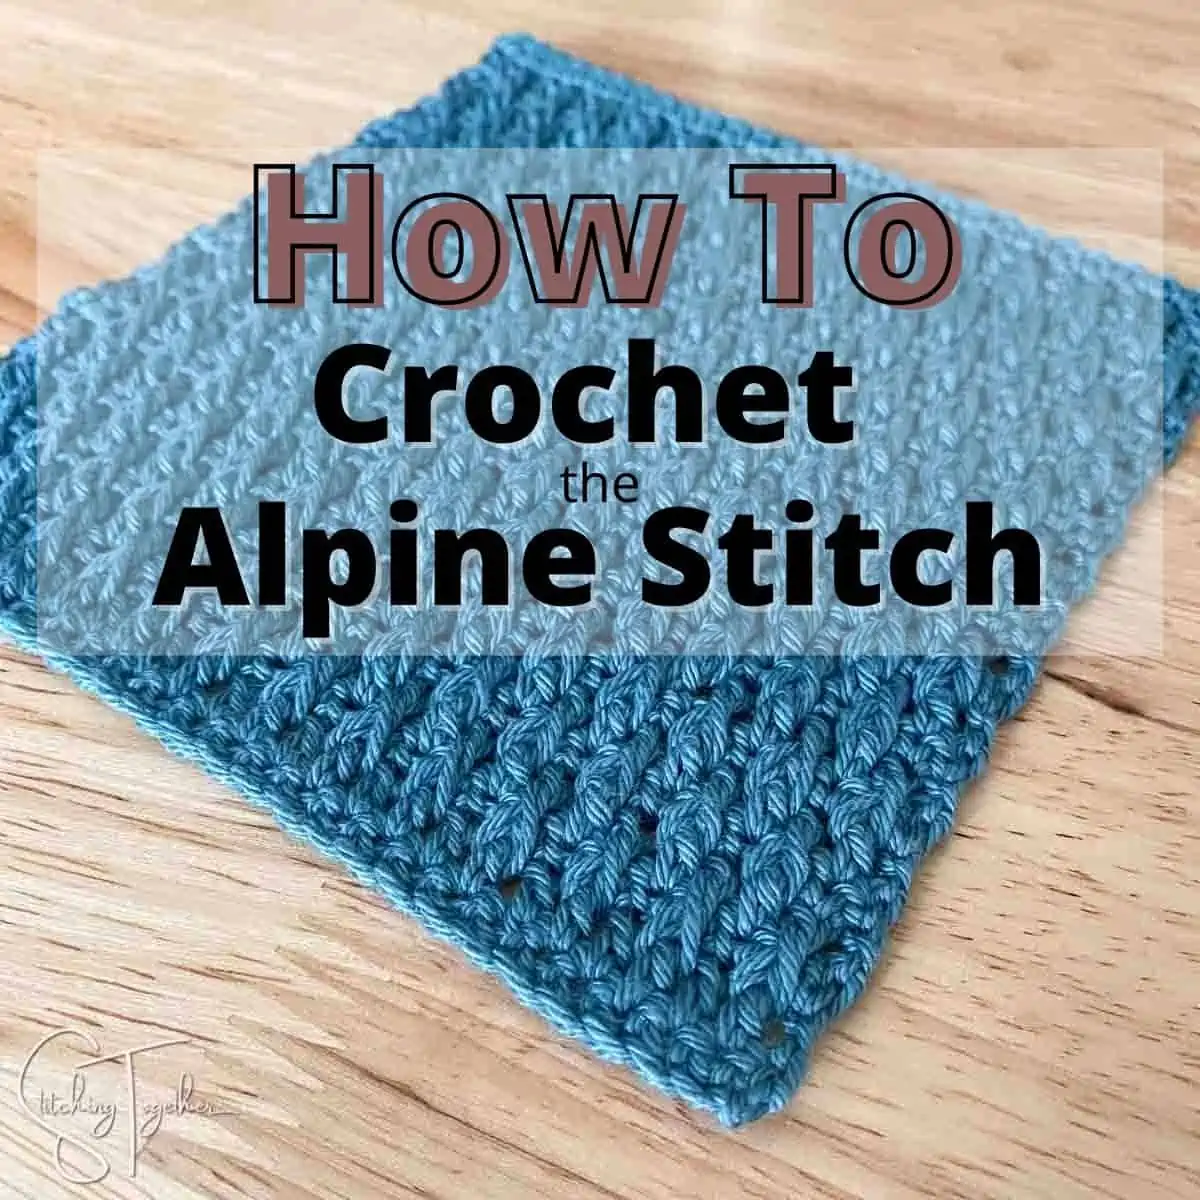
Alpine Stitch Crochet Tutorial
Disclosure: This post may contain affiliate links. As an Amazon Associate, I earn from qualifying purchases. Please visit my Privacy Policy for disclosures and more information.
Have you ever heard of the Alpine Stitch? I bet you’ve seen it even if you didn’t know what it was called. It’s such a beautiful stitch, and definitely one to include in your arsenal of stitches as you plan your next crochet project.
If you know how to single crochet, double crochet, and are familiar with the front post double crochet stitch, you’ll be able to get the Alpine Stitch down in no time! If you’d like to try out the Alpine Stitch, follow along with this Alpine Stitch Crochet Tutorial.
The first time I remember the Alpine Stitch catching my eye was when I came across pictures of the Alpine Stitch Blanket free crochet pattern by YarnHookNeedles. The combination of the stitch texture and colors she used had me swooning.
As you read through the crochet stitch tutorial, you’ll find a brief introduction and explanation of the stitch, then the written crochet pattern for those of you who are good at following words, and finally a step-by-step photo tutorial for both right-handed and left-handed crocheters.
Alpine Crochet Stitch Introduction
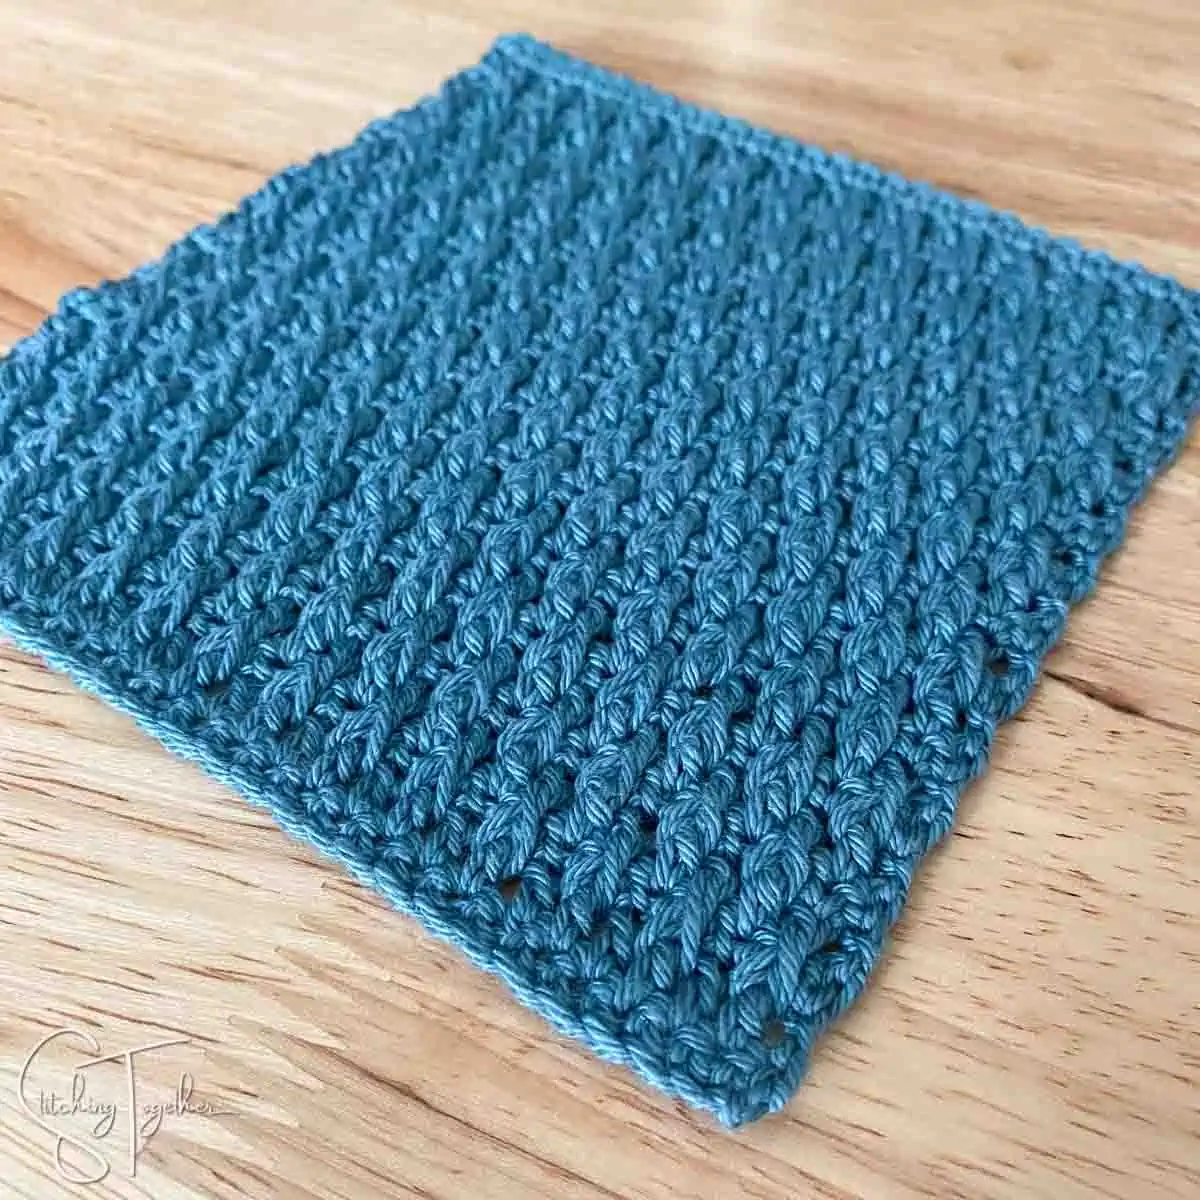
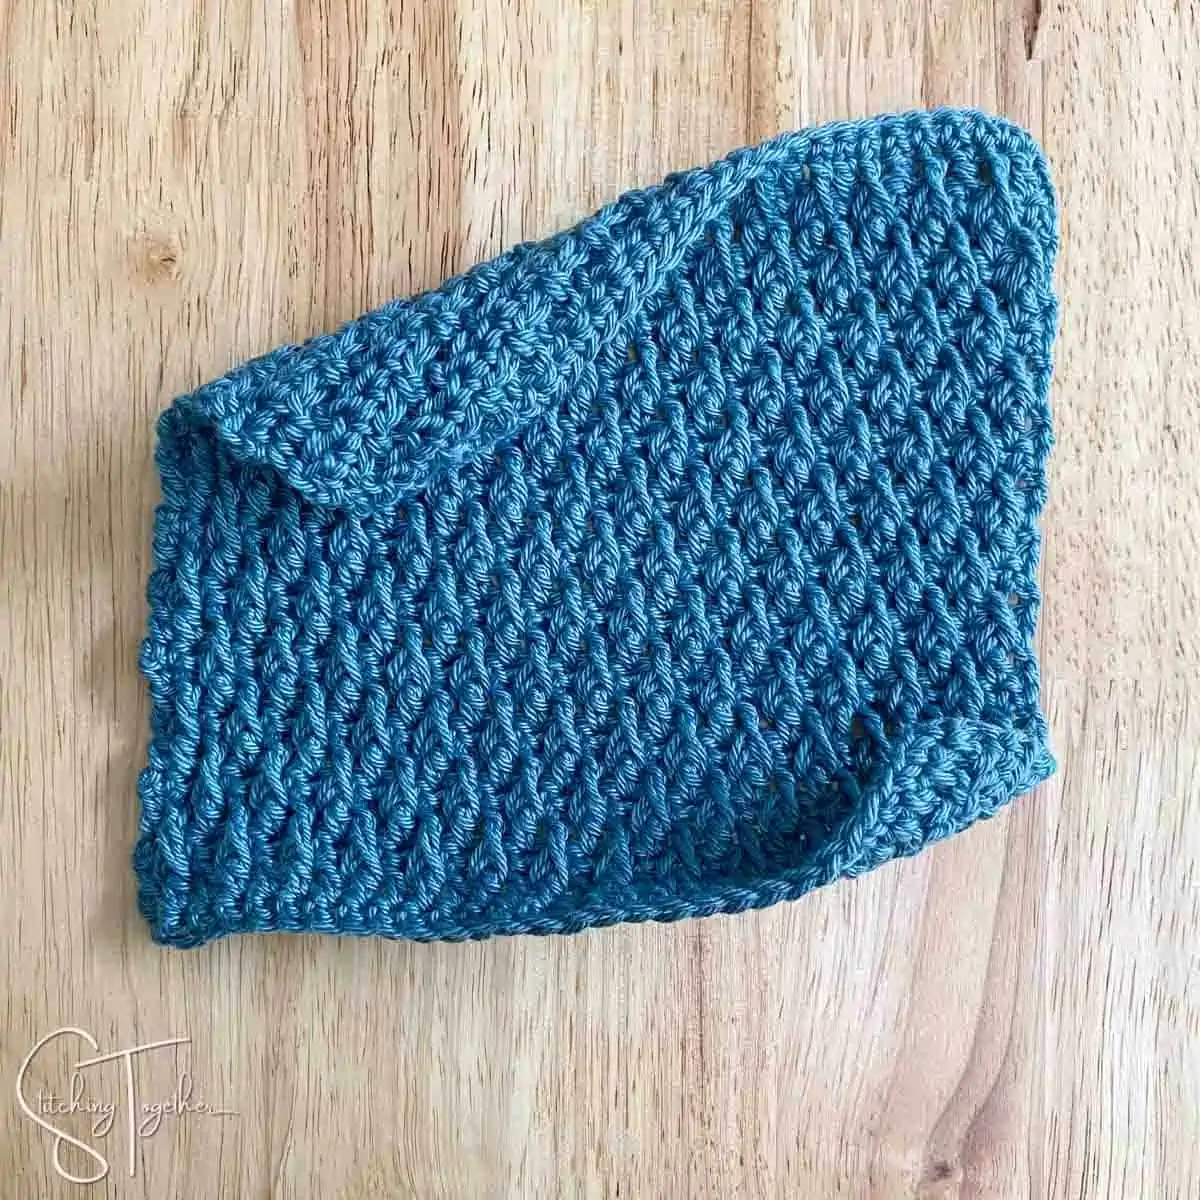
Similar to the Waffle Stitch, the Alpine Stitch is a fun stitch combination: a four-row repeat made up of single crochets, double crochets, and front post double crochets. It creates a textured and dense fabric that works excellent for patterns like an afghan, baby blanket, scarf, cowl, and more.
I would not recommend tackling the Apline Stitch as a beginner, but once you have a good grasp on the single crochet stitch, regular double crochet stitch, and front post double crochet stitch, you will be ready to work the crochet Alpine Stitch pattern.
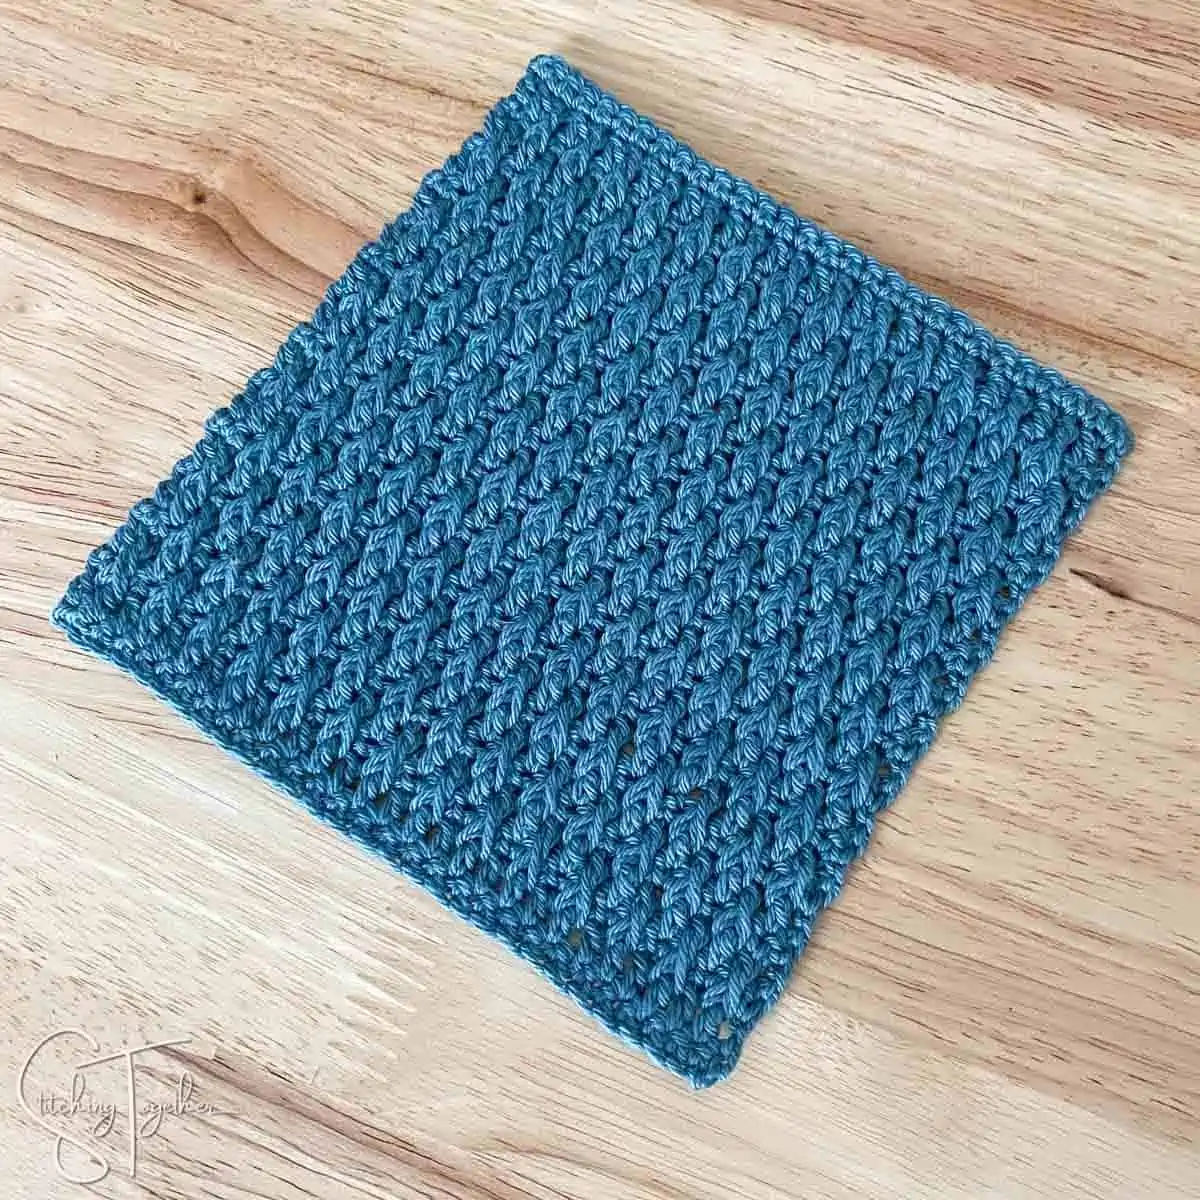
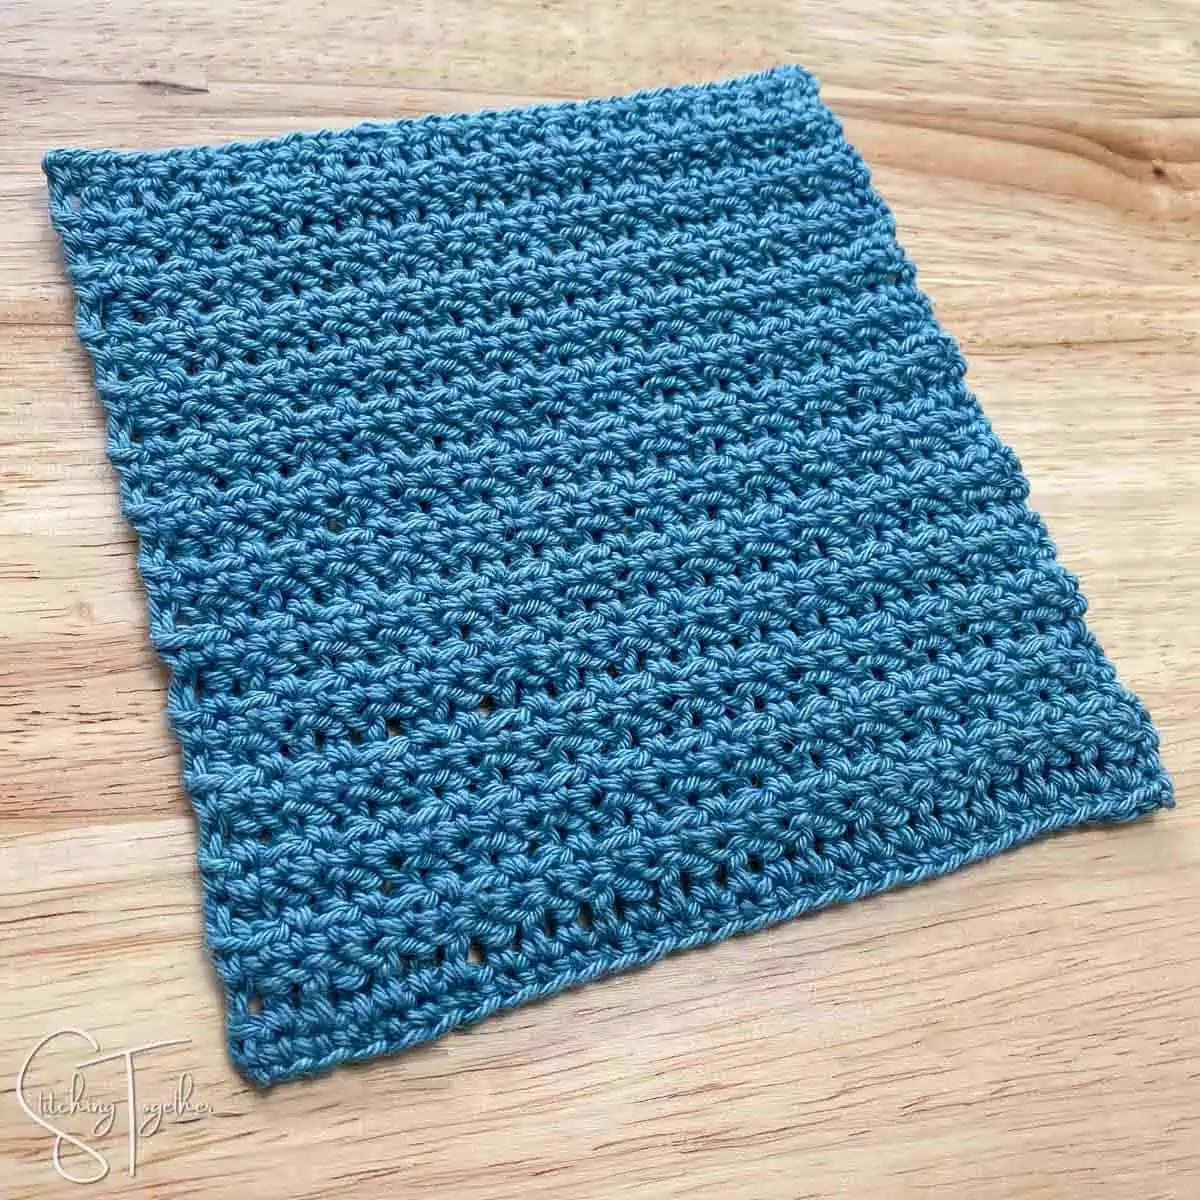
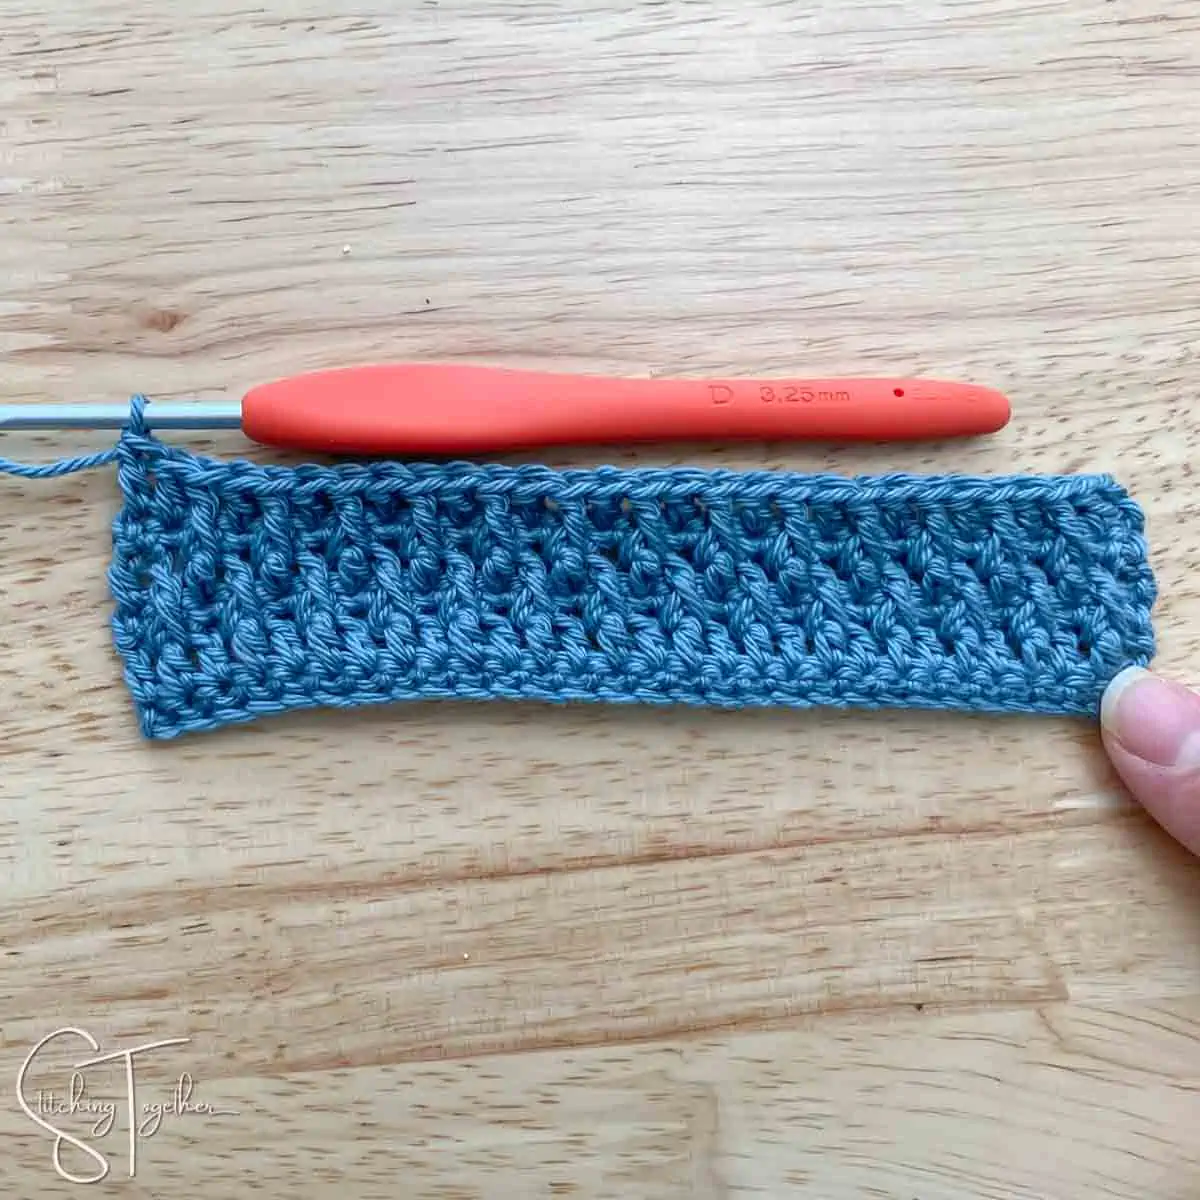
The backside or wrong side of the Alpine stitch has more of a flat texture with beautifully defined rows. Both sides of the fabric are visually appealing especially when done in a solid color.
Crochet Alpine Stitch Explanation
The Alpine Stitch pattern starts with two rows, a single crochet row and a double crochet row, that set the foundation of the pattern but will not be repeated as part of the main stitch pattern.
Row 3 is an easy row of all single crochets followed by a row of double crochets/post stitches in row 4.
Once you reach the double crochet/post stitch rows, you’ll alternate working front post double crochets around the double crochet that are two rows below and then working regular double crochets into the single crochet row below. Don’t worry if it sounds confusing, there are plenty of pictures to walk you through each step!
Rows 5 and 6 are similar to rows 3 and 4, but the alternation between dc and fpdc in row 6 is different than in row 4. Once you’ve done a couple of repeats you will easily be able to identify that for the even-numbered rows you’ll be working a front post double crochet around the double crochets two rows below and you won’t need to even look at the instructions anymore.
Before we learn how to crochet the Alpine stitch, save this crochet stitch tutorial on Pinterest so you can find it later!

Alpine Stitch Tutorial
Materials:
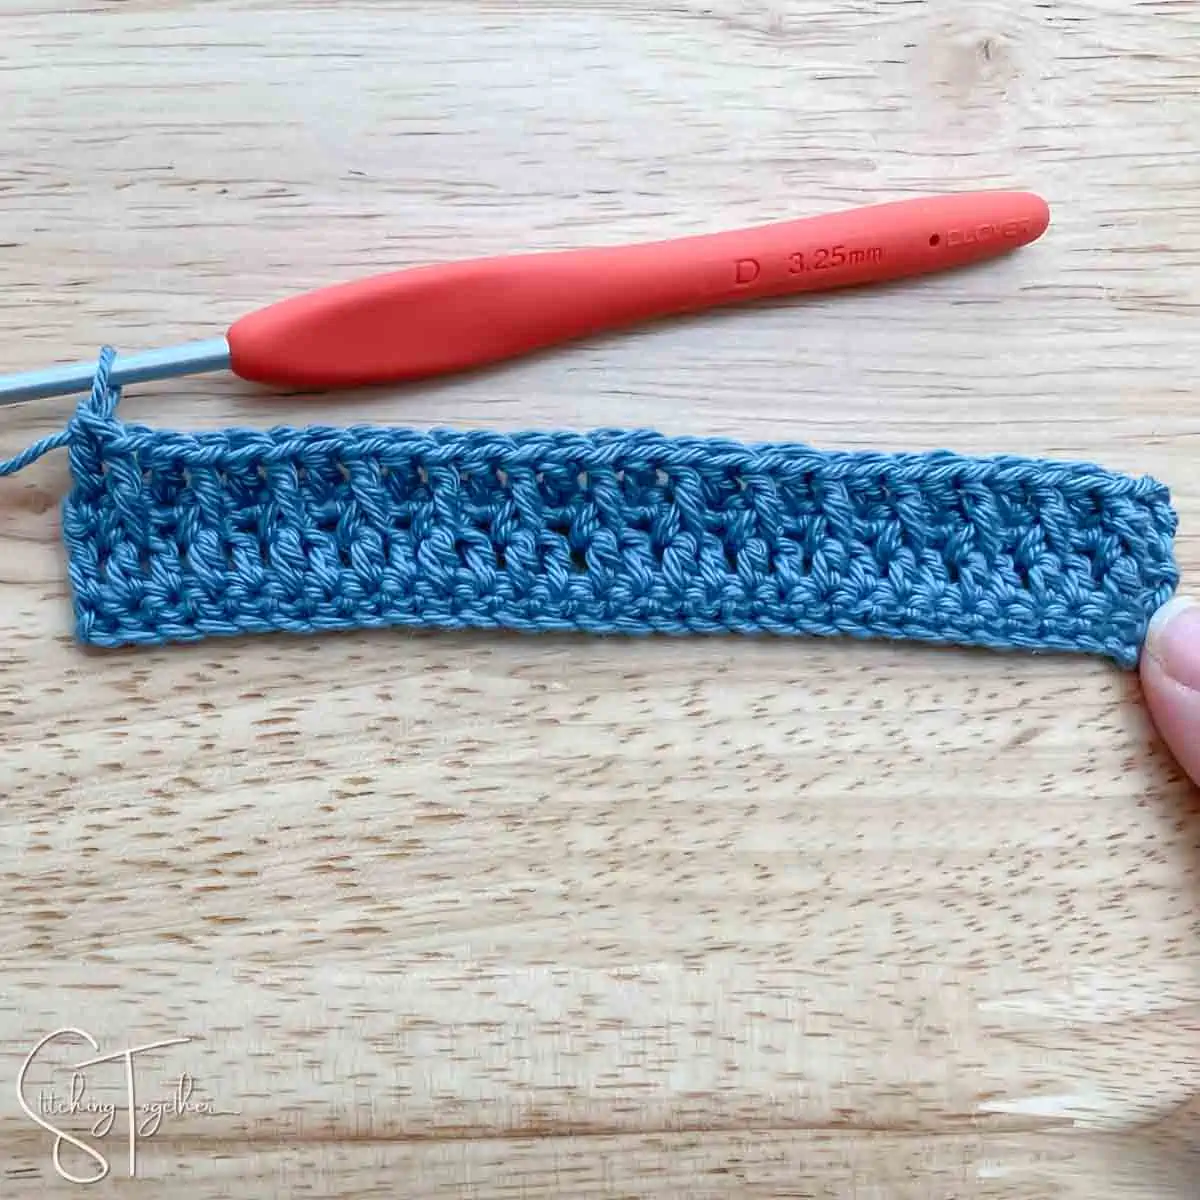
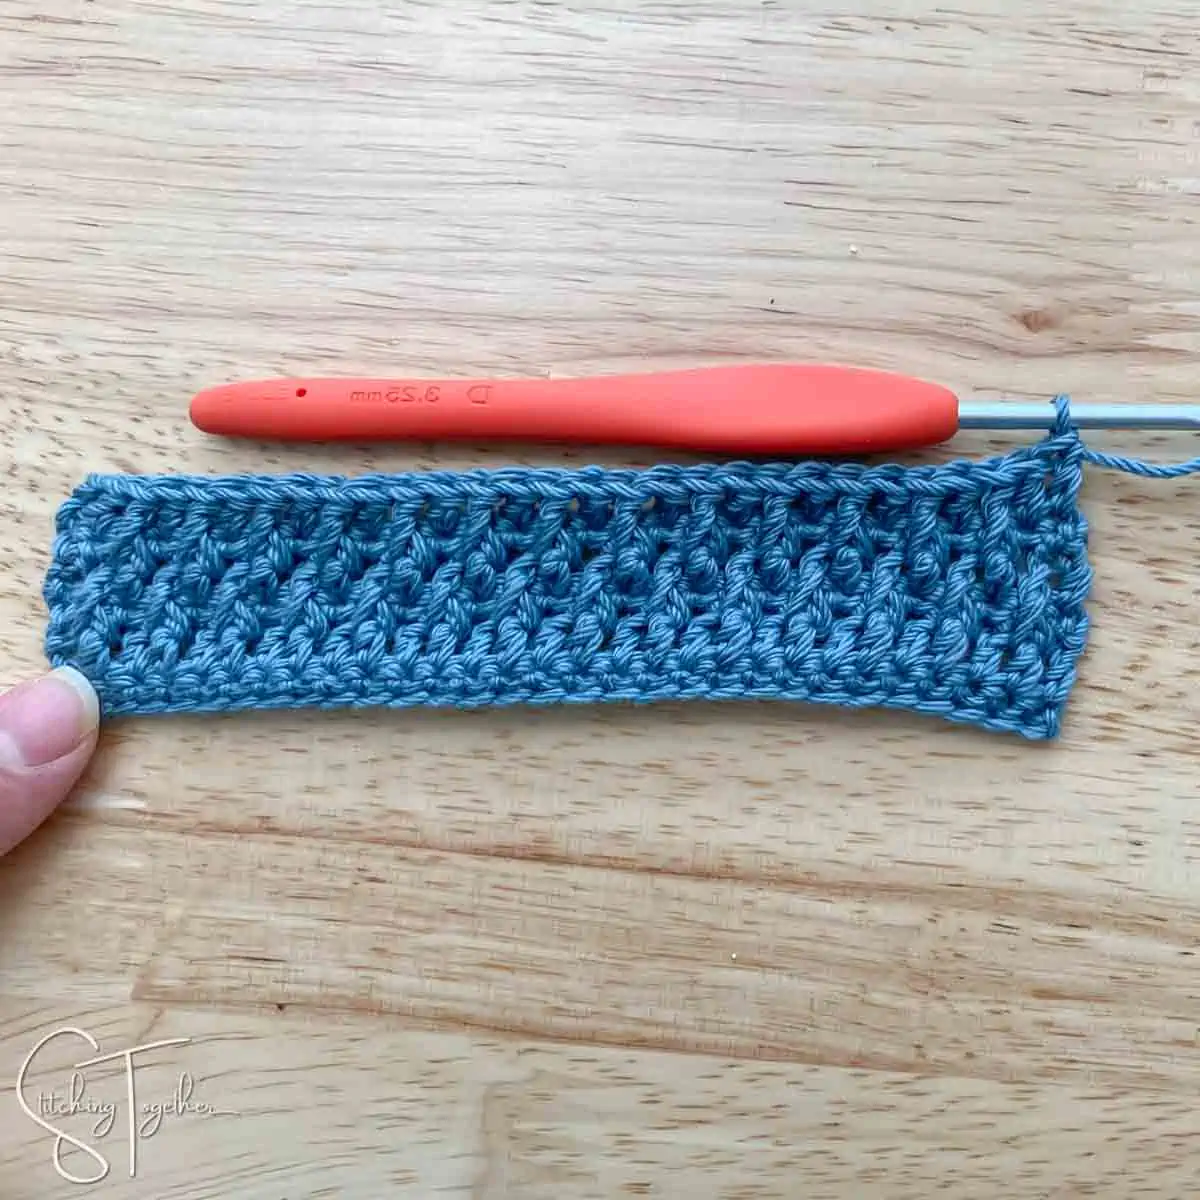
The sample swatch for the photo tutorial used Category 3 lightweight yarn (Patons Grace in Citadel) and a US size D, 3.25 mm crochet hook
Abbreviations:
ch(s): chain(s)
sc(s): single crochet(s)
dc(s): double crochet(s)
fpdc(s): front post double crochet(s)
st(s): stitch(es)
Notes:
All instructions and abbreviations are written in US crochet terms.
The ch 1 at the beginning of single crochet rows does not count as a stitch. The ch 2 at the beginning of the double crochet rows DOES count as a stitch.
Starting the dc/post stitch rows with a ch 2 is a matter of preference over starting with a ch 3. Feel free to use a turning chain amount (ch 2 or 3) that looks best with your crochet tension.
You can start this pattern with a foundation single crochet row (fsc) instead of a foundation chain and single crochet row. If you start with a fsc, use an odd number of stitches and follow the instructions starting at row 2.
Your finished fabric is likely to curl and will benefit from being blocked.
Crochet Alpine Stitch Written Pattern
Ch 30 (start with an even number)
Row 1: sc in the 2nd ch from hook and in each ch to the end of the row, turn. (29)
Row 2: ch 2 (counts as a st), dc in the next st and in each st to the end of the row, turn (29)
Row 3: ch 1, sc in each st to the end of the row, turn (29)
Row 4: ch 2 (counts as a stitch), *fpdc around the dc two rows down (skip over the sc in the previous row), dc in the next sc of the previous row, repeat from * to the end of the row, turn (29)
Row 5: ch 1, sc in each st to the end of the row, turn (29)
Row 6: ch 2 (counts as a stitch), *dc in the next st, fpdc around the dc two rows down (skip over the sc in the previous row), repeat from * until two sts remain, dc in each of the last 2 sts, turn (29)
Repeat rows 3-6, ending with an additional row 3 when you’ve reached your desired length.
Photo Tutorial – Right Handed
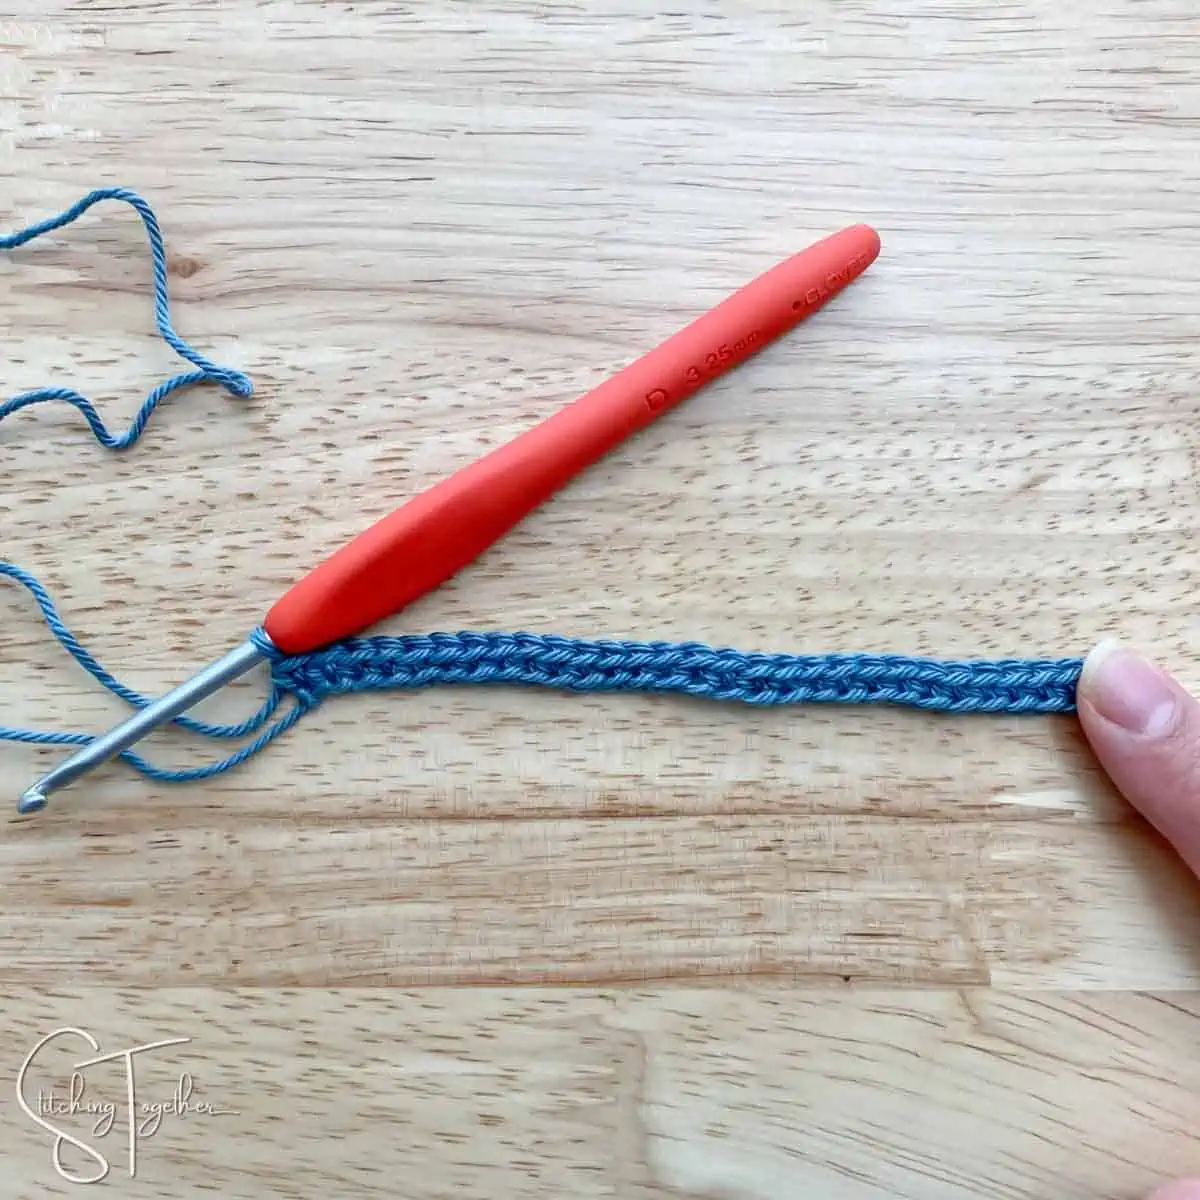
Ch 30 (start with an even number)
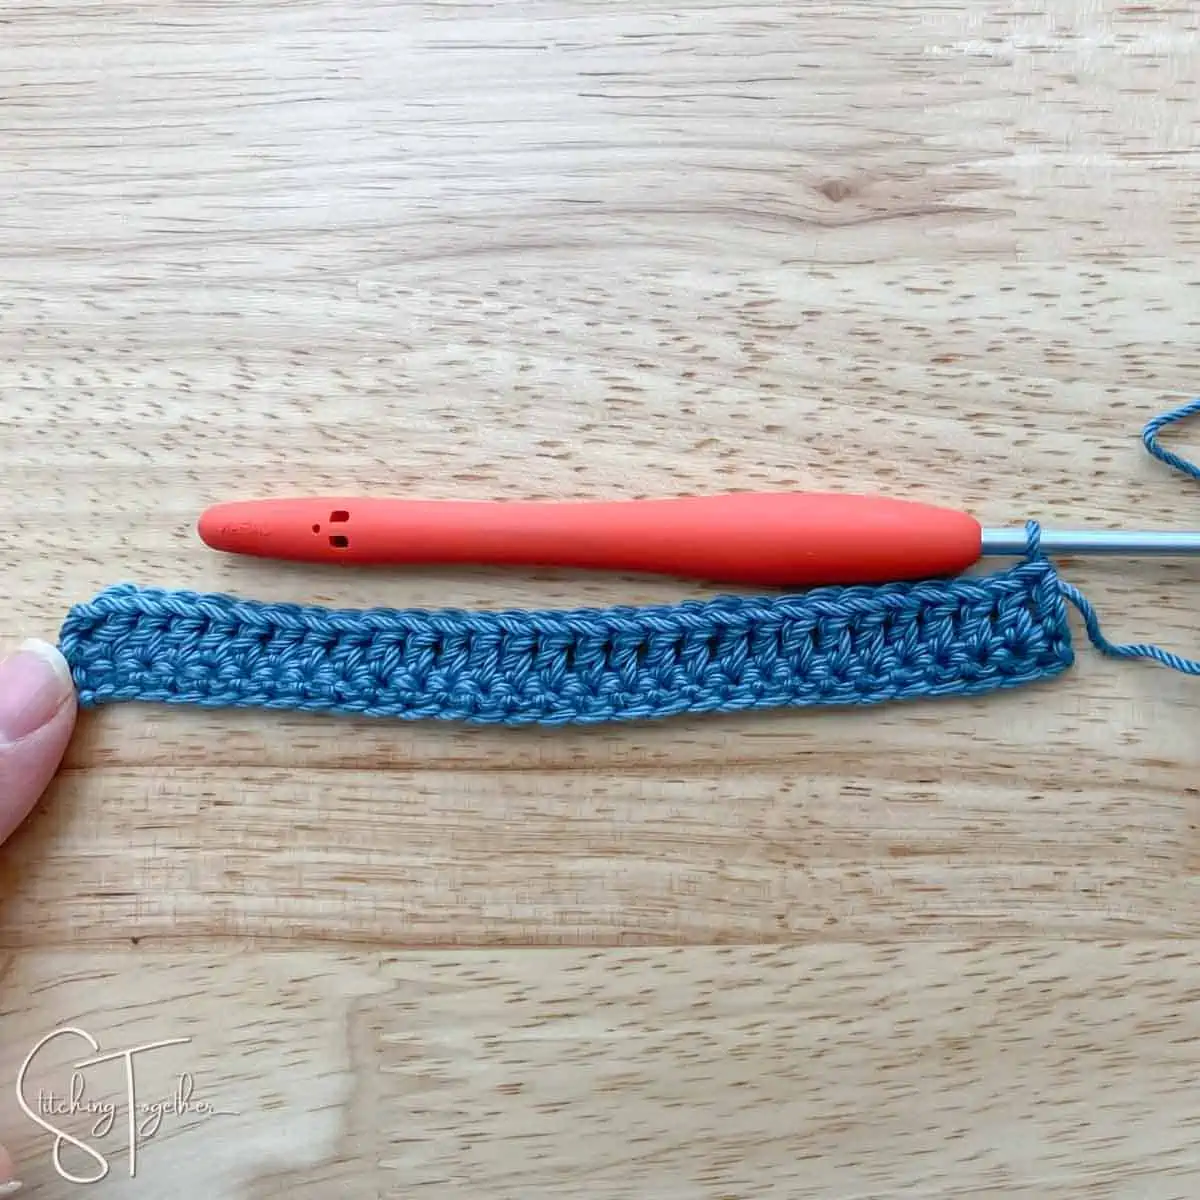
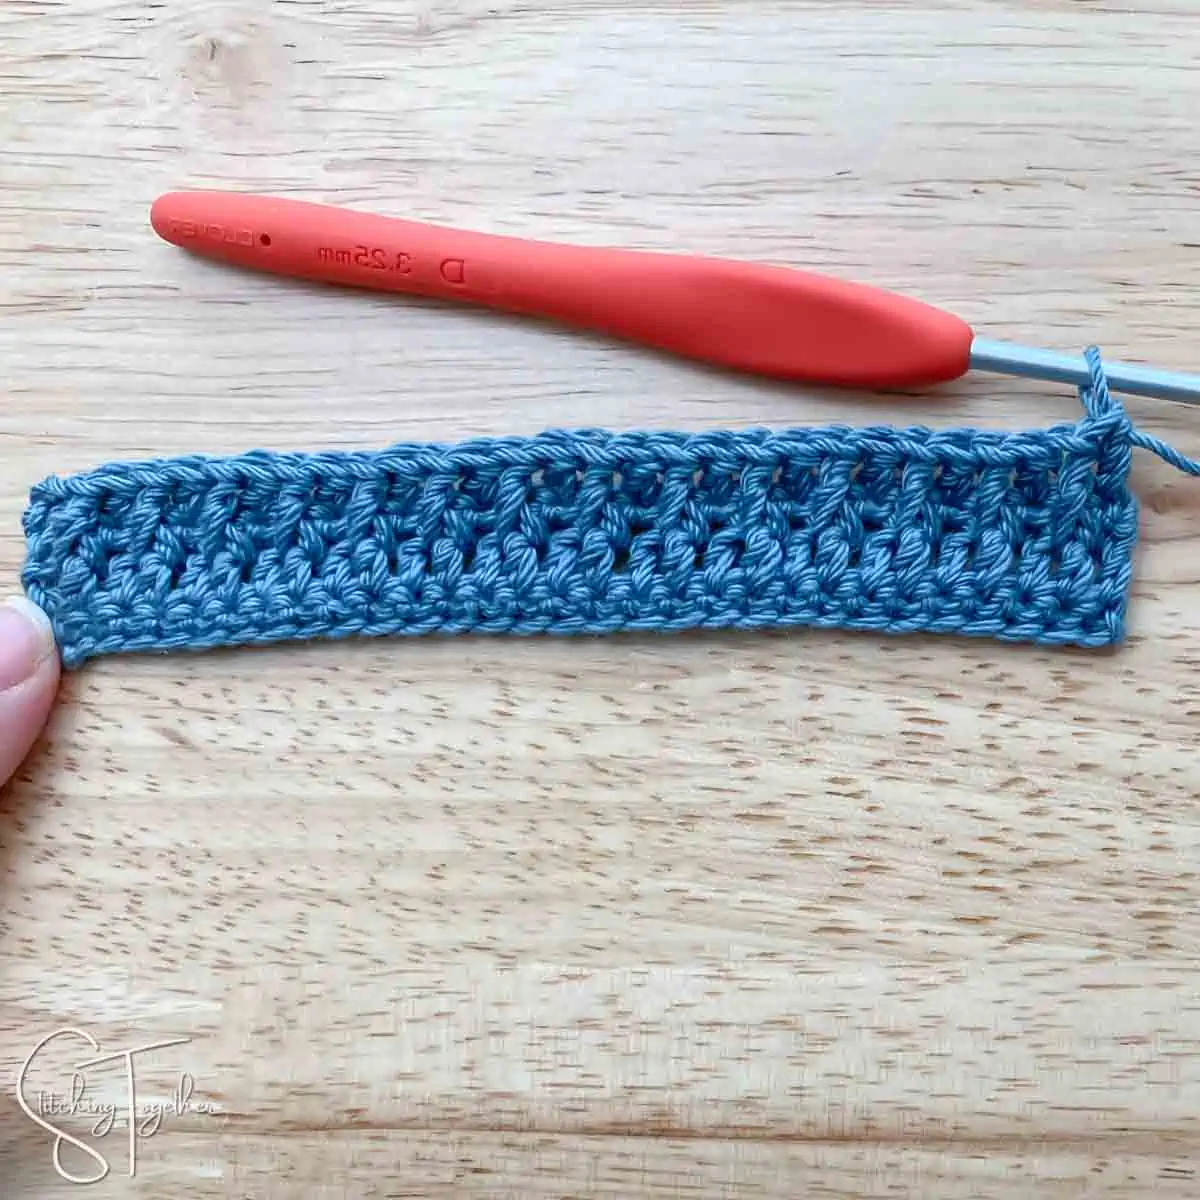
Row 1: sc in the 2nd ch from hook and in each ch to the end of the row, turn. (29)
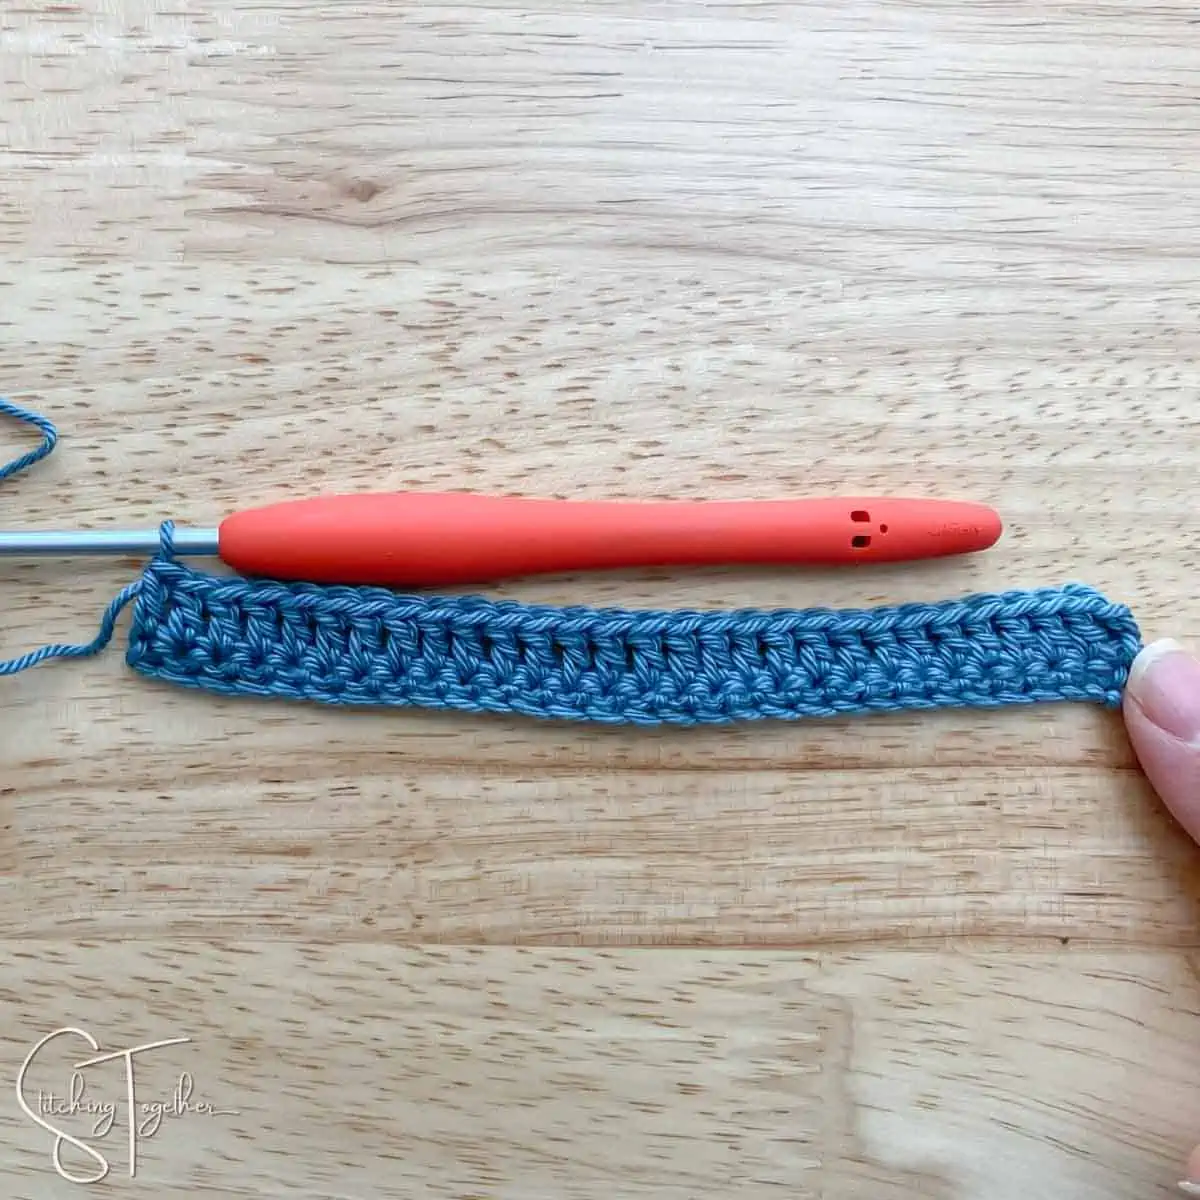
Row 2: ch 2 (counts as a st), dc in the next st and in each st to the end of the row, turn (29)
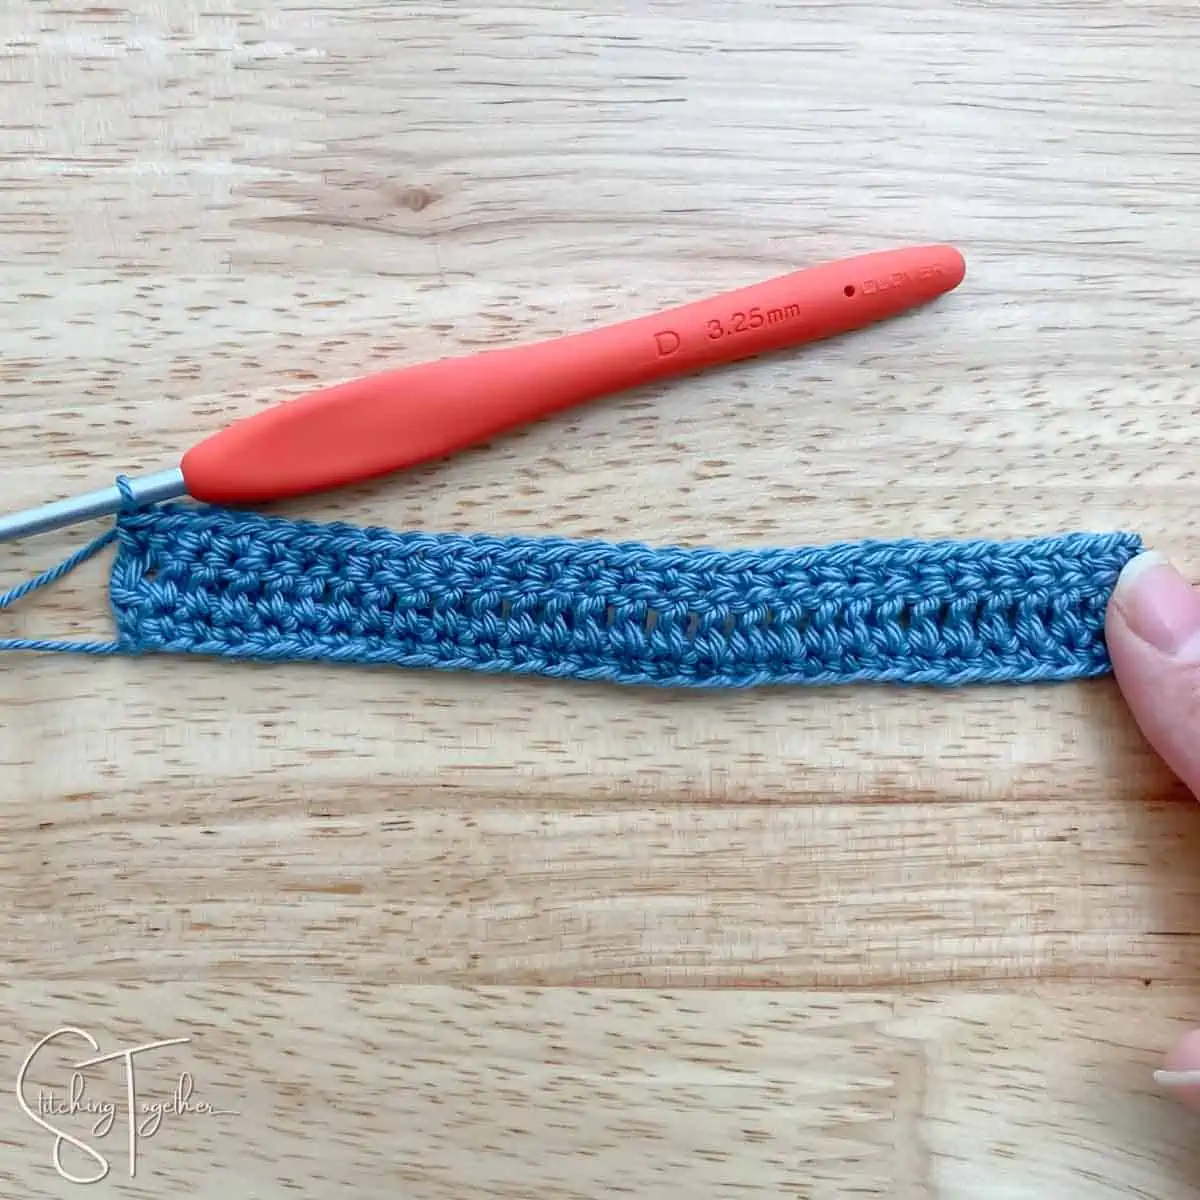
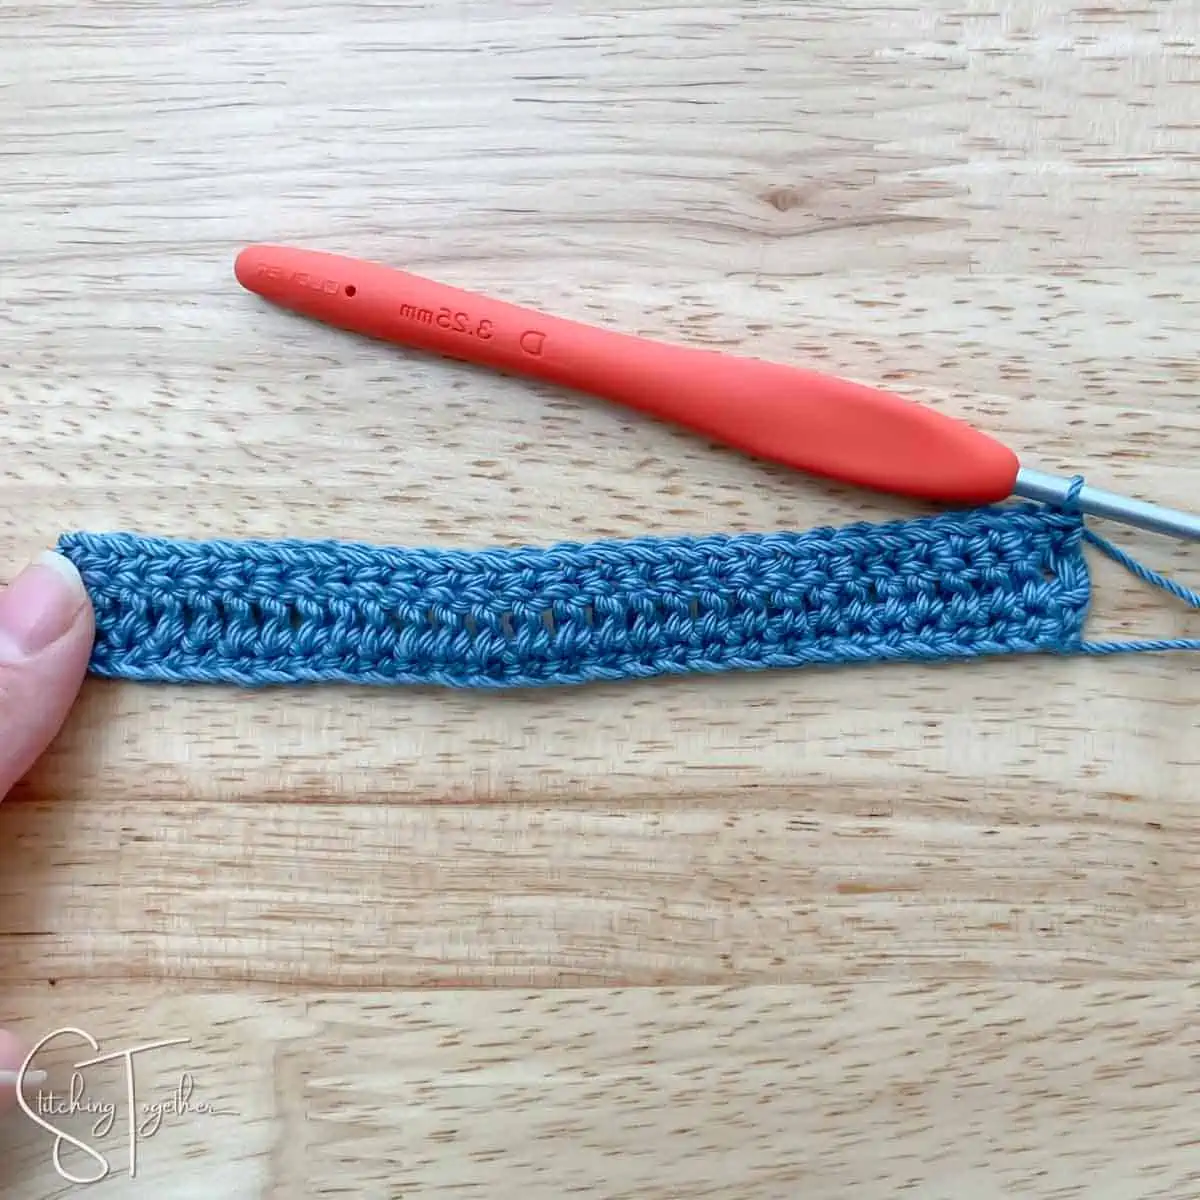
Row 3: ch 1, sc in each st to the end of the row, turn (29)
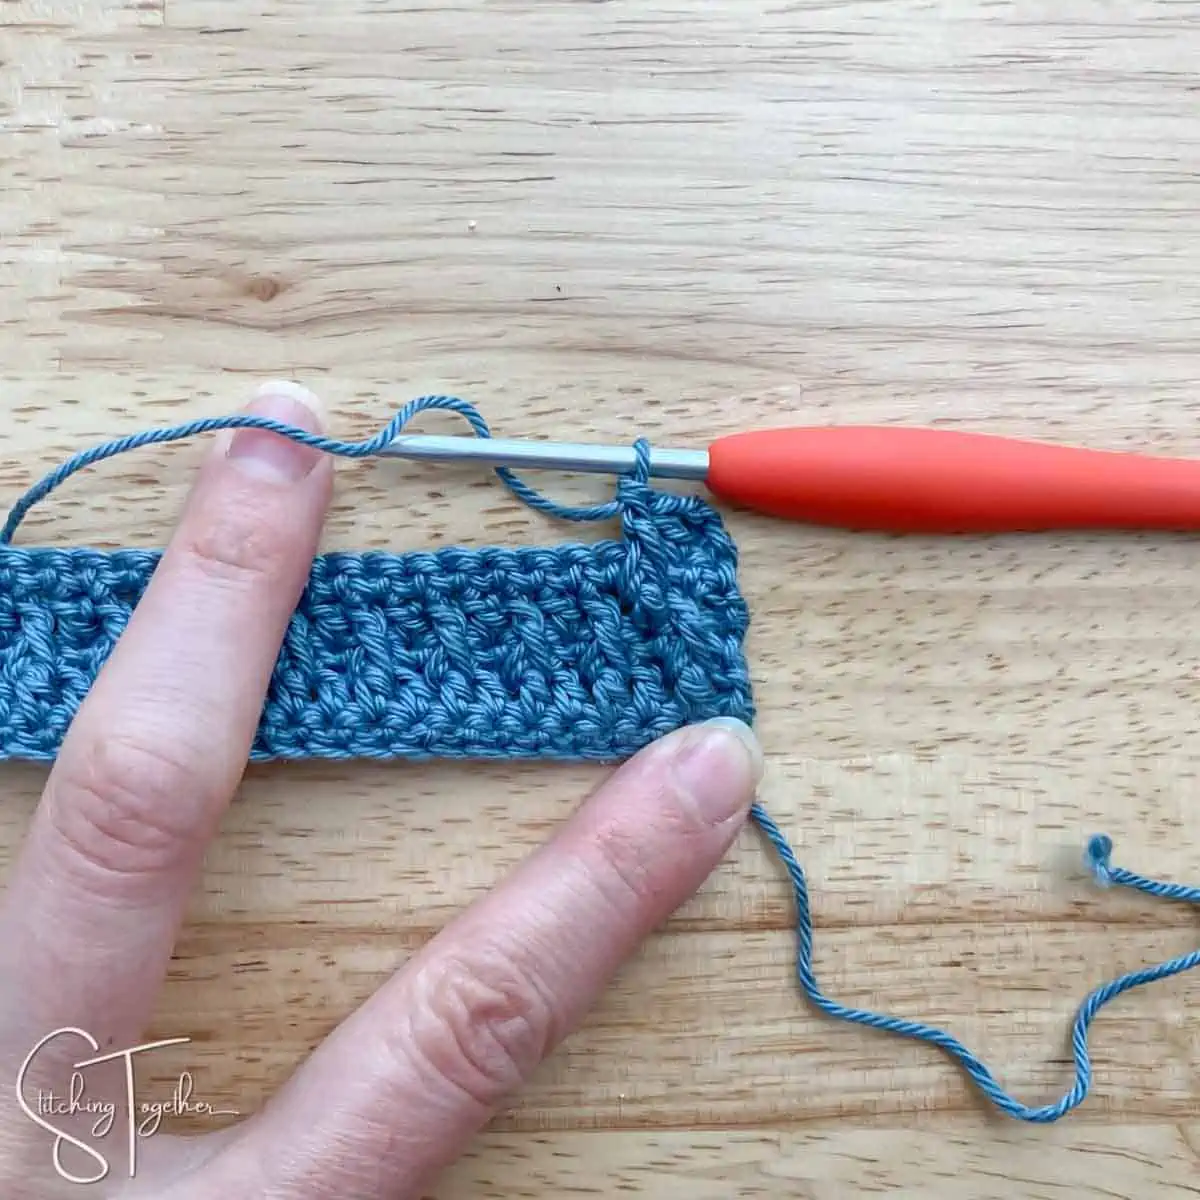
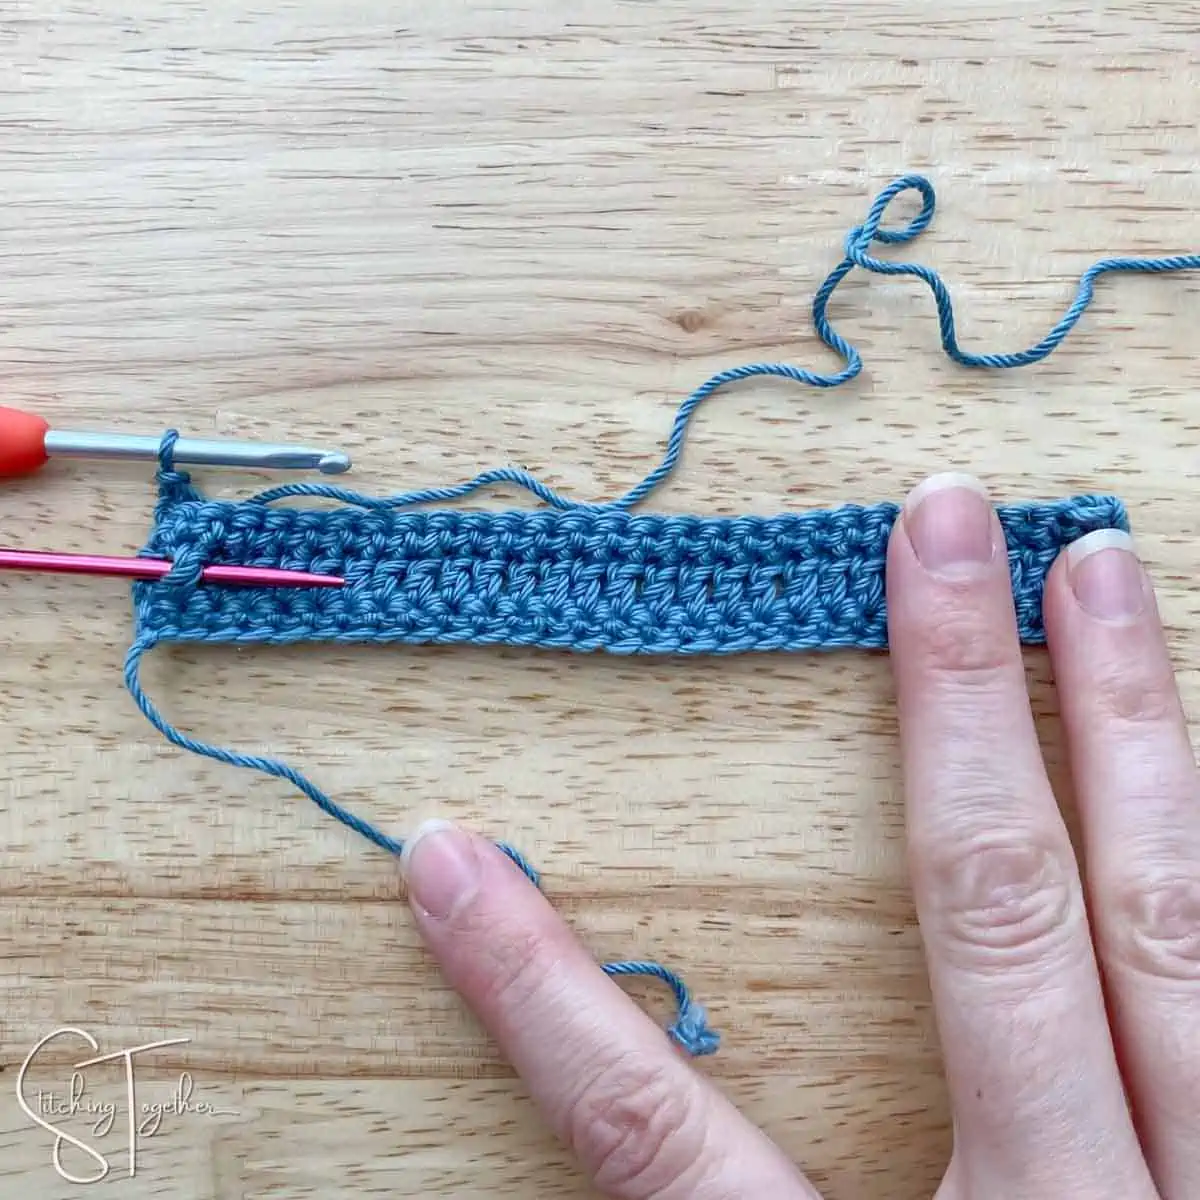
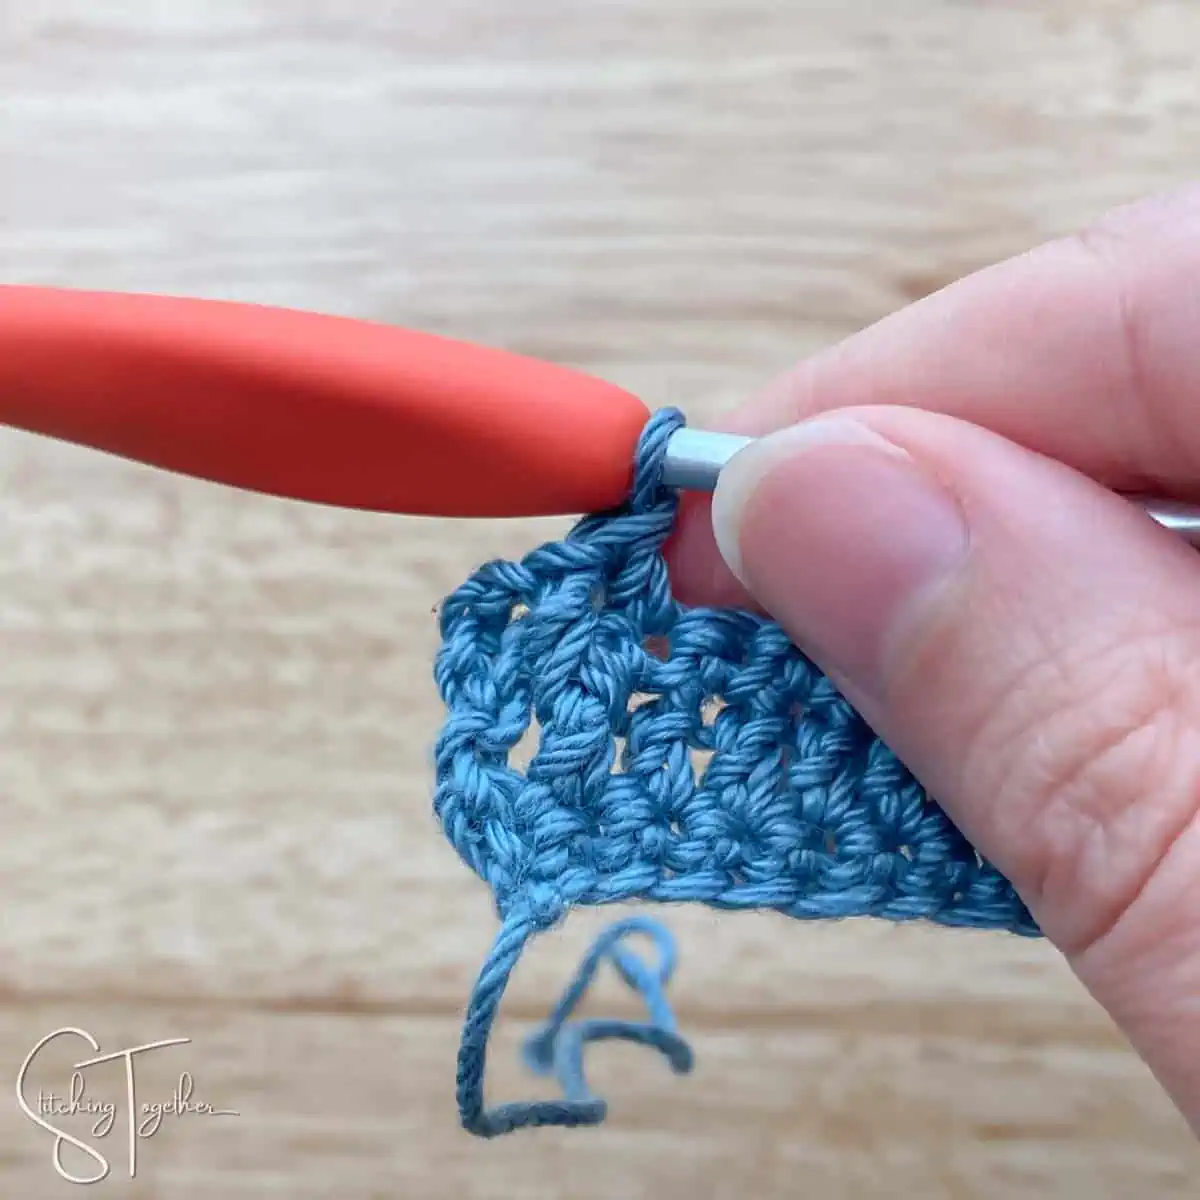
Row 4: ch 2 (counts as a stitch), *fpdc around the dc two rows down (skip over the sc in the previous row), (In the picture below, the needle it behind the dc in row 2 you will front post dc around.)
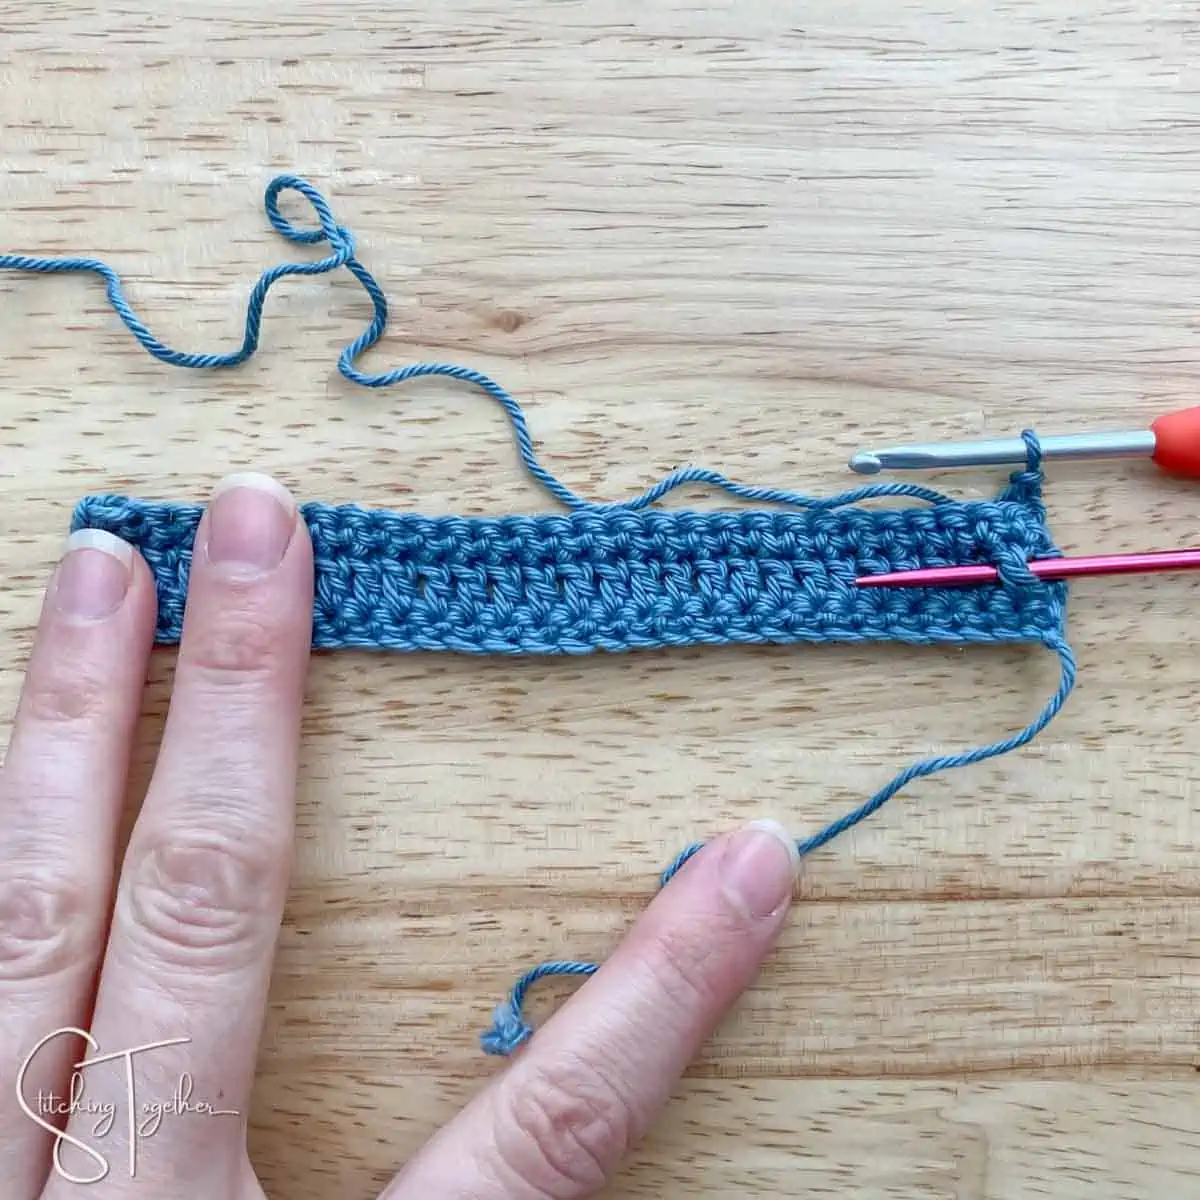
Be sure to pull up your stitch to the height of your chain 2 so your front post double crochet will be the same height as your regular double crochets.
dc in the next sc of the previous row,
repeat from * to the end of the row, turn (29)
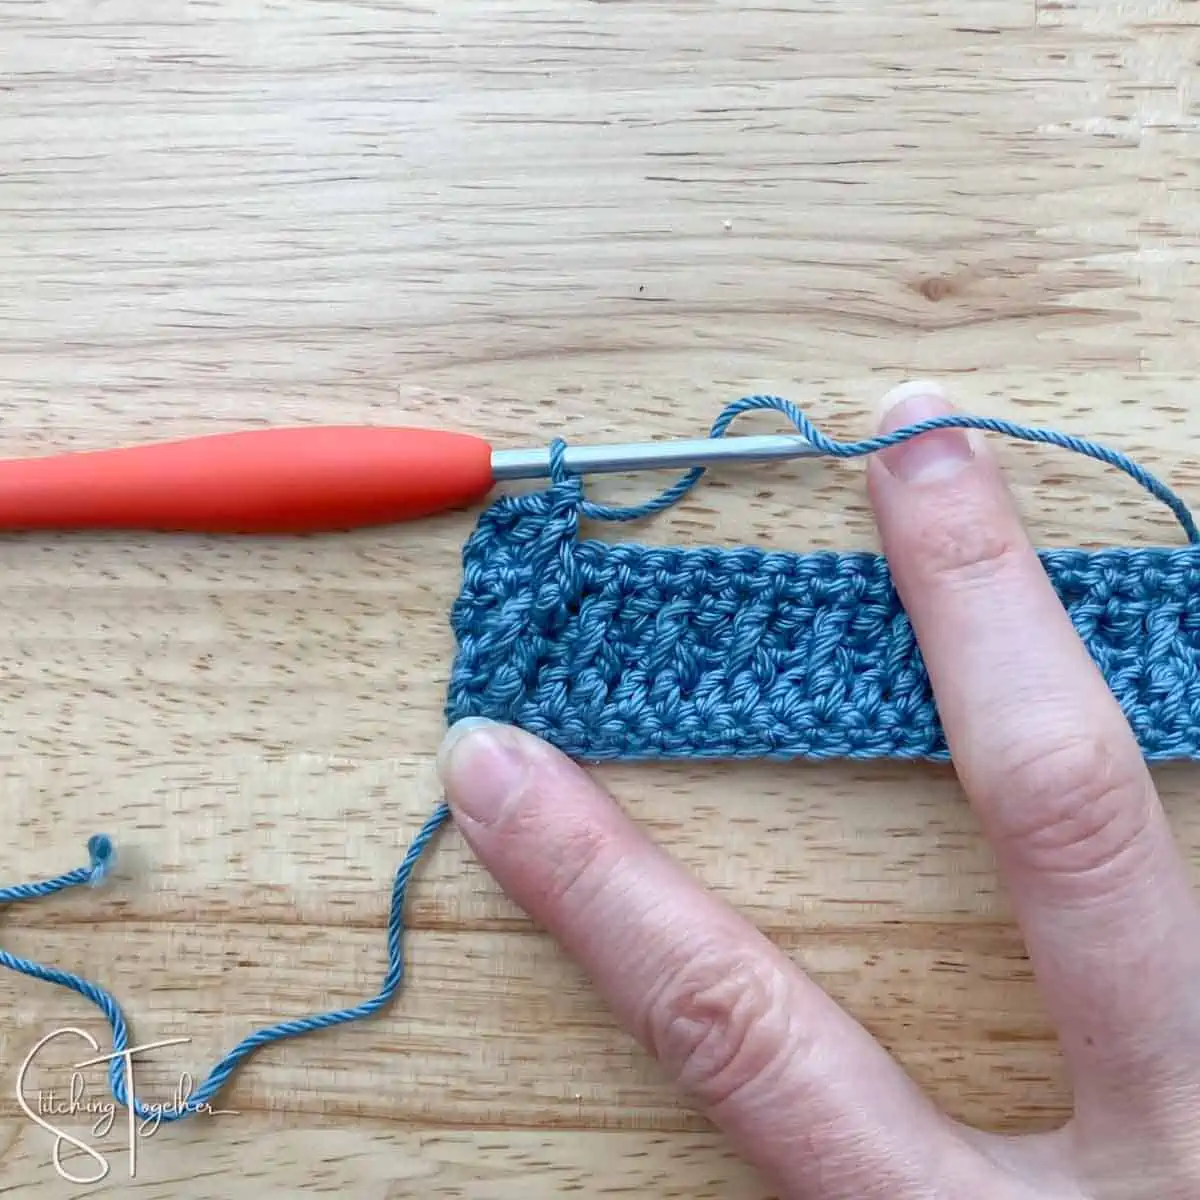
Row 5: ch 1, sc in each st to the end of the row, turn (29)
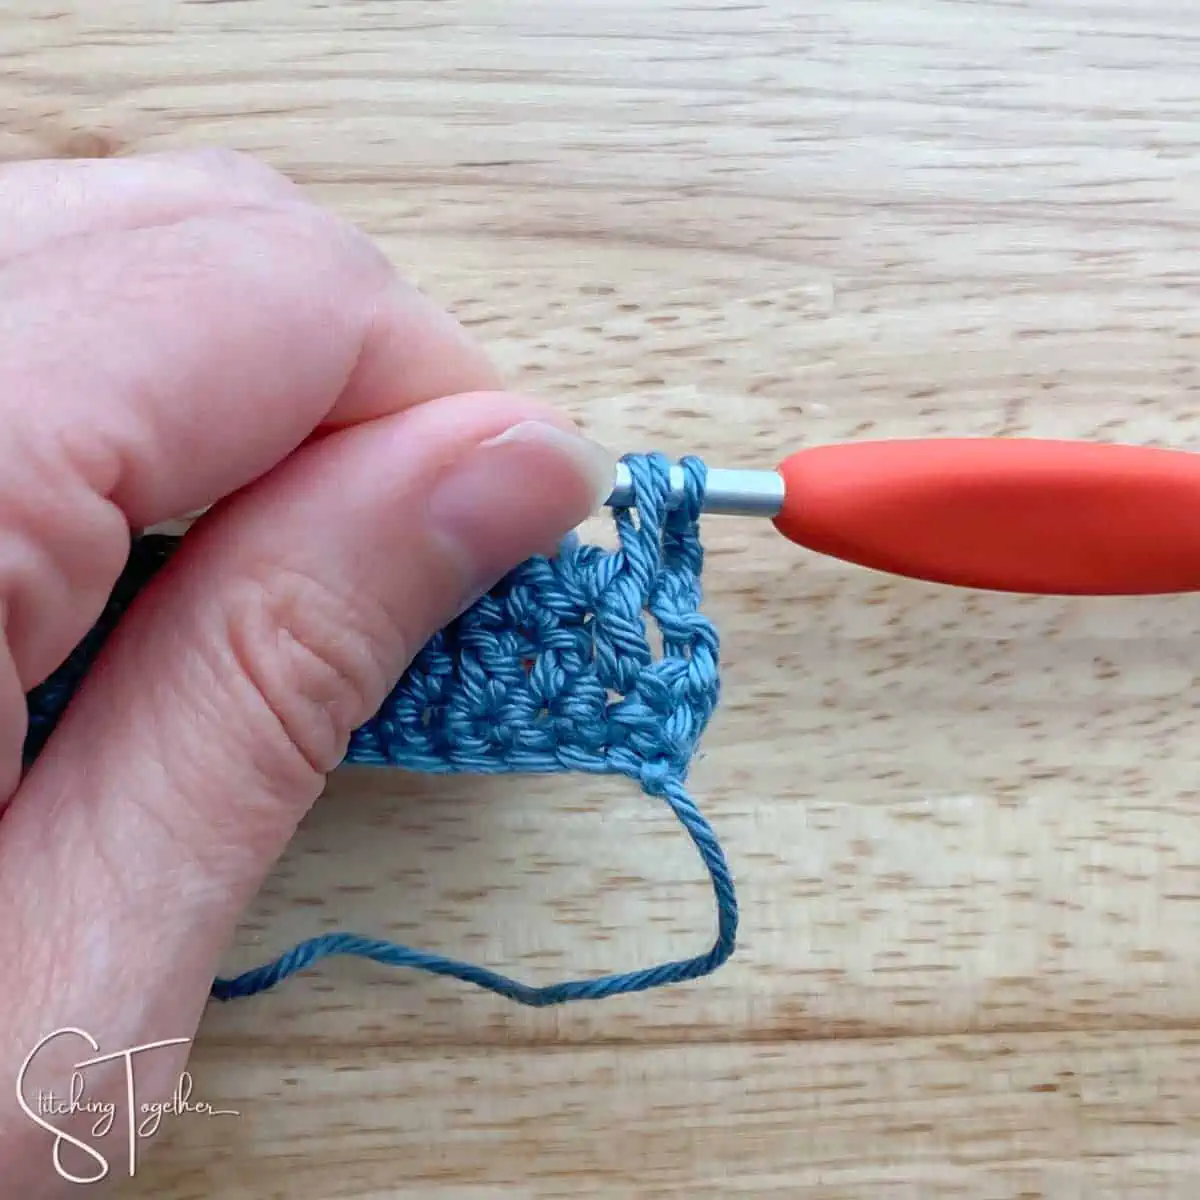
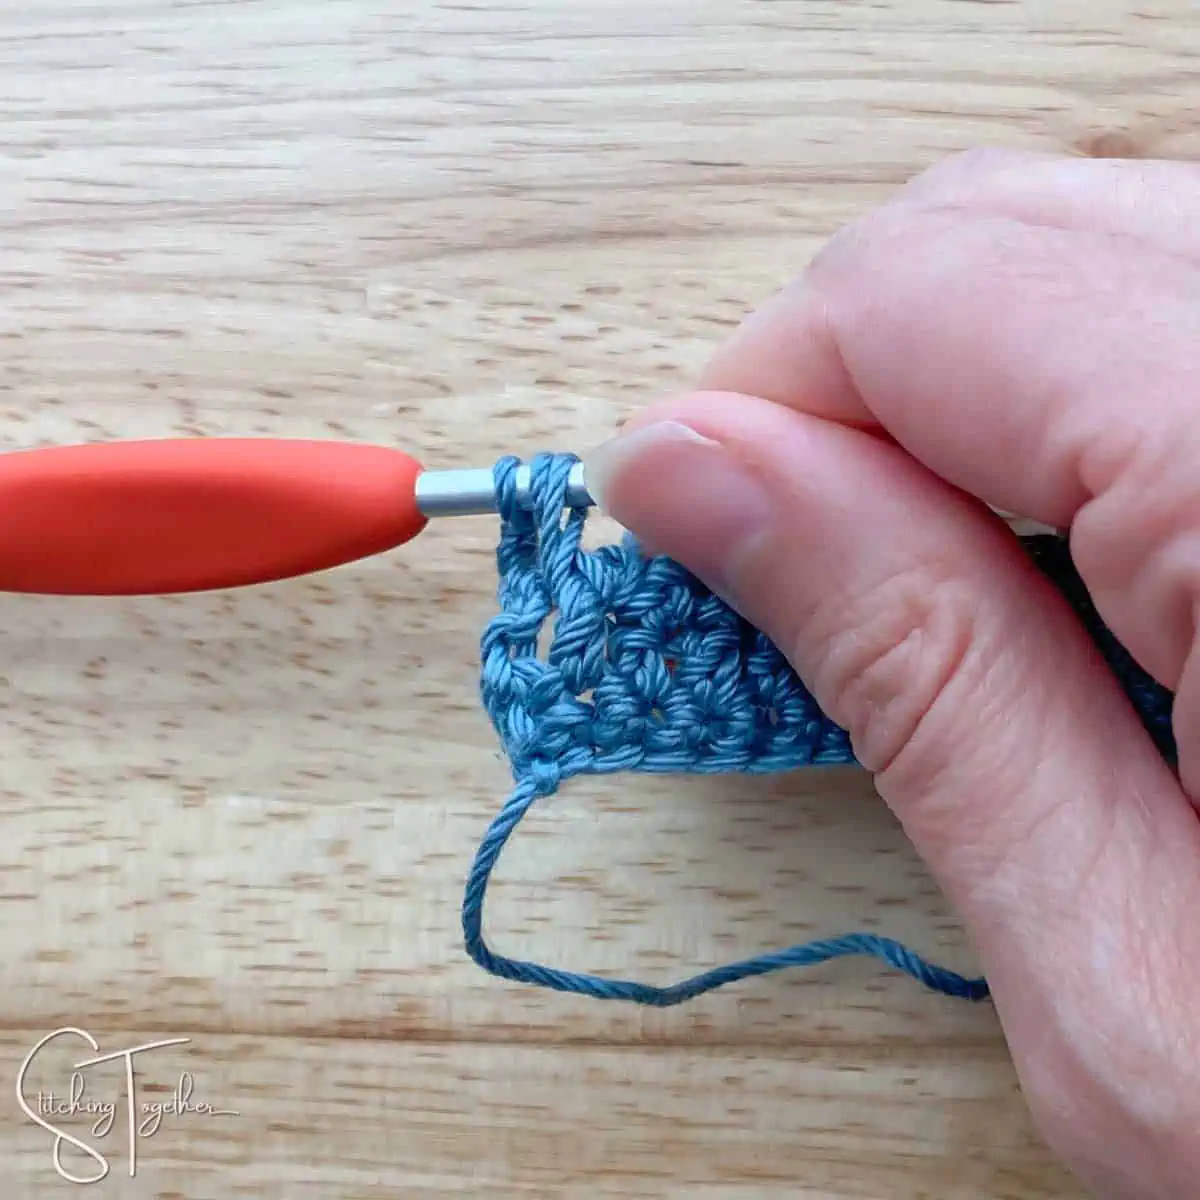
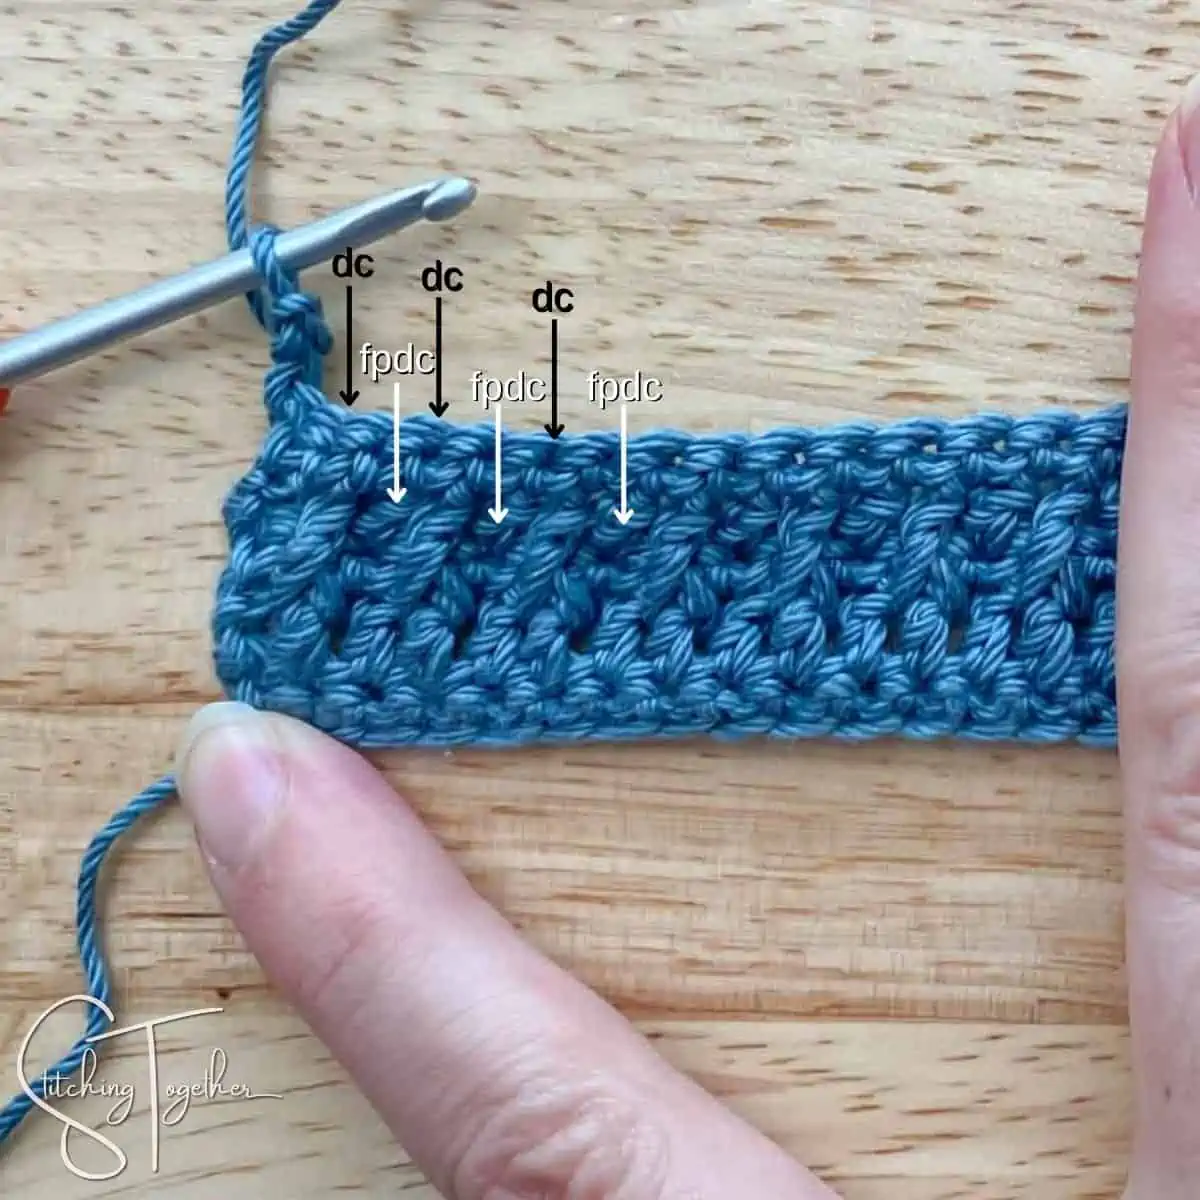
Row 6: The picture below shows where you will place the first 6 stitches of row 6. It is like Row 4 where you are working the double crochets in the single crochets of the row below and then working the front post double crochets in the double crochets two rows below.
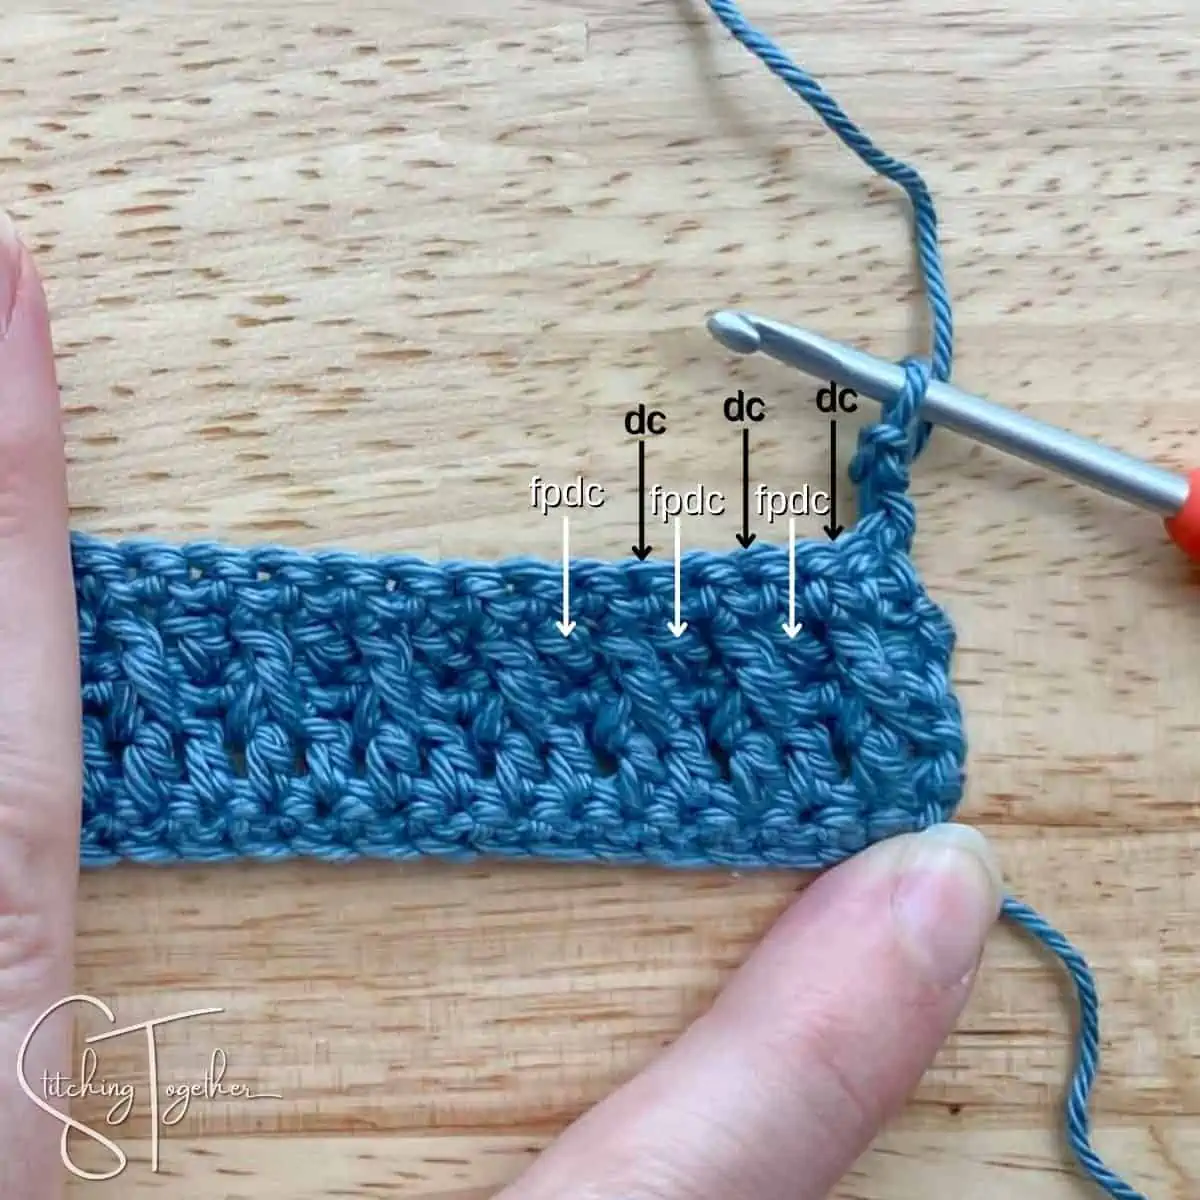
ch 2 (counts as a stitch), *dc in the next st, fpdc around the dc two rows down (skip over the sc in the previous row),
repeat from * until two sts remain, dc in each of the last 2 sts, turn (29)
Repeat rows 3-6, ending with an additional row 3 when you’ve reached your desired length.
Photo Tutorial – Left Handed
Ch 30 (start with an even number)
Row 1: sc in the 2nd ch from hook and in each ch to the end of the row, turn. (29)

Row 2: ch 2 (counts as a st), dc in the next st and in each st to the end of the row, turn (29)
Row 3: ch 1, sc in each st to the end of the row, turn (29)
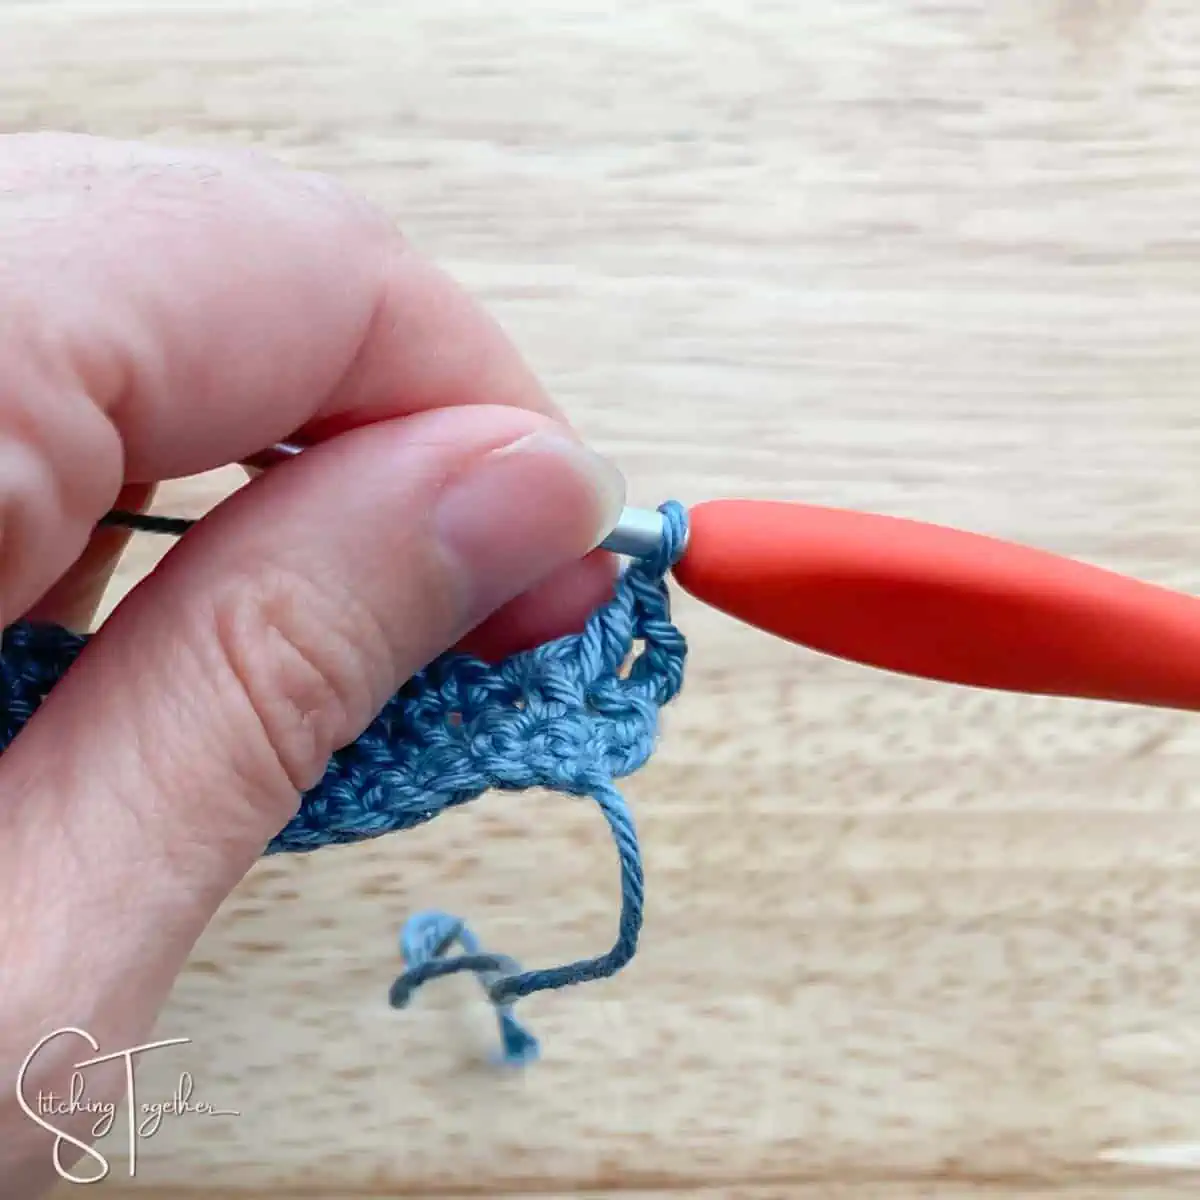
Row 4: ch 2 (counts as a stitch), *fpdc around the dc two rows down (skip over the sc in the previous row), (In the picture below, the needle it behind the dc in row 2 you will front post dc around.)
Be sure to pull up your stitch to the height of your chain 2 so your front post double crochet will be the same height as your regular double crochets.

dc in the next sc of the previous row,
repeat from * to the end of the row, turn (29)
Row 5: ch 1, sc in each st to the end of the row, turn (29)
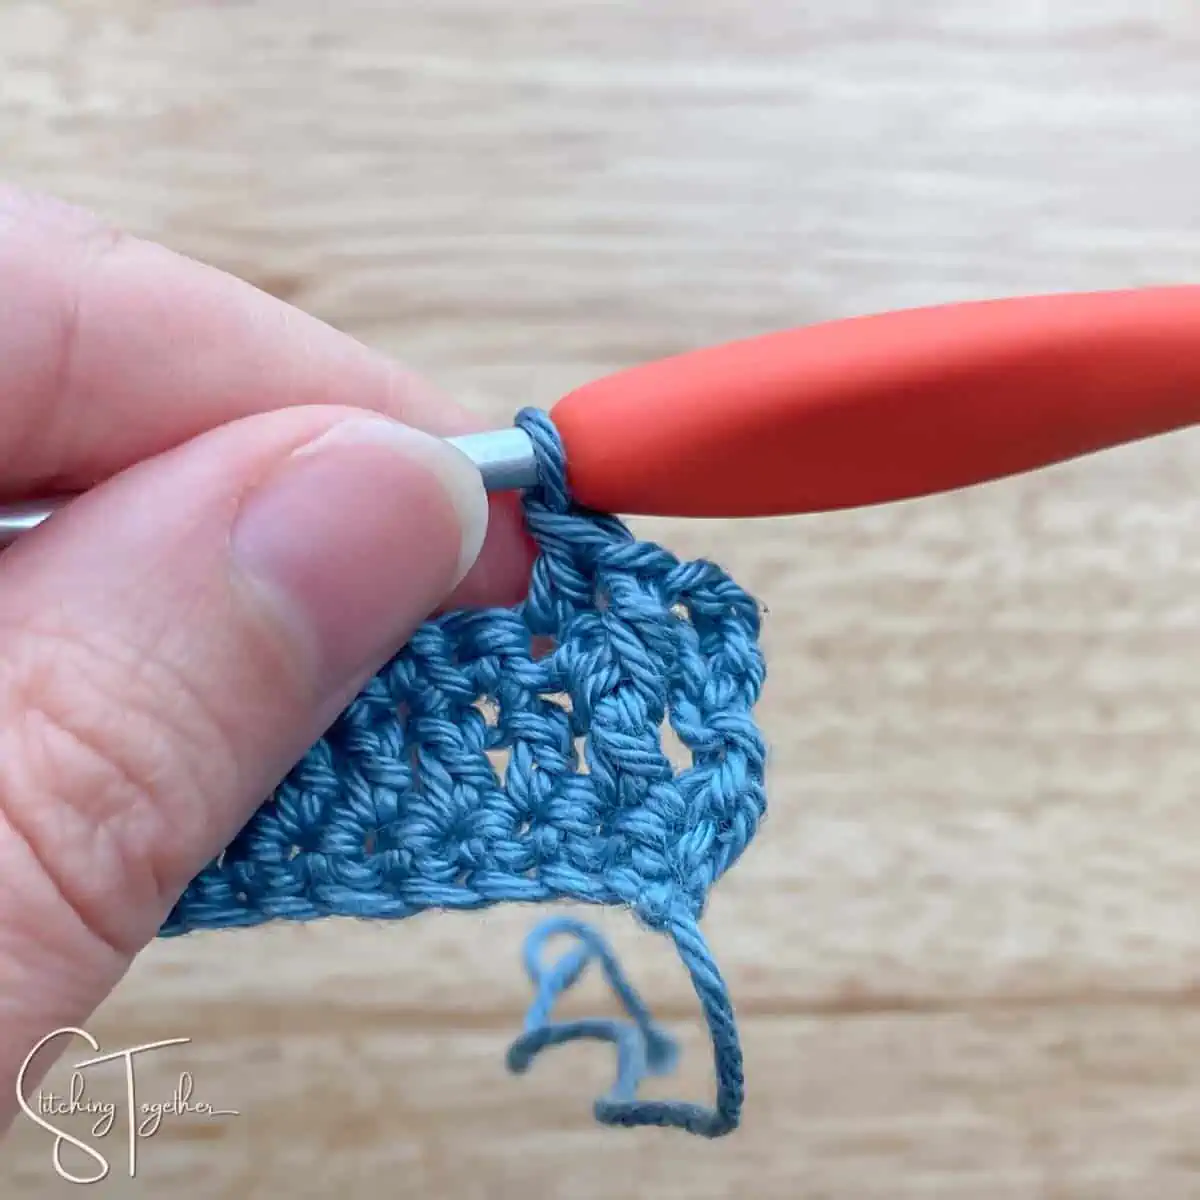
Row 6: The picture below shows where you will place the first 6 stitches of row 6. It is like Row 4 where you are working the double crochets in the single crochets of the row below and then working the front post double crochets in the double crochets two rows below.
ch 2 (counts as a stitch), *dc in the next st, fpdc around the dc two rows down (skip over the sc in the previous row),
repeat from * until two sts remain, dc in each of the last 2 sts, turn (29)
Repeat rows 3-6, ending with an additional row 3 when you’ve reached your desired length.