

Fountain Blossom Granny Square Bag Pattern
Disclosure: This post may contain affiliate links. As an Amazon Associate, I earn from qualifying purchases. Please visit my Privacy Policy for disclosures and more information.
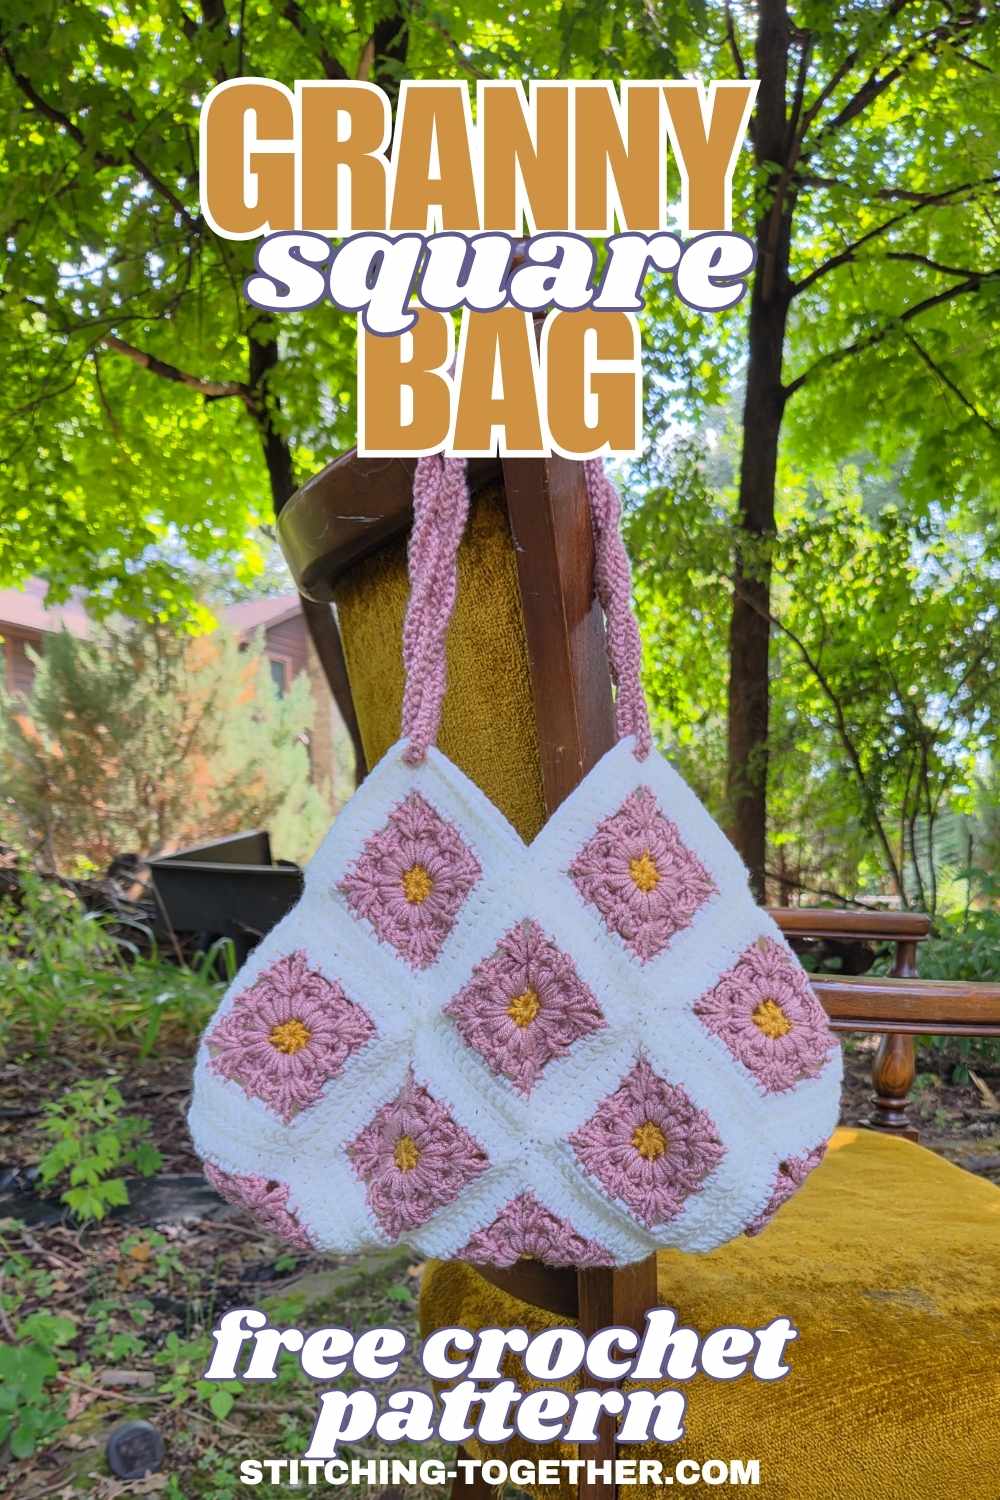
The Fountain Blossom Granny Square Bag Pattern is what you get when you pair amazing yarn with a gorgeous granny square motif and some easy joins. Who doesn’t love reaching for an accessory that you made yourself? You’ll love adding this crochet bag to your collection or giving it as a gift.
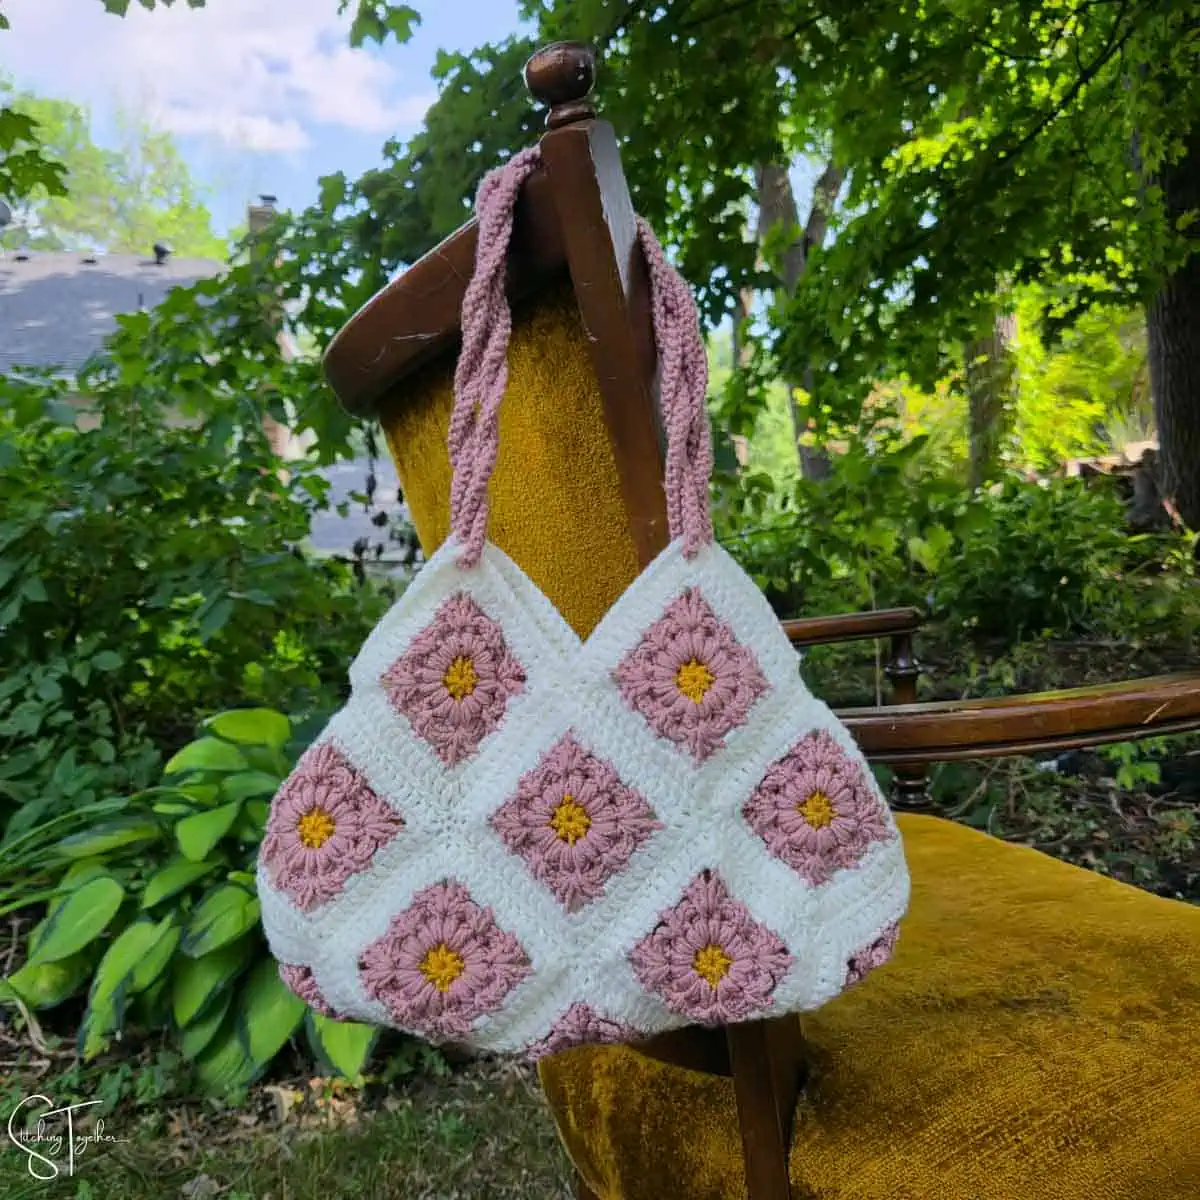
You can keep reading for all the details about the Fountain Blossom Bag and the free pattern, or you can purchase the downloadable, ad-free PDF version here.
Introducing the Fountain Blossom Bag
The bag that was almost a pillow.
I started making a stack of granny squares with the idea of joining them into a pillow cover, but as my stack grew, I couldn’t help but think they’d be so cute as a bag. (I still haven’t given up on the pillow cover idea… it’ll happen!)
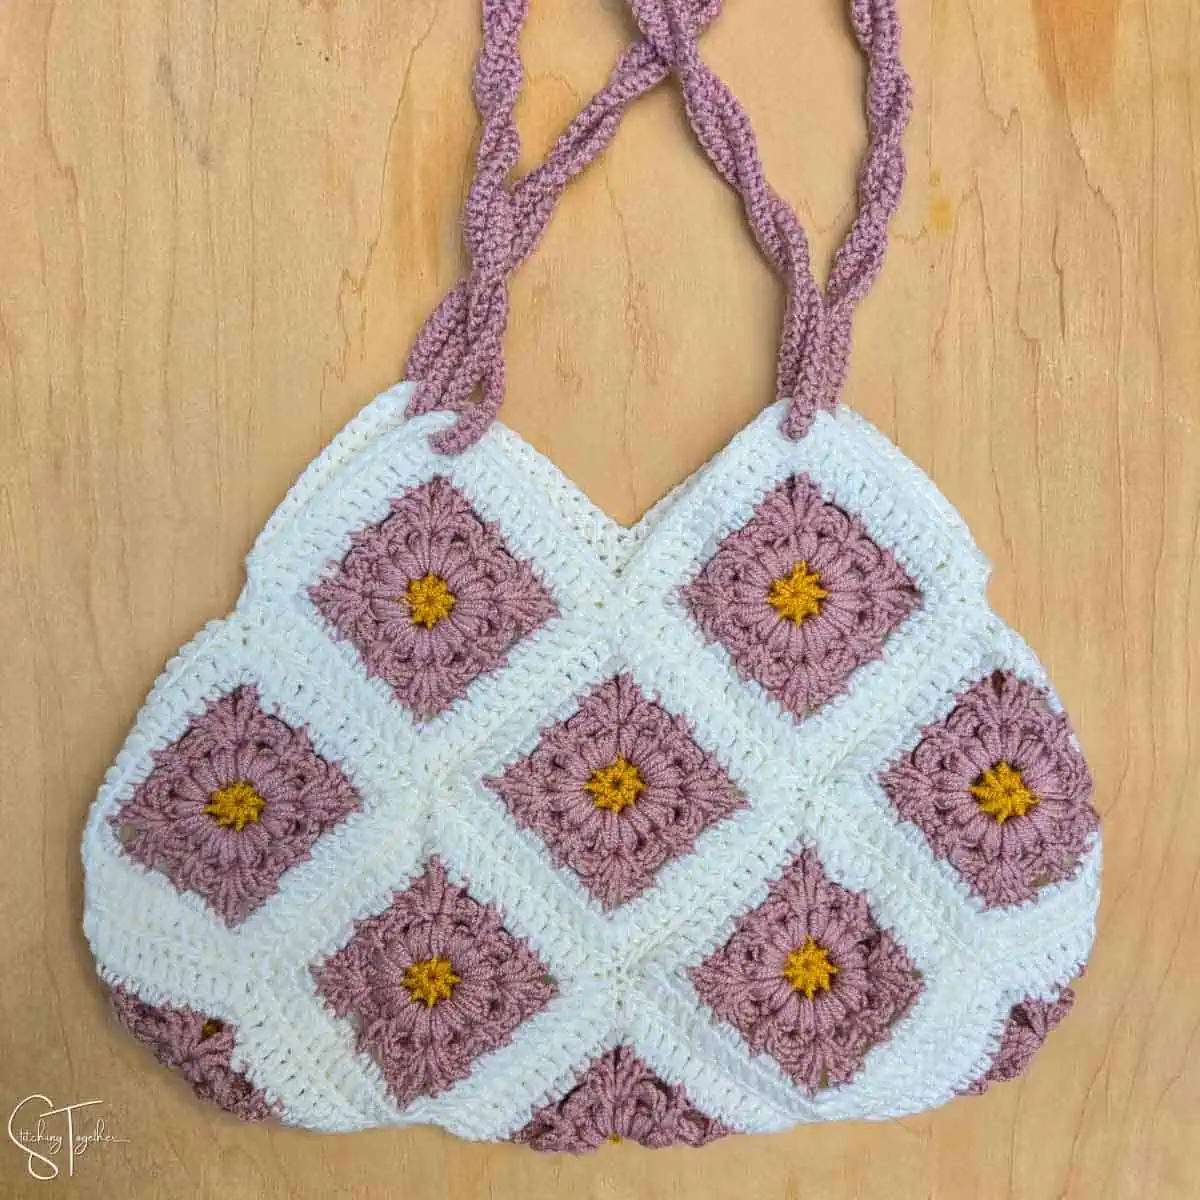
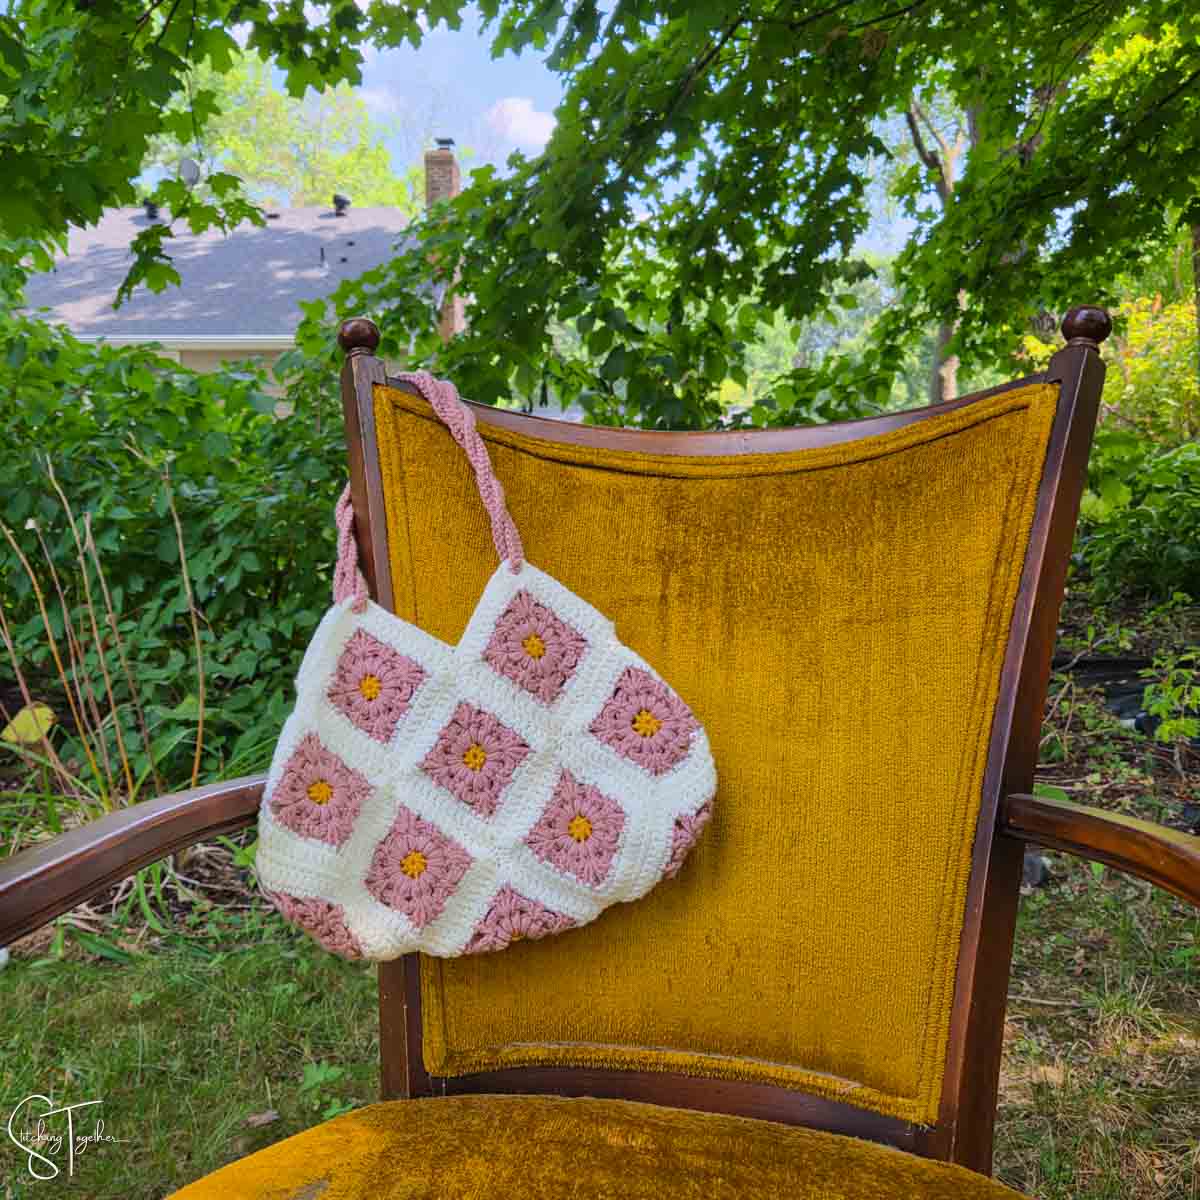
I’ve already used the Fountain Flower square for this crossbody bag, but I wanted a bigger purse that really highlighted the floral motif of the squares. So, 17 squares and some clever joins later, this cute bag took shape!
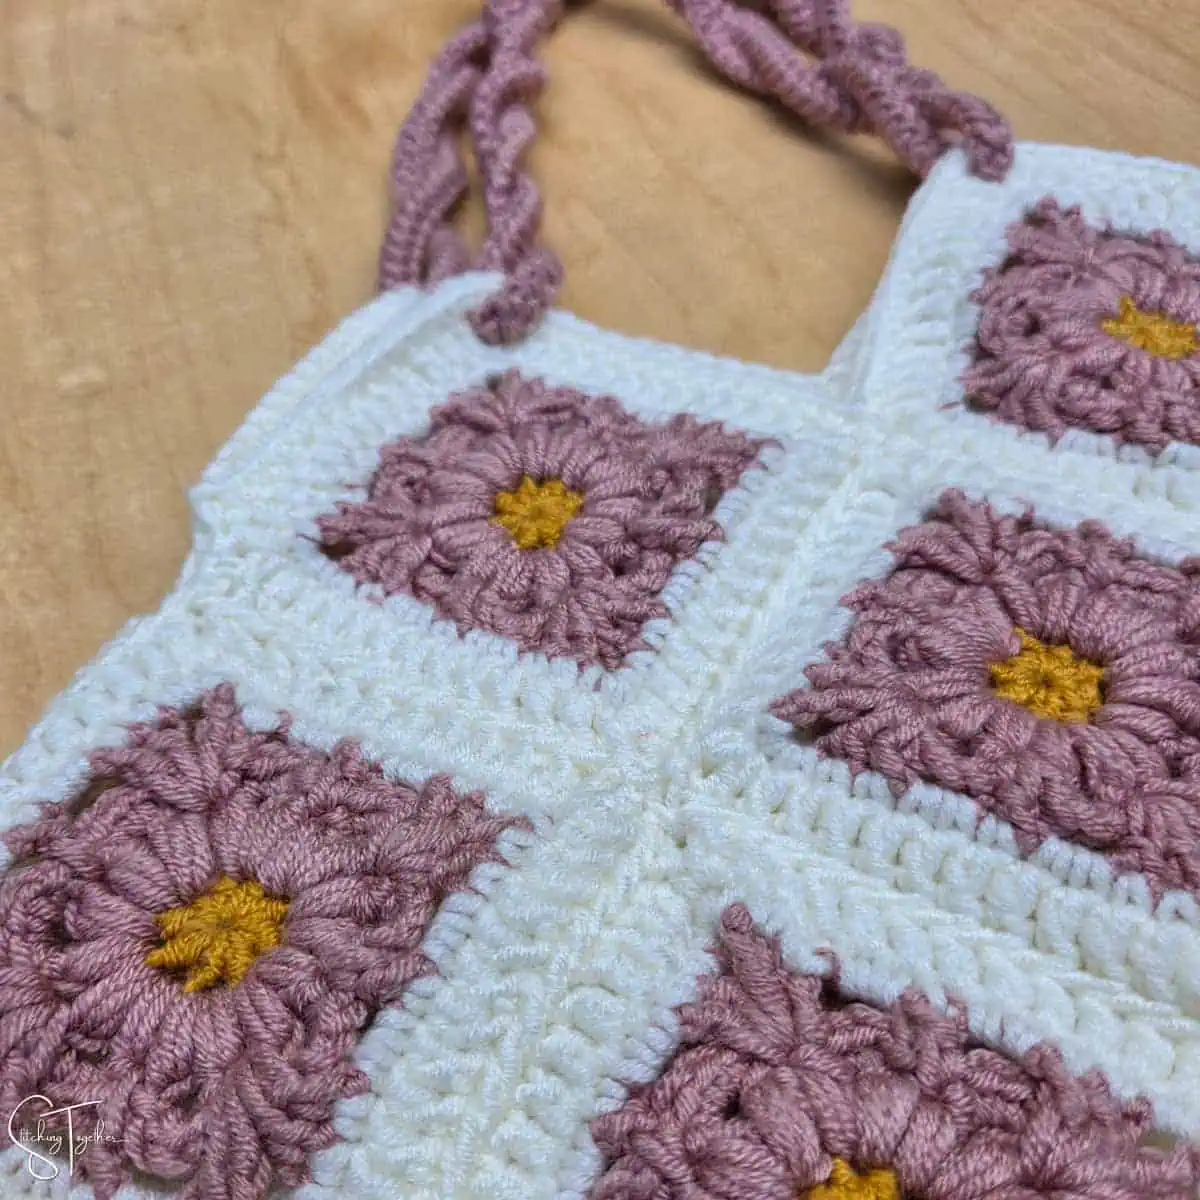
When it came to the purse straps, I was a little stuck. I tried a few different options, but nothing looked quite right. I finally landed on Romanian Cords twisted around themselves to give sturdy straps that look so pretty.
Related: Granny Square Bag Patterns
Yarn
I love yarn, and I especially love new yarn, but there’s an extra level of excitement when a designer-friend develops her own yarn line. MJ from MJ’s Off the Hook designs collaborated with Mary Maxim to make the softest, squishiest DK yarn with a range of colors that is so gorgeous.
Timeless Tones yarn is an anti-pilling DK-weight yarn that’s available in 24 colors. It is plied perfectly to give that springy, squishy feeling that is so nice to work with and makes your stitches just pop. If you can’t tell yet, I REALLY loved working with this yarn. I wouldn’t expect anything less from MJ – she’s a phenomenal designer.
Yarn Substitution Ideas
Premier Anti-Pilling Everyday DK
Knit Picks Brava Baby
Mary Maxim Mellowspun DK
Skill Level
While assembling the granny square bag is fairly simple, this pattern is rated intermediate because the Fountain Flower Granny Square requires intermediate crochet skills.
The square itself uses basic stitches, half double crochets, single crochet, puff stitches, chains, and double crochets, but they’re used in combinations that are a bit unique.
Fountain Blossom Granny Square Bag Free Crochet Pattern
Purchase the ad-free PDF version
Skill Level: Intermediate
Gauge: 3.75” x 3.75” = 1 square
Finished Size: Approx. 13.5” across the widest part and 7.5” deep at the center
Supplies
US size G/6, 4.0 mm crochet hook
US size 7, 4.5 mm crochet hook
Large Eye Yarn Needle
Scissors
MJ’s Off The Hook Designs Timeless Tones Anti-Pilling DK Yarn (Category 3, lightweight yarn, 100% acrylic yarn, 273yds/250m, 3.5oz/100g)
- Color A – Sunflower Field – 0.2 oz/16 yds
- Color B – Vintage Rose – 2.72 oz/198 yds
- Color C – Vanilla Frosting – 2.2 oz/172 yds
Save Time and Shop Online
Abbreviations
ch: chain
hdc: half double crochet
sl st: slip stitch
sc: single crochet
beg: beginning
puff: puff stitch (see special stitches)
st(s): stitch(es)
dc: double crochet
sp(s): space(s)
Notes
Brackets [ ] are used to indicate the instructions within the brackets will be repeated the specified number of times.
The ch 1 at the beginning of a round does not count as a stitch. The ch 2 that starts rounds 4 and 6 does count as a stitch.
Special Stitches
Puff stitch: [yo, pull up a loop] 3 times in indicated st (7 loops on the hooks), yo, pull through all 7 loops on the hook.
Pattern Instructions
Head here for a photo tutorial of the Fountain Flower Square.
Squares – Make 17
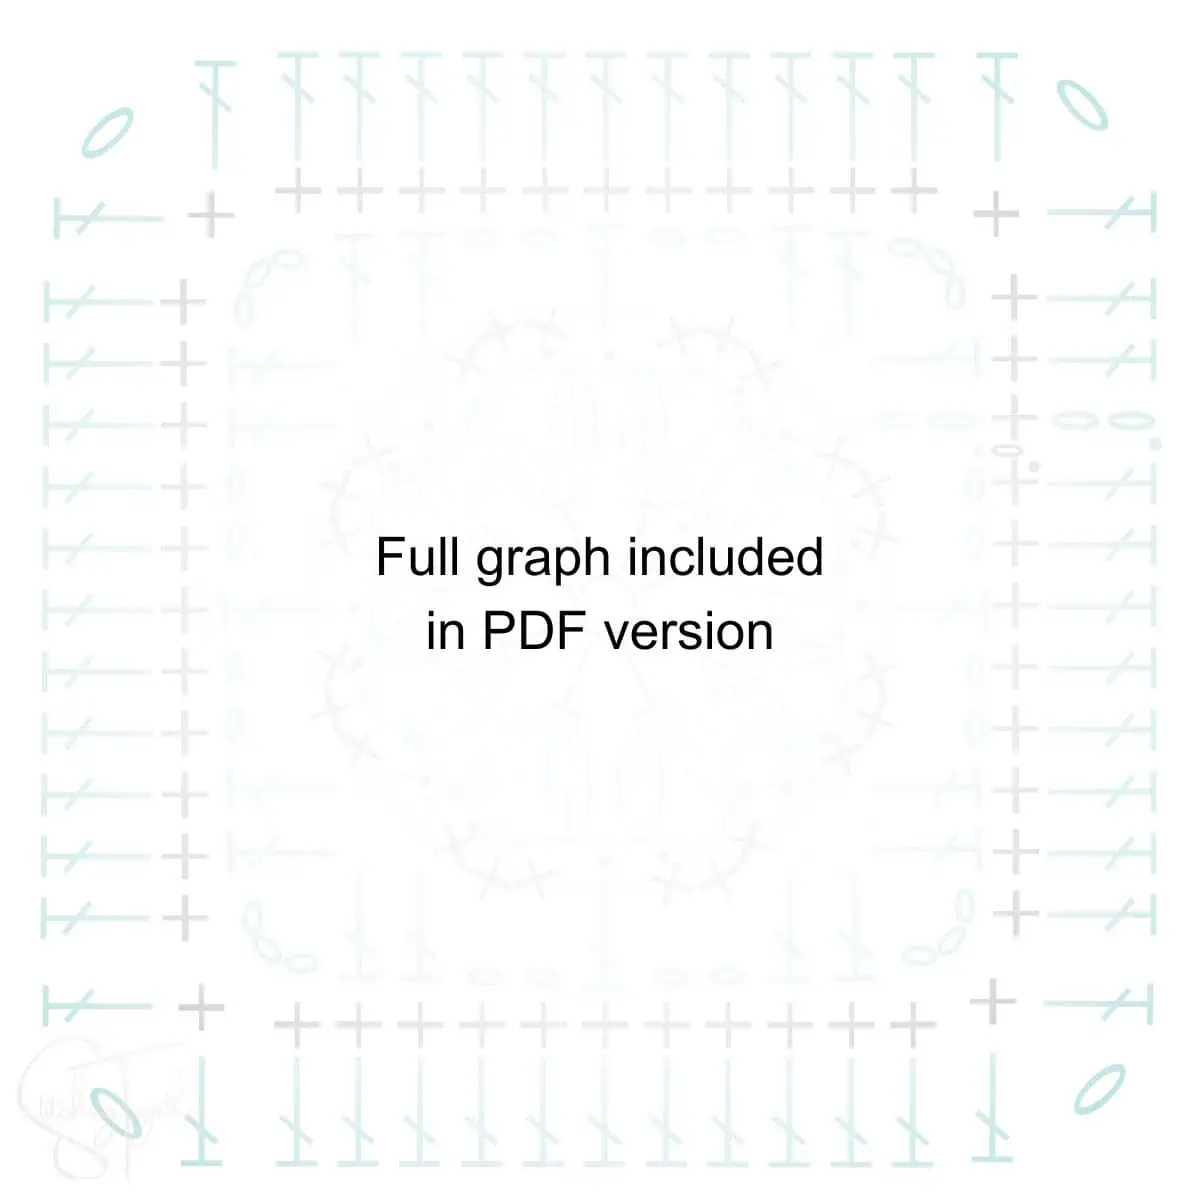
Using the smaller hook and Color A, begin with a magic circle
Round 1: Ch 1, (does not count as a st here and throughout), 8 hdc in magic circle, tighten to close, join with a sl st to beg hdc. (8 hdc)
Join Color B
Round 2: Ch 1, [puff, ch 3, puff, ch 1] in each st around. (16 puff sts, 8 ch-3 sp, 8 ch-1 sp).
Round 3: [Sl st to ch-3 sp, 3 sc in ch-3 sp, sl st in ch-1 sp between next 2 puff sts] 8 times. (24 sc)
For the next round, you will be working all stitches in the ch-1 sps between 2 puff stitches made in Round 2. You will work over the sl sts made in Round 3.
Round 4: Ch 2 (counts as a st here and throughout), (dc, ch 3, 2 dc) in same sp (between puff sts), [ch 2, skip 3 sc, dc in ch-1 sp between puff sts, ch 2, skip 3 sc (2 dc, ch 3, 2 dc) in next ch-1 sp] 3 times, ch 2, skip 3 sc, dc in ch-1 sp between puff sts, ch 2, skip 3 sc, join with a sl st to beg ch-2. (20 dc, 4 ch-3 sps)
Join Color C
Round 5: Ch 1, starting in same st as join [sc in next 2 dc, 3 sc in ch-3 sp, sc in next 2 dc, 2 sc in ch-2 sp, sc in dc, 2 sc in ch-2 sp] 4 times, join with a sl st to beg sc. (48 sc)
Round 6: Ch2, dc in next 2 sts, (dc, ch 1, dc) in next st, [dc in next 11 sts, (dc, ch 1, dc) in next st] 3 times, dc in next 8 sts, join with a sl st to beg ch 2. (52 dc)
Fasten off and weave in ends.
Assembly
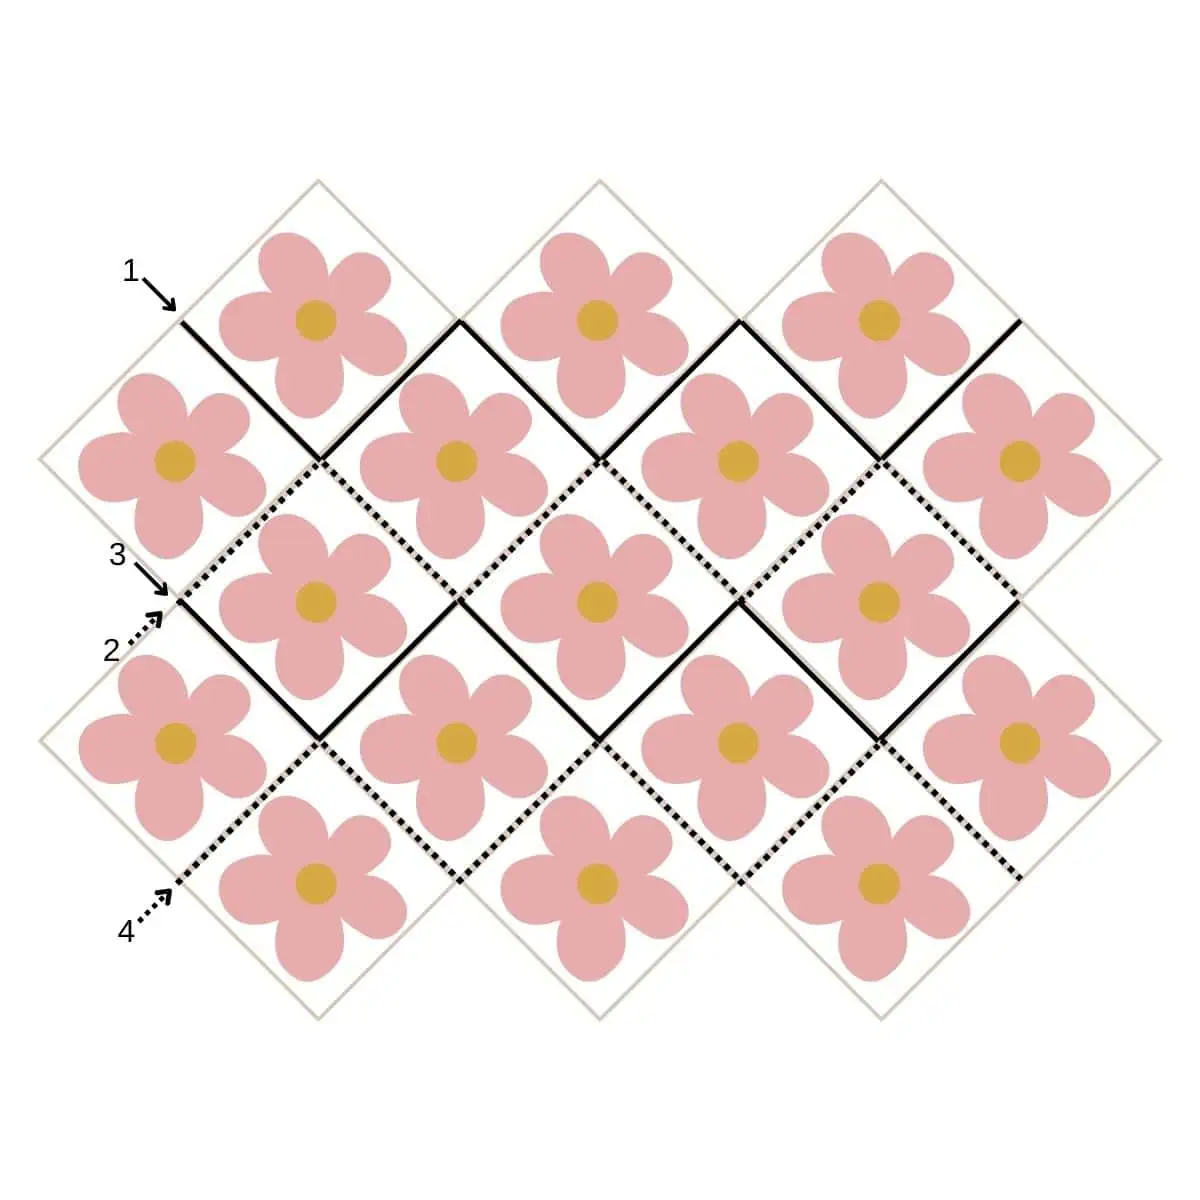
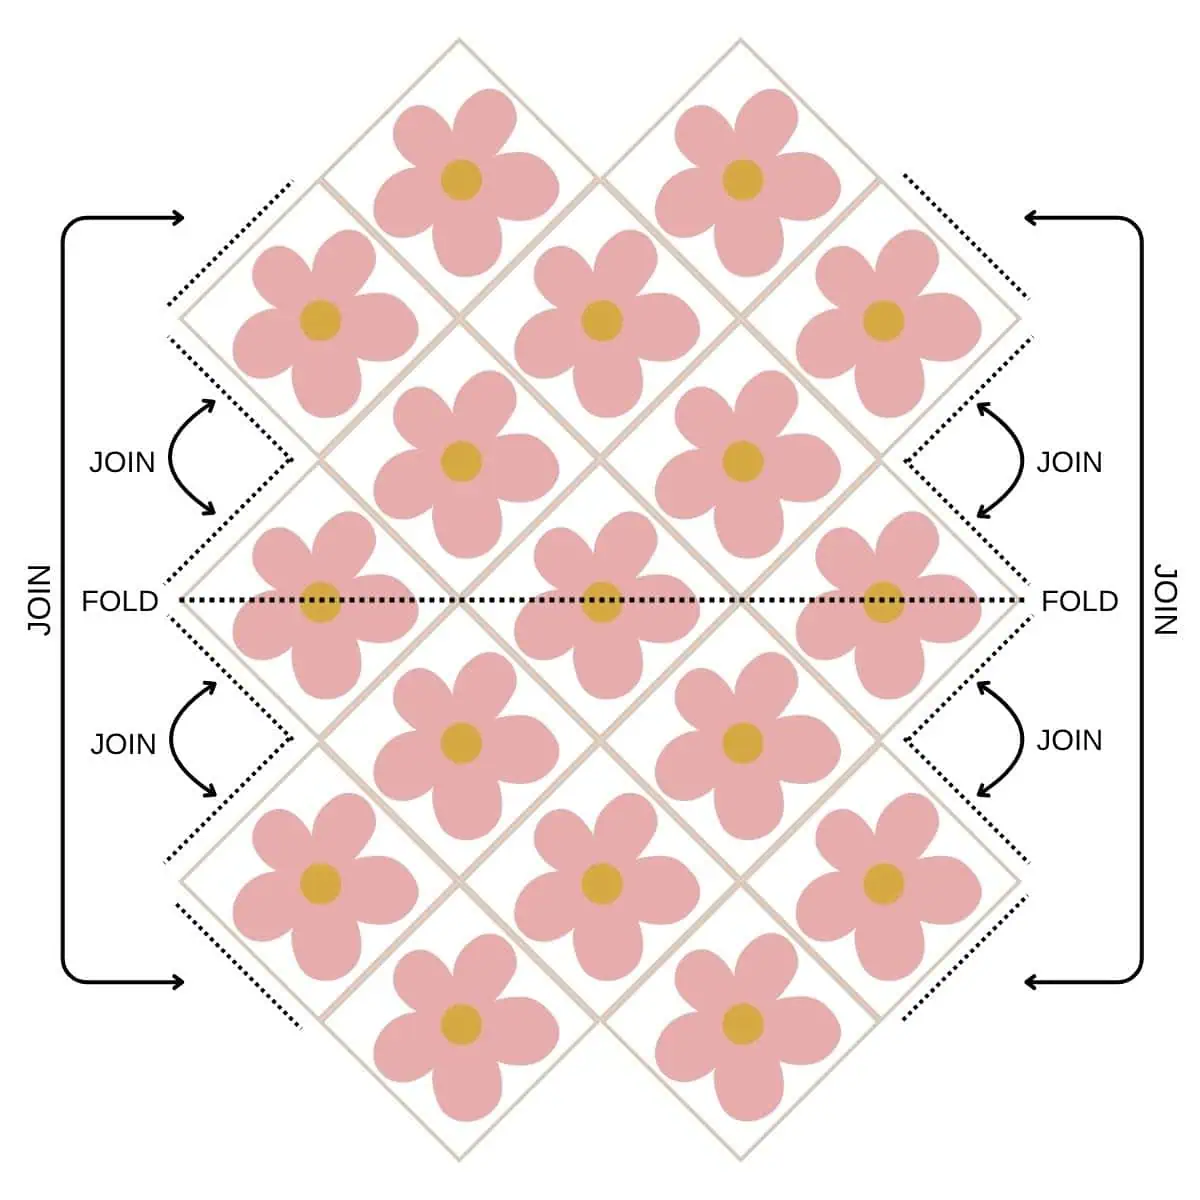
Join squares using a whip stitch or another joining method with the right side of the squares facing out.
Top
Join Color C anywhere along the top of the bag.
Round 1: Ch 1, sc around, placing (sc, ch 1, sc) in peak corners, and sc2tog in the valley corners, join with a sl st to beg sc. Fasten off and weave in ends.
Straps
With Color B, crochet 2 Romanian Cords approximately 34” long. Leave tail ends.
How to:
Ch 2, sc in 2nd ch from hook. Rotate work so the turning chain is facing you. Sc in turning chain.
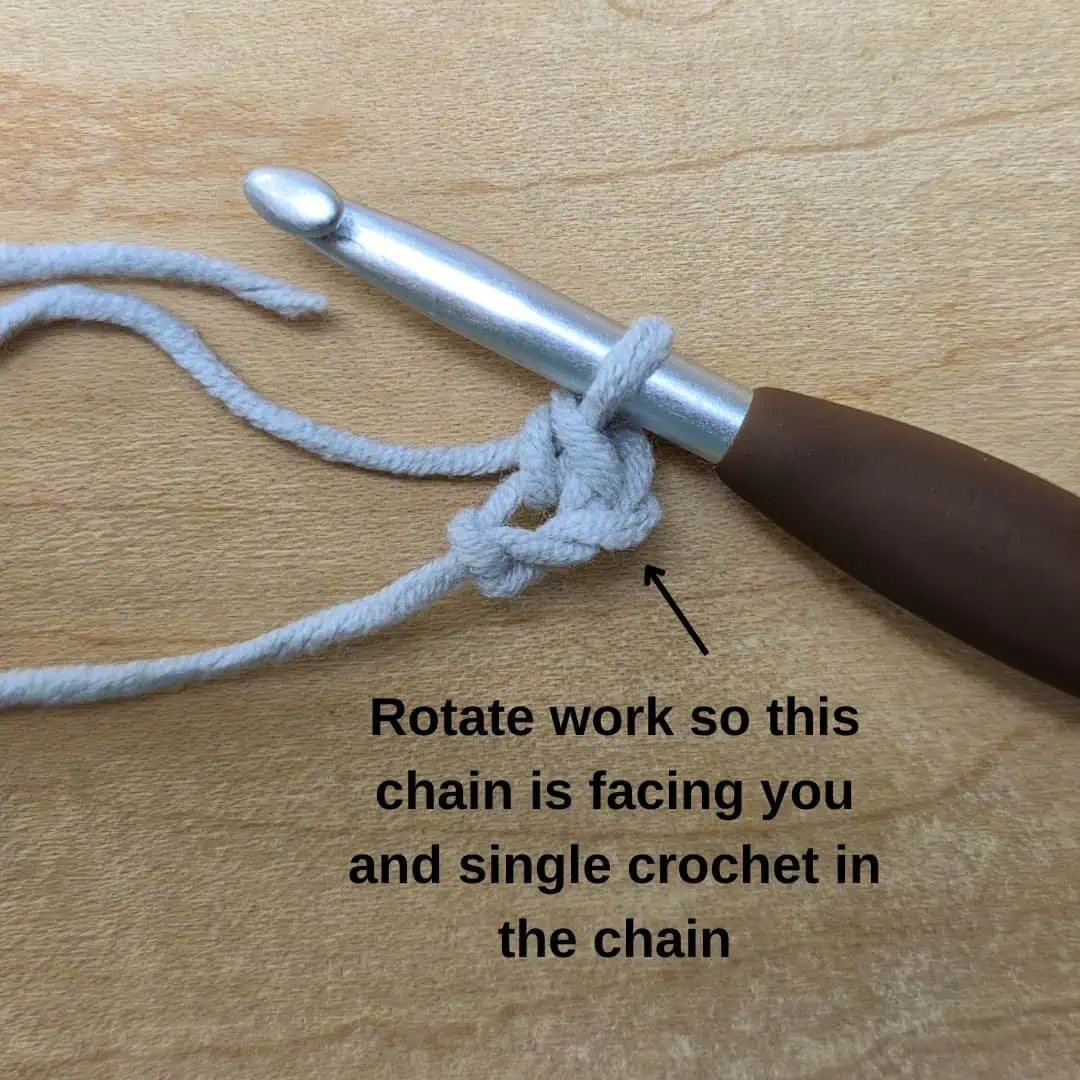
Rotate work again so the 2 loops along the side of your cord are facing you.
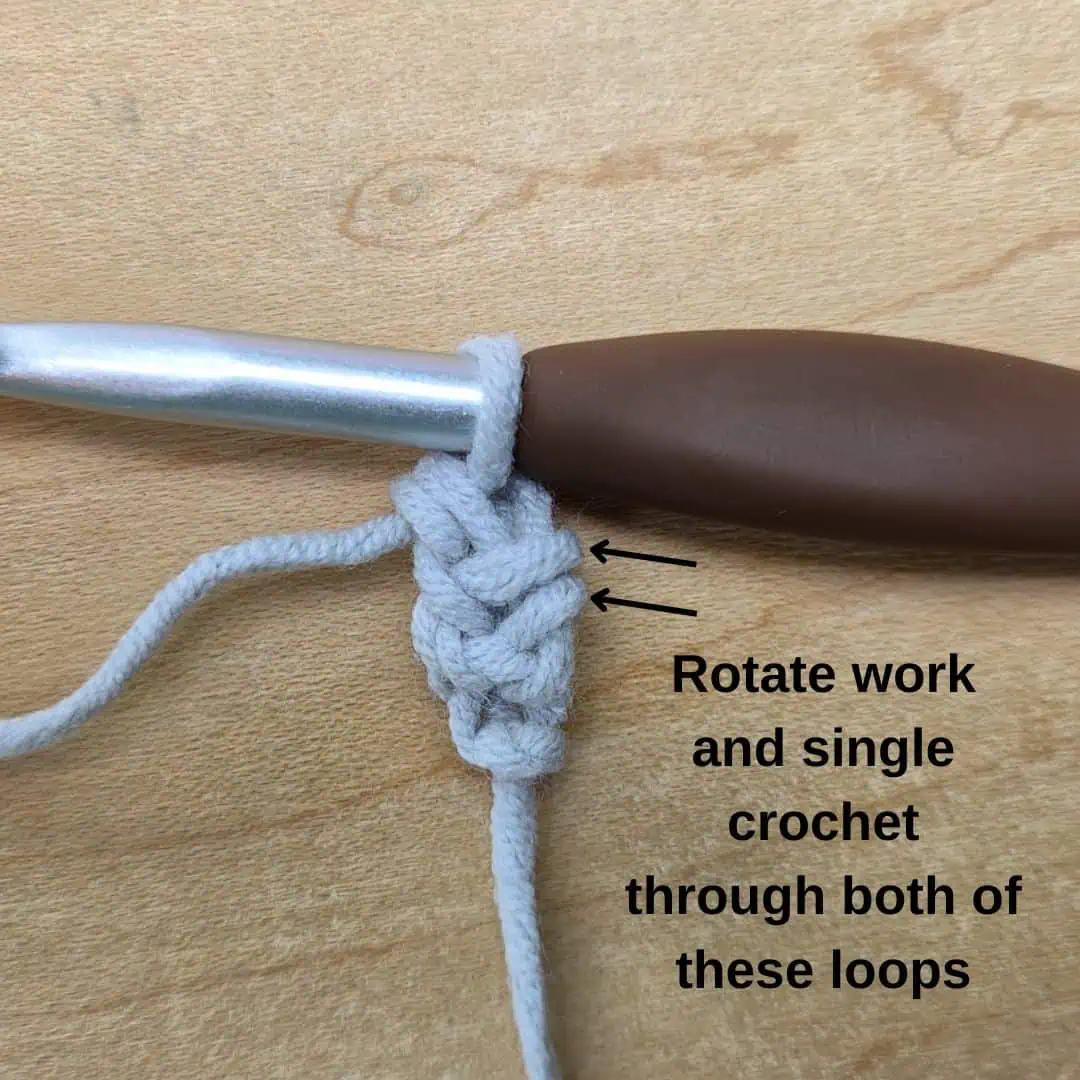
Sc working through both loops.
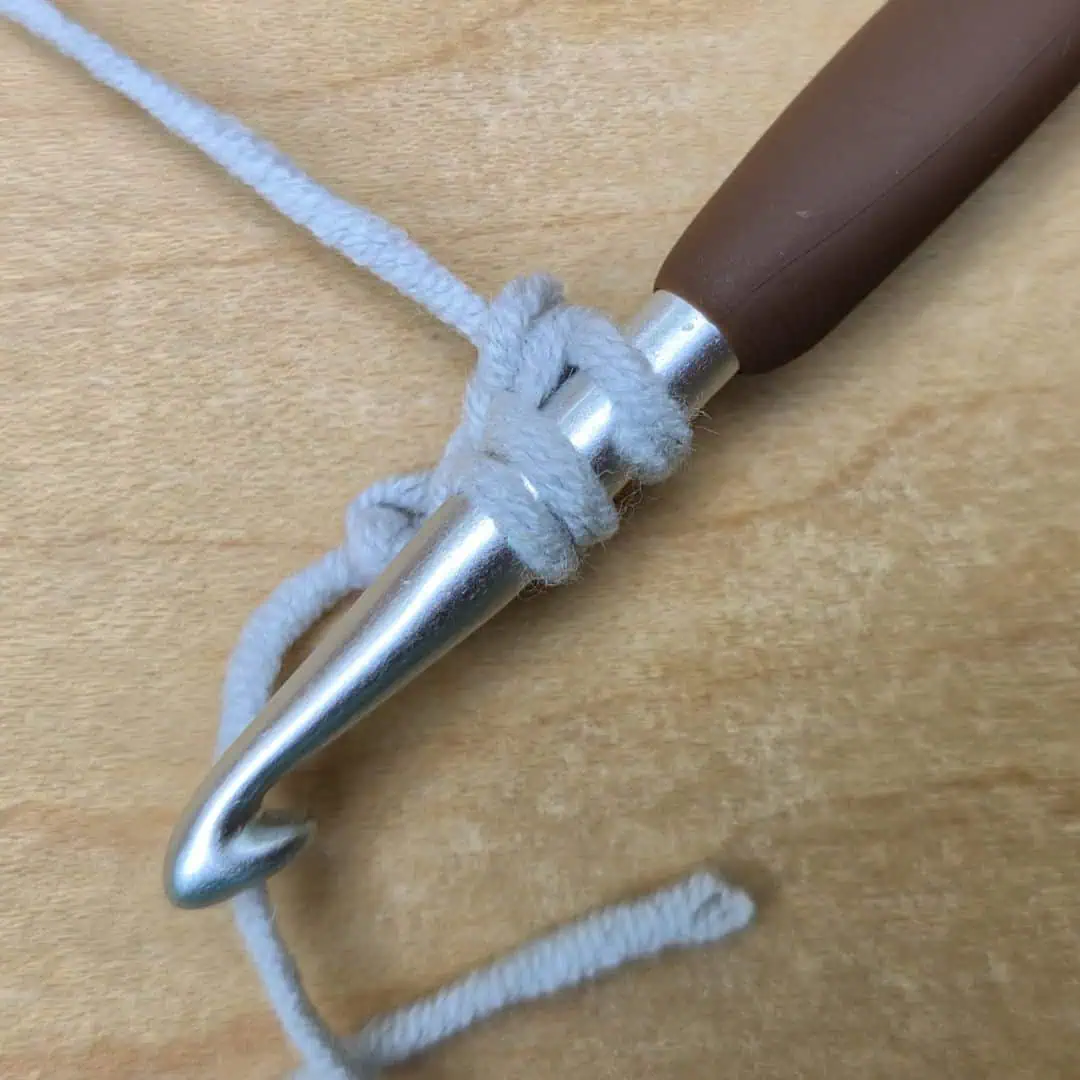
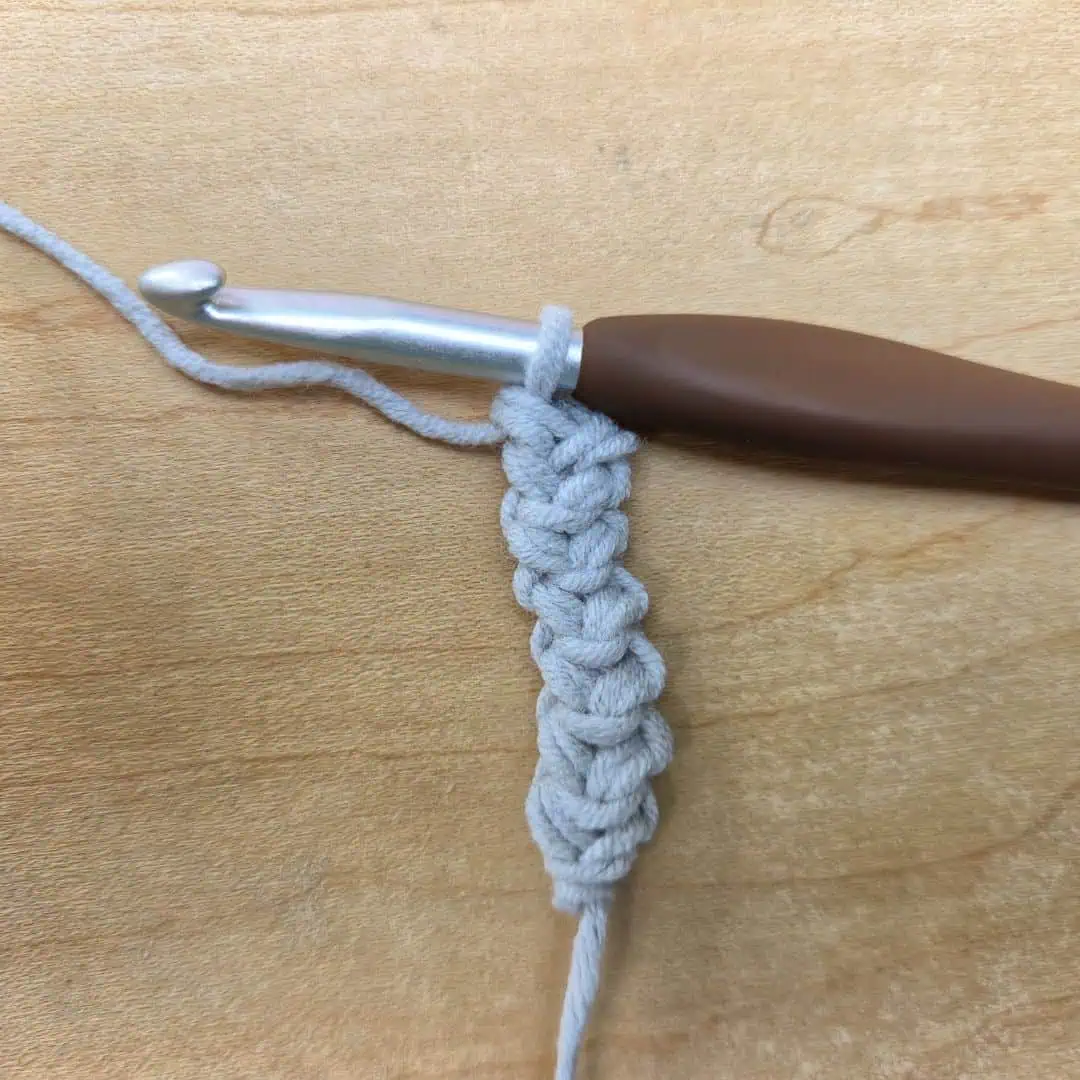
Continue rotating and single crocheting into the side loops until your cord reaches your desired length.
Weave the cord through the corner of the top two granny squares on one side.
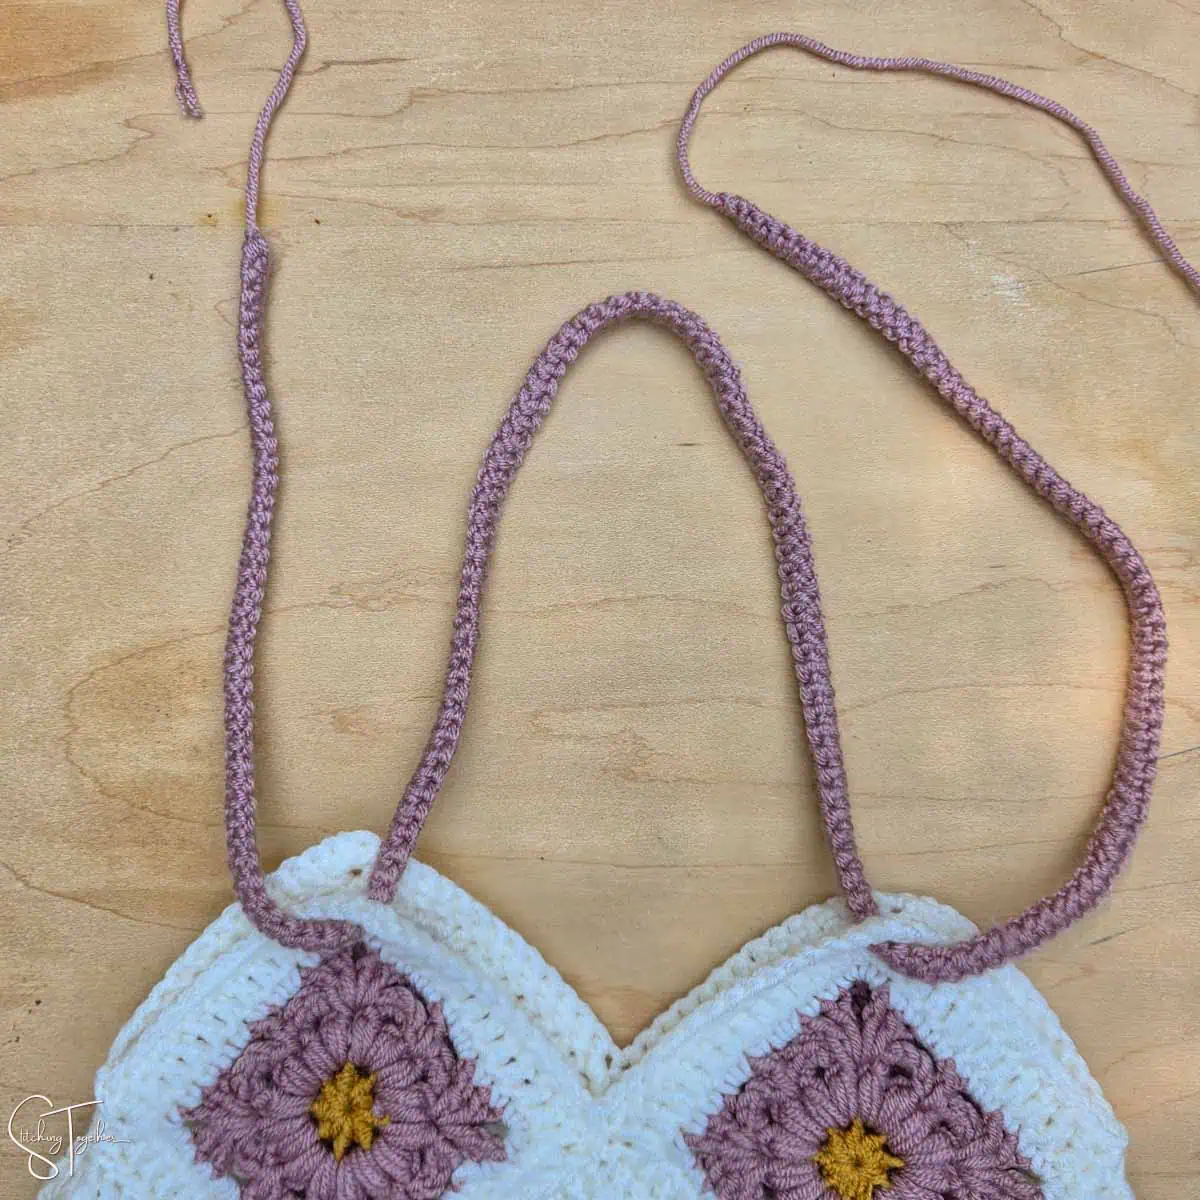
Wrap the cord around itself 3 times on each side, working in opposite directions. (If you wrap them in the same direction, they will just unwind.)
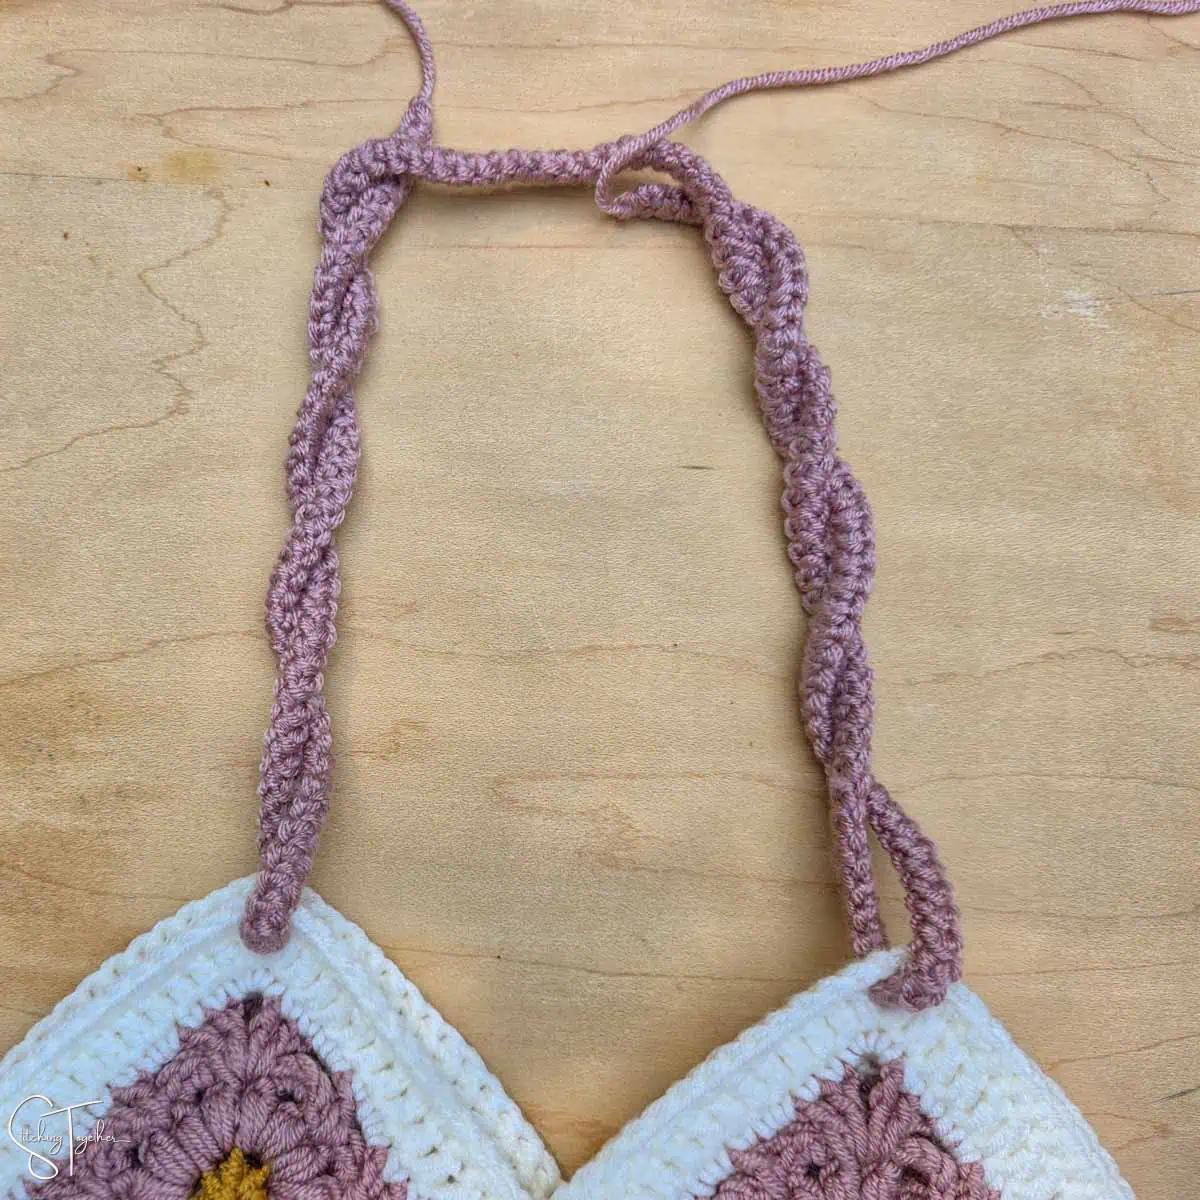
Using the tail ends, sew the ends of the cords together. Repeat for the other side.
Will you share pictures of your finished projects?
- Tag Stitching Together on Instagram with @stitching_together and use the #stitchingtog
- Upload your picture in the Tried It section of this pin
- Share your work in the Stitching Together Community.