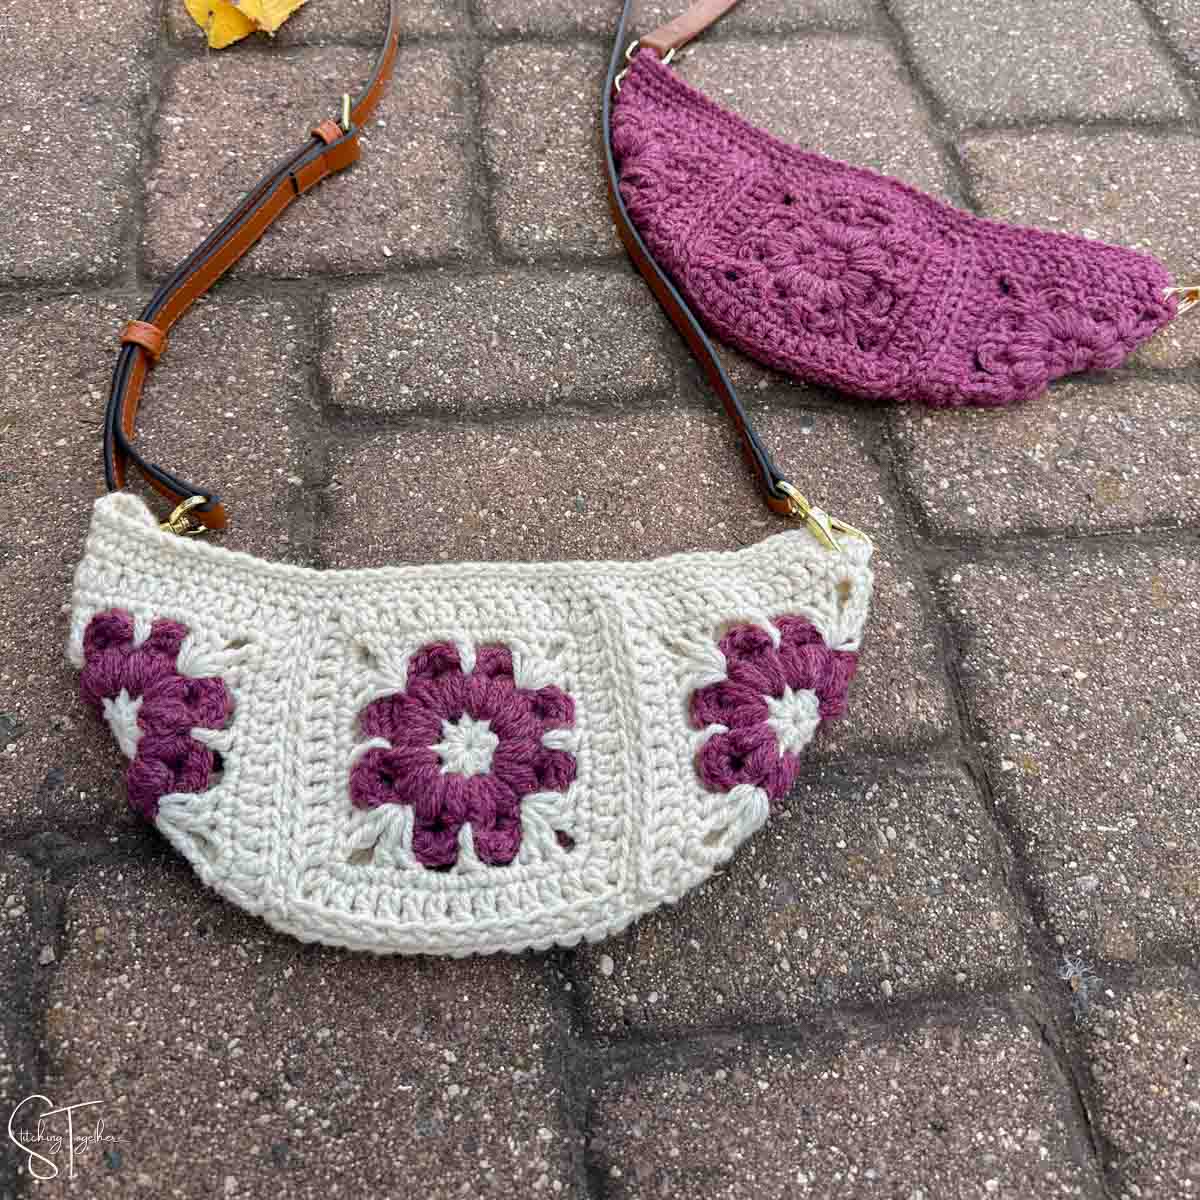

Small Granny Square Crossbody Bag Pattern
Disclosure: This post may contain affiliate links. As an Amazon Associate, I earn from qualifying purchases. Please visit my Privacy Policy for disclosures and more information.
Ready to add more granny square style to your accessories? This small granny square crossbody bag is the perfect project you can whip up in an evening. It only takes four squares and you can add whatever type of strap you’d like.
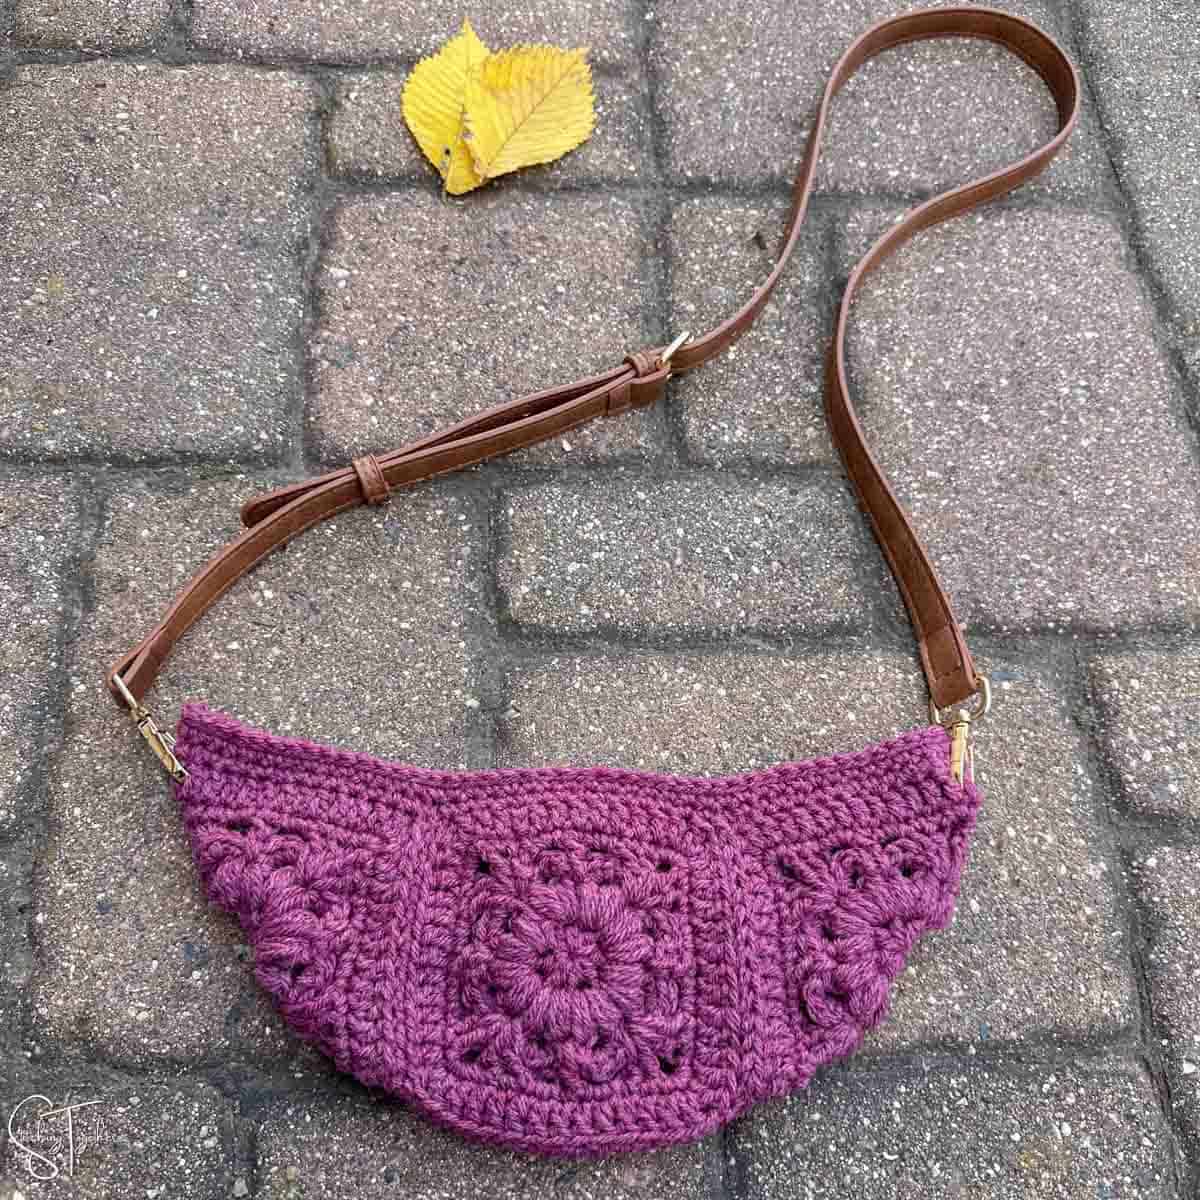
If you decide to add a lining and closure, this purse can be used every day when you only need to carry around the essentials. It’s the perfect size to fit your phone, a small wallet, keys, and some lip gloss.
Keep reading for all the details and the free online version of the pattern, or you can purchase the ad-free PDF version, which includes a chart for the granny square.
Stitches
This quick and simple bag is made using the Fountain Flower Granny Squares. The squares are rated an Intermediate Skill level just because they take some advanced knowledge of stitches and stitch placements, but they are super easy to work up once you get the hang of it.
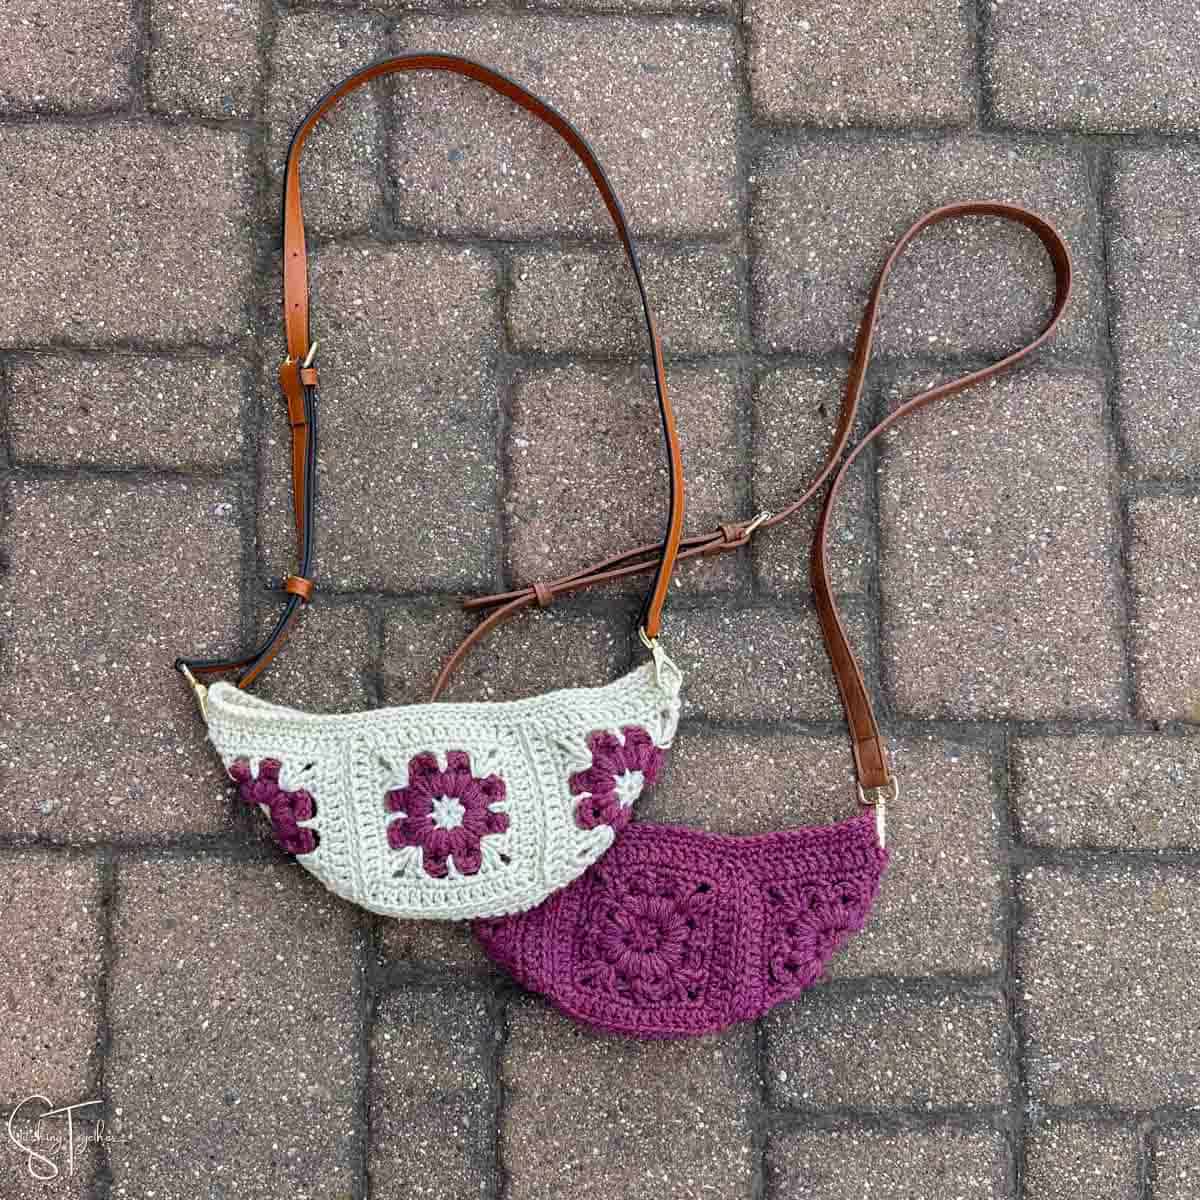
Related: Granny Square Market Bag
The square starts with half double crochets worked in a magic circle, followed by a round of puff stitches and chain stitches. The next round works around those chain stitches to give you the outside part of the flower petals. The rest of the rounds use either double crochet stitches or single crochet stitches.
After the squares are joined you’ll work a few rounds of single crochets around the top of the bag and finish with a round of slip stitches.
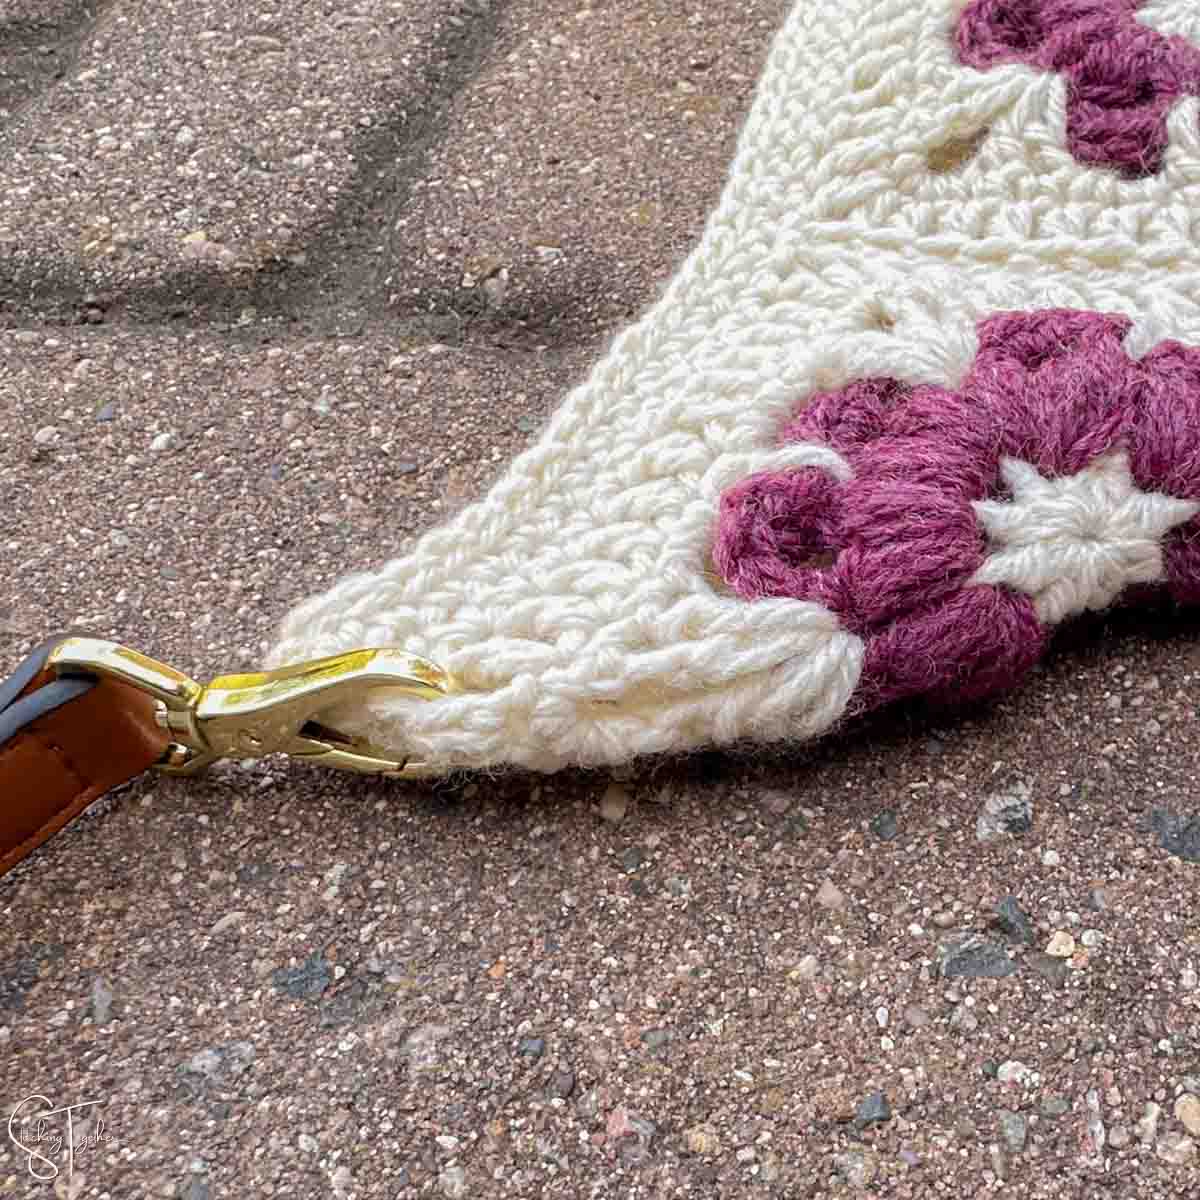
Related: Granny Square Bags
Yarn
I used Wool-Ease which is a soft acrylic wool blend by Lion Brand Yarn. It’s a Category 4, worsted weight yarn. I love the bounce this yarn has and how easy it is to work with. Plus the heathered colors are just gorgeous.
Yarn Substitution Ideas
We Crochet Mighty Stitch
Heatherly Worsted
Wool Blend Worsted
StyleCraft Special Aran with Wool
Skill Level
The bag, while super simple overall is rated at an intermediate skill level because of the squares. They take a little extra knowledge of stitches and stitch placements, but once you get the hang of them, they work up quickly.
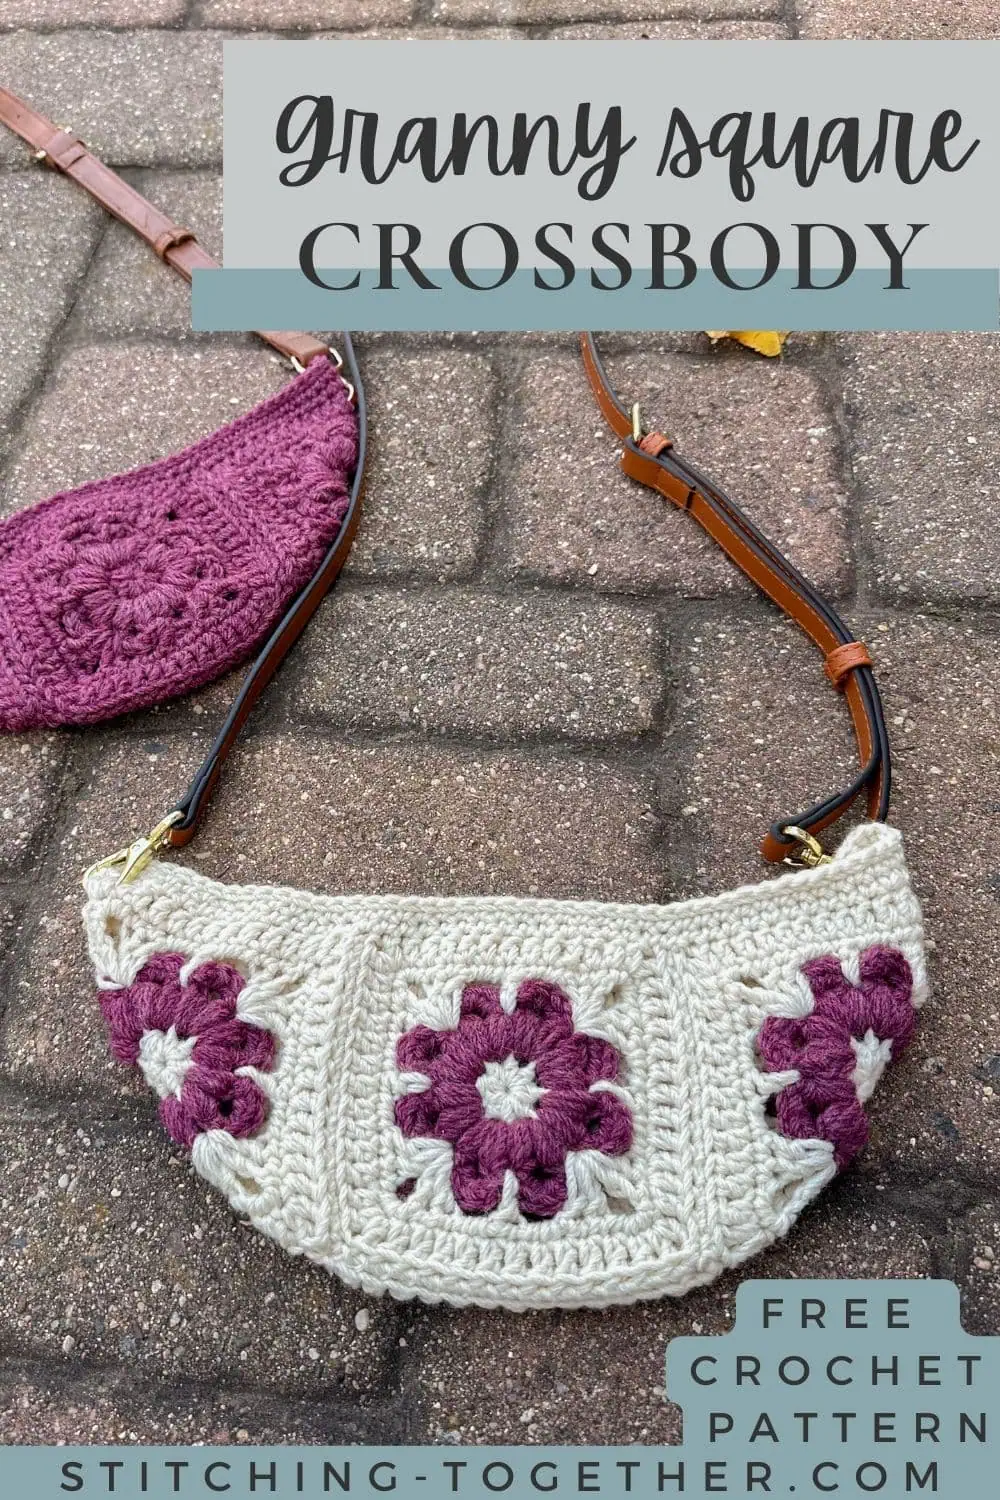
Small Granny Square Crossbody Bag Free Crochet Pattern
Purchase the ad-free PDF version
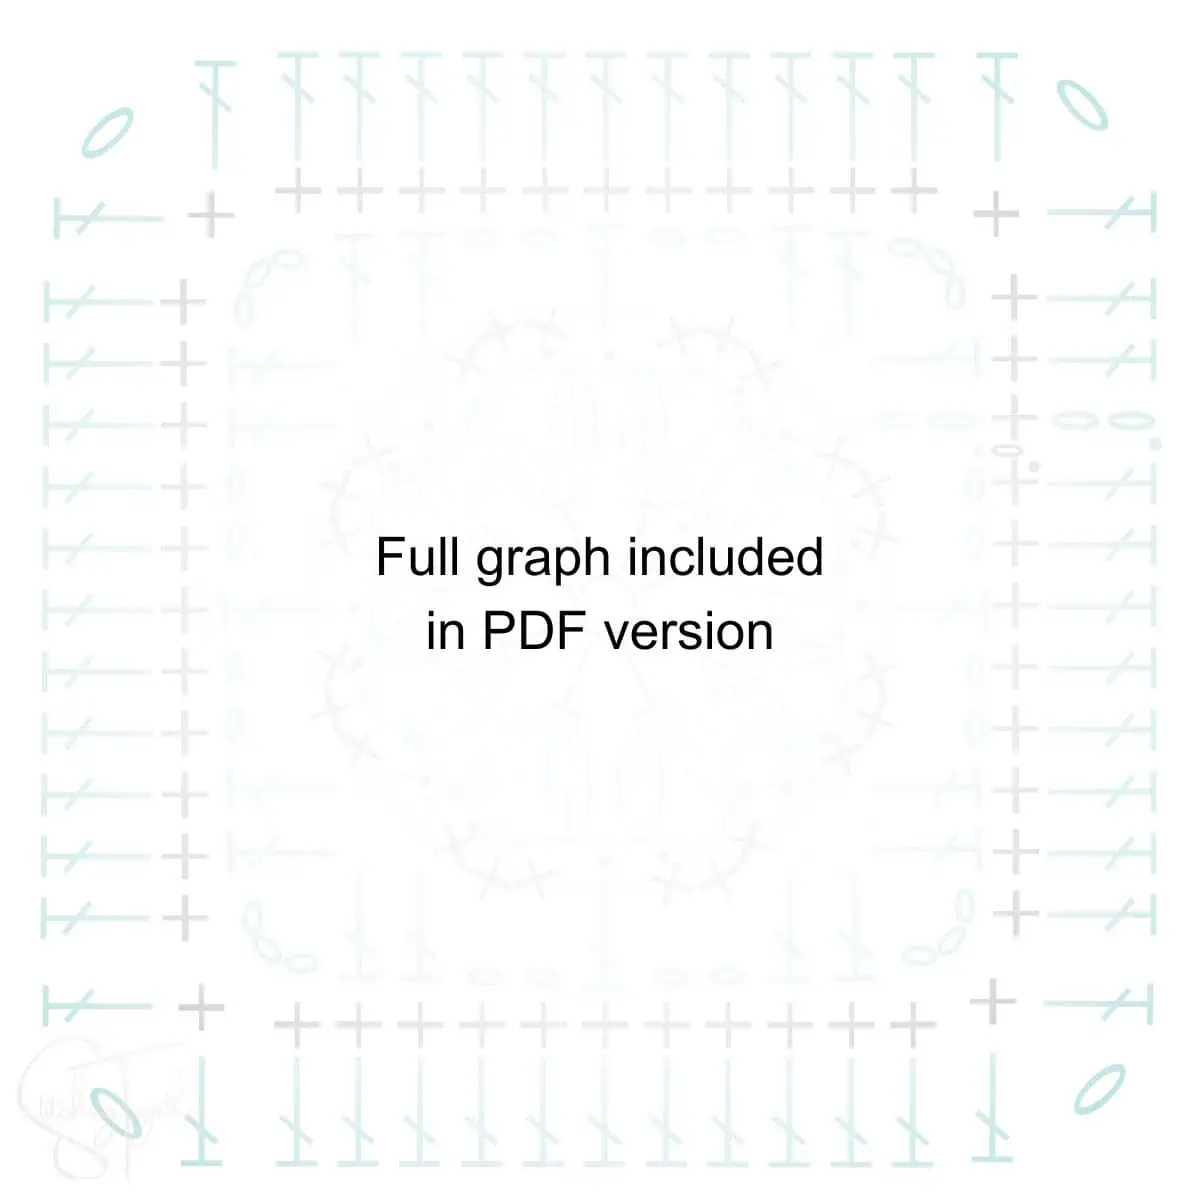
Skill Level: Intermediate
Gauge: 4.75” x 4.75” = 1 square
Finished Size: Approx. 12” across the top and 5” deep at the center
Supplies
US size I/9, 5.5 mm crochet hook
Wool-Ease by Lion Brand (Category 4, worsted weight yarn, 80% acrylic yarn and 20% Wool, 197yds/180m, 3oz/85g)
- The sample used approx. 98yds/1.5oz in Dark Rose Heather. The multicolored sample used Dark Rose Heather and Cream.
Large Eye Yarn Needle
Scissors
Save Time and Shop Online
Abbreviations
ch: chain
hdc: half double crochet
sl st: slip stitch
sc: single crochet
beg: beginning
puff: puff stitch (see special stitches)
st(s): stitch(es)
dc: double crochet
sp(s): space(s)
Notes
Brackets [ ] are used to indicate the instructions within the brackets will be repeated the specified number of times.
The ch 1 at the beginning of a round does not count as a stitch. The ch 2 that starts rounds 4 and 6 does count as a stitch.
If you’d like to make the squares in 2 colors, change colors after round 1 and then again after round 3.
Special Stitches
Puff stitch: [yo, pull up a loop] 3 times in indicated st (7 loops on the hooks), yo, pull through all 7 loops on the hook.
Pattern Instructions
Squares – Make 4
Begin with a Magic Circle
Round 1: Ch 1, (does not count as a st here and throughout), 8 hdc in magic circle, tighten to close, join with a sl st to beg hdc. (8 hdc)
Round 2: Ch 1, [puff, ch 3, puff, ch 1] in each st around. (16 puff sts, 8 ch-3 sp, 8 ch-1 sp).
Round 3: [Sl st to ch-3 sp, 3 sc in ch-3 sp, sl st in ch-1 sp between next 2 puff sts] 8 times. (24 sc)
For the next round you will be working all stitches in the ch-1 sps between 2 puff stitches made in Round 2. You will work over the sl sts made in Round 3.
Round 4: Ch 2 (counts as a st here and throughout), (dc, ch 3, 2 dc) in same sp (between puff sts), [ch 2, skip 3 sc, dc in ch-1 sp between puff sts, ch 2, skip 3 sc (2 dc, ch 3, 2 dc) in next ch-1 sp] 3 times, ch 2, skip 3 sc, dc in ch-1 sp between puff sts, ch 2, skip 3 sc, join with a sl st to beg ch 2. (20 dc, 4 ch-3 sps)
Round 5: Ch 1, starting in same st as join [sc in next 2 dc, 3 sc in ch-3 sp, sc in next 2 dc, 2 sc in ch-2 sp, sc in dc, 2 sc in ch-2 sp] 4 times, join with a sl st to beg sc. (48 sc)
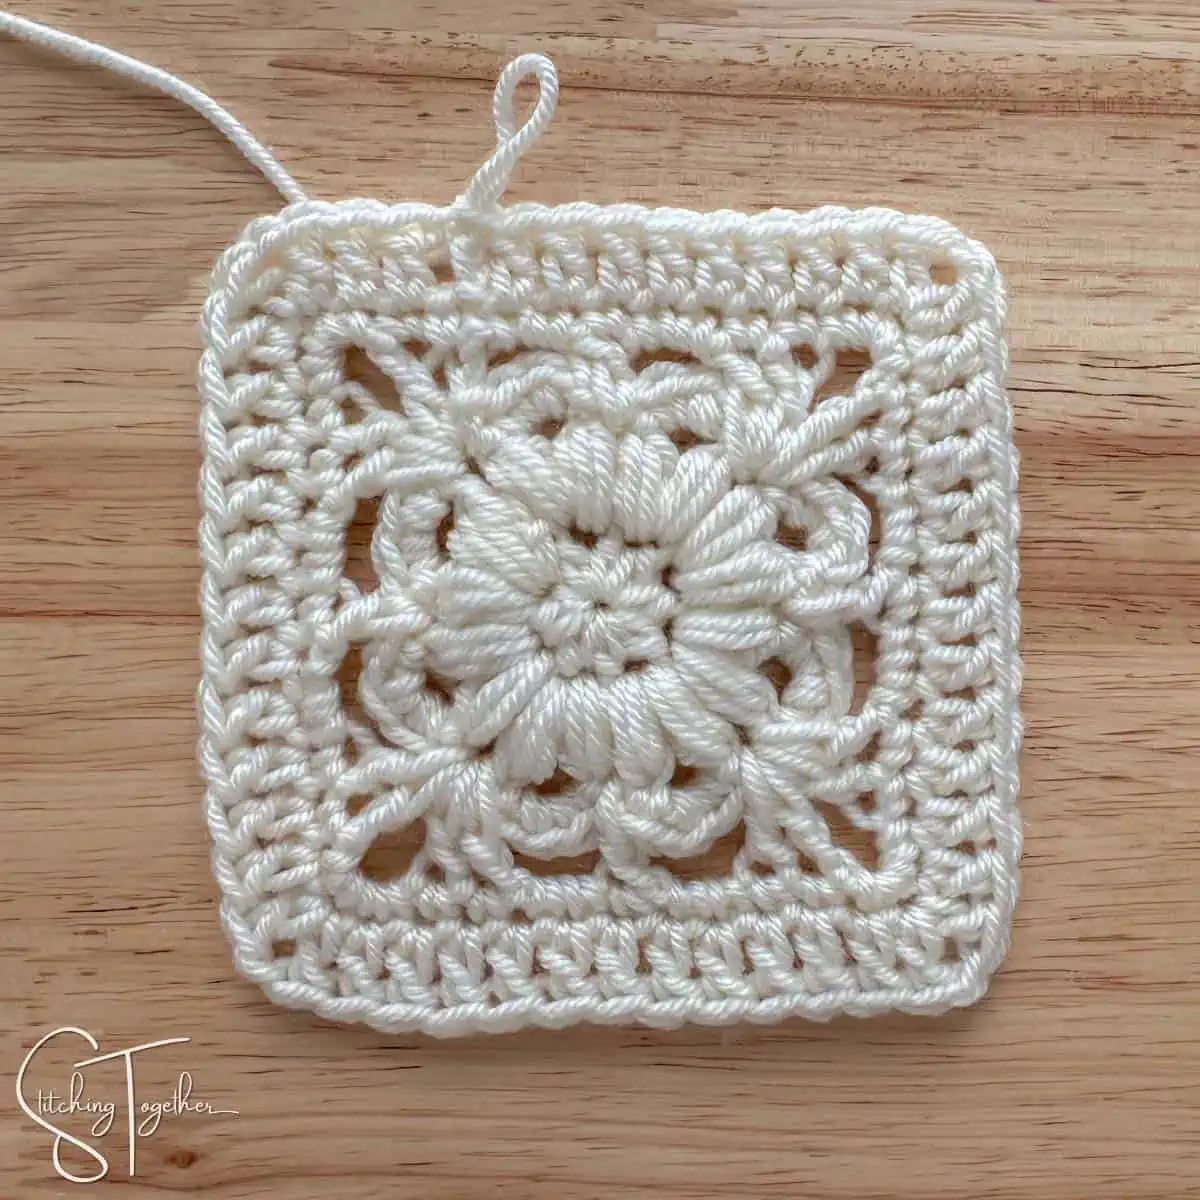
Round 6: Ch2, dc in next 2 sts, (dc, ch 1, dc) in next st, [dc in next 11 sts, (dc, ch 1, dc) in next st] 3 times, dc in next 8 sts, join with a sl st to beg ch 2. (52 dc)
Fasten off and weave in ends.
Assembly
Join squares using a whip stitch or another joining methods with the right side of the squares facing out.
Join 3 square in a row. Join the 4th square to the bottom of the middle square. Join the sides of the bottom square to the bottoms of the side squares.
Top
Join yarn anywhere along the top of the bag.
Round 1-2: ch 1, sc around placing a sc, ch-1, sc in both corners, join with a sl st to beg sc.
Round 3: ch 1, sl st in each st around, join with a sl st to beg sl st. Fasten off and weave in ends.
Photo Tutorial for Squares
Make a Magic Circle
Round 1: Ch 1, 8 hdc in magic circle, tighten to close, join with a sl st to beg hdc. (8 hdc)
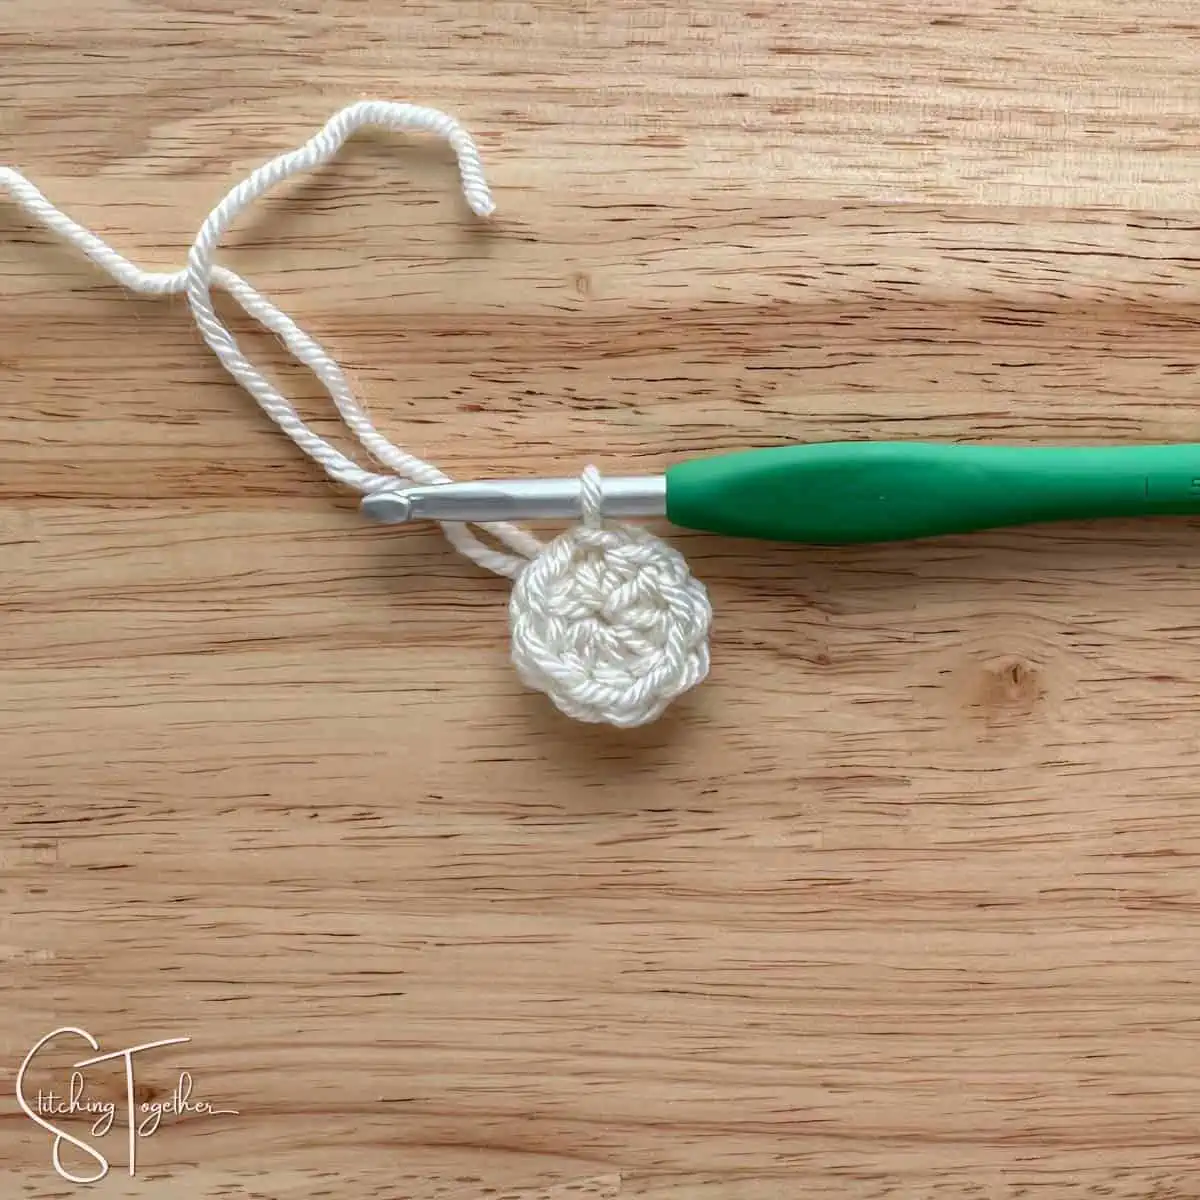
Round 2: Ch 1, [puff, ch 3 puff, ch 1] in each st around. (16 puff sts, 8 ch-3 sp, 8 ch-1 sp).
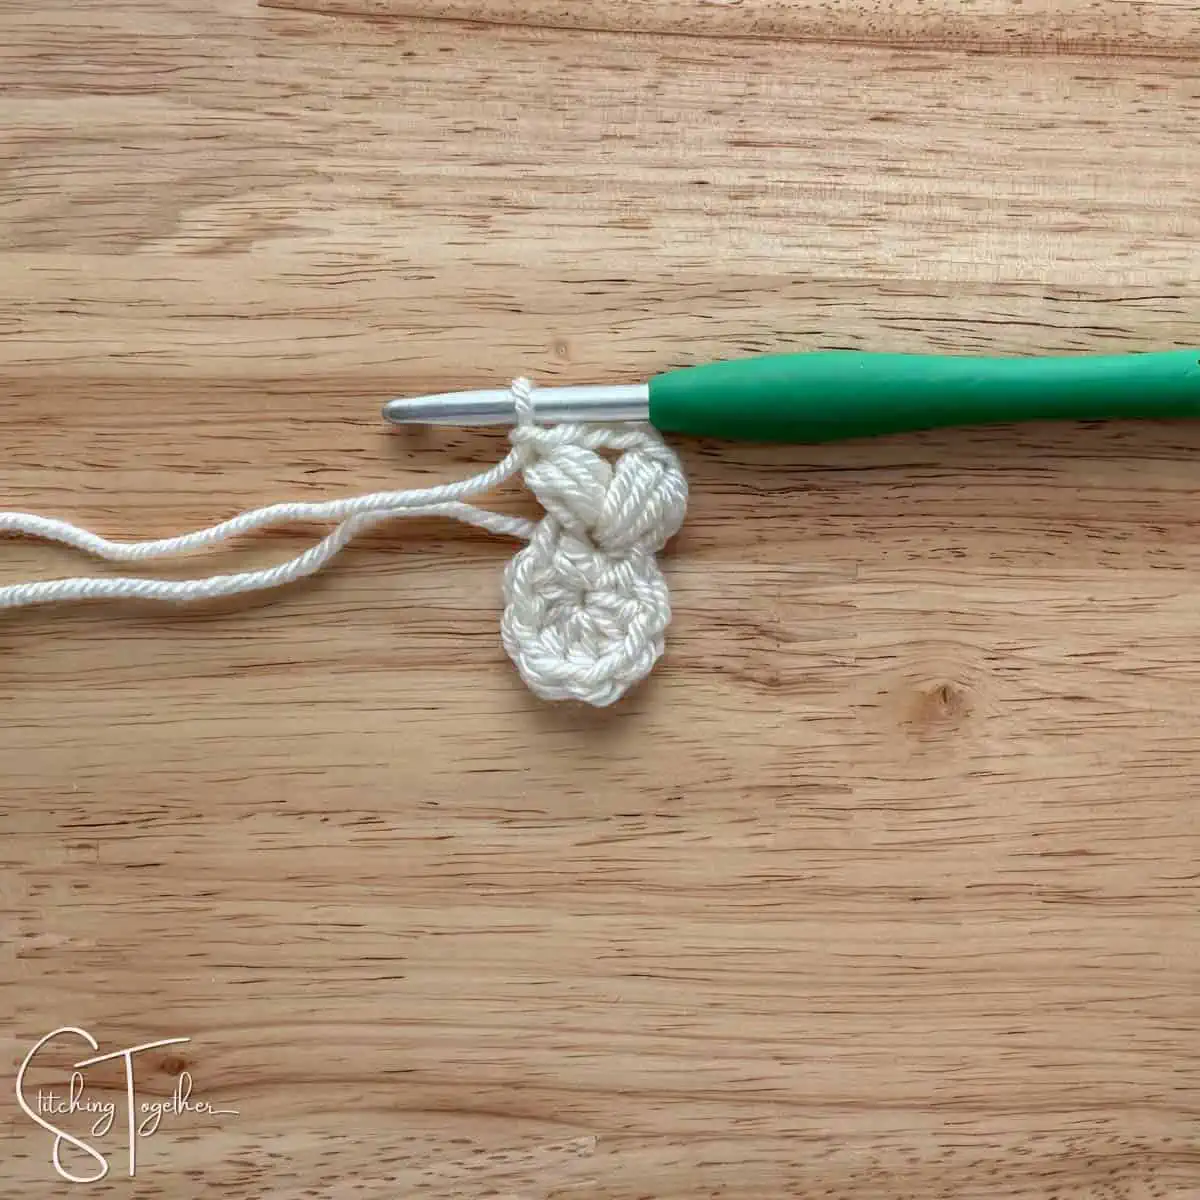
Round 2 Completed: (16 puff sts, 8 ch-3 sp, 8 ch-1 sp).
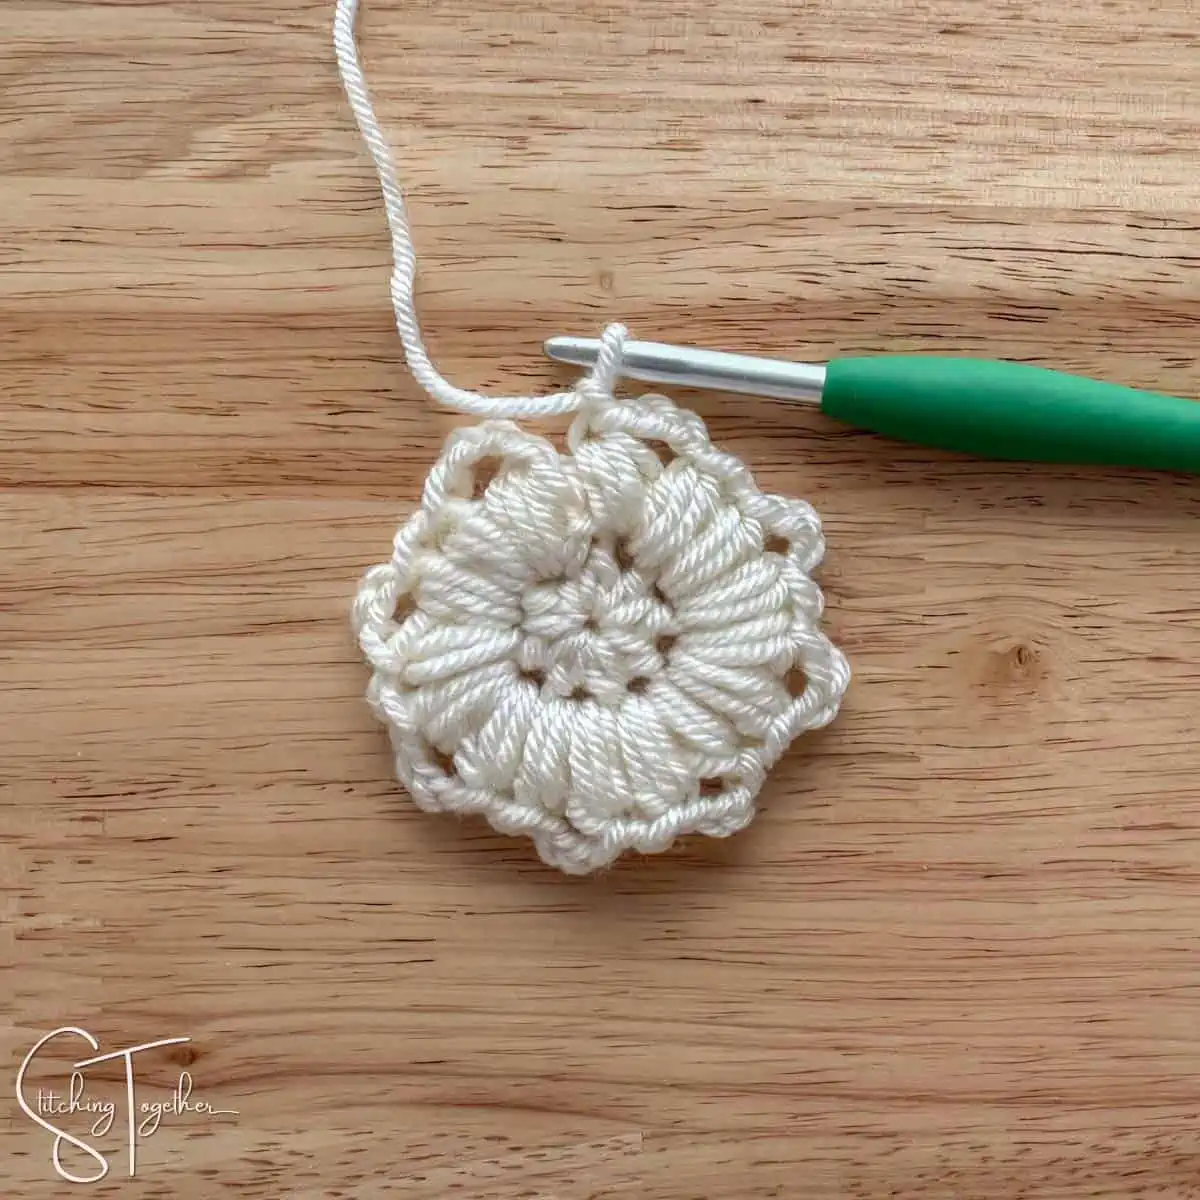
Round 3: [Sl st to ch-3 sp,
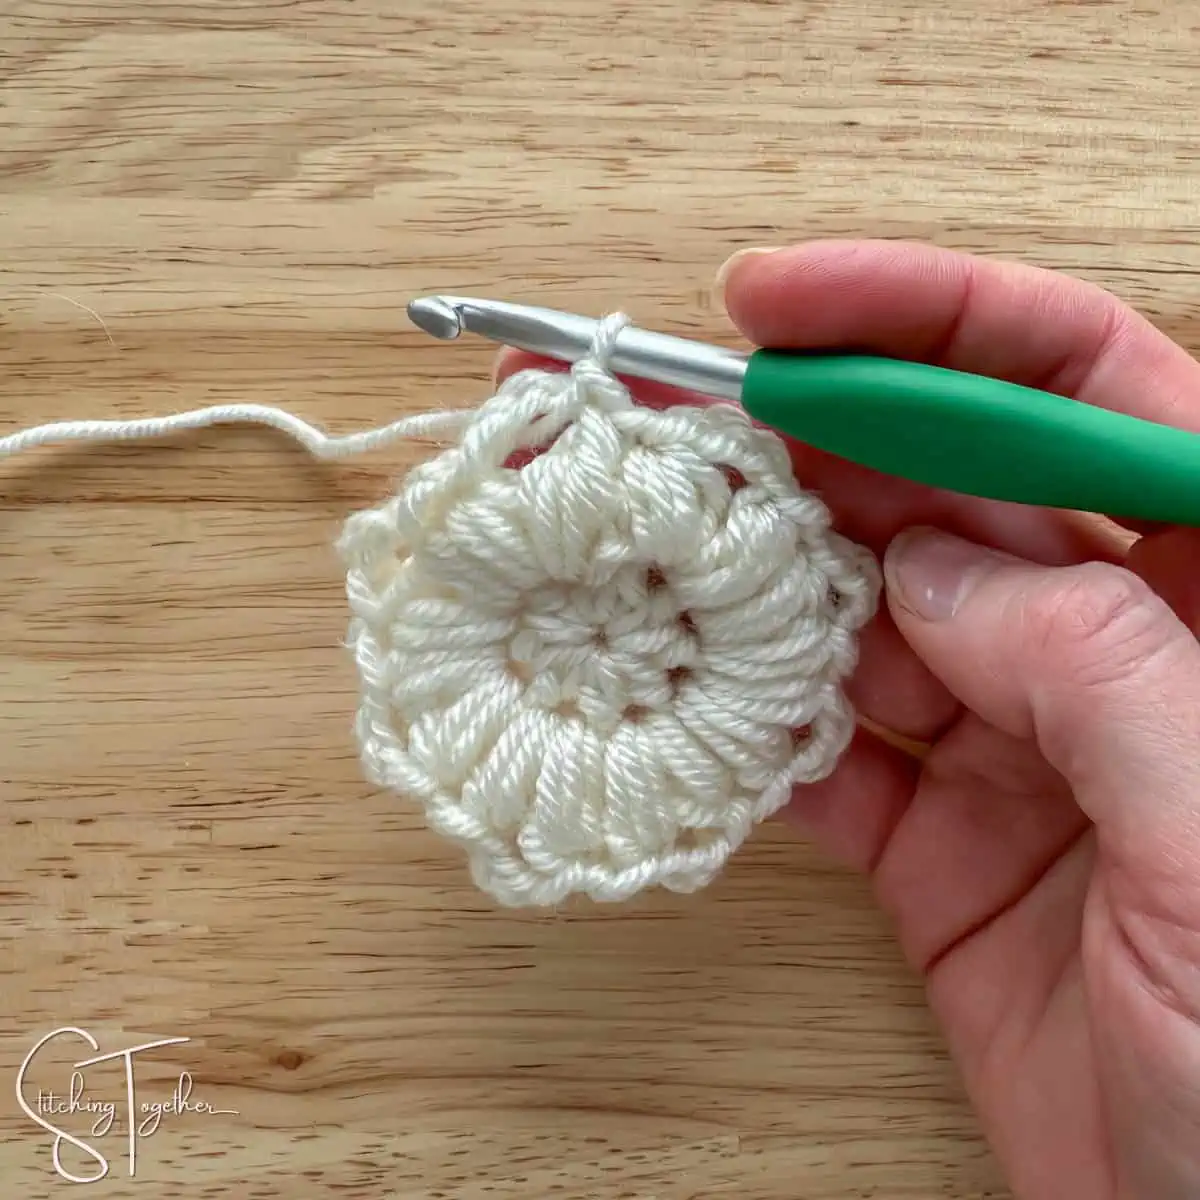
3 sc in ch-3 sp,
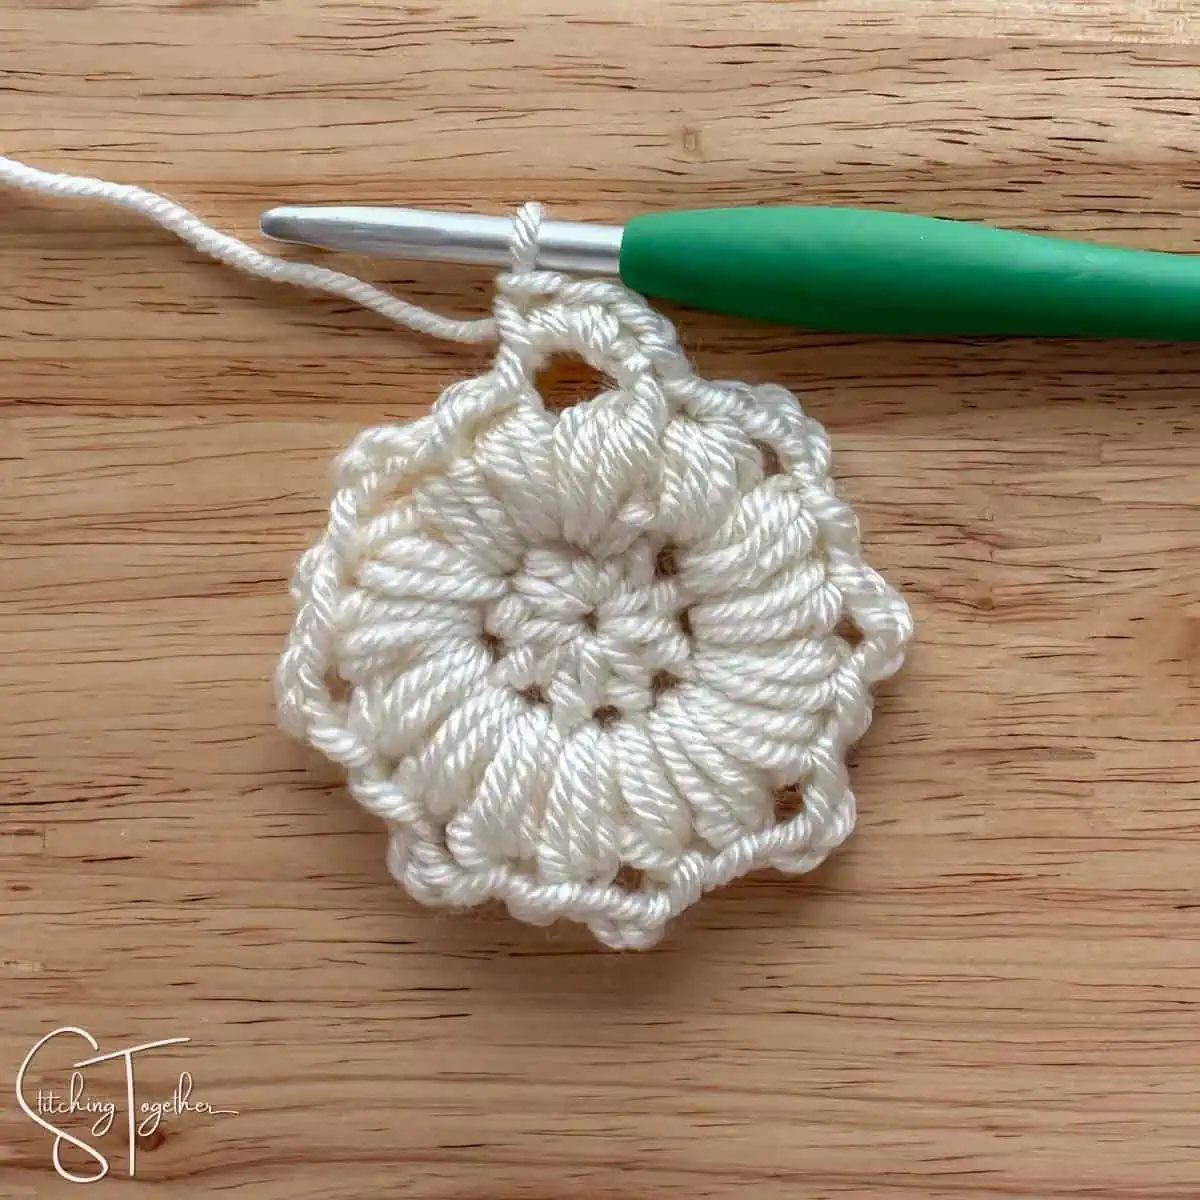
sl st in ch-1 sp between the next 2 puff sts] 8 times. (24 sc)
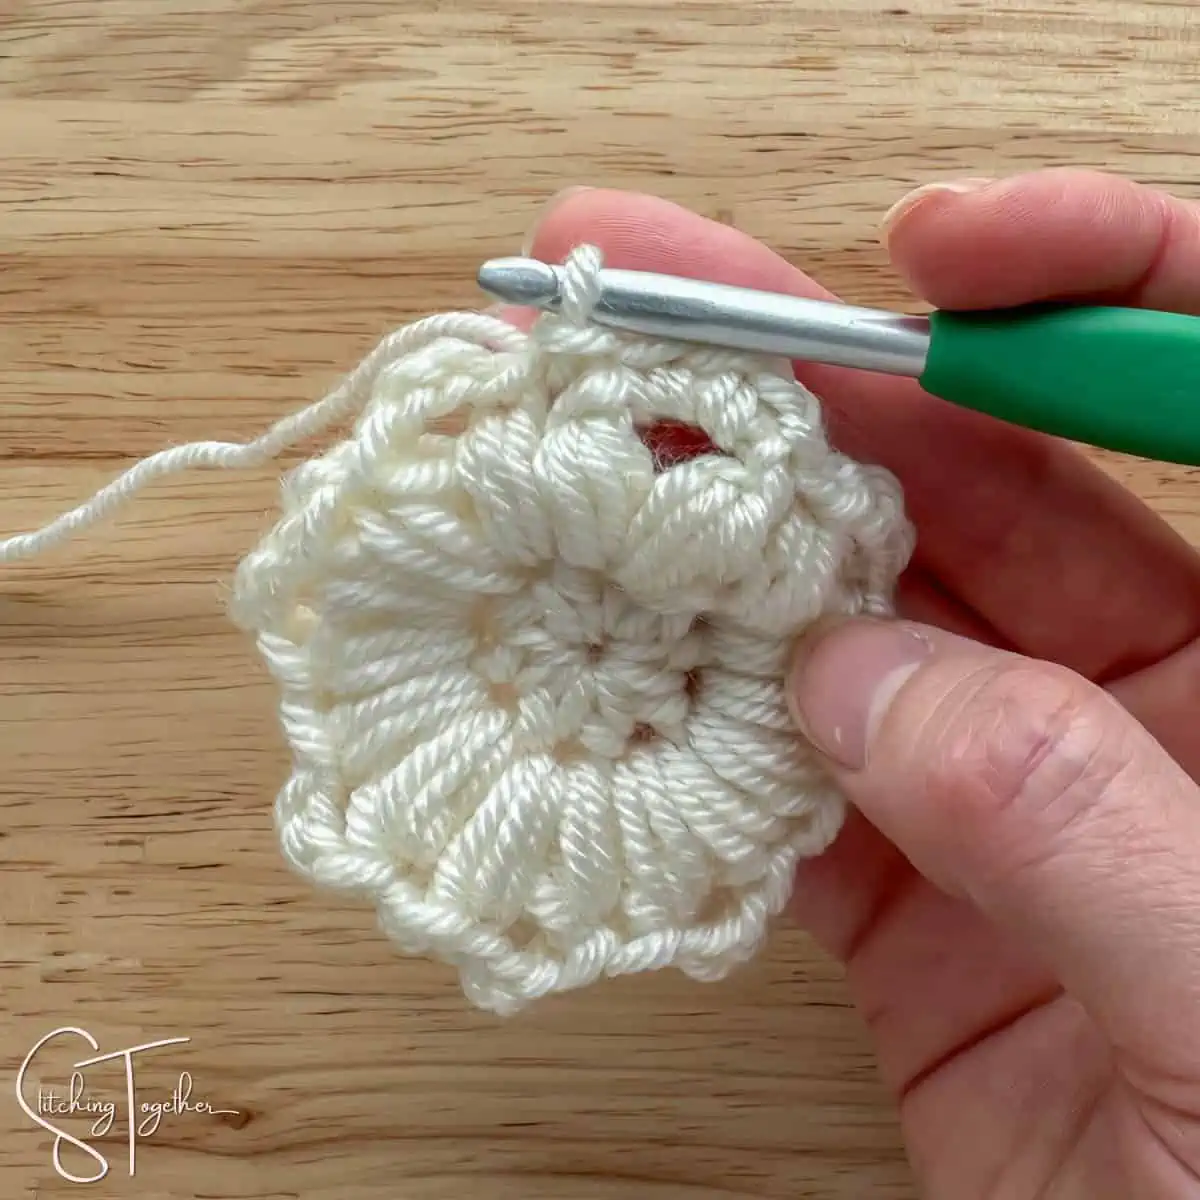
Round 3 Completed: 24 sc
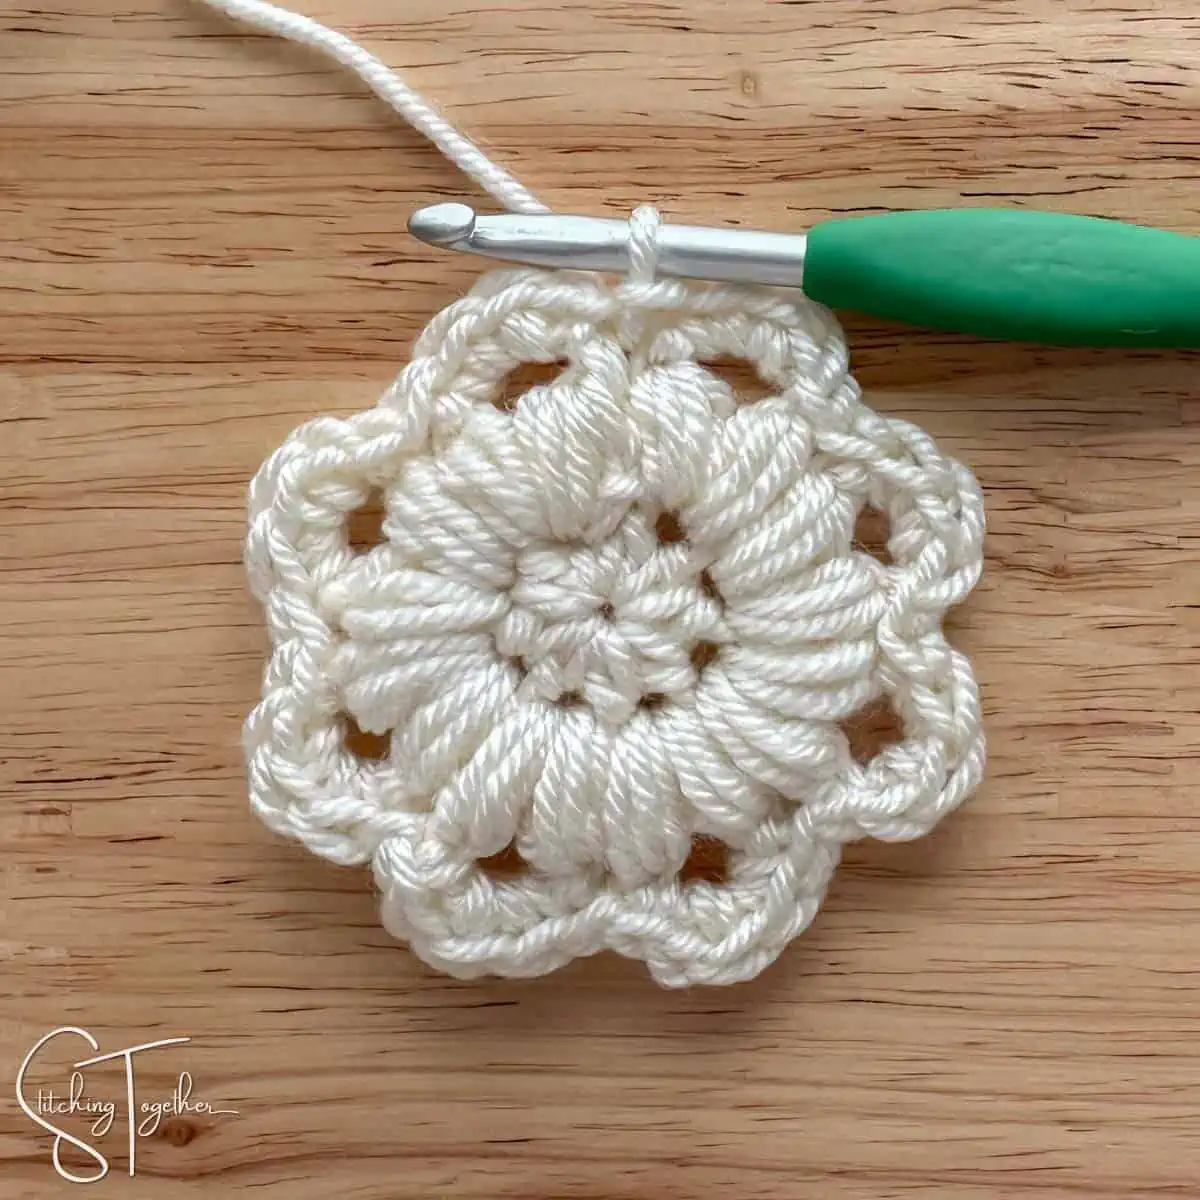
For the next round you will be working all stitches in the ch-1 sps between 2 puff stitches made in Round 2. You will work over the sl sts made in Round 3.
Round 4: Ch 2 (counts as a st here and throughout), (dc, ch 3, 2 dc) in same sp (between puff sts),
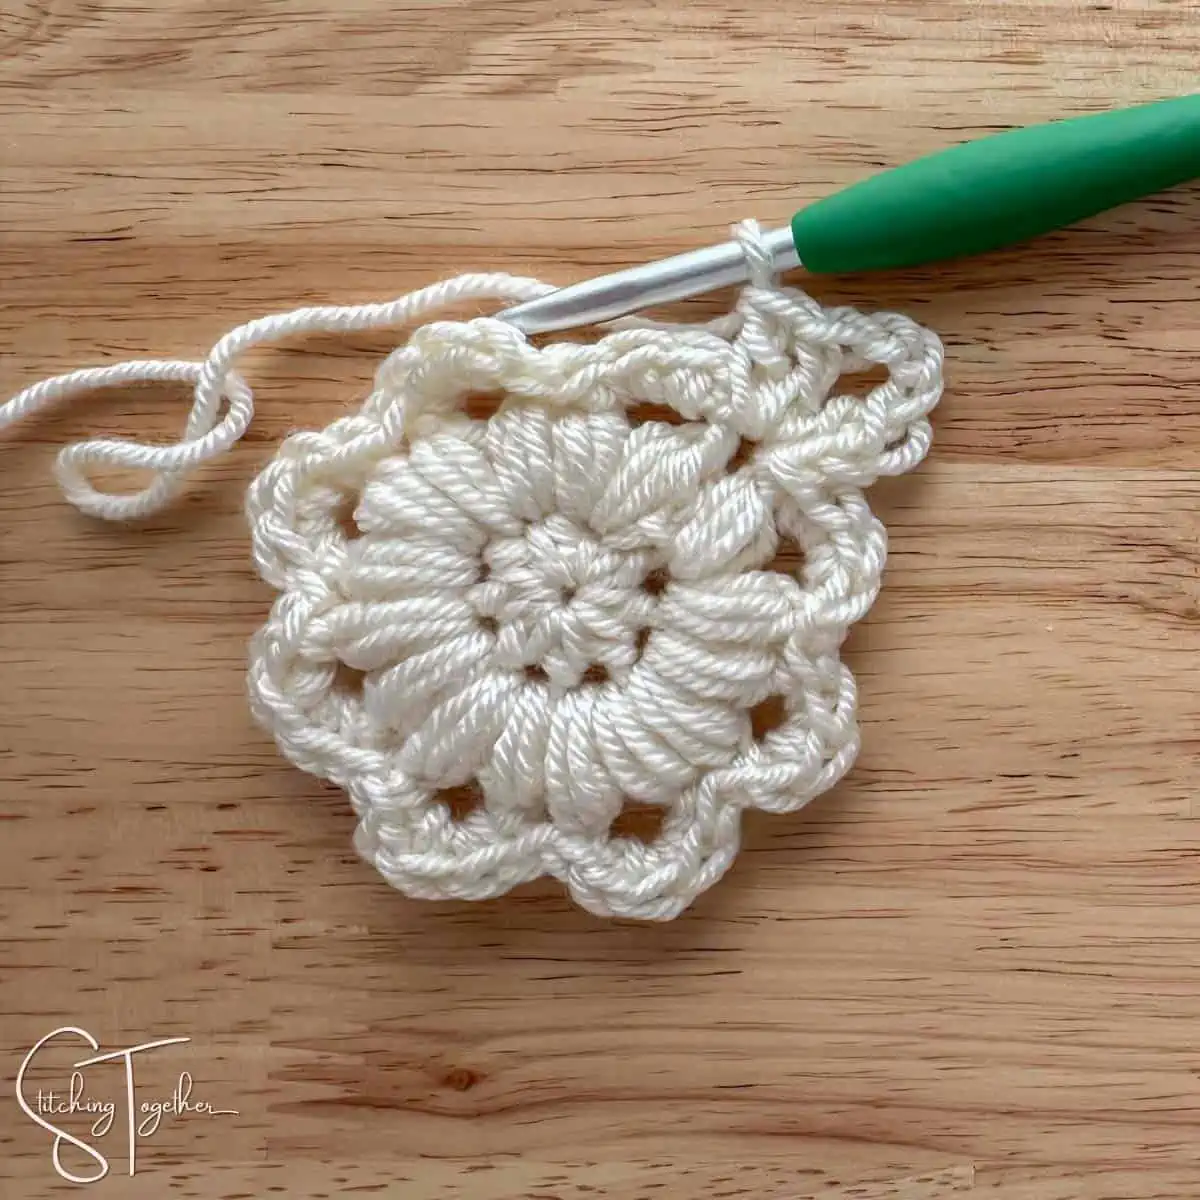
[ch 2, skip 3 sc, dc in ch-1 sp between puff sts,
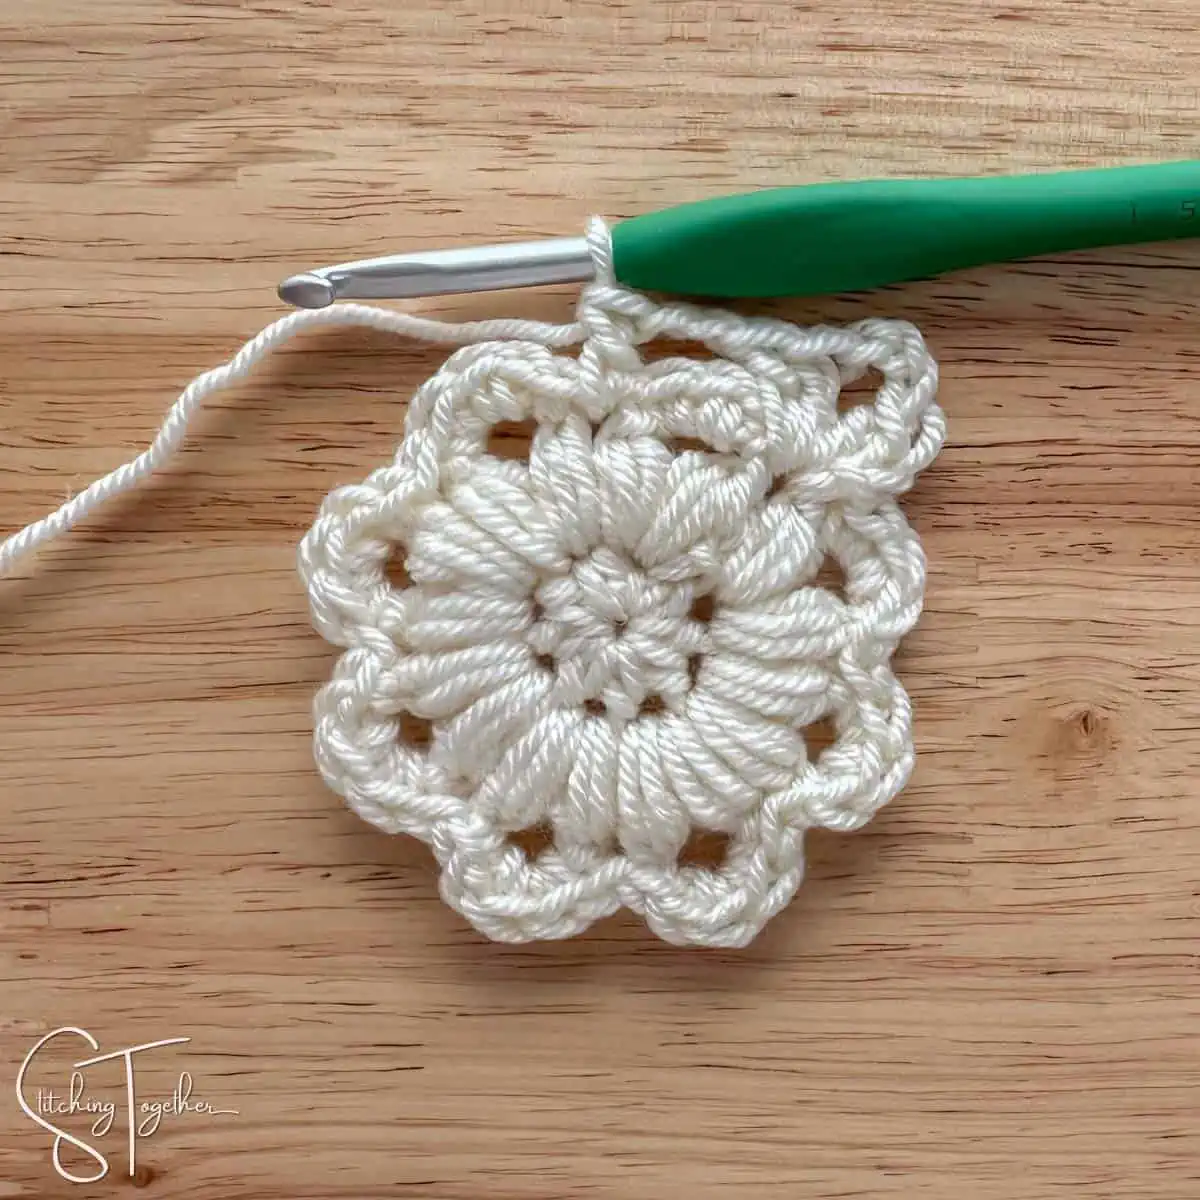
ch 2, skip 3 sc (2 dc, ch 3, 2 dc) in next ch-1 sp] 3 times,
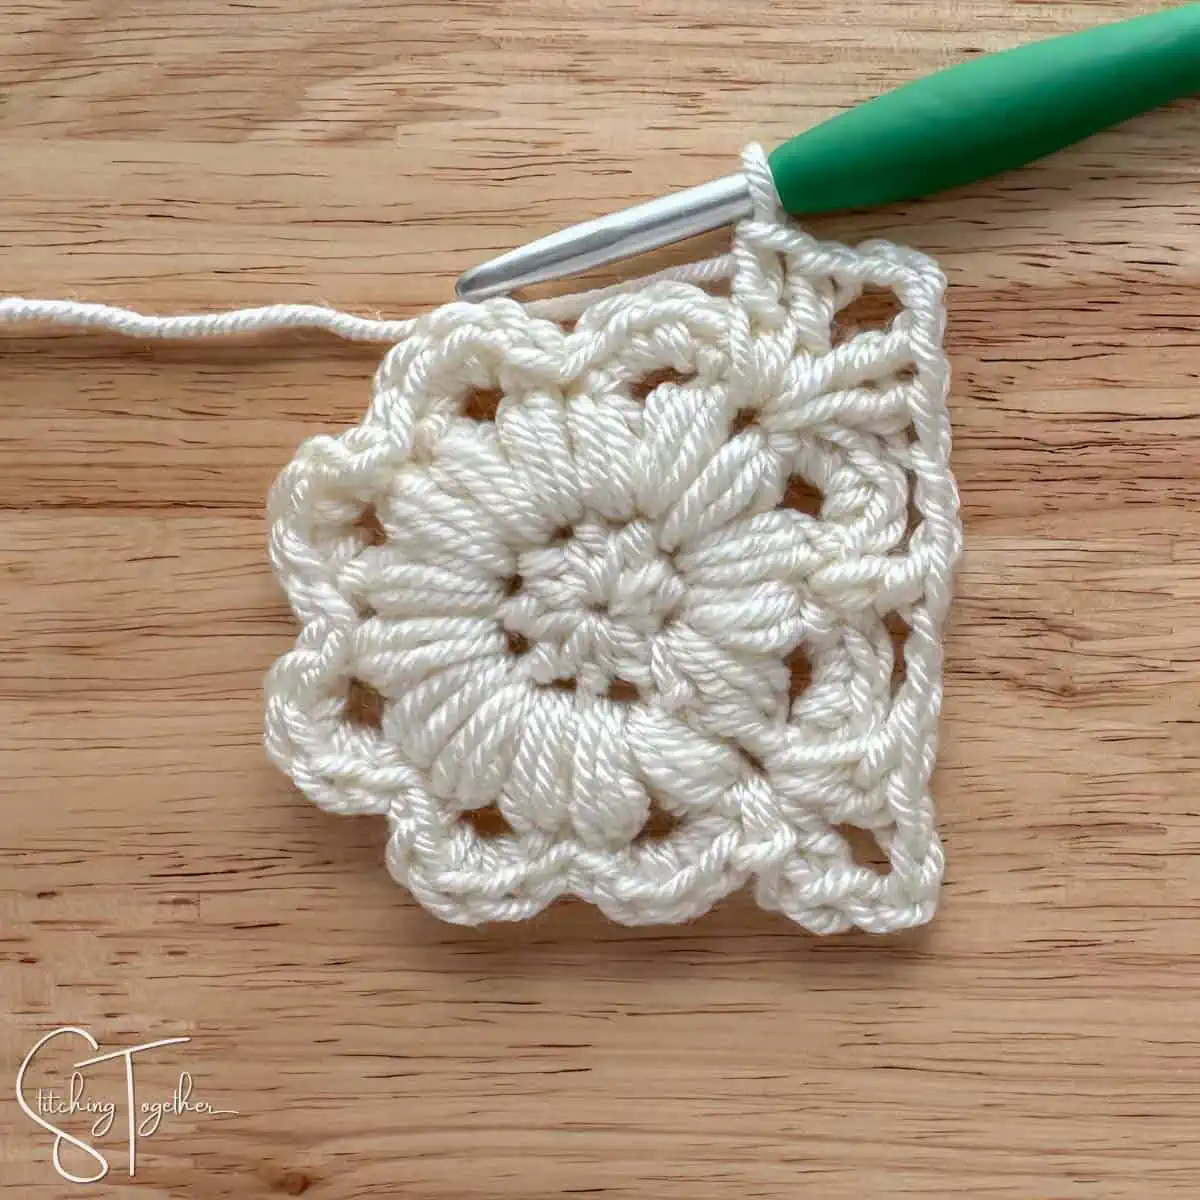
ch 2, skip 3 sc, dc in ch-1 sp between puff sts, ch 2, skip 3 sc, join with a sl st to beg ch 2 (20 dc, 4 ch-3 sps)
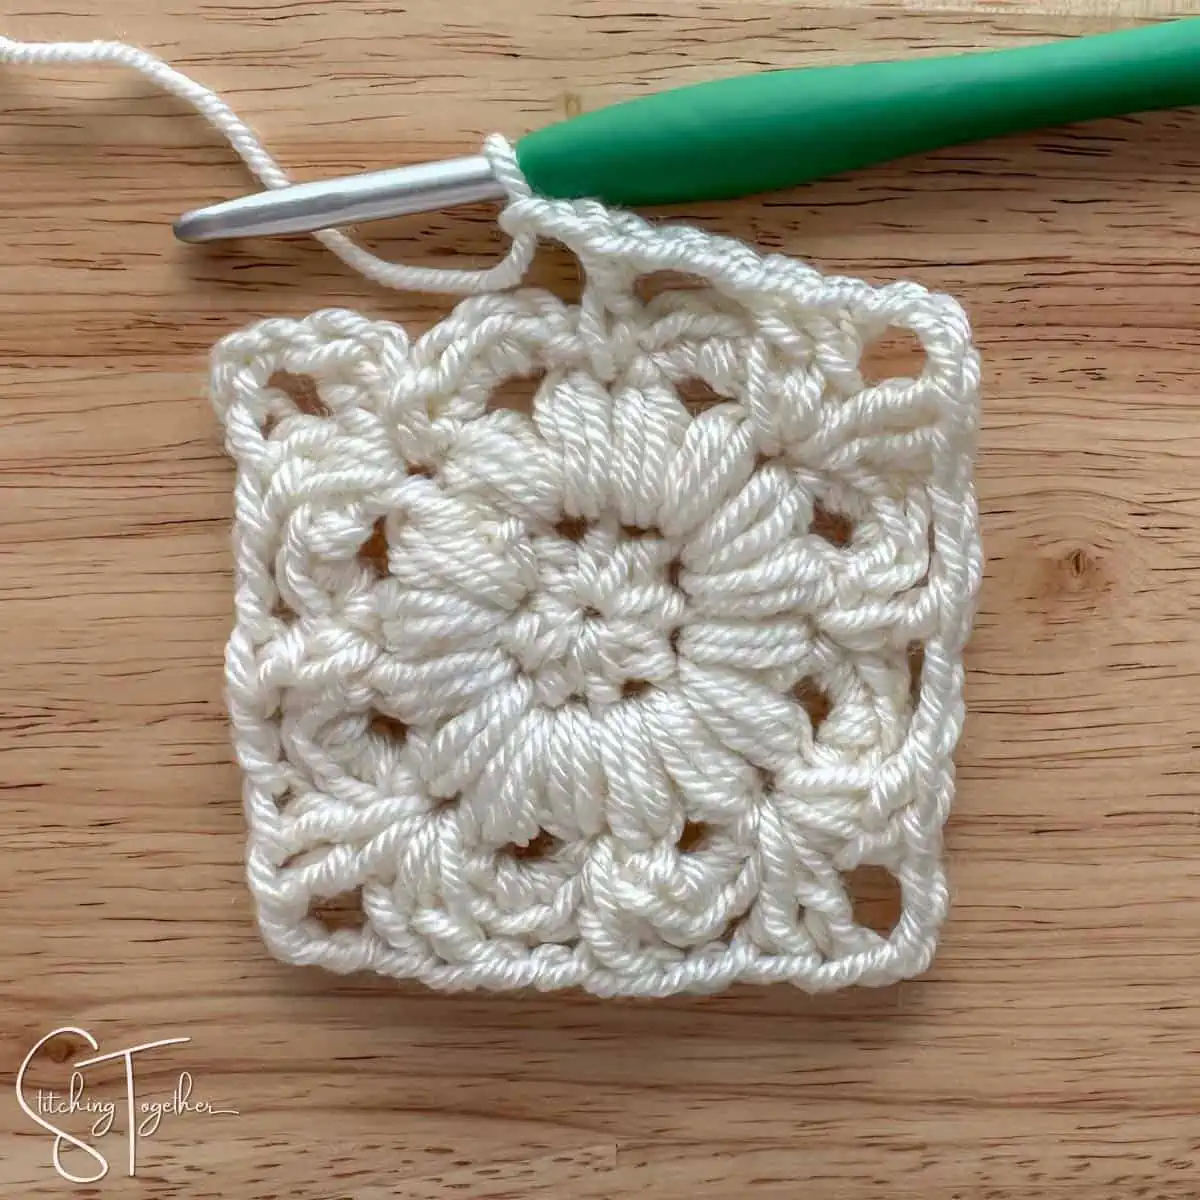
Round 4 Completed: 20 dc
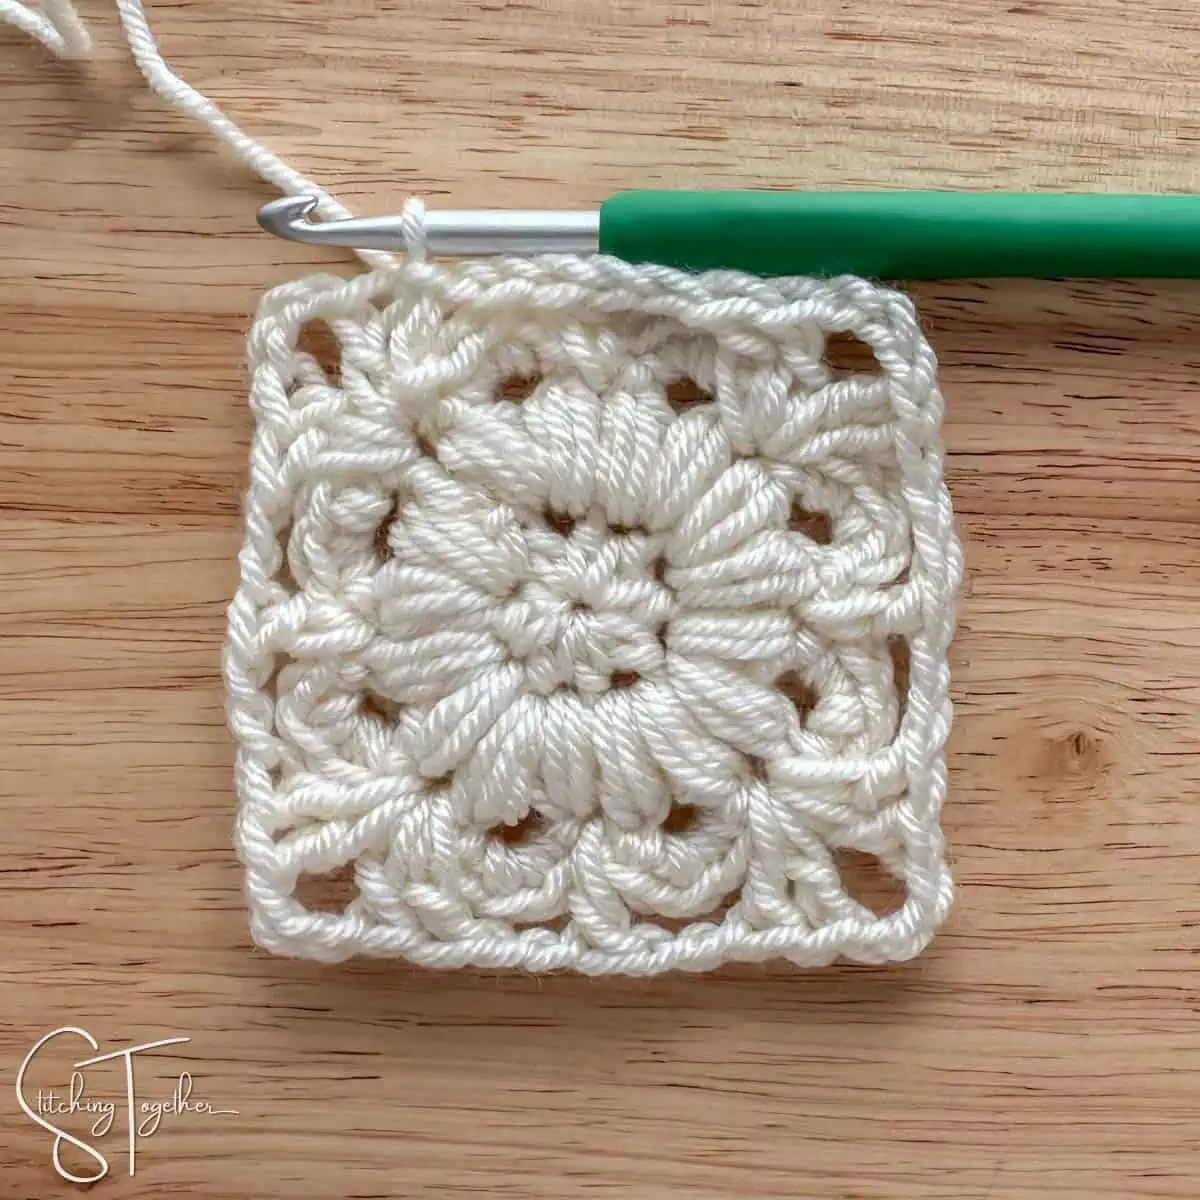
Round 5: Ch 1, [sc in next 2 sts, 3 sc in ch-3 sp,
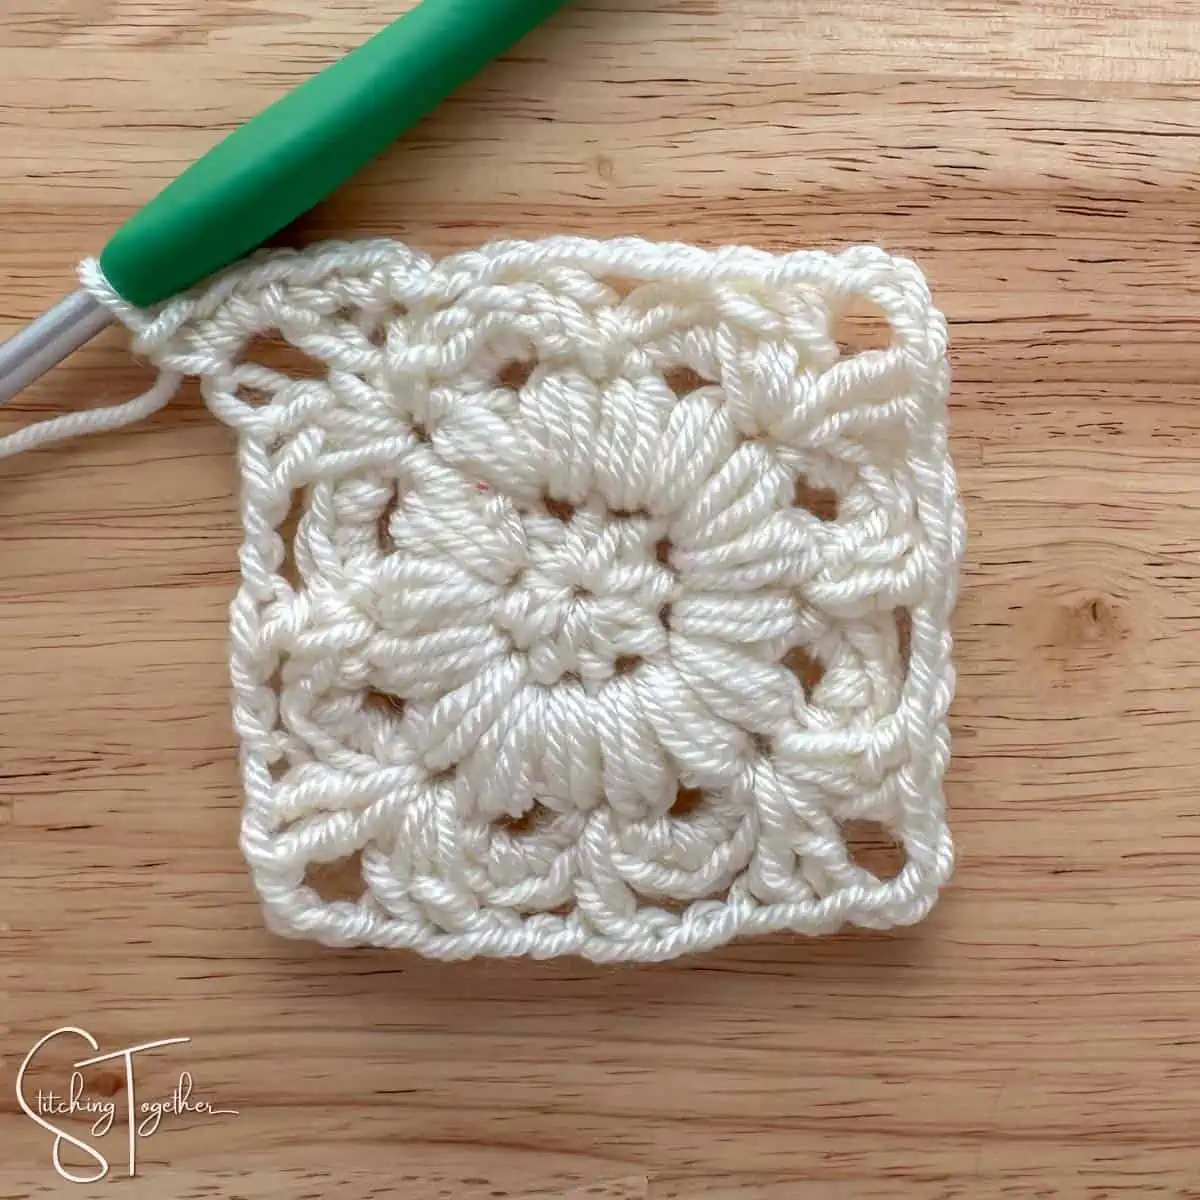
sc in next 2 sts, 2 sc in ch-2 sp, sc in dc, 2 sc in ch-2 sp] 4 times, join with a sl st to beg sc (48 sc)
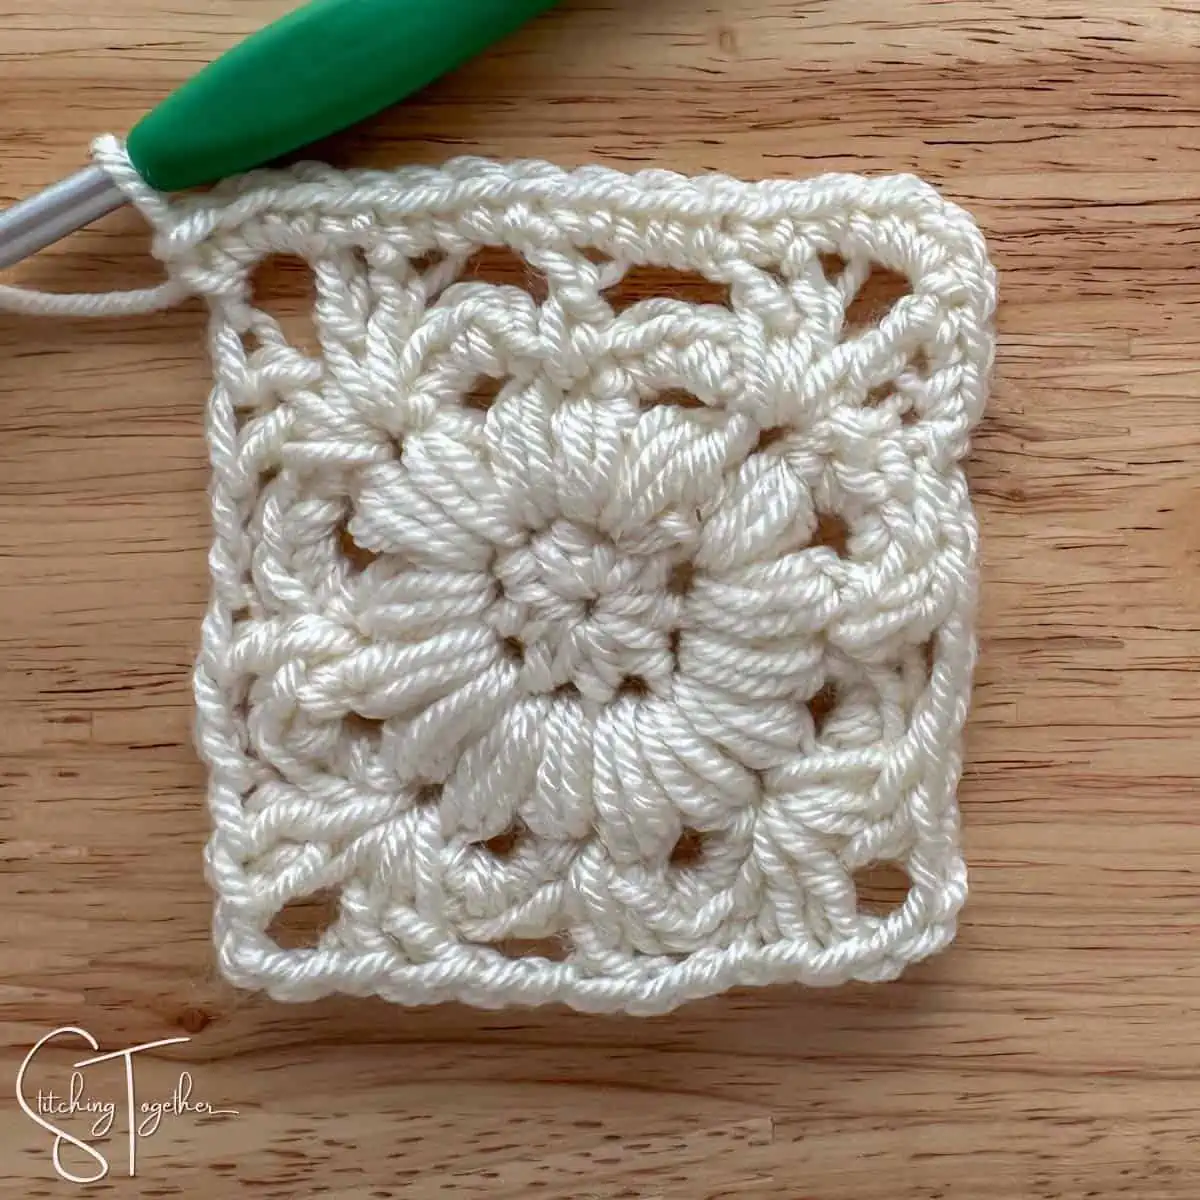
Round 5 Completed: 48 scs
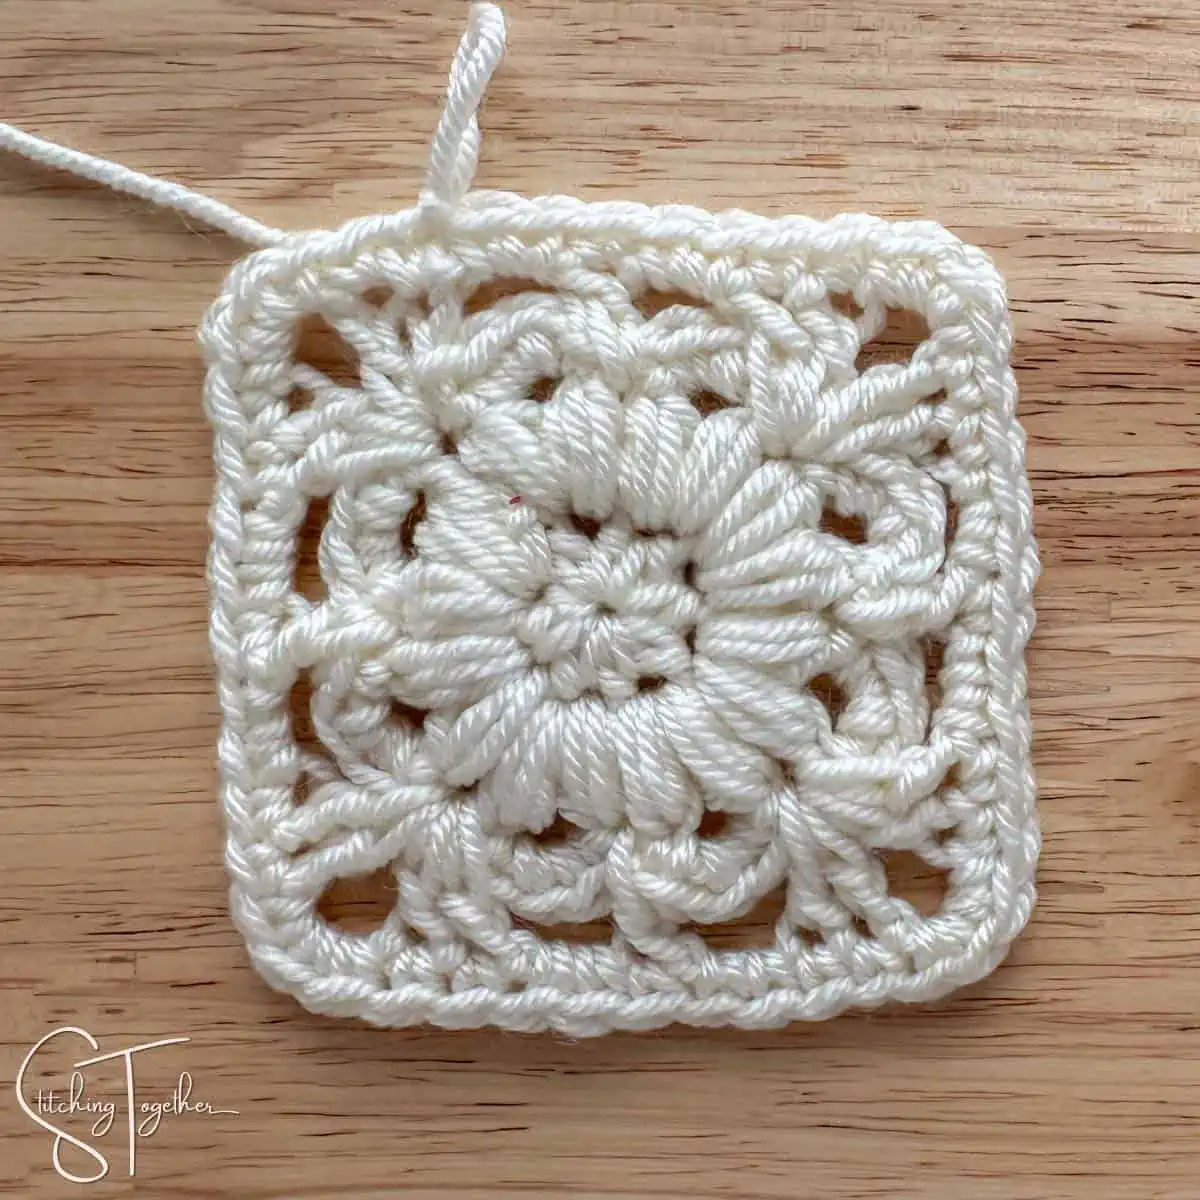
Round 6: ch 2, dc in next 2 sts, (dc, ch 1, dc) in next st, [dc in next 11 sts, (dc, ch 1, dc) in next st] 3 times, dc in next 8 sts, join with a sl st to beg ch 2 (52 dc)
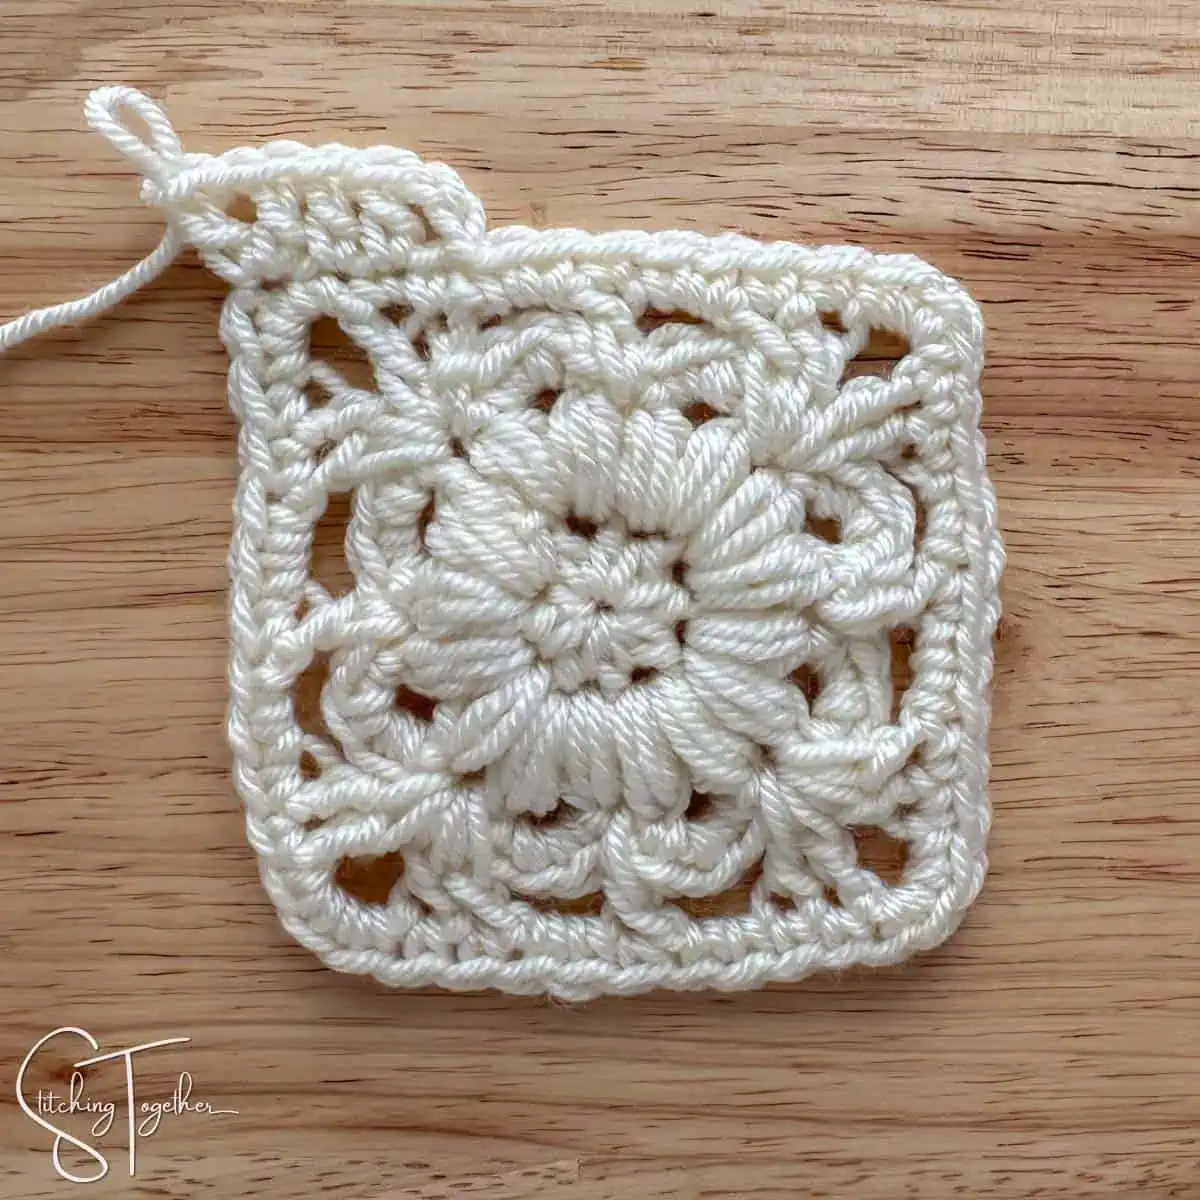
Round 6 Completed: 52 dc
Will you share pictures of your finished projects?
- Tag Stitching Together on Instagram with @stitching_together and use the #stitchingtog
- Upload your picture in the Tried It section of this pin
- Share your work in the Stitching Together Community.