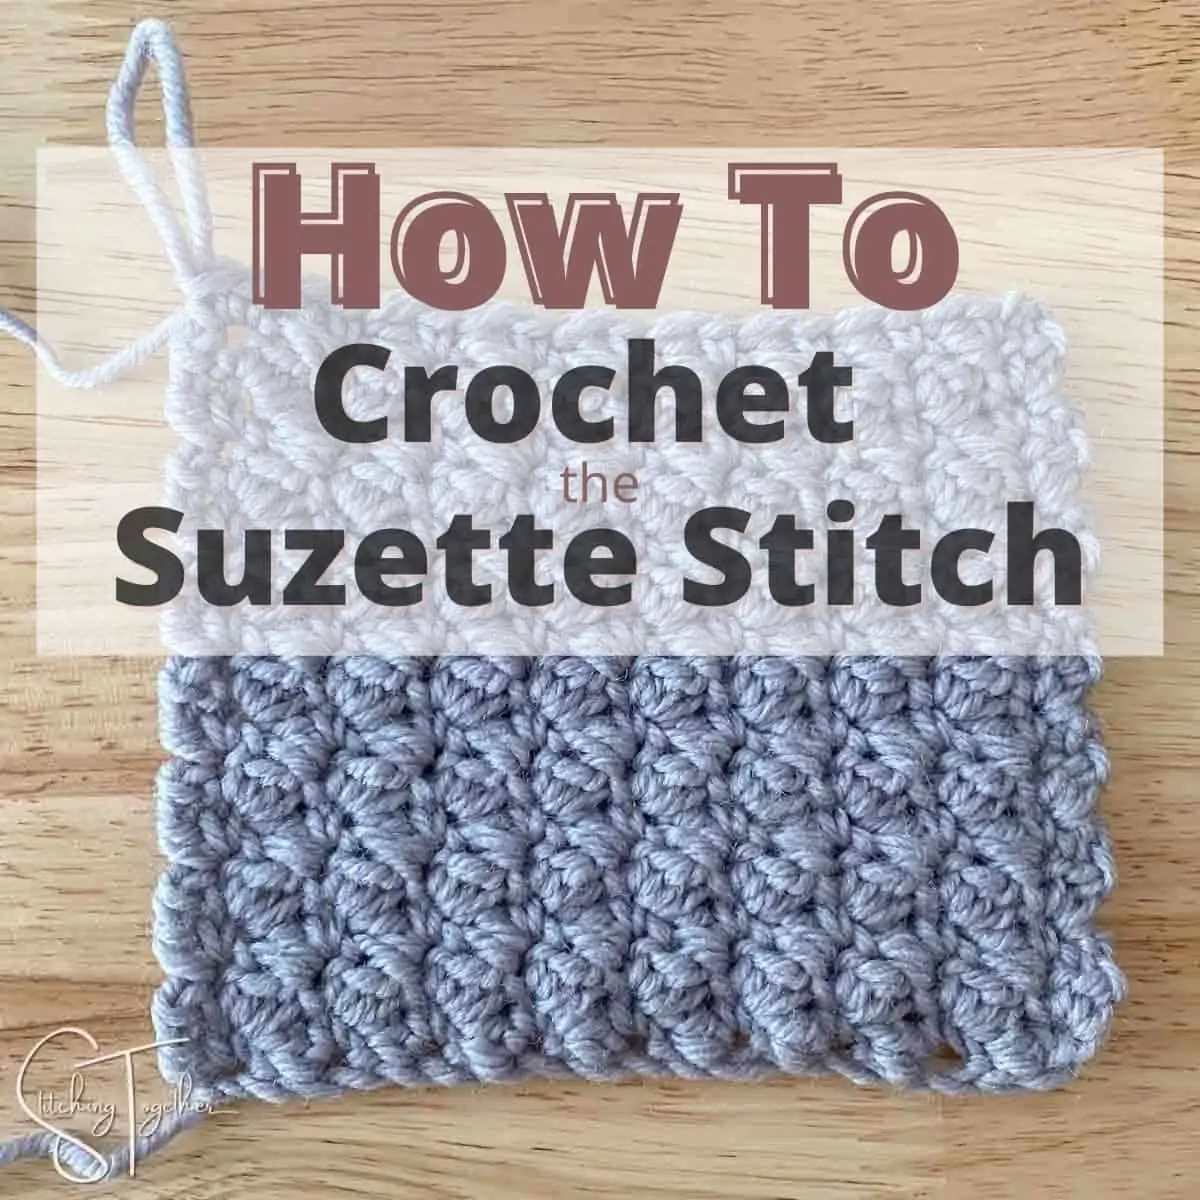
Suzette Stitch Crochet Tutorial
Disclosure: This post may contain affiliate links. As an Amazon Associate, I earn from qualifying purchases. Please visit my Privacy Policy for disclosures and more information.
Let’s learn a new stitch pattern today! The Suzette Stitch is a fun and simple stitch combination that’s perfect for anyone who already knows how to chain, single crochet, and double crochet. Is that you? Well stick around, grab your yarn and favorite hook, and keep reading the Suzette stitch tutorial.
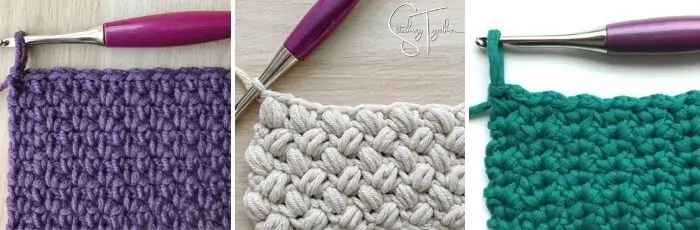
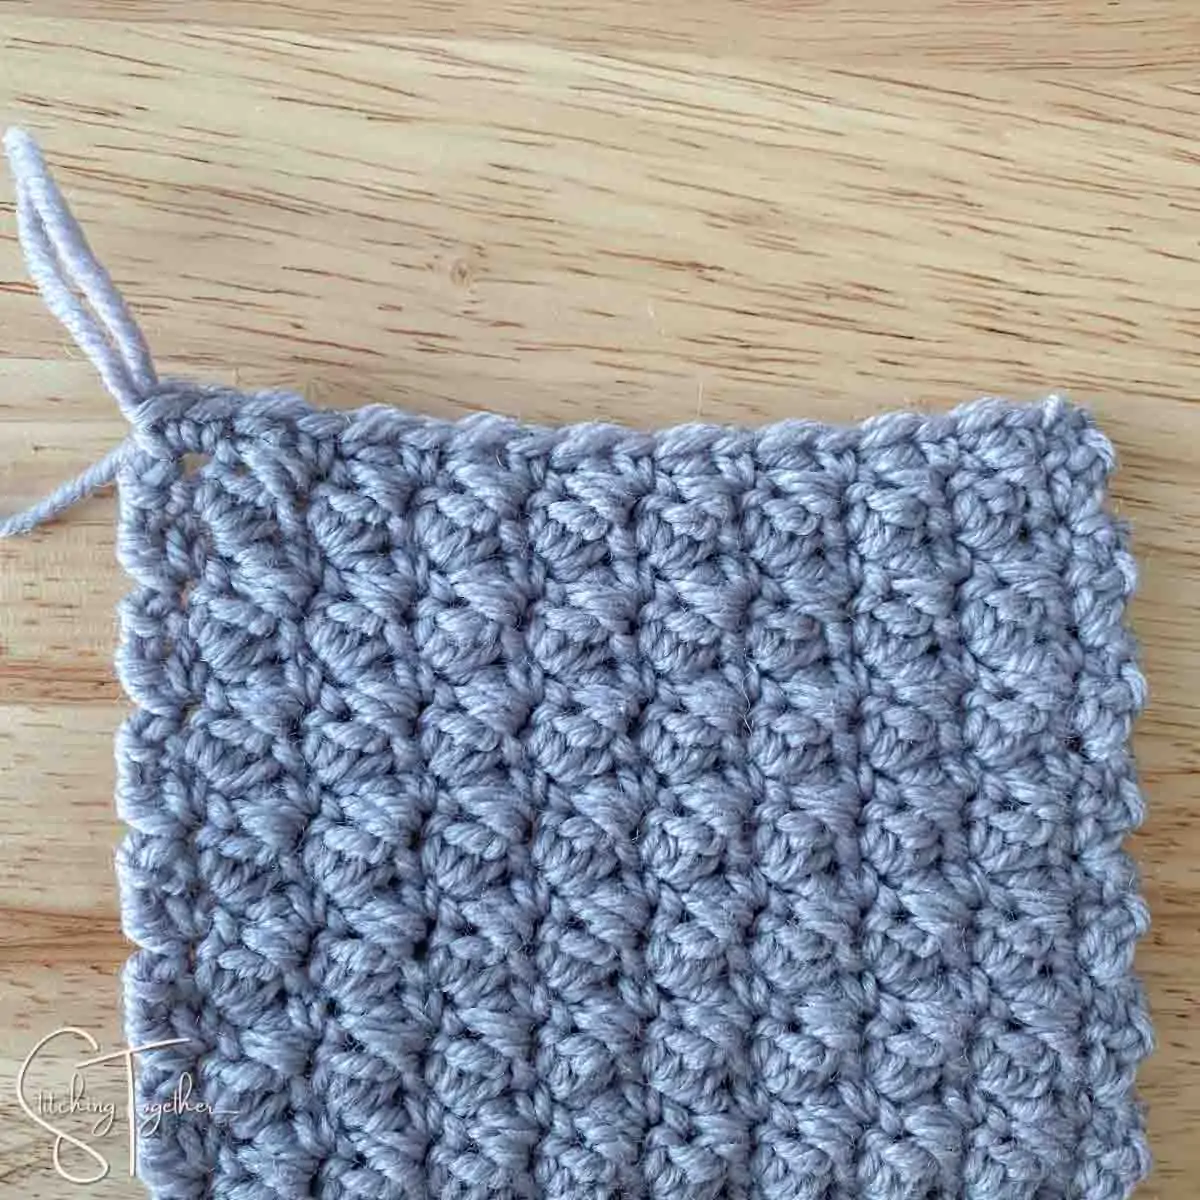
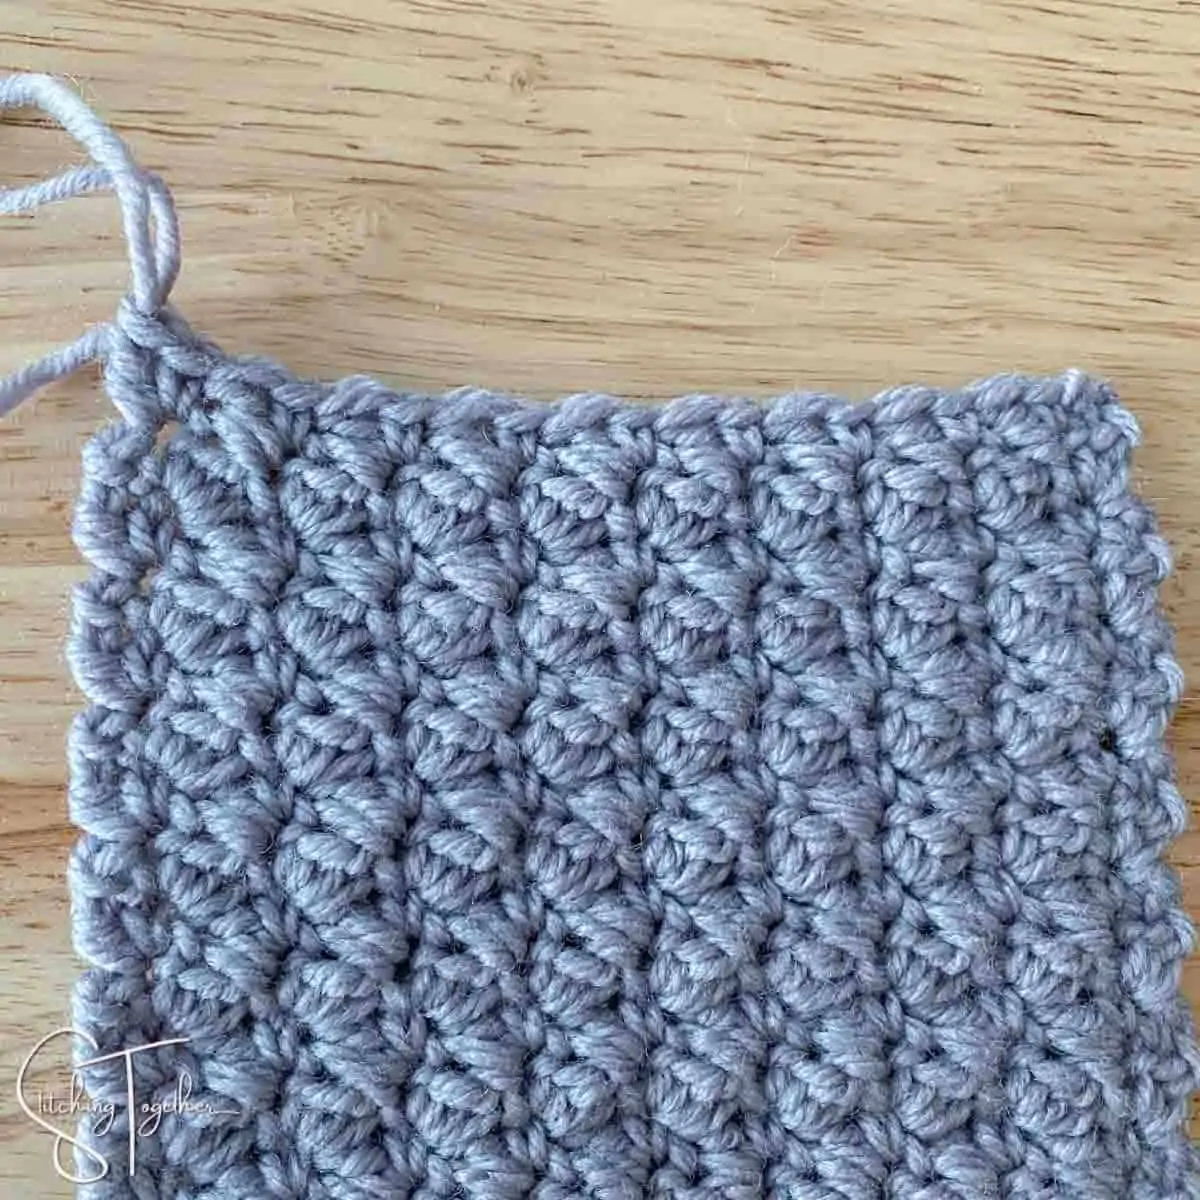
The Suzette Crochet Stitch gives you a fabric that is dense (not holey) but still has some good flow and movement with a lovely texture. It’s great for making a dishcloth, a headband, a scarf, a baby blanket, and more.
As you read through the crochet stitch tutorial, you’ll find a brief explanation of the stitch, then the written crochet pattern for those of you who are good at following words, and finally a step-by-step photo tutorial for both right-handed and left-handed crocheters.
Suzette Stitch Explanation
The Suzette crochet stitch is a super easy stitch combination to try once you’ve mastered the beginner stitches like the chain stitch, the single crochet stitch, and the double crochet stitch.
The Suzette stitch pattern is made by alternating single crochets and double crochets, like the lemon peel stitch, but the sc and dc are worked into the same stitch and then you skip a stitch before working another single crochet and double crochet into the next stitch.
Once you are past the first row, you’ll be working the single and double crochets into each single crochet stitch of the row below, skipping each double crochet.
I’ve added an optional modification to the final stitch of the last row which I think helps the fabric look a little more finished. Instead of working a single crochet and double crochet in the last stitch of the row, work 2 single crochets. You’ll find that corner squares off a bit better than if you had worked a double crochet for the final stitch.
You can also use just one single crochet to finish each row and get an even straighter edge.
Related: Sedge Stitch Crochet Tutorial
Before we learn how to crochet the Suzette stitch, save this tutorial on Pinterest so you can find it later!
Crochet Suzette Stitch Tutorial
Materials:
The sample swatch for the photo tutorial used Category 4 worsted weight yarn (Red Heart’s Chic Sheep in Sterling) and a US size I/9, 5.5 mm crochet hook (Furl’s Odyssey).
Abbreviations:
ch: chain
sc: single crochet
dc: double crochet
Notes:
All instructions and abbreviations are written in US crochet terms.
I found that putting 2 single crochets in the very last stitch of the very last row looked better than finishing the row with a single crochet and a double crochet in the last stitch. I wrote that as optional instructions for the Suzette Stitch crochet written pattern and you can see in the photos the difference between options.
Suzette Stitch Written Pattern
ch 18 (start with an even number of chains)
Row 1: (sc, dc) in 2nd ch from hook, *skip ch, (sc, dc) in next ch, repeat from * to end of row, turn.
Row 2: ch 1, *skip dc, (sc, dc) in sc of the row below, repeat from * to the end of the row, turn.
Repeat Row 2
Optional:
Final row: (2 sc) in the last st of the row. Fasten off and weave in ends.
Suzette Stitch Photo Tutorial – Right Handed
Start with an even number of chains. For this sample, we will start with a chain of 18.

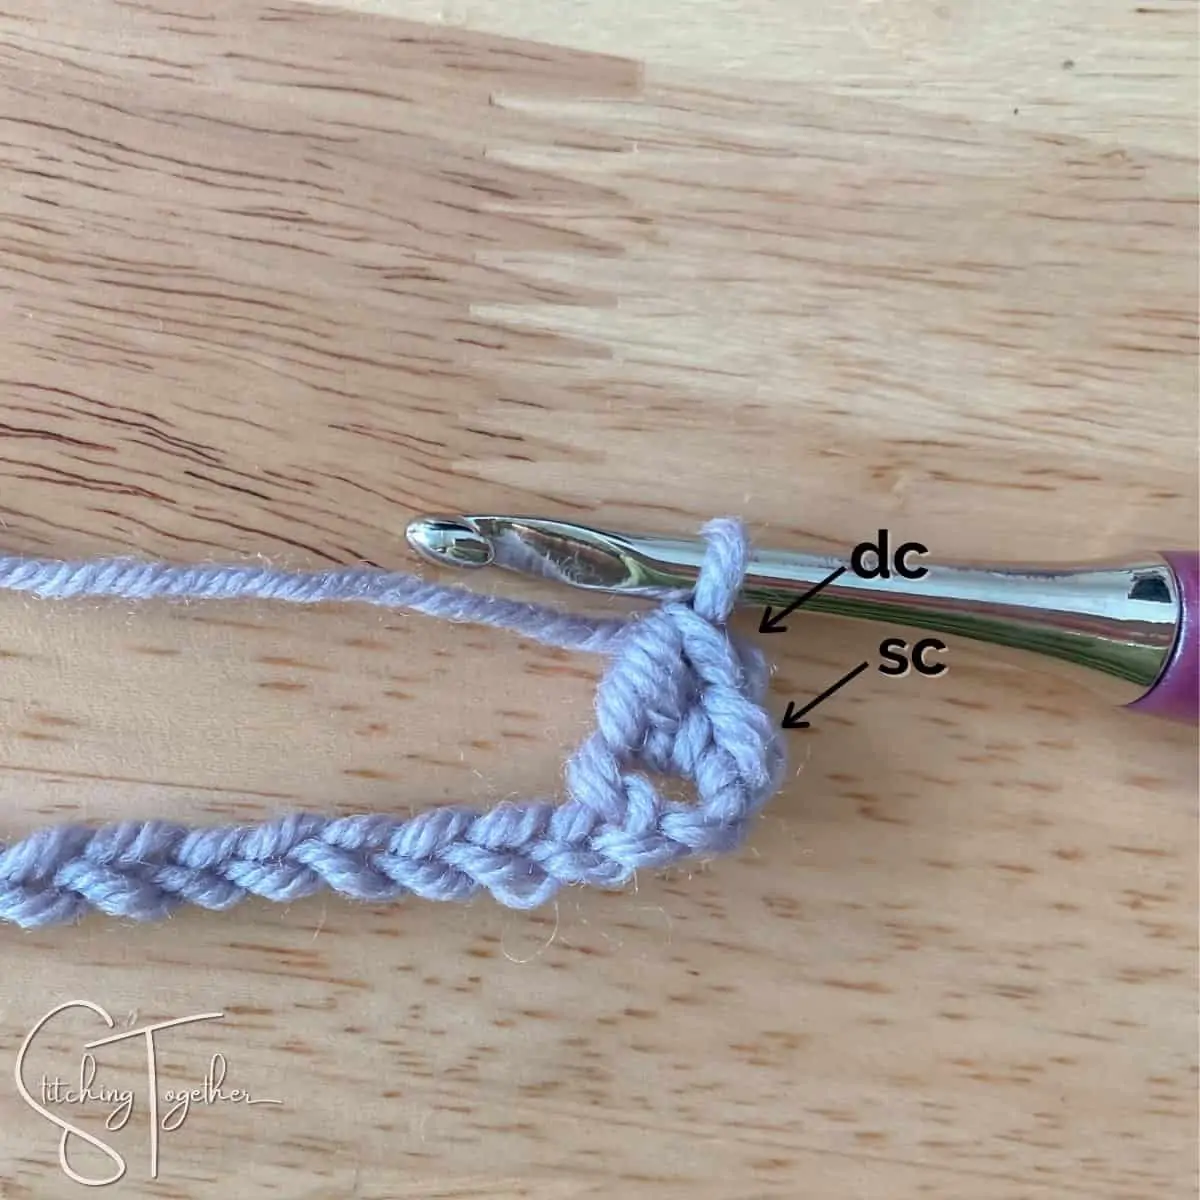
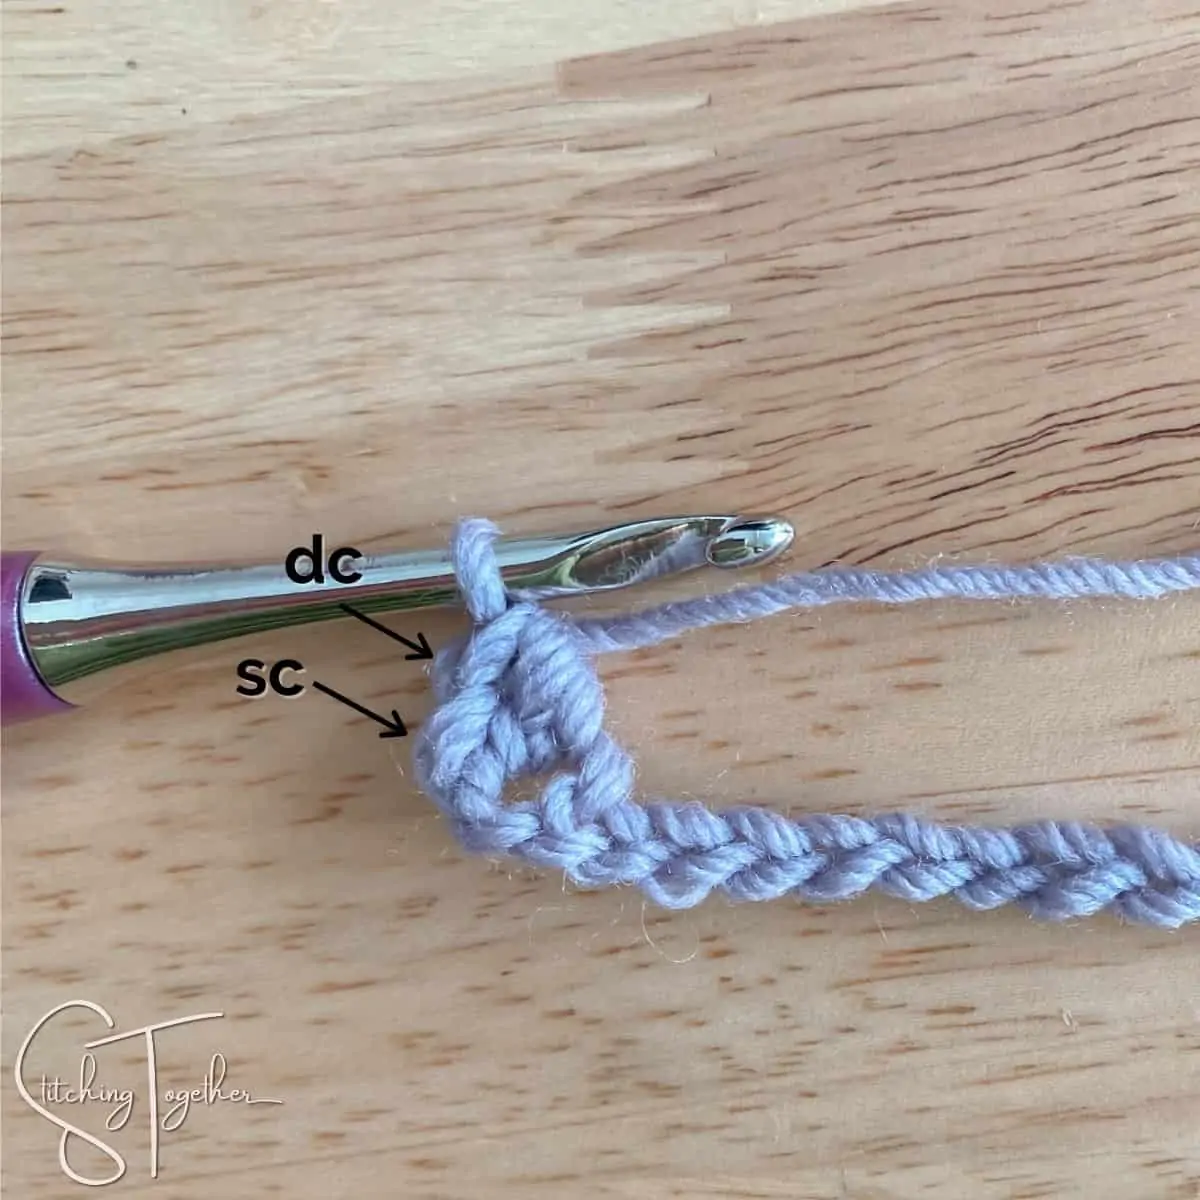
Make one single crochet and one double crochet in the second chain from the hook
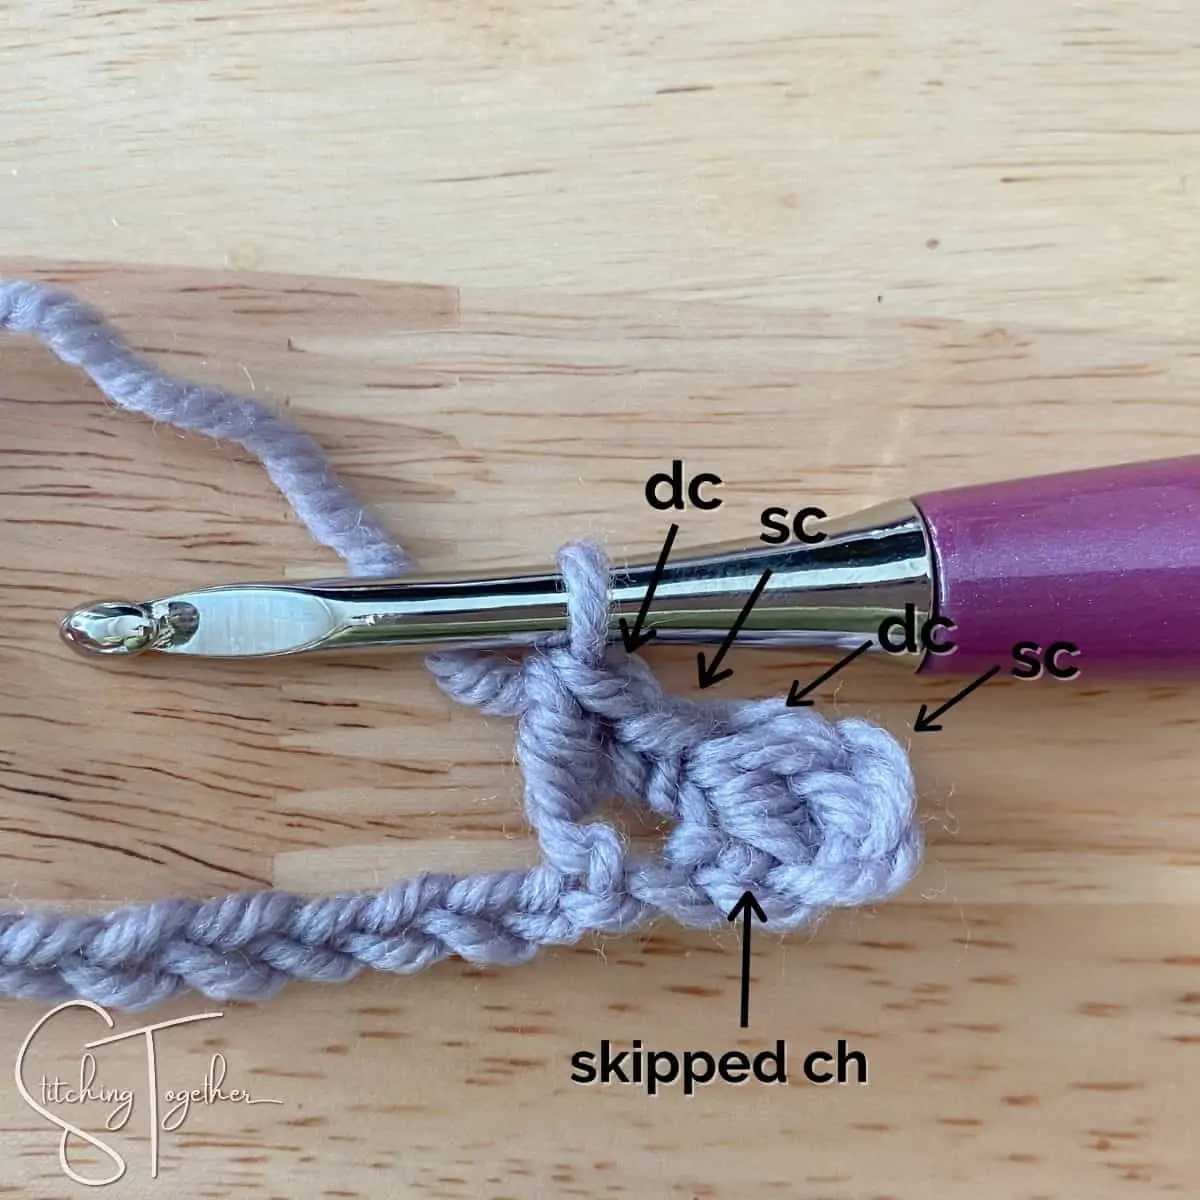
Skip the next chain
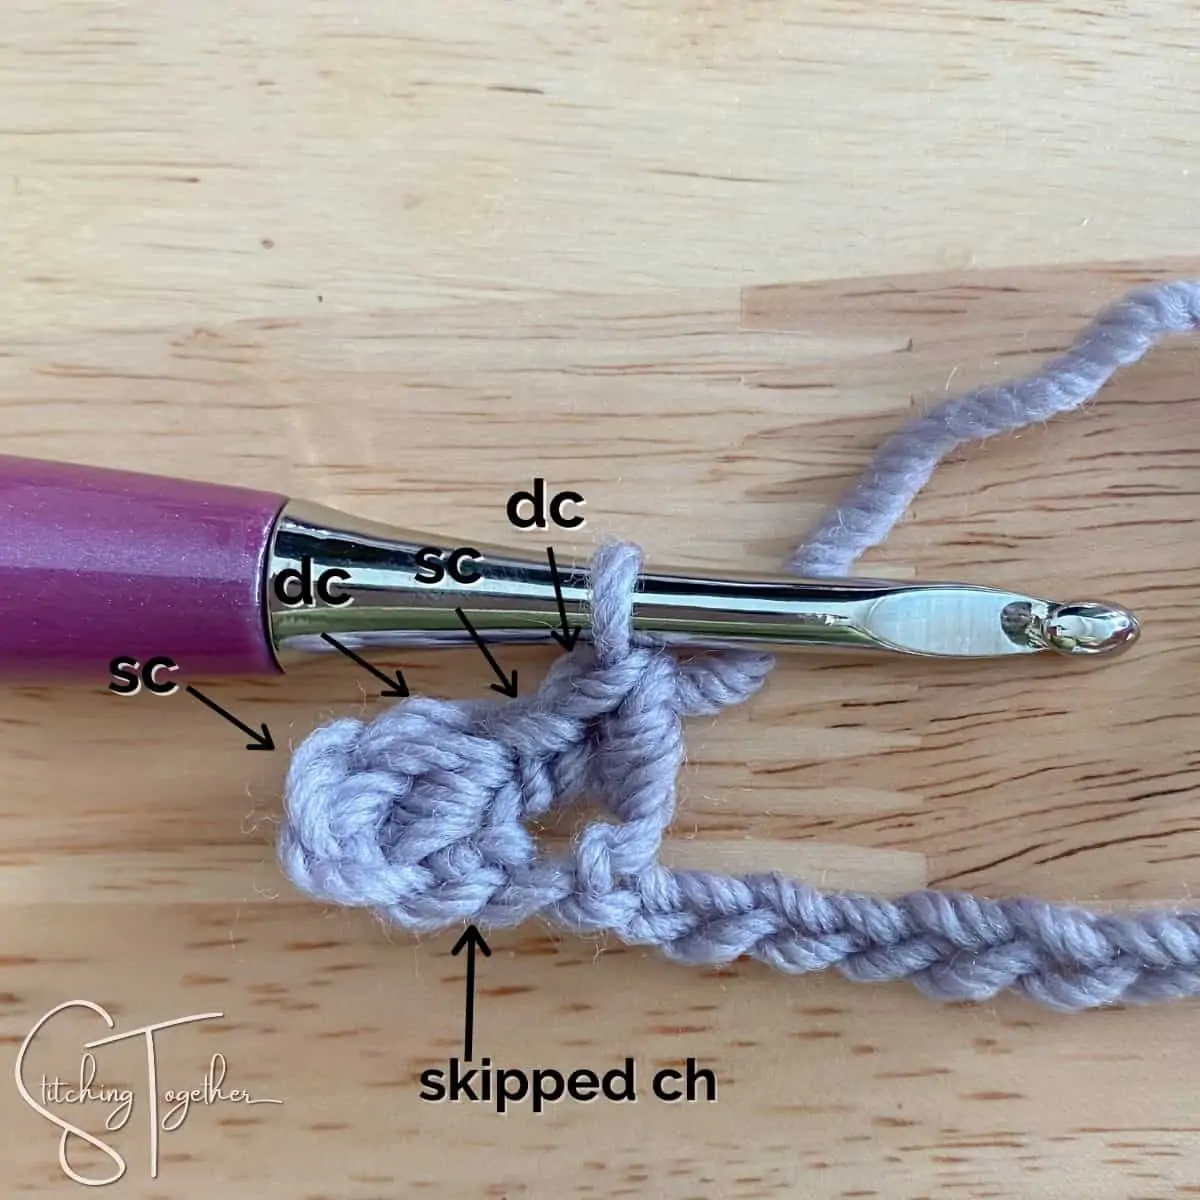
Single crochet and double crochet in the next chain
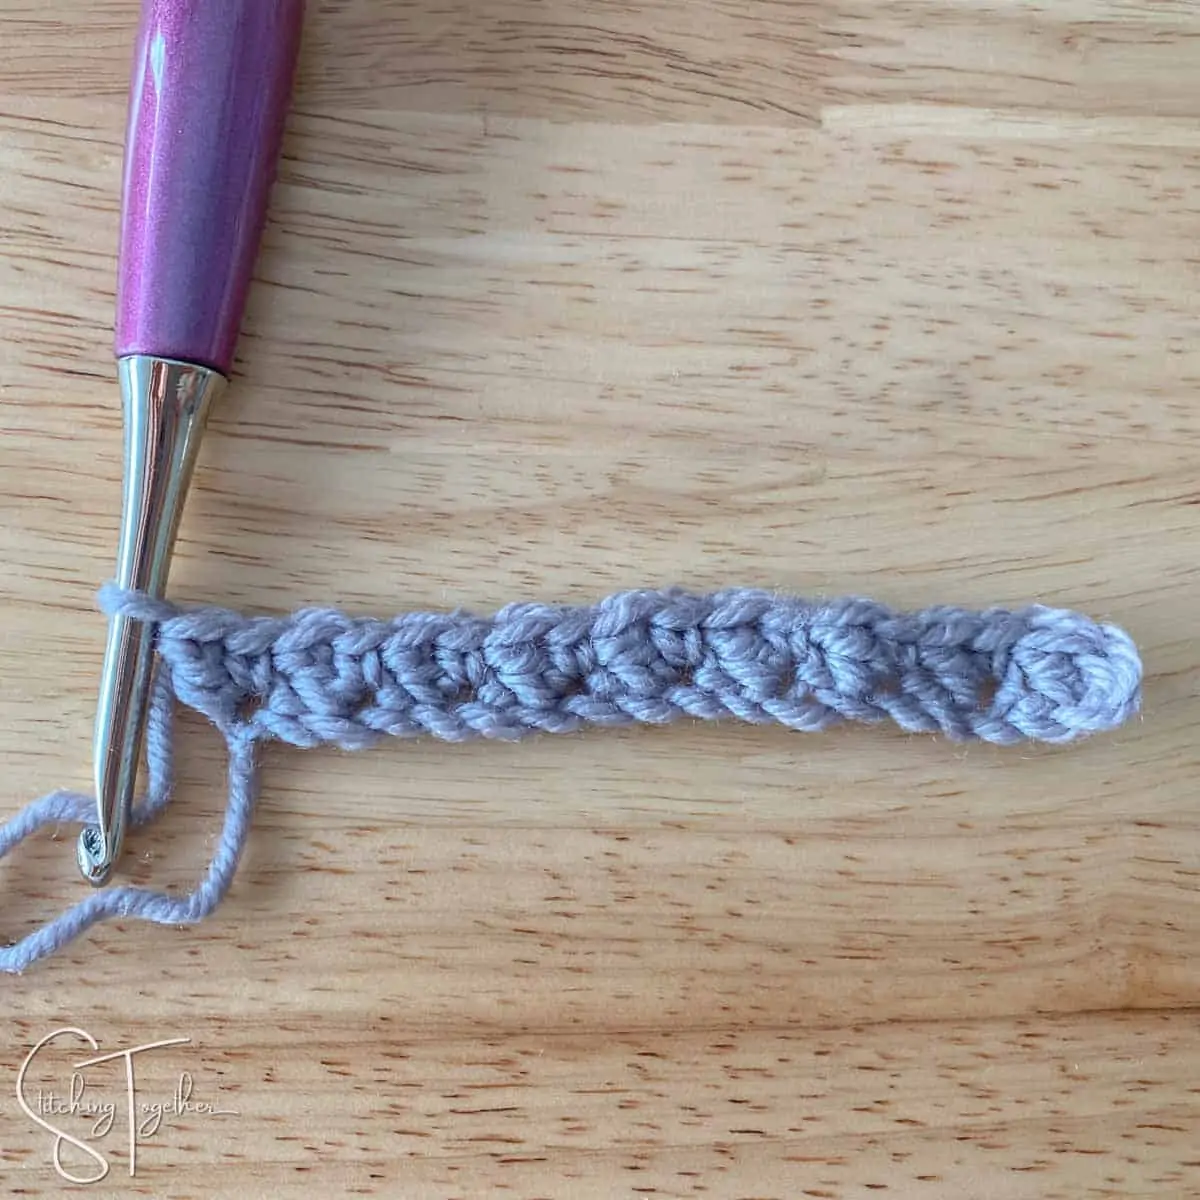
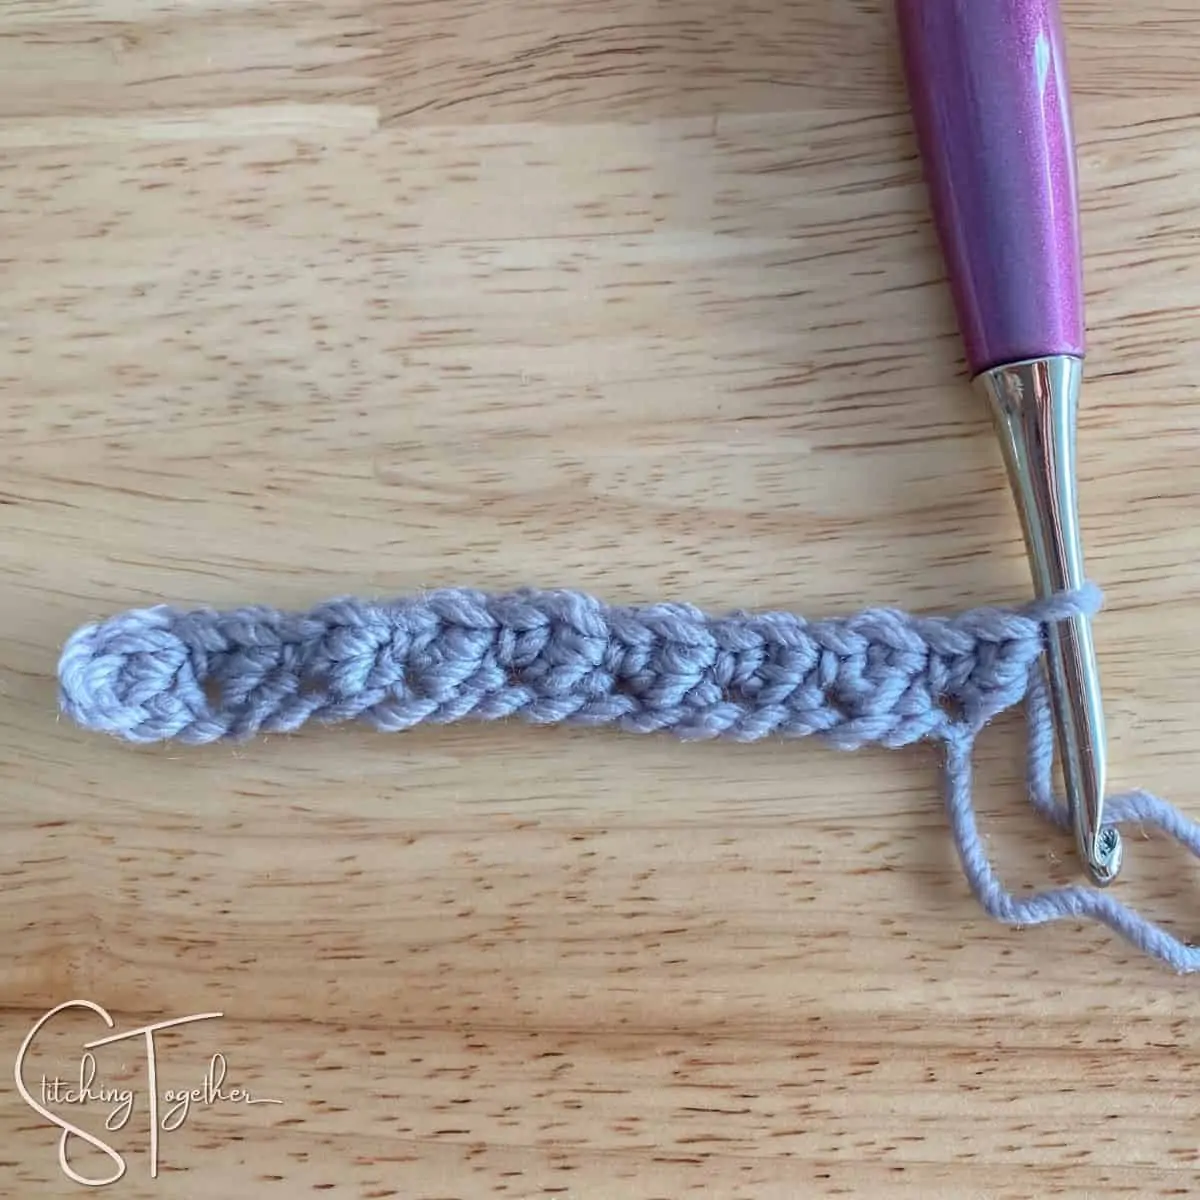
Continue skipping a stitch then putting a single crochet and double crochet in the next stitch until the end of the row
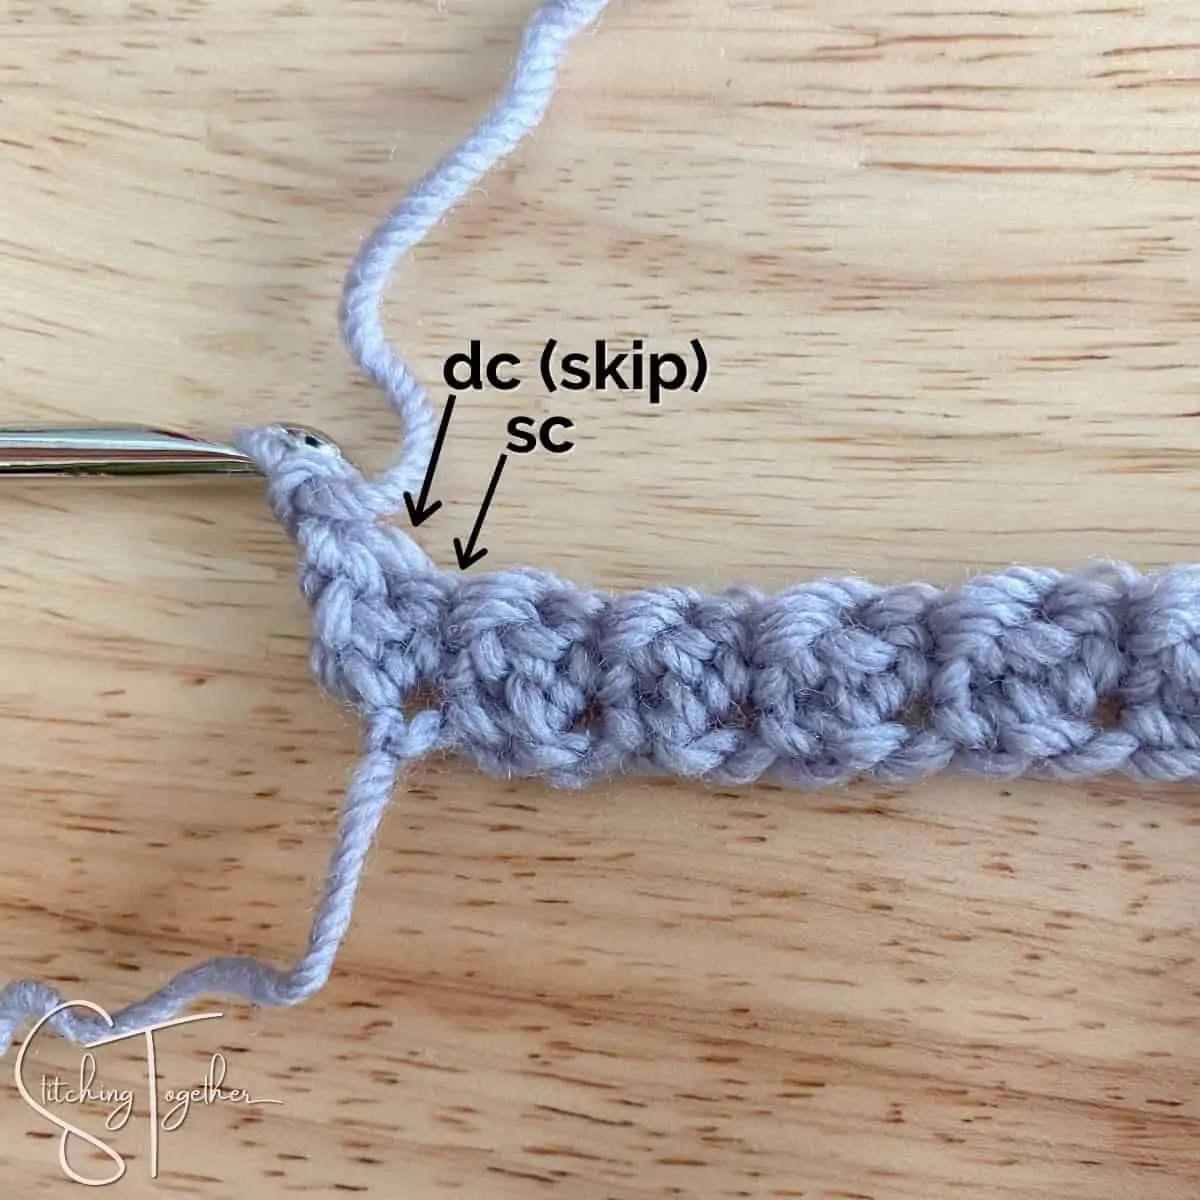
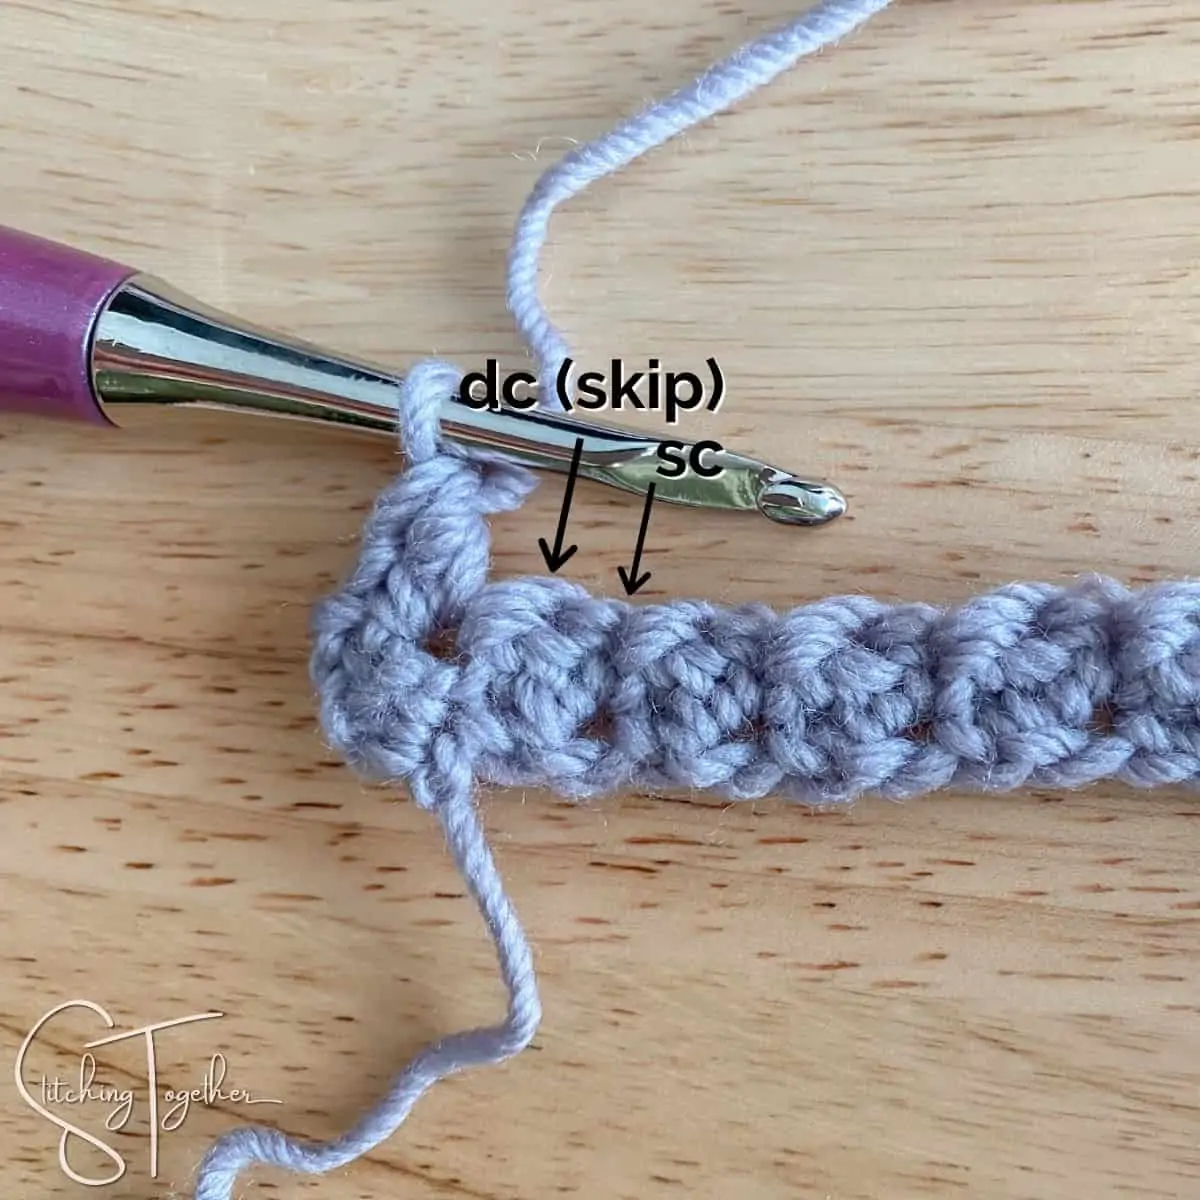
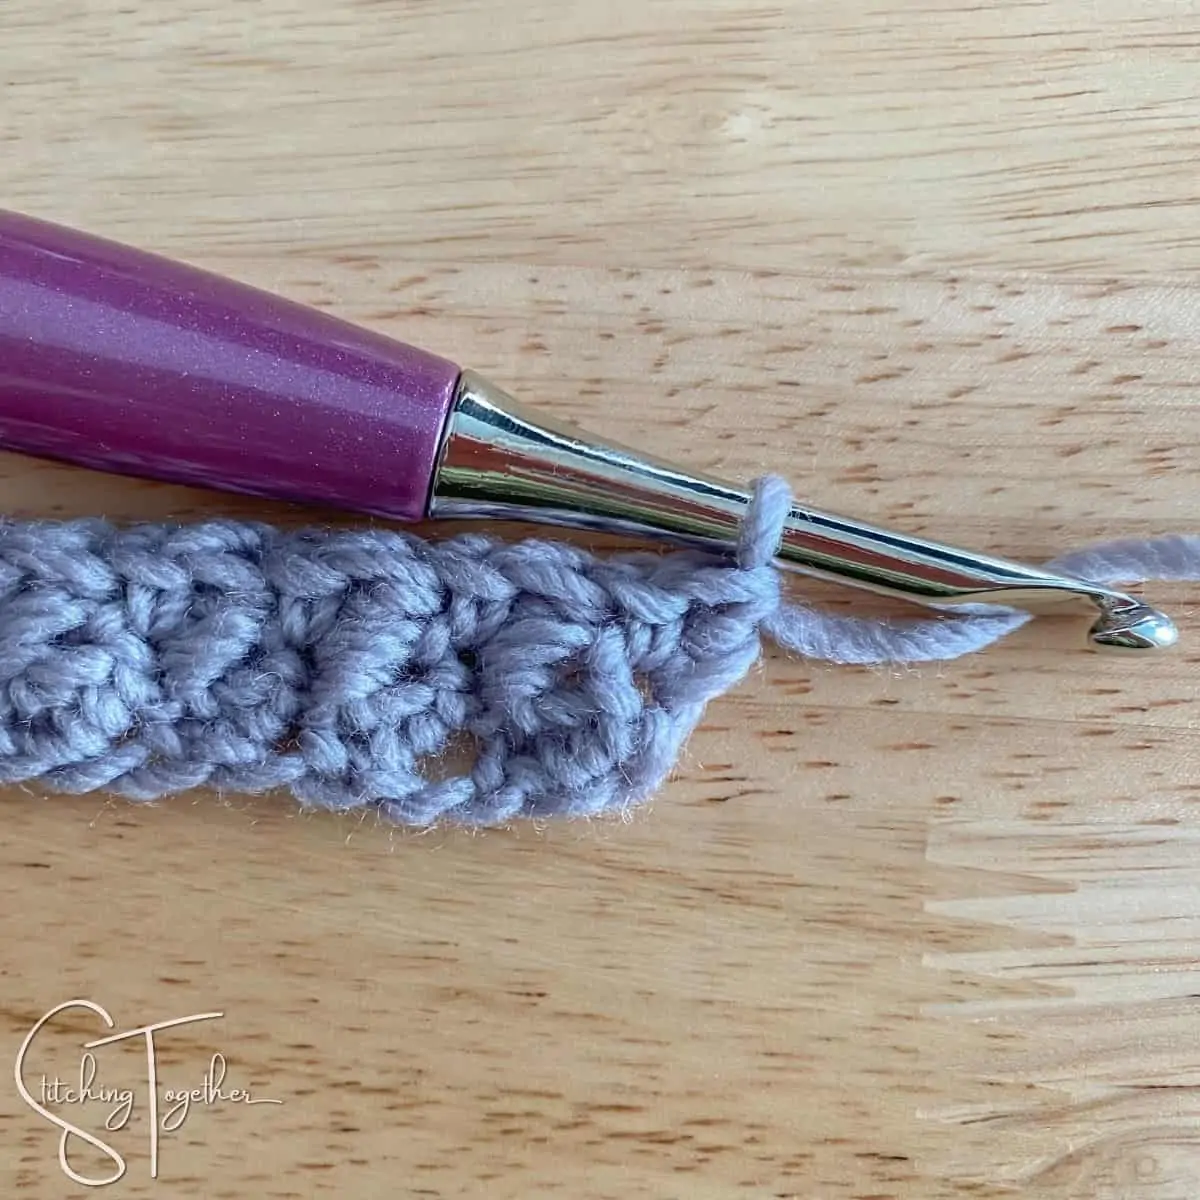
Row 2: Chain one, skip the first double crochet of the row below then make one single crochet and one double crochet in the first single crochet of the row below.
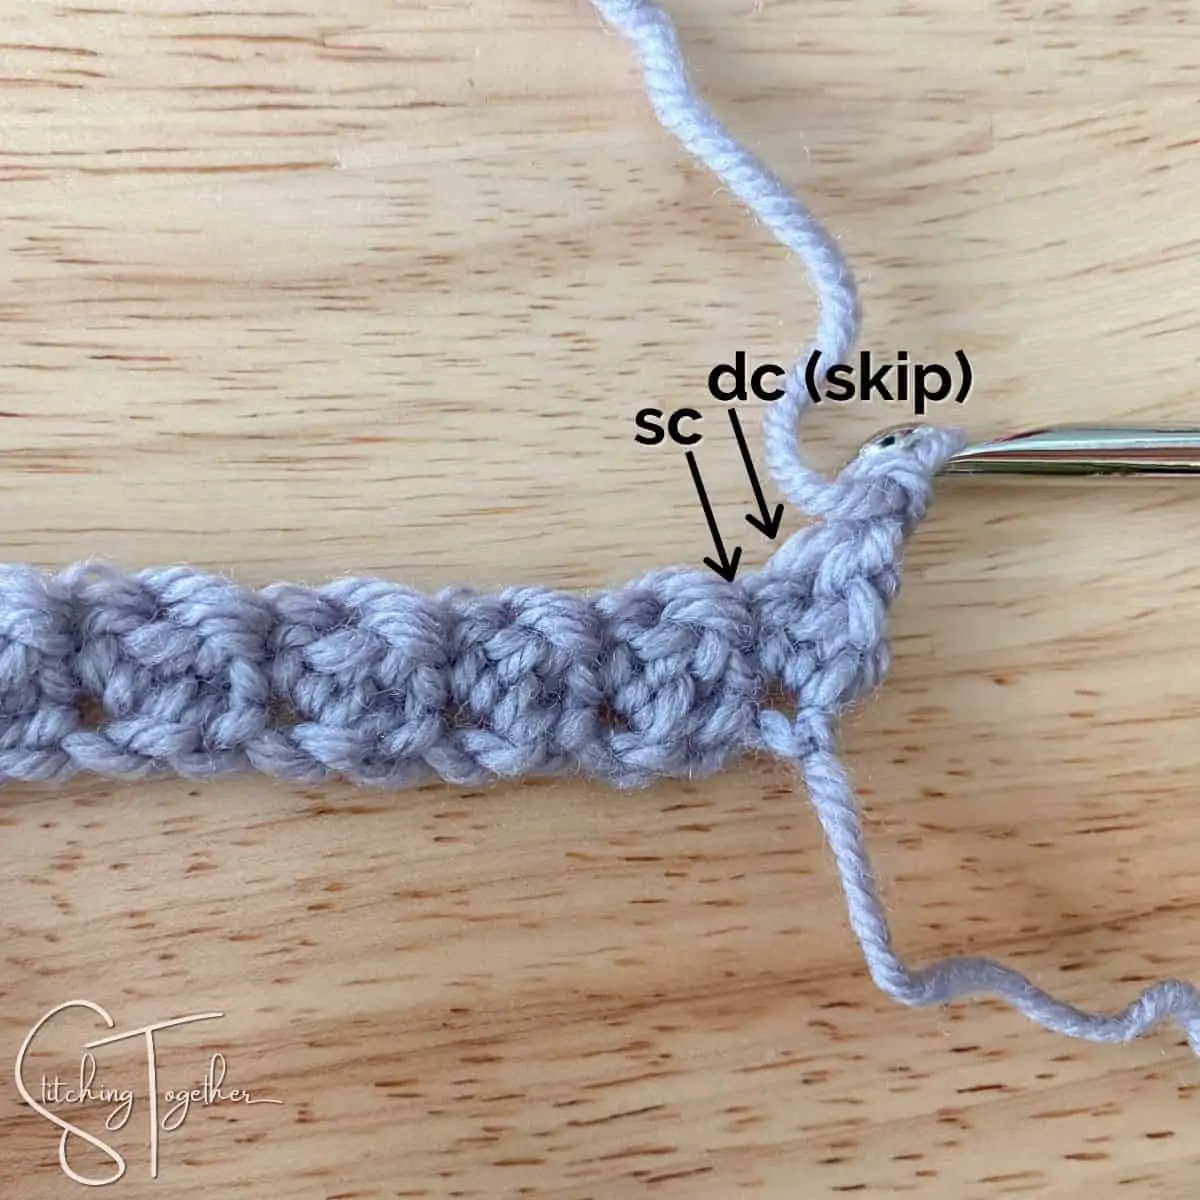
Continue the row placing your single crochet and double crochet in each single crochet of the row below, skipping each double crochet of the row below.
Repeat row 2 until your fabric reaches the desired size.
For the very last stitch, work a single crochet instead of a double crochet to achieve a more finished corner then fasten off and weave in ends.
Suzette Stitch Photo Tutorial – Left Handed
Start with an even number of chains. For this sample, we will start with a chain of 18.
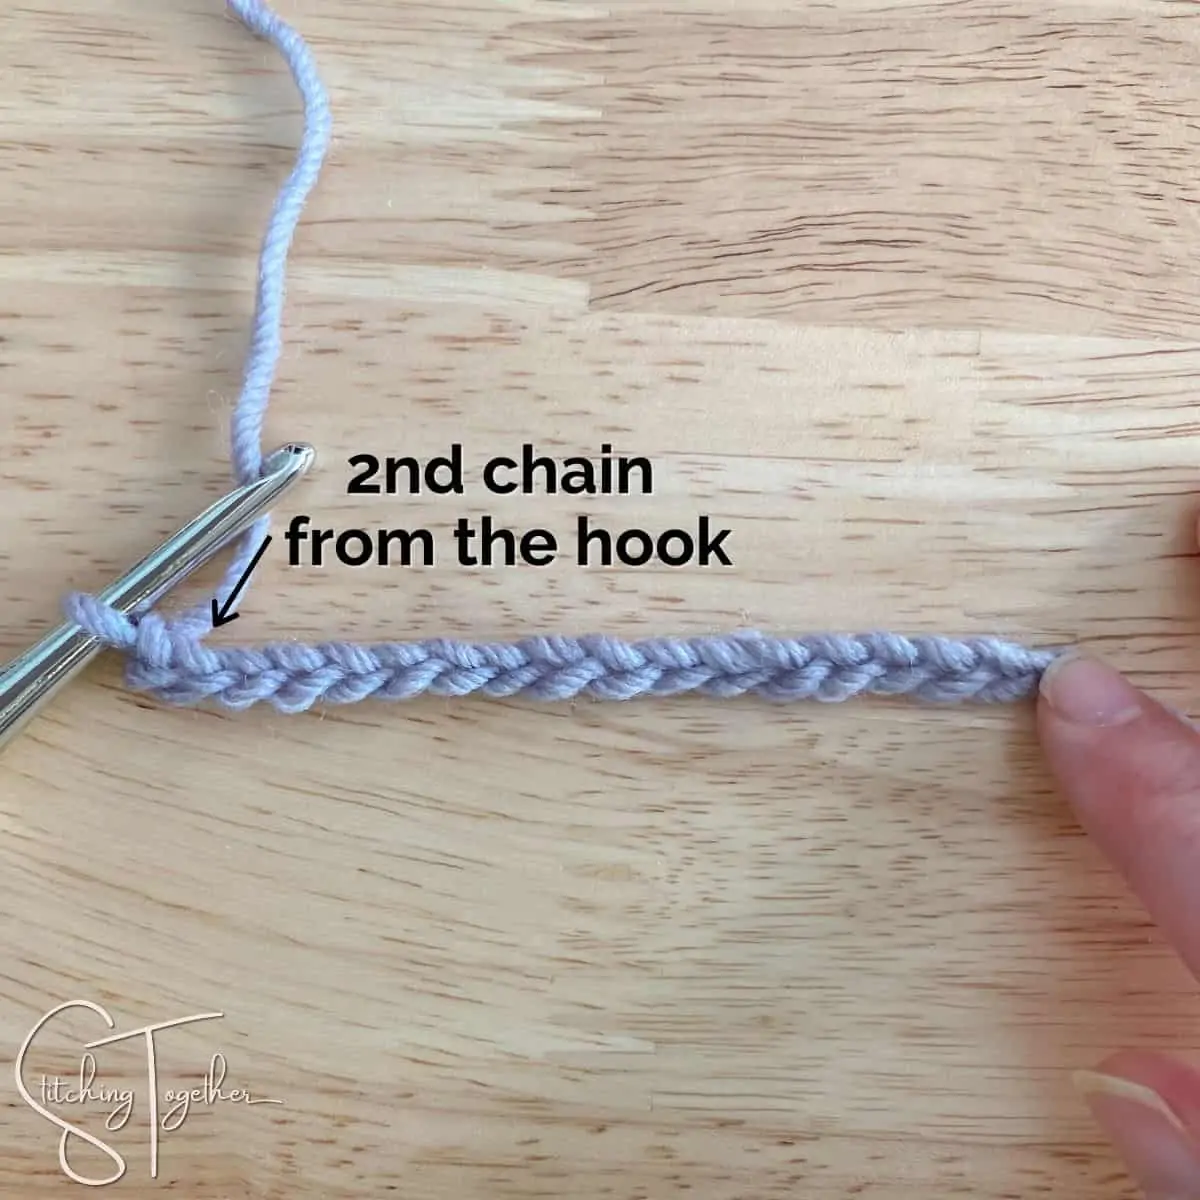
Make one single crochet and one double crochet in the second chain from the hook
Skip the next chain
Single crochet and double crochet in the next chain
Continue skipping a stitch then putting a single crochet and double crochet in the next stitch until the end of the row
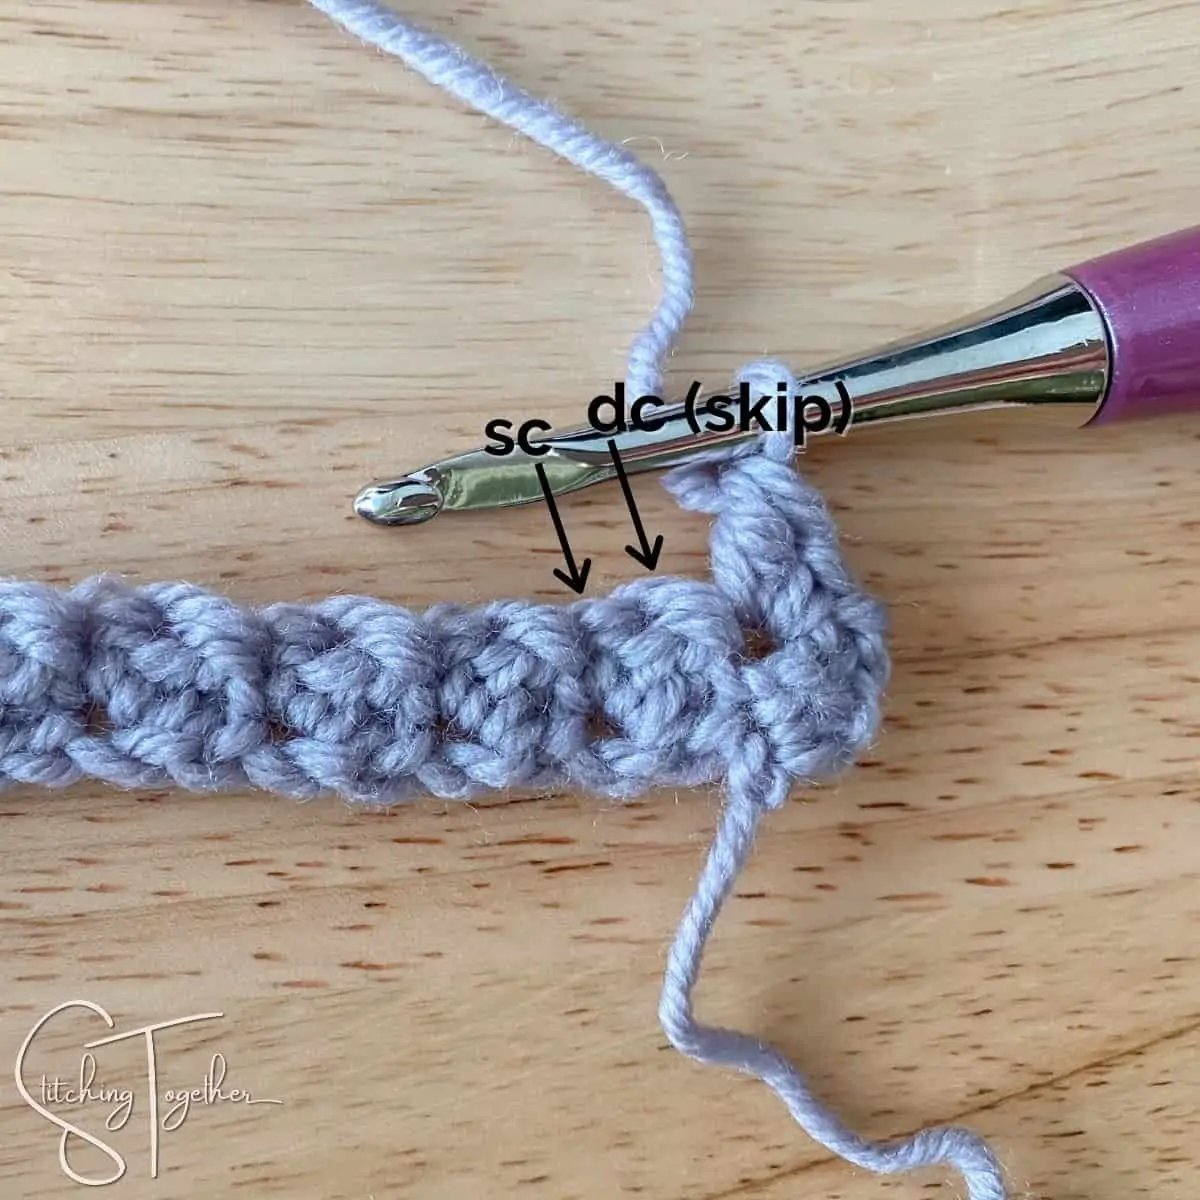
Row 2: Chain one, skip the first double crochet of the row below then make one single crochet and one double crochet in the first single crochet of the row below.
Continue the row placing your single crochet and double crochet in each single crochet of the row below, skipping each double crochet of the row below.
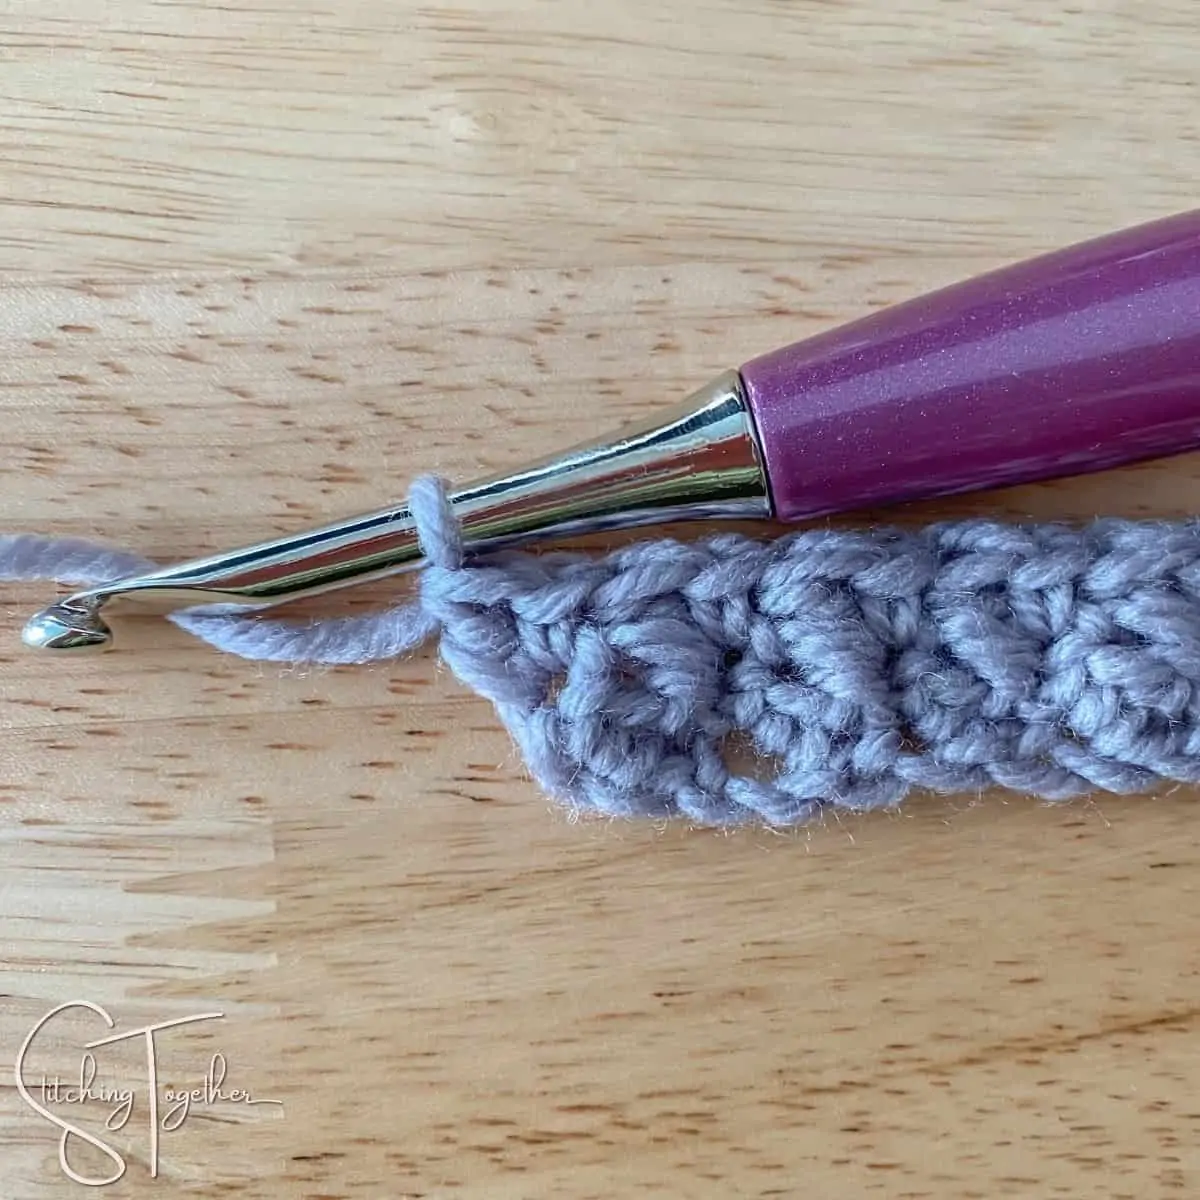
Repeat row 2 until your fabric reaches the desired size.
For the very last stitch, you can optionally work a single crochet instead of a double crochet to achieve a more finished corner then fasten off and weave in ends.
Don’t miss these other great crochet stitch tutorials: