Bunny Egg Crochet Pattern
Disclosure: This post may contain affiliate links. As an Amazon Associate, I earn from qualifying purchases. Please visit my Privacy Policy for disclosures and more information.
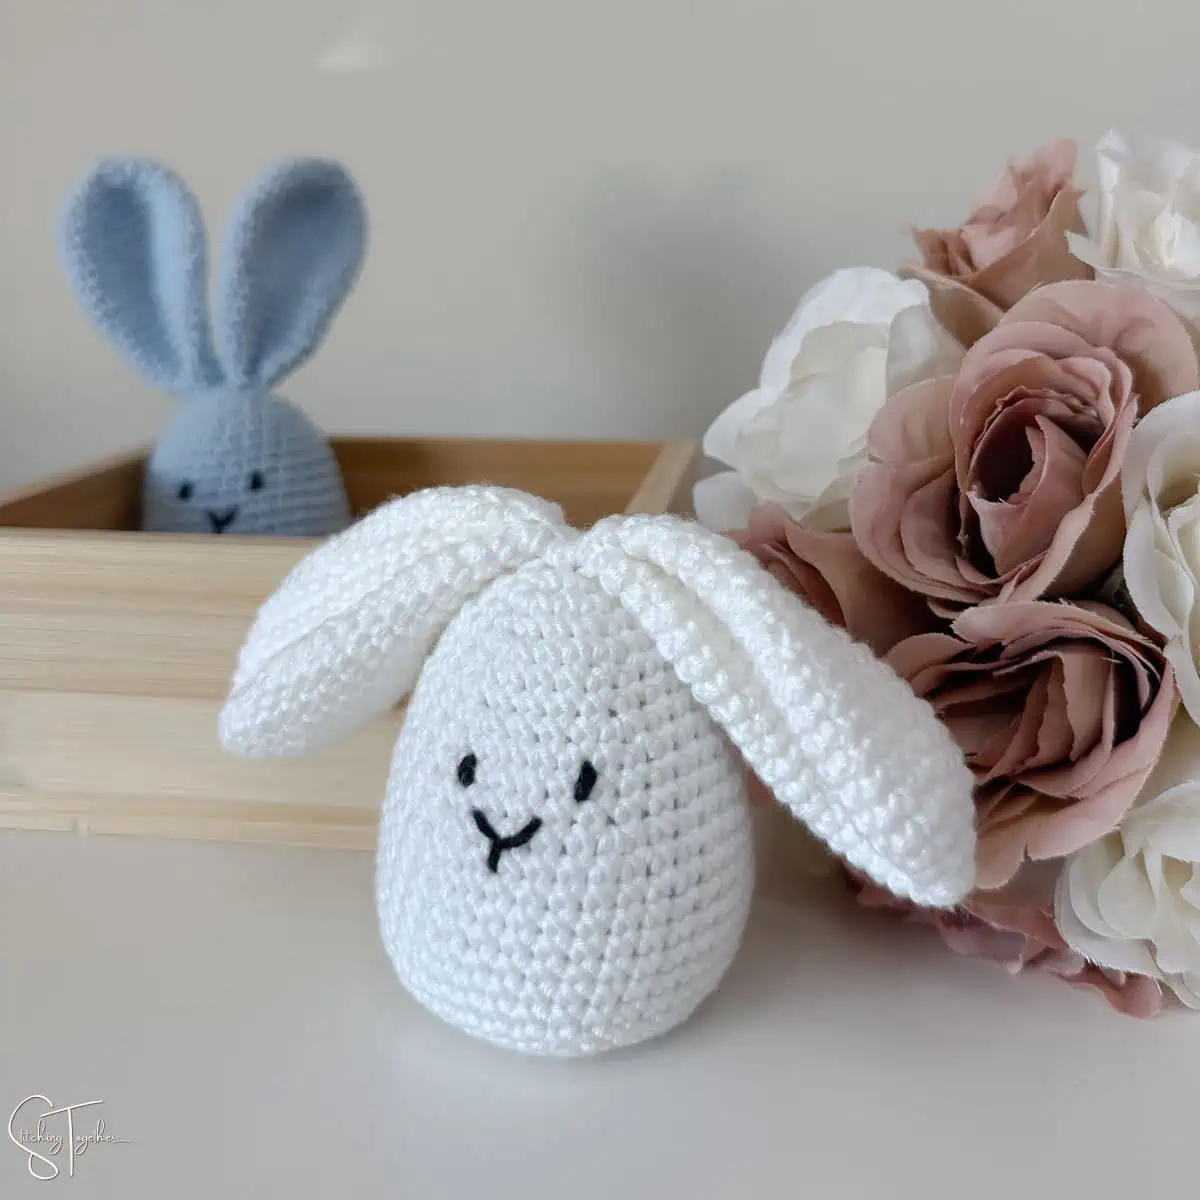
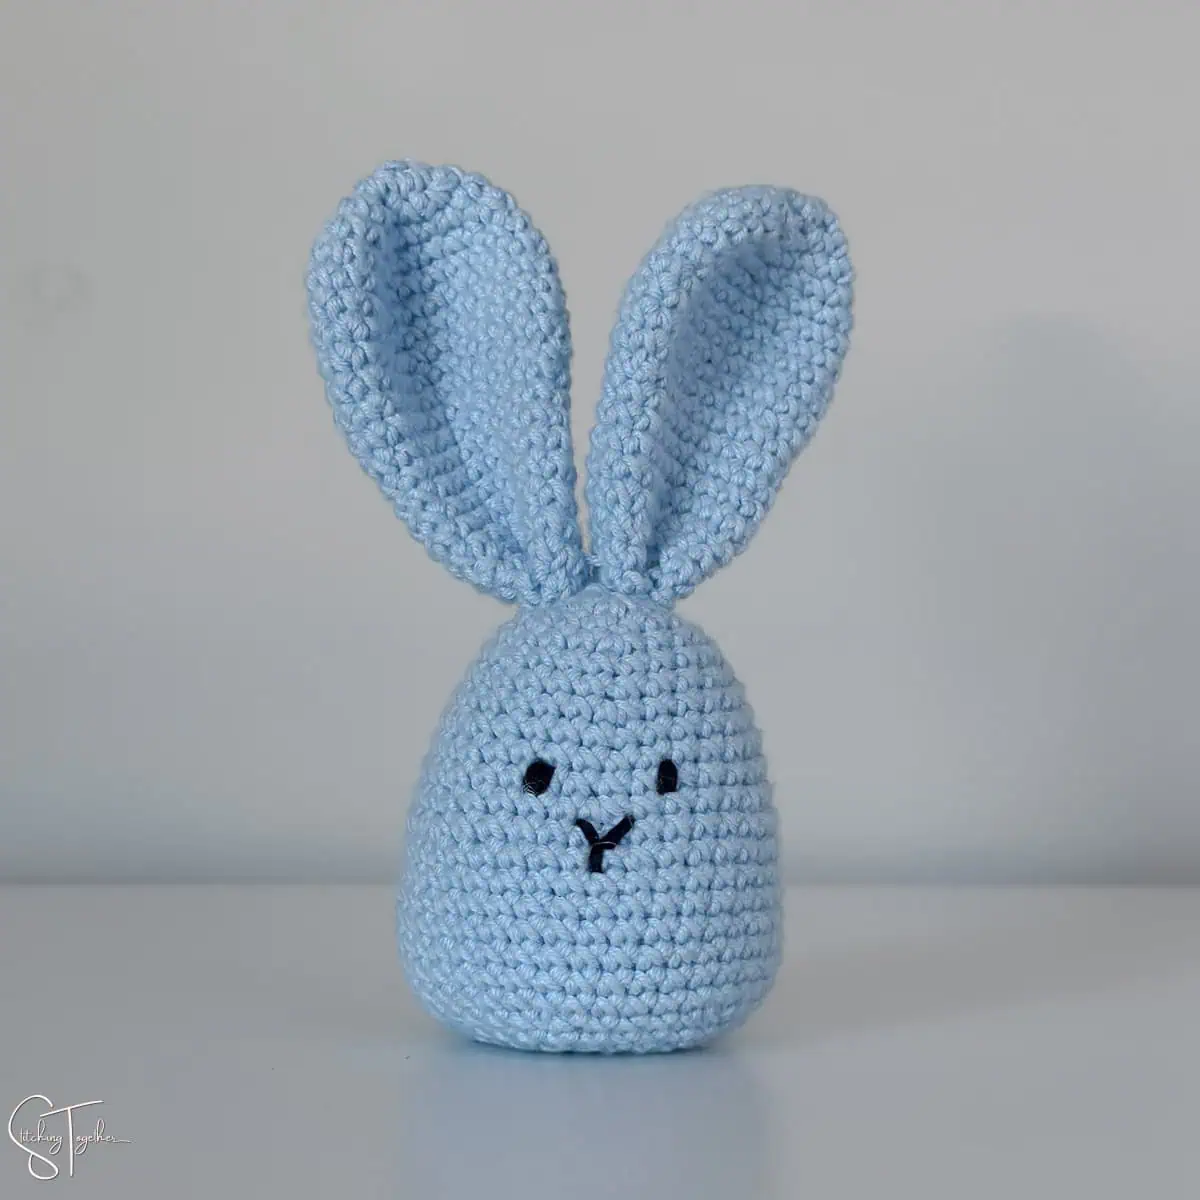
With Easter just around the corner, you’ll love these adorable little crochet bunny eggs. This Bunny Egg Crochet Pattern is perfect for crafting cute, bunny eggs that will bring a smile to everyone’s face.
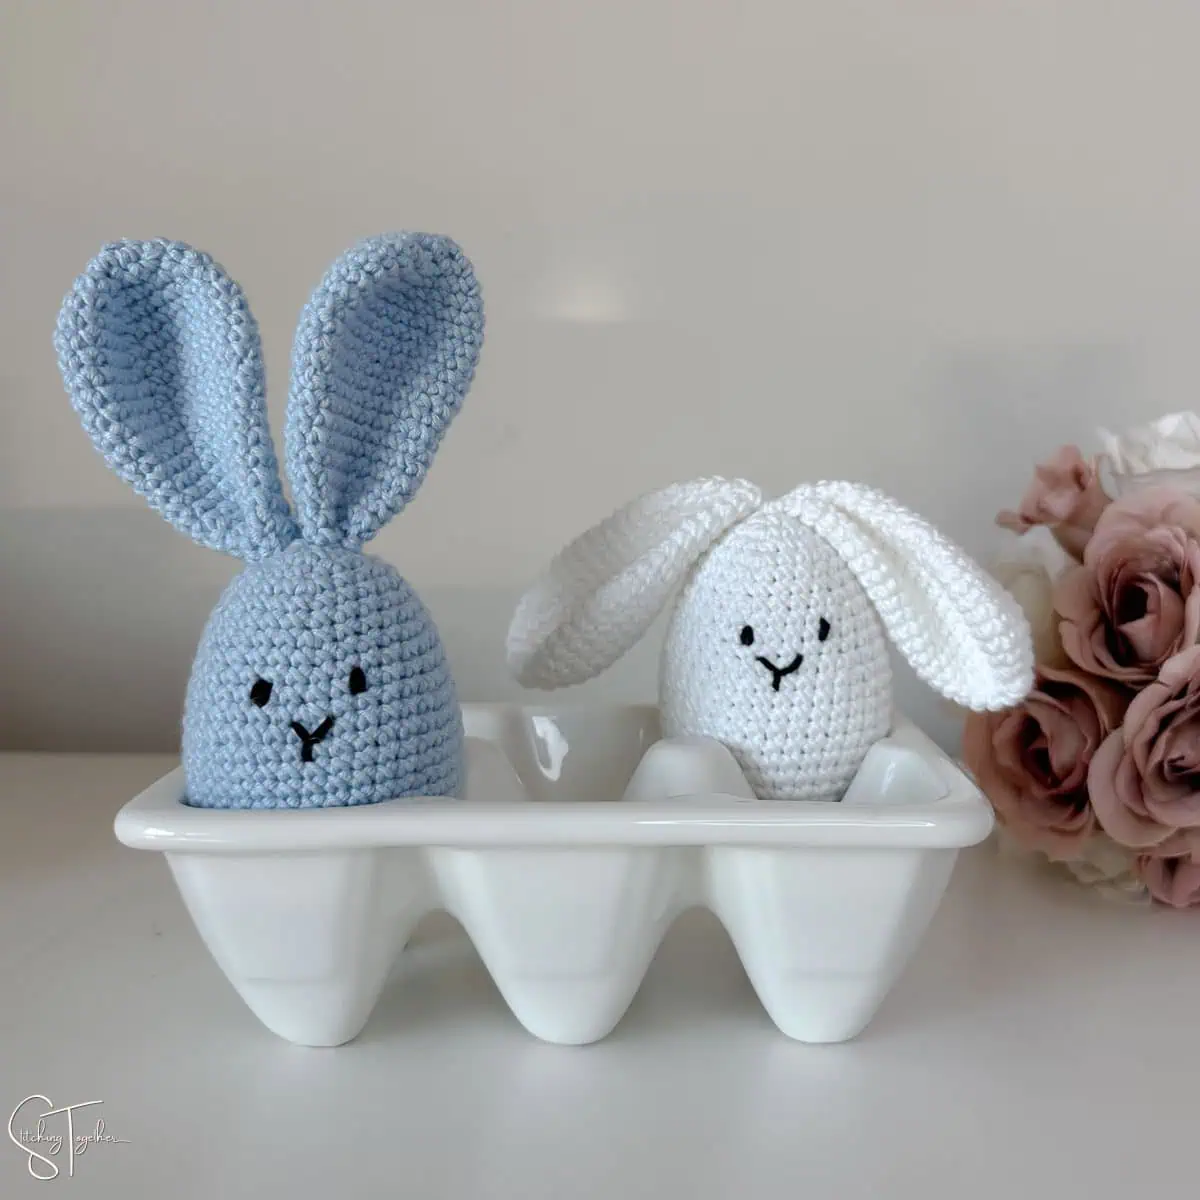
They’re great to add to your Easter decorations or add them to an Easter basket for an extra cute handmade gift. Keep reading for the free crochet pattern, or you can purchase the ad-free PDF version of the pattern here.
Stitches
These cute little bunny eggs just use basic crochet stitches. You’ll need to know how to single crochet, increase, decrease, and slip stitch. You’ll also use super basic embroidery skills to make simple facial features.
Related: Bunny Lovey Crochet Pattern
Yarn
Minikins by Premier Yarns is the perfect Fine Weight yarn for making small amigurumi. It is a cotton and acrylic blend that is tightly wound, gives great stitch definition, and is available in 42 different colors.
If you order from Premier Yarns, make sure you sign up for their rewards program, where you can earn points to use towards future purchases. When you sign up you and I both get a coupon. Win!
Yarn Substitution Ideas
Circulo Amigurumi Yarn
WeCrochet Comfy Sport Weight
Premier Cotton Fair
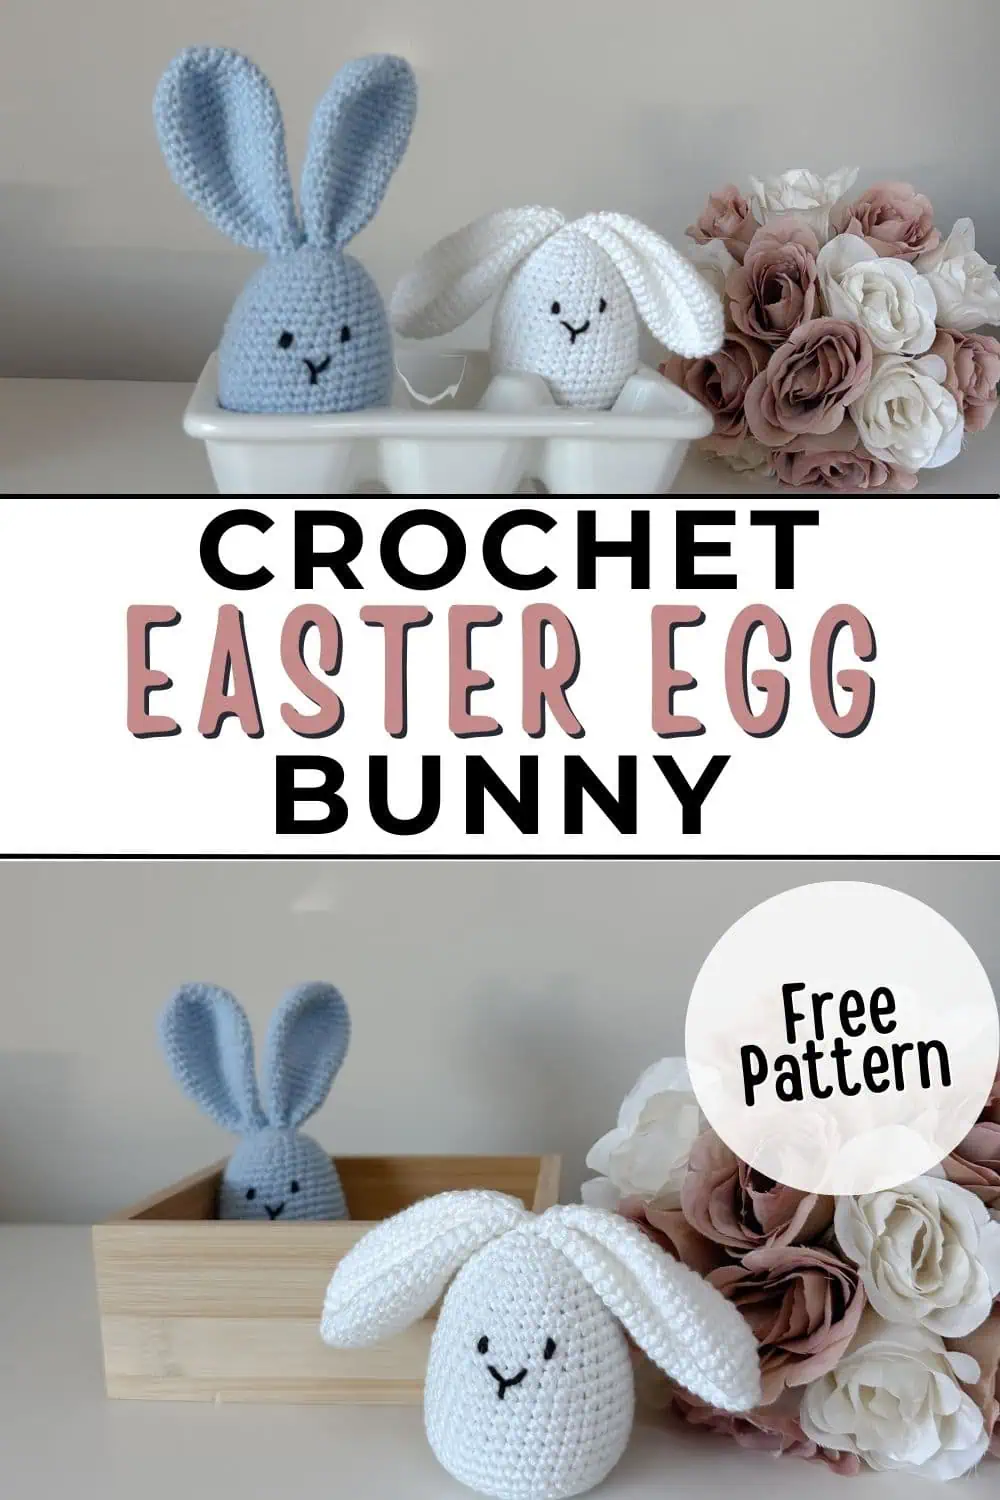
Free Bunny Egg Crochet Pattern
Purchase the ad-free PDF version
Skill Level: Easy
Gauge: gauge is not critical
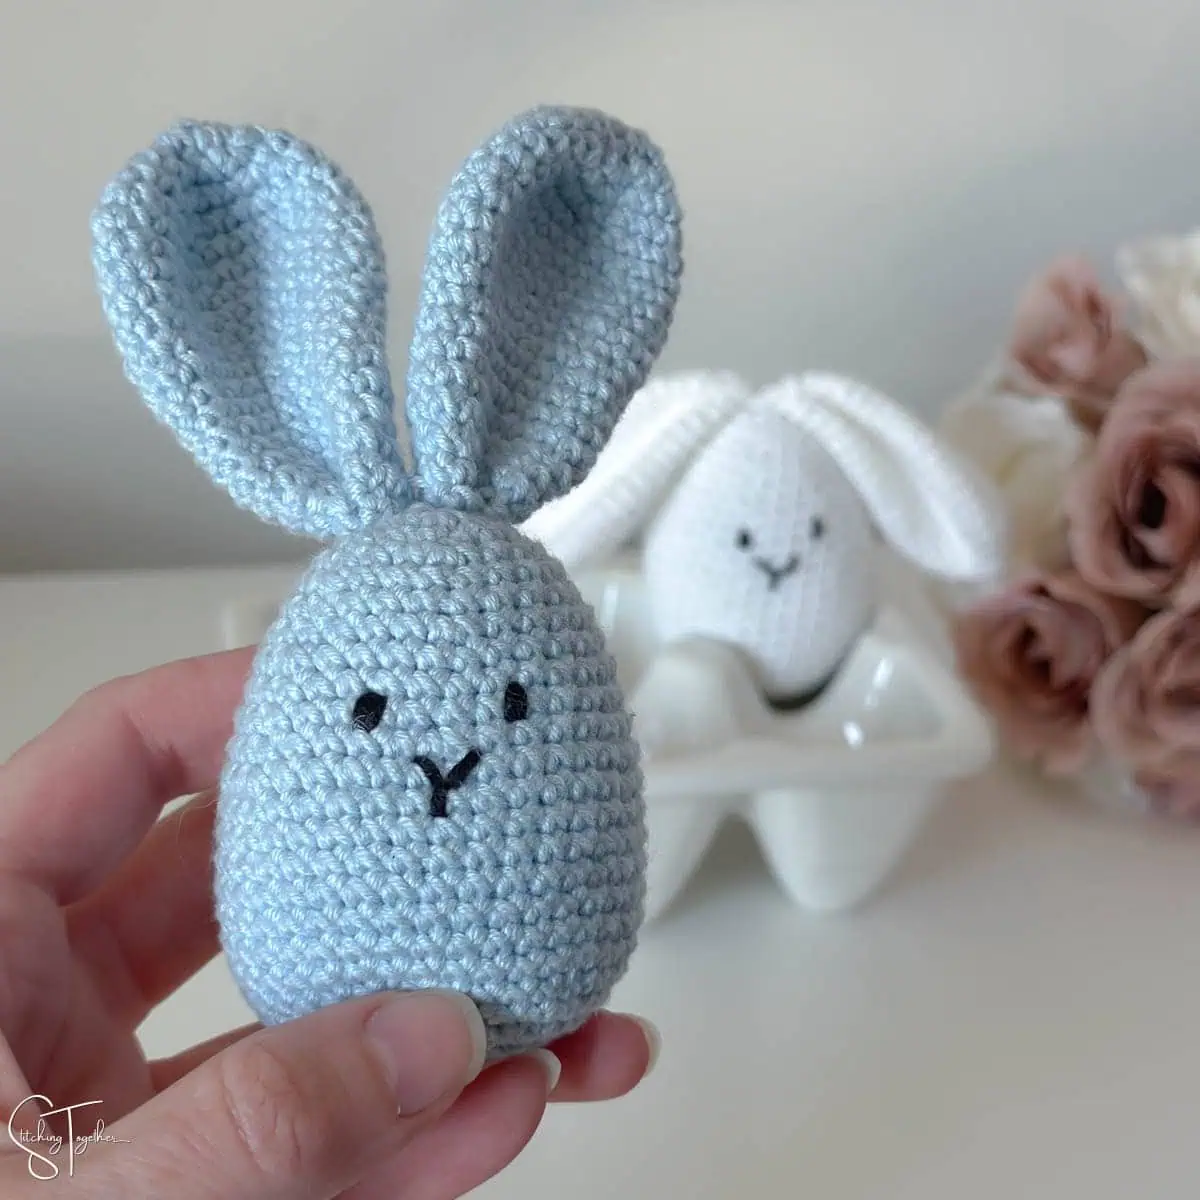
Finished Size: Approximately 3” tall not including the ears
Supplies
US size E/4, 3.5 mm crochet hook
Minikins by Premier Yarns (Category 2, Fine weight, 50% cotton, 50% acrylic blend, 158 yds/145 m, 1.75 oz/50 g)
- The samples used approximately 54 yds (0.6 oz) each in the color Baby Blue or White and scrap amounts of Black
Large Eye Yarn Needle
Scissors
Fiber Fill Stuffing
Stitch Markers
Save Time and Shop Online
Abbreviations
ch: chain
sl st: slip stitch
beg: beginning
sc: single crochet
st(s): stitch(es)
inc: increase (2 sc in one st)
dec: decrease (sc2tog)
Notes
You will work each piece in continuous rounds and will not join each round with a slip stitch. You may want to use a stitch marker to mark the first st of each round.
Bunny Egg Crochet Pattern Instructions
Egg
Magic circle
Round 1: 6 sc in magic circle, tighten to close. (6)
Round 2: Inc in each st. (12)
Round 3: *Sc, inc, repeat from * around. (18)
Round 4: Sc in each st. (18)
Round 5: *Sc in the next 2 sts, inc, repeat from * around. (24)
Rounds 6-7: Sc in each st. (24)
Round 8: *Sc in the next 3 sts, inc, repeat from * around. (30)
Rounds 9-11: Sc in each st. (30)
Round 12: *Sc in the next 4 sts, inc, repeat from * around. (36)
Rounds 13-20: Sc in each st. (36)
Round 21: *Sc in the next 4 sts, dec, repeat from * around. (30)
Round 22: Sc in each st. (30)
Round 23: *Sc in the next 3 sts, dec, repeat from * around. (24)
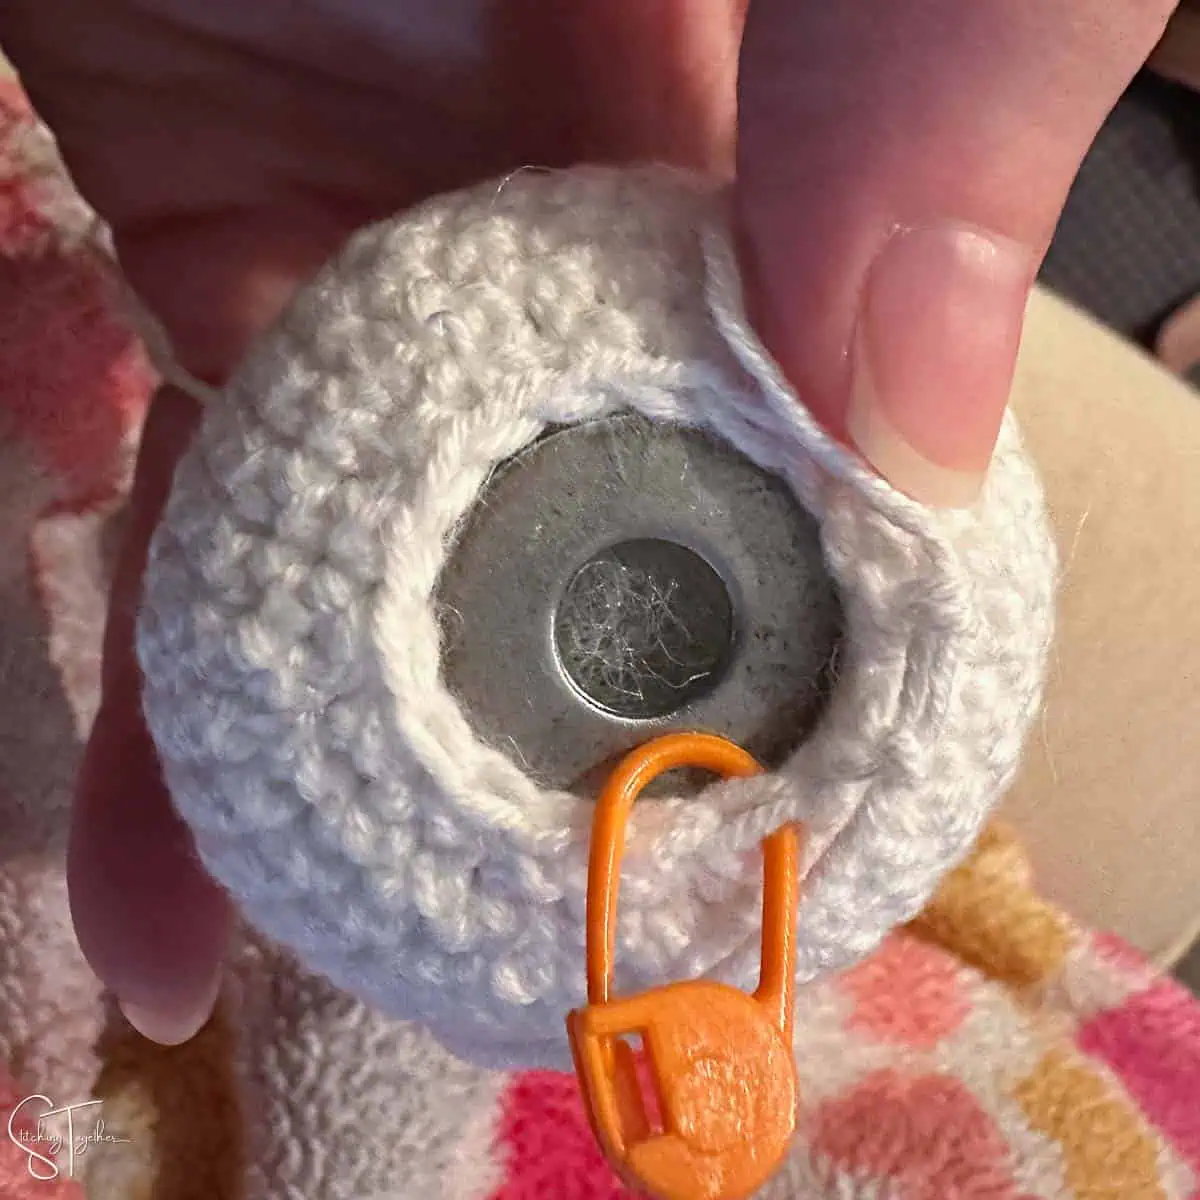
Round 24: *Sc in the next 2 sts, dec, repeat from * around. (18)Stuff and shape the egg. At this point, you can also insert a small flat washer or rock to add stability to the bottom of the egg.
Round 25: (Sc, dec) around. (12)
Weave tail through the front loops of the stitches in Round 25 and pull gently to close. Weave in ends.
Ears – make 2
Magic circle
Round 1: 6 sc in magic circle, tighten to close. (6)
Round 2: Inc in each st. (12)
Round 3: *Sc, inc, repeat from * around. (18)
Round 4: *Sc in the next 2 sts, inc, repeat from * around. (24)
Round 5-11: Sc in each st around. (24)
Round 12: *Sc in the next 2 sts, dec, repeat from * around. (18)
Rounds 13-17: Sc in each st around. (18)
Round 18: (Sc, dec) around. (12)
Rounds 19-20: Sc in each st around. (12)
Flatten the ear then fold the very bottom in half and whip stitch together.
Fasten off leaving a long tail end.
Assembly
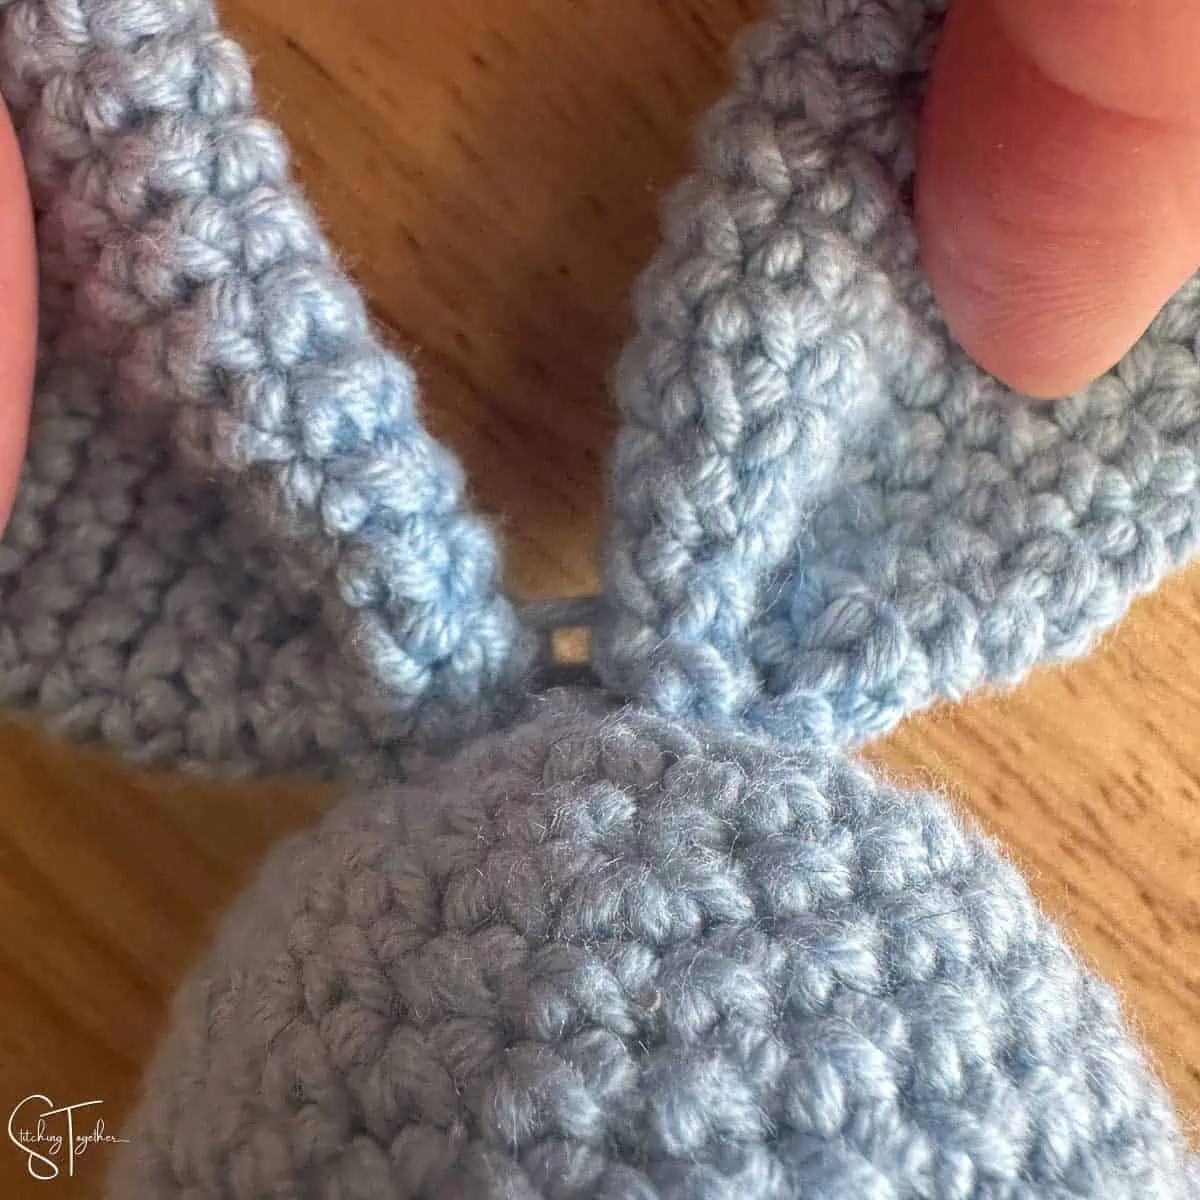
Ears: Sew the ear directly across from each other spanning round 1 or wherever they look best to you. If you want the ears to stand up straight after sewing them on, pull the yarn through the base of both ears so they are connected together.
Facial Features
The facial features are created using basic straight embroidery stitches with either embroidery floss or yarn. To get thicker facial features, go over each section 2 or 3 times.
Nose and Mouth: Find the center most stitch, lined up with the ears, between Rounds 12 and 13. That will be the center of the nose/mouth where all the stitches meet.
From there work one stitch straight down to make the mouth line.
To work the V of the nose, work up one round and over one stitch in each direction. The V of the nose is positioned between rounds 11-12. (You may need to go over 1.5 stitches on one of the sides to make the V more centered.)
Eyes: From each side of the nose, start each eye one round up and one stitch over. Work a straight stitch up over one crochet stitch to mark eye placement. Once you are happy with the eye placement, work an additional 2-3 sts in the same place to thicken the eye.
Will you share pictures of your finished projects?
- Tag Stitching Together on Instagram with @stitching_together and use the #stitchingtog
- Upload your picture in the Tried It section of this pin
- Share your work in the Stitching Together Community.