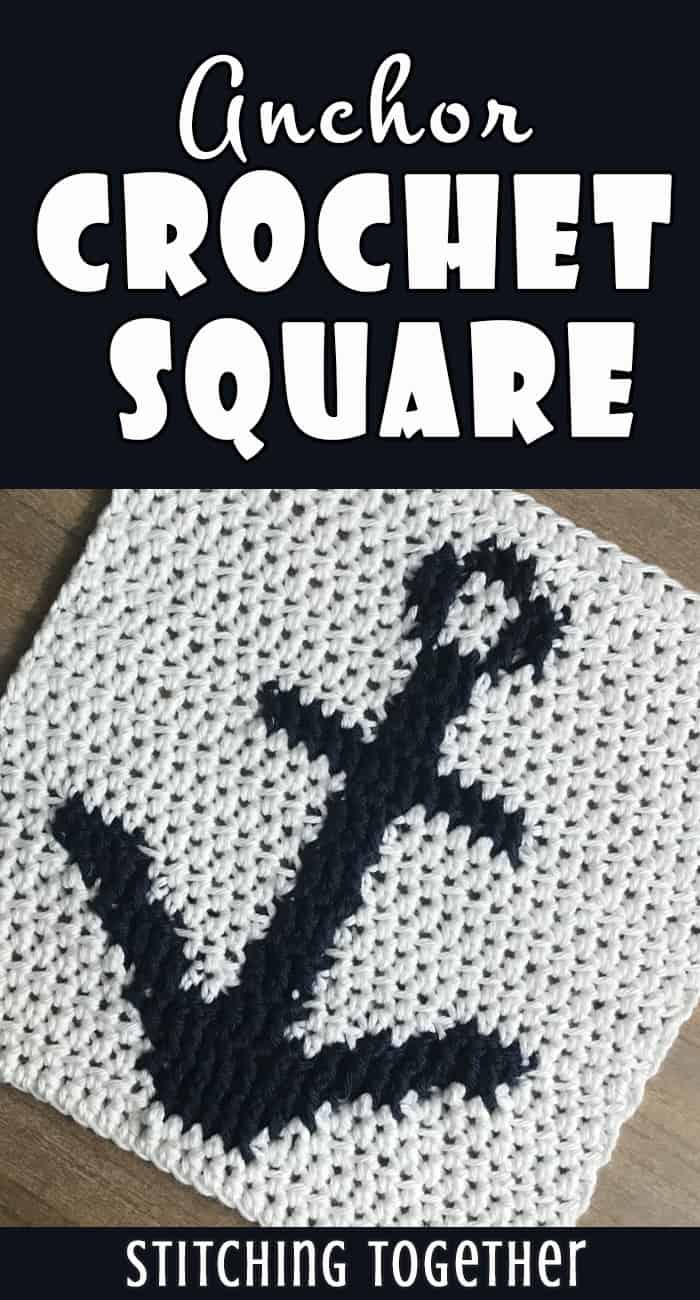
Crochet Anchor Square
Disclosure: This post may contain affiliate links. As an Amazon Associate, I earn from qualifying purchases. Please visit my Privacy Policy for disclosures and more information.
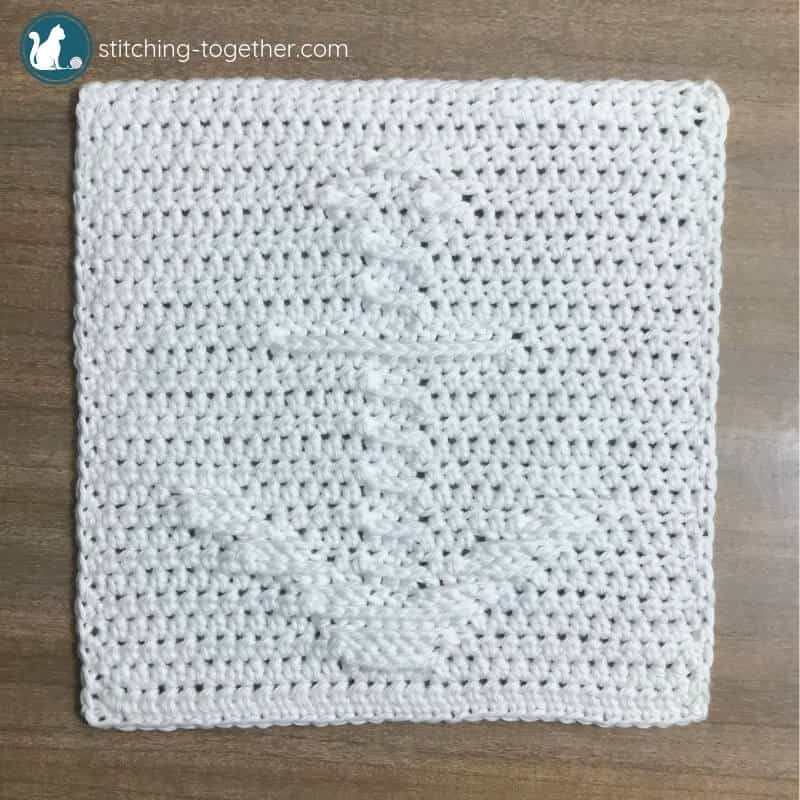
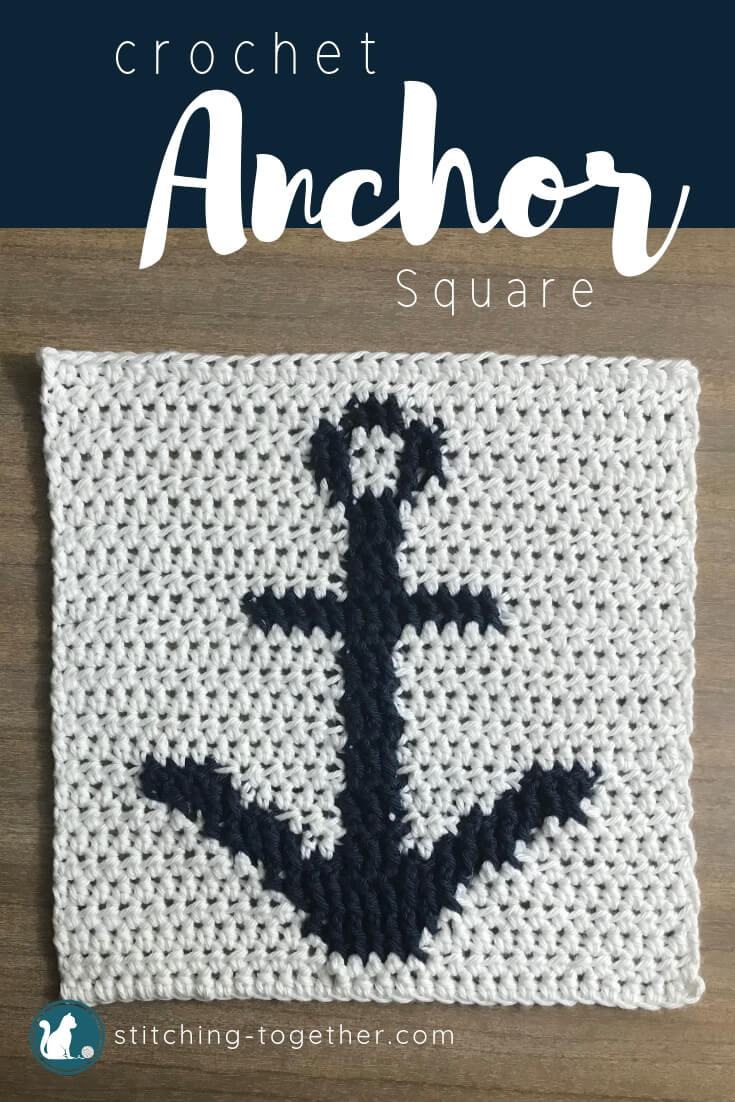
I don’t think I have done as many variations and trial runs on any project as I did with this crochet anchor square. It was such a fun challenge to design and get it the stitches to match what I was envisioning. The square was designed for the anchor baby blanket with the anchor being subtle and raised like you see in the all white square. I didn’t want the anchor motif to be overwhelming in the blanket but I did want it visible with some fun texture.
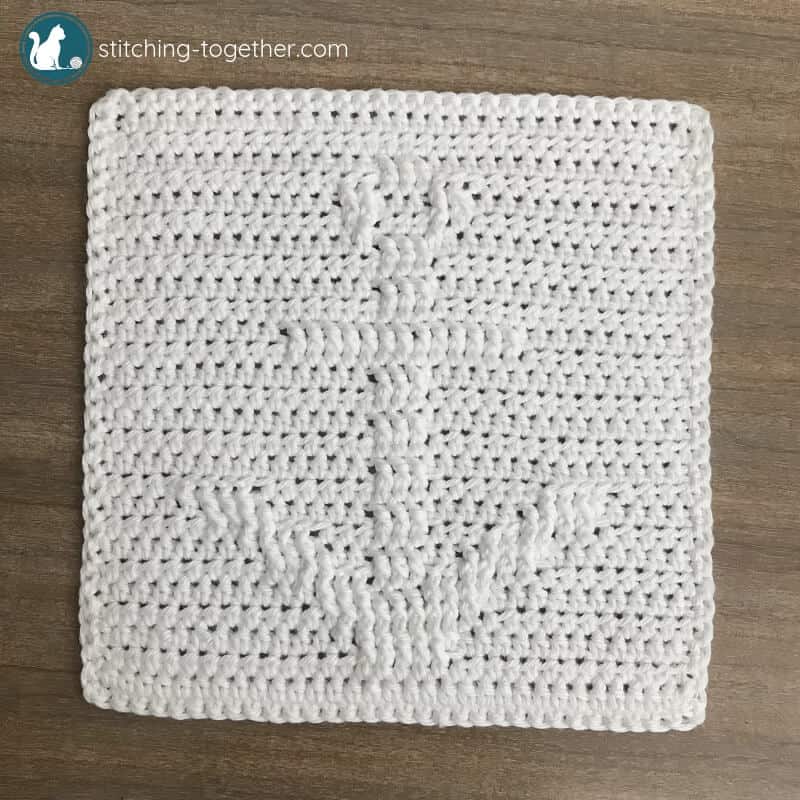
Although the raised side of the post stitches are supposed to make the anchor motif the most visible, the back side of the square still has some good texture and that anchor motif isn’t lost.
You may prefer the anchor to pop even more so I have included instructions for when to change colors as you are working on the square. In the sample, with the blue anchor, I pulled the yarn I wasn’t working with along the back, since it doesn’t work well to carry the yarn under post stitches. If you use a different color for the anchor, you many have to use bobbins and weave in those ends to have a reversible square.
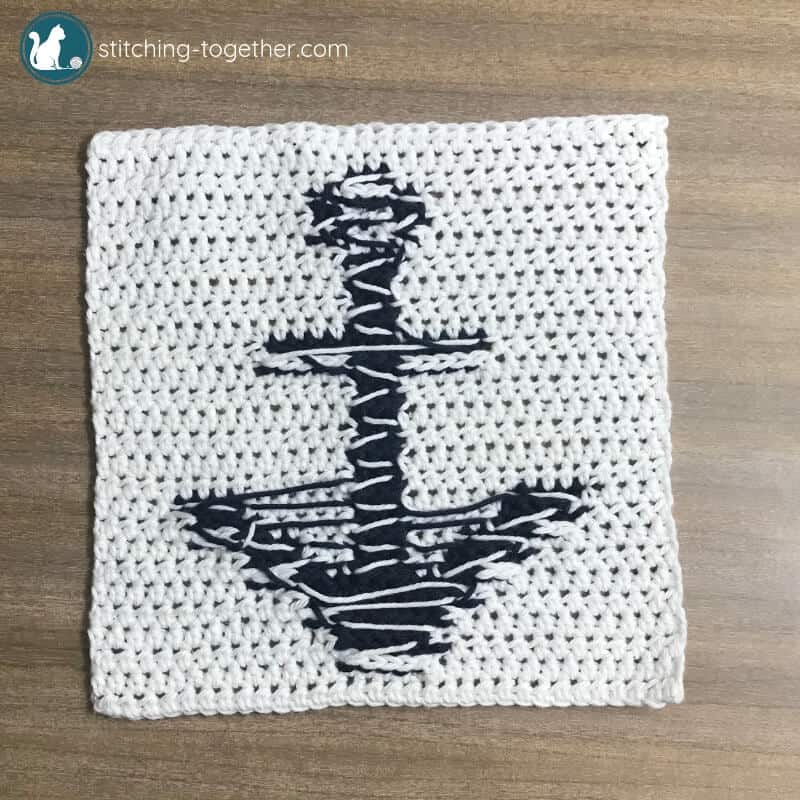
The square with the blue anchor also shows the importance of hook size. The yarn I used, Hobby Lobby I Love This Cotton, calls for a size I, 5.5 mm crochet hook, which is what I used for the blue anchor square. Although the blue yarn makes the stitches stand out, the natural relief of the stitches is lost with the larger hook. Whatever yarn you choose to use, I suggest using a hook 2 or 3 sizes smaller than is normally used for that yarn to get nice and tight stitches.

As you are working the square, especially on the rows with back post double crochets, be sure to keep count of your stitches! It is easy to put a hdc following a bpdc into the same stitch you worked around for the bpdc instead of the next stitch. If your count is off at the end of a row, check that you didn’t work a hdc and a post stitch in the same stitch. (Not speaking from experience or anything… just kidding… I did this several times!) See the stitch instructions for photos showing where to place the post stitches and the hdc after the post stitches.
Before we head to the anchor square crochet pattern, save it on Pinterest!
Crochet Anchor Square Pattern
[question]
Looking for an ad-free PDF of this pattern? Check back! The PDF for the anchor square will be released with the baby blanket pattern. In the meantime, you can save this on Ravelry!:
[button url=”https://www.ravelry.com/patterns/library/anchor-square-3″] Ravelry [/button]
[/question]
Skill Level: Intermediate
Materials:
-
Size 7, 4.5 mm Crochet Hook
-
#4 – Medium Weight yarn, 5oz/180 yds
-
Sample used 1.48 oz of I Love this Cotton from Hobby Lobby
-
-
Large eye tapestry needle
[disclaim]
Save time and shop the materials online!
4.5 mm size 7 Crochet Hook – Amazon
Set of 10 ergonomic, high quality crochet hooks – Amazon
I love this Cotton – Hobby Lobby
Tapestry Needles – Amazon
[/disclaim]
Finished Size: approximately 8.25″ x 8.25″
Gauge: 15 hdc by 14 rows
Abbreviations used in the Anchor Crochet Square:
ch(s): chain
hdc(s): half double crochet
st(s): stitch(es)
CC: contrasting color
MC: Main Color
fpdc: front post double crochet
bpdc: back post double crochet
Stitch Instructions:
Because you are switching from half double crochets to double crochet post stitches, the stitches line up a bit differently. Counting your stitches as you go is the best way to make sure you are placing the post stitches and following hdcs in the correct stitches in the row below.
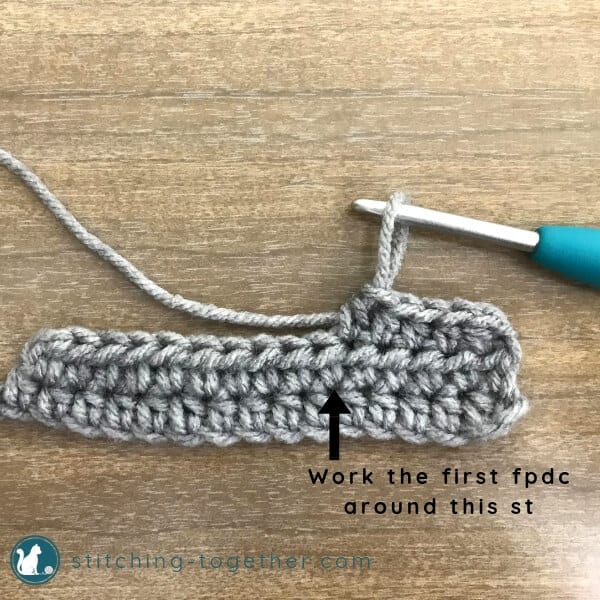
Fpdc around a hdc. In this example, the 6th stitch of the row is going to be your first fpdc so you will fpdc around the 6th stitch in the row below.
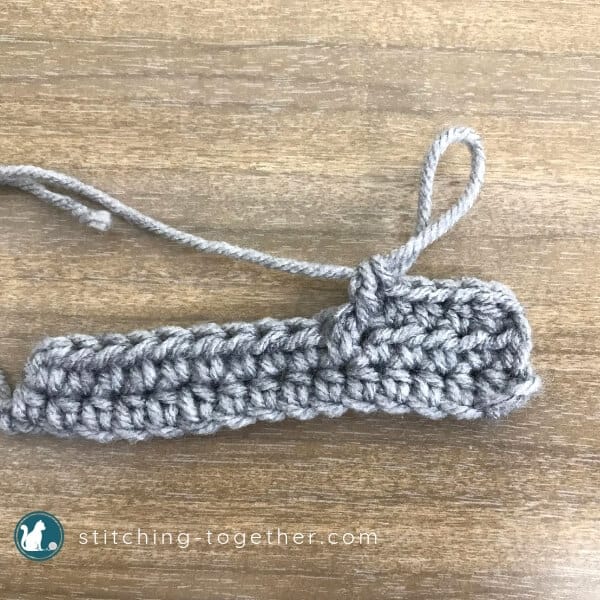
Completed fpdc around the 6th hdc from the row below. The 5th hdc in the working row is almost hidden by the fpdc.
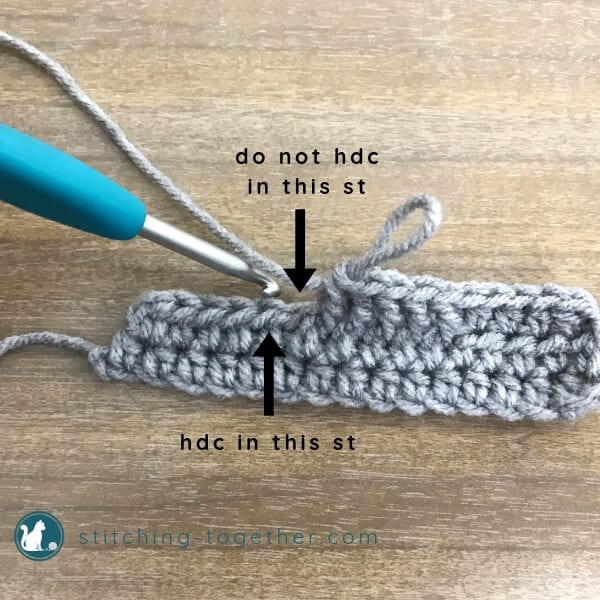
Hdc after the fpdcs. Be sure not to hdc into the same stitch you fpdc around.
Bpdc around a hdc. In this example, the 5th stitch of the row is going to be your first bpdc so you will bpdc around the 5th stitch in the row below.
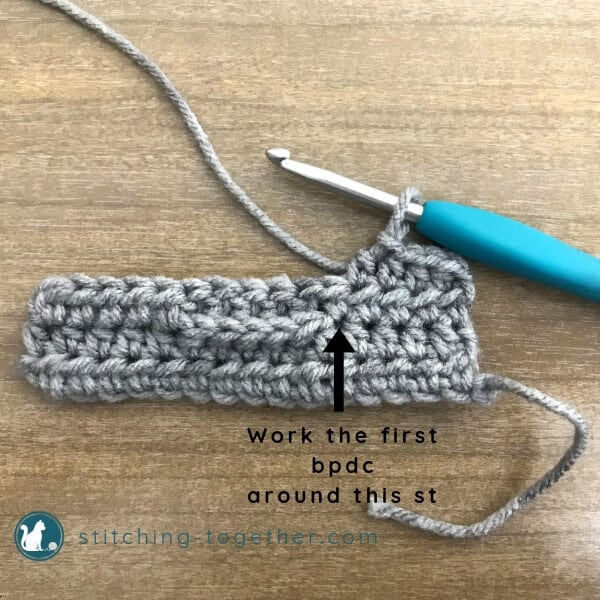
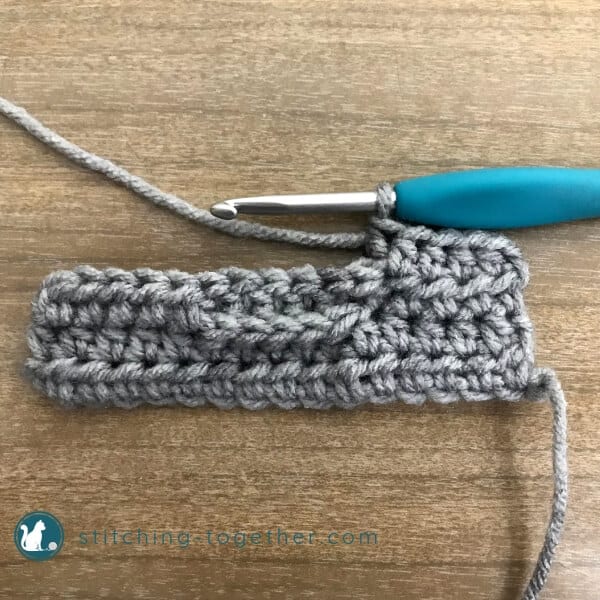
Bpdc around a hdc. Be sure to crochet around the post, under all 3 loops of the hdc.
Hdc after the bpdcs. Be sure not to hdc into the same stitch you bpdc around. 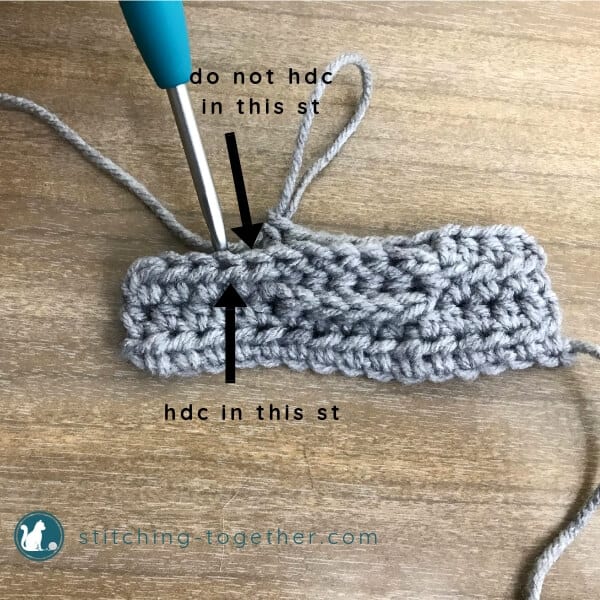
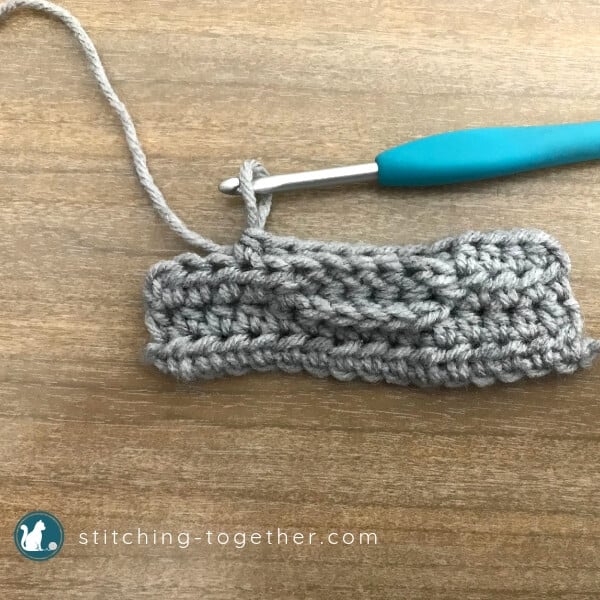
You’ll want to keep the first hdc tight as you work it to prevent a large gap from the bpdc to the hdc.
Notes:
The pattern includes instructions for changing colors (MC and CC) which you can just ignore if you plan on making the square in a solid color.
Crochet Anchor Square Pattern Instructions:
with MC, ch 32
R1: hdc in the 2nd ch from hook and in ea ch, turn. (31)
R2: ch 1, hdc in each st, turn.
R3, ch 1, hdc in the next 13 sts, CC, fpdc around the next 5 sts, MC, hdc in the next 13 sts, turn.
R4: ch 1, hdc in the next 12 sts, CC, bpdc around the next 7 sts, MC, hdc in the next 12 sts, turn.
R5: ch 1, hdc in the next 11 sts, CC, fpdc around the next 9 sts, MC, hdc in the next 11 sts, turn.
R6: ch 1, hdc in the next 10 sts, CC, bpdc around the next 4 sts, hdc in the next 3 sts, bpdc around the next 4 sts, MC, hdc in the next 10 sts, turn.
R7: ch 1, hdc in the next 8 sts, CC, fpdc around the next 4 sts, MC, hdc in the next 2 sts, CC, fpdc around the next 3 sts, MC, hdc in the next 2 sts, CC, fpdc around the next 4 sts, MC, hdc in the next 8 sts, turn.
R8: ch 1, hdc in the next 7 sts, CC, bpdc around the next 4 sts, MC, hdc in the next 3 sts, CC, hdc in the next 3 sts, MC, hdc in the next 3 sts, CC, bpdc around the next 4 sts, hdc in the next 7 sts, turn.
R9: ch 1, hdc in the next 5 sts, CC, fpdc around the next 4 sts, MC, hdc in the next 5 sts, CC, fpdc around the next 3 sts, MC, hdc in the next 5 sts, CC fpdc around the next 4 sts, MC, hdc in the next 5 sts, turn.
R10: ch 1, hdc in the next 4 sts, CC, bpdc around the next 4 sts, MC, hdc in the next 6 sts, CC, hdc in the next 3 sts, MC, hdc in the next 6 sts, CC, bpdc around the next 4 sts, CC, hdc in the next 4 sts, turn.
R11: ch 1, hdc in the next 14 sts, CC, fpdc around the next 3 sts, CC, hdc in the next 14 sts, turn
R12: ch 1, hdc in the next 14 sts, CC, hdc in the next 3 sts, CC, hdc in the next 14 sts, turn
R13: repeat row 11
R14: repeat row 12
R15: repeat row 11
R16: repeat row 12
R17: ch 1, hdc in the next 9 sts, CC, fpdc around the next 13 sts, MC, hdc in the next 9 sts, turn.
R18: repeat row 12
R19: repeat row 11
R20: repeat row 12
R21: repeat row 11
R22: Ch 1, hdc in the next 13 sts, CC, bpdc around the next st, MC, hdc in the next 3 sts, CC, bpdc around the next st, MC, hdc in the next 13 sts, (turn).
R23: ch 1, hdc in the next 12 sts, CC, fpdc around the next 2 sts, CC, hdc in the next 3 sts, MC, fpdc around the next 2 sts, hdc in the next 12 sts, (turn).
R24: ch 1, hdc in the next 12 sts, CC, bpdc around the next 2 sts, MC, hdc in the next 3 sts, CC, bpdc around the next 2 sts, hdc in the next 12 sts, (turn).
R25: repeat row 11
R26: repeat row 2
R27: repeat row 2
Border: ch 1, sc around the entire outside edge putting a sc, ch 1, sc in each corner. Fasten off and weave in ends.
I think this square would be adorable paired with the Navy Stripes Bag, don’t you? I’d love to see your finished squares, tag me on social and use #stitchingtog!