Easy Crochet Potholder
Disclosure: This post may contain affiliate links. As an Amazon Associate, I earn from qualifying purchases. Please visit my Privacy Policy for disclosures and more information.
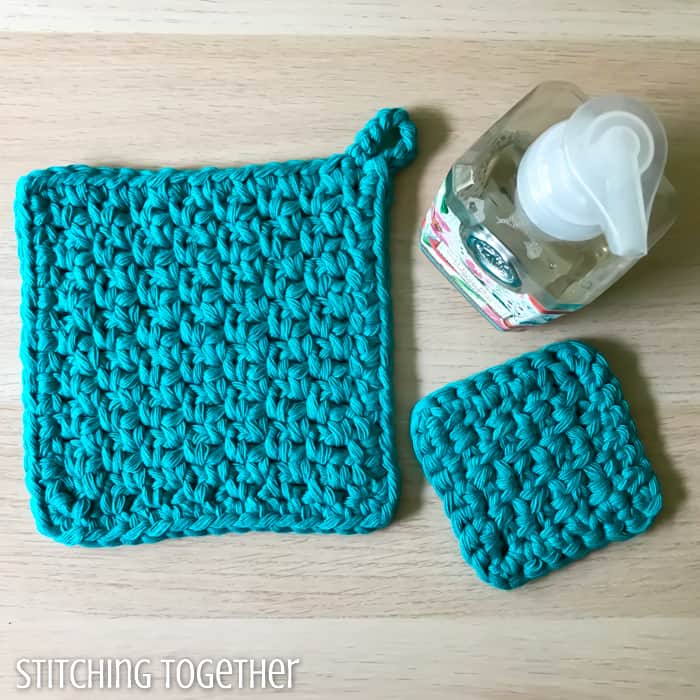
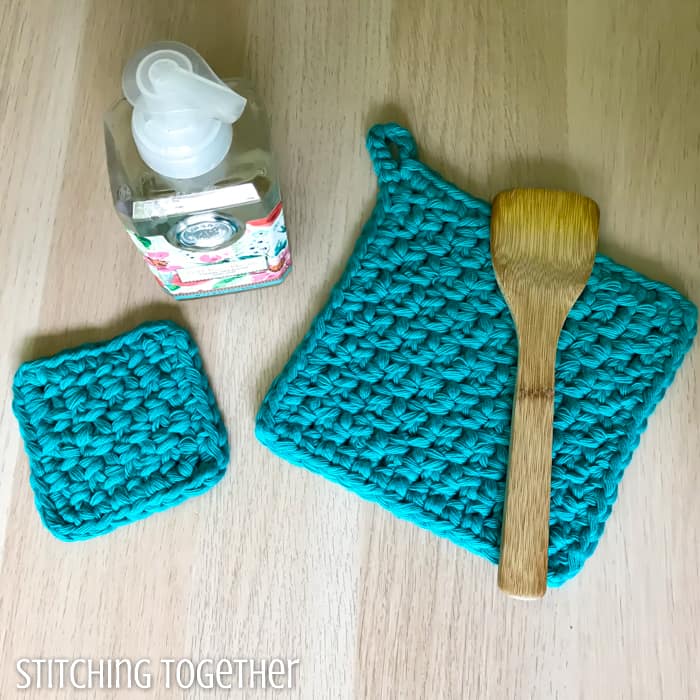
You’ll love making this quick and easy crochet potholder as well as the mini version which is perfect for small hot spots on lids and handles. Keep scrolling for the free crochet potholder pattern or you can purchase the ad-free PDF in my shop.
I’m always a little hesitant to call something handmade a pot holder because what if it isn’t actually thick enough to protect you? It certainly feels like it is. It is crazy thick, but would I use it as a pot holder?
The honest answer….. NO.
But that isn’t why you think.
It isn’t because I don’t think it is thick enough to protect my hand from something hot.
I wouldn’t use this pot holder to grab something hot because I am CLUMSY!
I require full-on arm coverage when it comes to the oven and other hot surfaces. Anyone else?
If you aren’t clumsy or just need a place to set a hot pot then this easy crochet potholder pattern is perfect for you.
Related: Double Thick Hot Pad
How do you crochet a pot holder?
Crochet potholders are a great beginner project since you are just working a basic square. This potholder also has a simple border around it, so it’s great for growing your crochet skills.
I originally planned to make a dishcloth out of this yarn. After all, it is called Side Dish and I think Lion Brand’s main intention was to produce a thick yarn perfect for quick dishcloths. Since I didn’t want a super bulky dishcloth, the moss stitch was a perfect choice.
But as the dishcloth sat on my desk while I wrote up the pattern, it seemed way more suited to be a pot holder. Of course, as with anything you make, use it how you’d like!
Related: Potholder Crochet Patterns
How quick and easy are these potholders?
These potholders are made with a super bulky 100% cotton yarn called Side Dish from Lion Brand which comes in 12 happy colors.
Because it is a super bulky yarn, you can easily make a stack of these pot holders in an evening: 14 stitches by 16 rows. They are SUPER QUICK.
BUT unless you snag Side Dish on sale, they will also be a bit spendy. I only got one full size potholder out of each ball of yarn with enough leftover to make a small pot holder or dish scrubber.
I think (don’t quote me on this) that you could use triple strands of one ball of sugar and cream and produce a really similar pot holder.
But then you’d have to hold 3 strands together….
With Side Dish, it’s one ball, one strand, one large hook, and one very quick and easy pot holder.
The yarn itself is soft and fairly easy to work with. I’ve worked with at least 5 different balls of it at this point and some of them were wound more tightly than others. The ones that weren’t wound tightly, split easily as the yarn is made up of many small strands of soft cotton.
What about the stitches?
The stitches are simple and definitely beginner friendly once you have the basics of chaining and single crochet down.
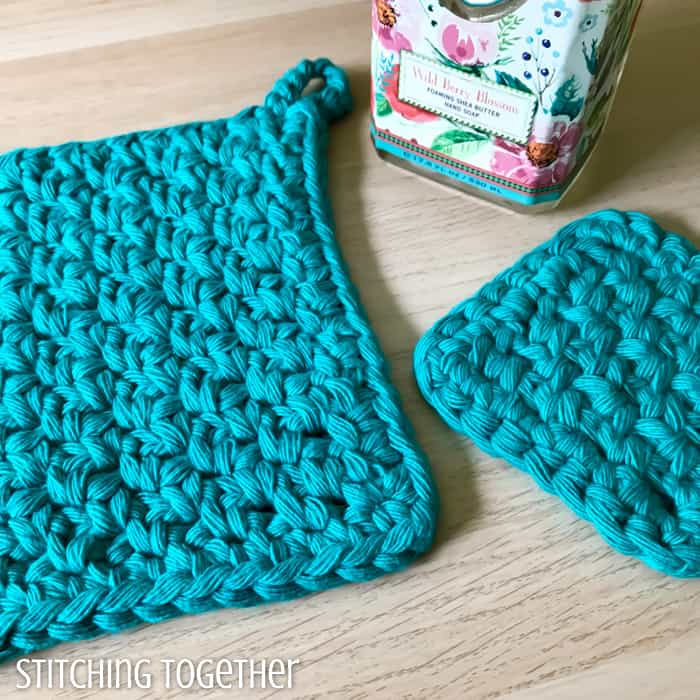
The main part of the potholder uses the moss stitch. You’ll want to check out the moss stitch tutorial so you can see step by step photos on how to work this easy stitch.
The border of the potholder is work with simple single crochets. You’ll love how quickly the entire thing works up!
Save the crochet potholders on Pinterest
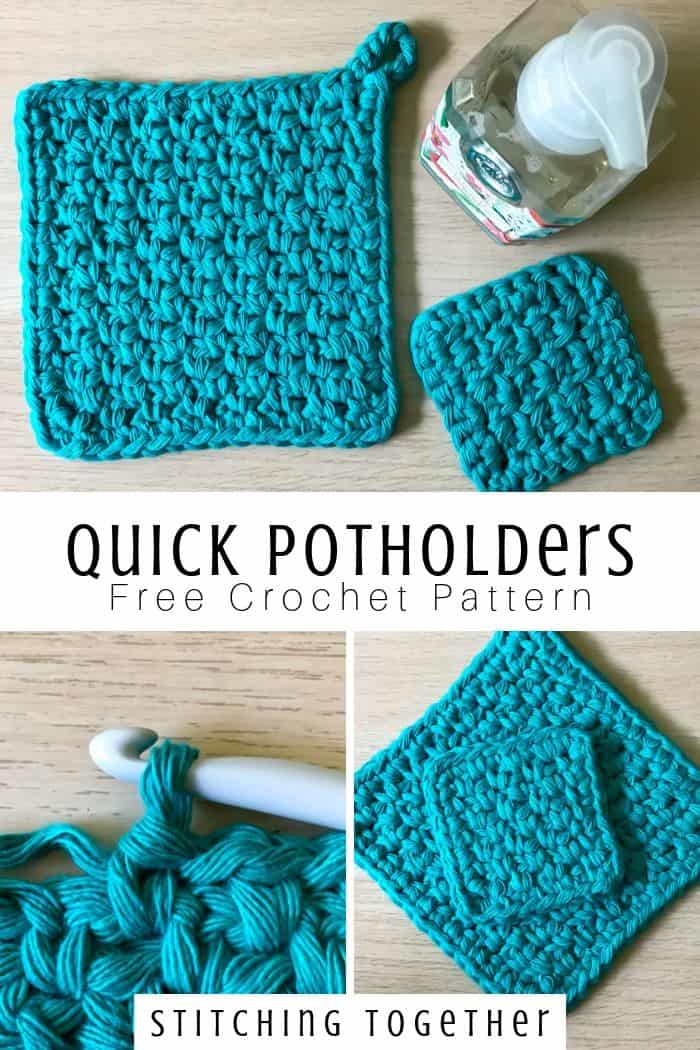
Easy Crochet Potholder Pattern
Love printing your patterns? Get the ad-free PDF right here!
Skill Level: Beginner
Materials:
- US size N/P, 10 mm (You can get this size hook on Amazon)
- Lion Brand Side Dish Yarn
- 6 Super Bulky. 100% Cotton 5oz/100g, 46yds/42m
- 1 ball in Teal
- Large Eye Yarn Needle
Abbreviations:
ch(s): chain(s)
sc(s): single crochet(s)
sk: skip
sp(s): space(s)
tc: turning chain
sl st: slip stitch
Gauge: 4” x 4 =done in the moss stitch: 9.5 sts by 10 rows
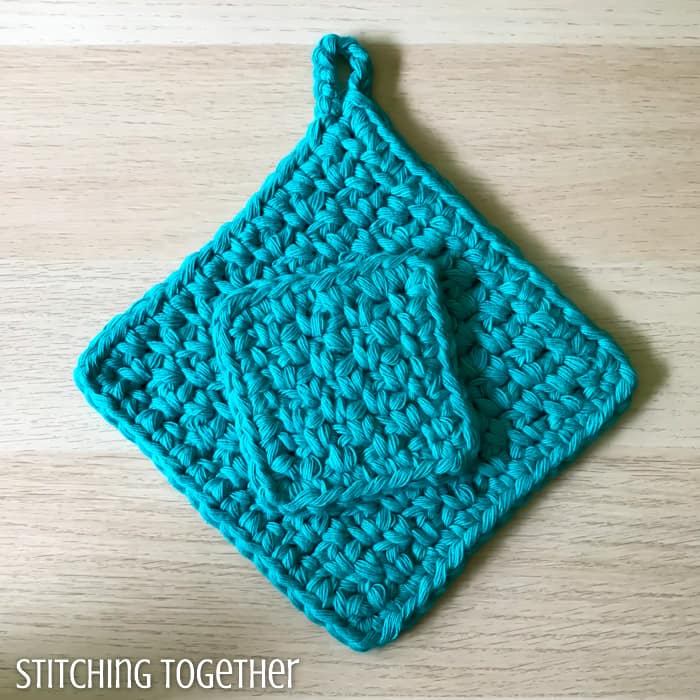
Finished Size: full size potholder: approx. 7.5” x 7.5”
small potholder: approx. 4.25” x 4.25”
Notes: The last stitch of the row is made in the turning chain. See moss stitch tutorial.
Simple Crochet Potholder Pattern Instructions:
Ch 16
Row 1: sc in 2nd ch from hook, *ch 1, sk 1 ch, sc, repeat from * to the end of the row, (The last st should be a sc into the last ch), turn
Row 2: *ch 1, sc in ch-1 sp, repeat from * to the end of the row, putting the last sc in the tc, turn.
Repeat Row 2 for a total of 15 rows
Ch 1, sc around the border putting sc, ch 1, sc in each corner. At the last corner, ch 8 then join with a sl st to the first sc. Fasten off and weave in ends.
Small Potholder Pattern:
Ch 8
Row 1: sc in 2nd ch from hook, *ch 1, sk 1 ch, sc, repeat from * to the end of the row, (The last st should be a sc into the last ch), turn
Row 2: *ch 1, sc in ch-1 sp, repeat from * to the end of the row, putting the last sc in the tc, turn.
Repeat Row 2 for a total of 7 rows
Ch 1, sc around the border putting sc, ch 1, sc in each corner join with a sl st to the first sc. Fasten off and weave in ends.
Will you share pictures of your finished projects? You can do that several ways:
- Tag Stitching Together on Instagram with @stitching_together and use the #stitchingtog
- Upload your picture in the Tried It section of this pin
- Share your work in the Stitching Together Community.