Granny Square Table Runner Crochet Pattern
Disclosure: This post may contain affiliate links. As an Amazon Associate, I earn from qualifying purchases. Please visit my Privacy Policy for disclosures and more information.
Do you want to decorate with granny squares beyond a blanket? Adding a crochet granny square table runner to your home decor is a great way to add a touch of handmade happiness to your sofa, coffee or , dining table. Instead of using a classic granny this gorgeous granny square table runner pattern uses the Fountain Flower Granny Square pattern to make a beautiful table runner with a subtle floral motif.
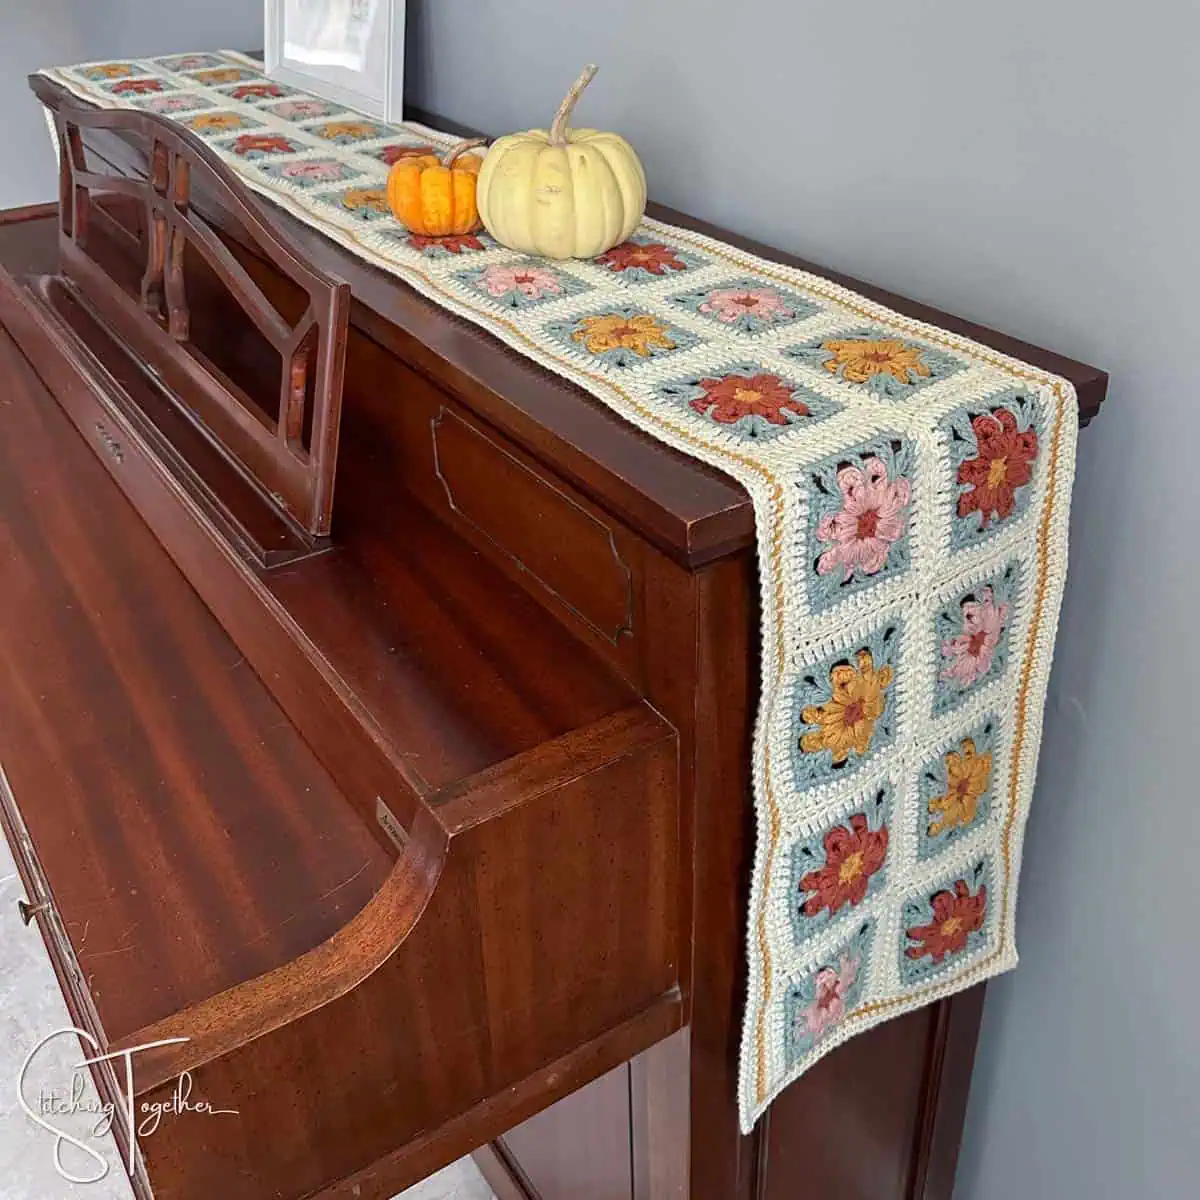
Use the same color scheme or choose one to match your home. Either way, you’ll have a piece that will add coziness to your space and will highlight your incredible skills. Keep reading for the online version of the free crochet pattern or purchase the printable PDF version.
How to Make a Granny Square Crochet Table Runner
Making a granny square table runner is actually really simple. If you want a specific size to fit your space, measure your table, determine how many squares you’ll need and get crocheting. Once you’ve made and joined all your squares, you’ll add rounds of a simple single crochet border around the outside of the squares. That’s it! How you customize it beyond that is up to you.
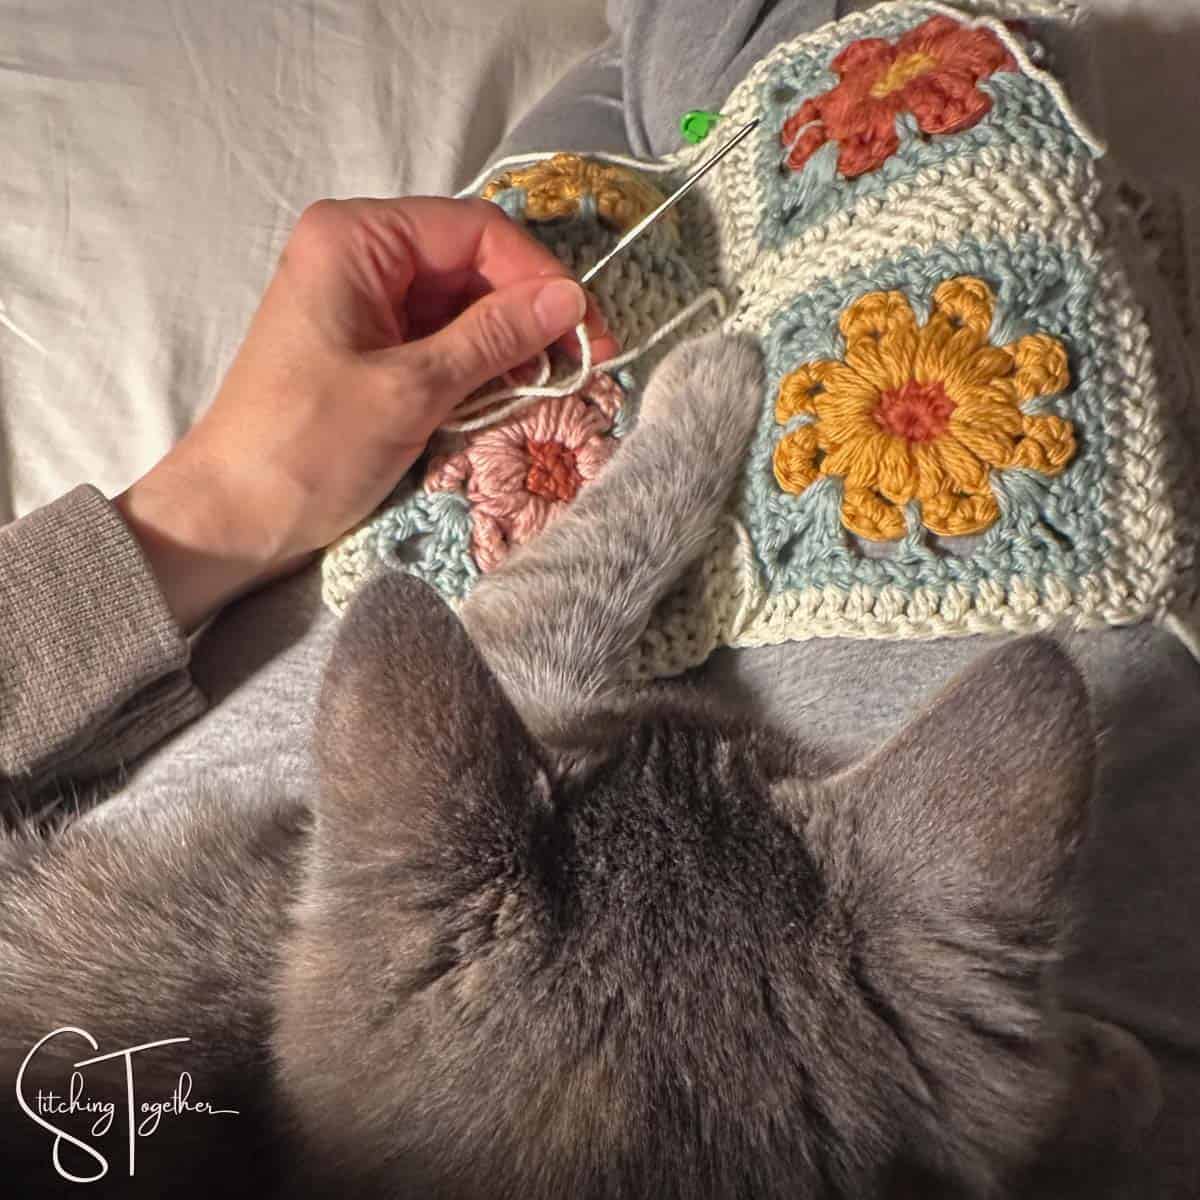
When my kitten gets a little older, I will likely add fringe to both ends of my table runner, but if I do that now, she will think I made a new toy for her. I don’t really want all the things pulled off of my sofa table when she gets ahold of that fringe.
Related: Different Granny Square Patterns
Skill Level
Just like the Fountain Flower Squares, this pattern is rated at an intermediate skill level. While they mostly use simple stitches, the squares require stitches and stitch placements that are beyond the beginner/easy level. Once you get the hang of the squares, they work up quickly.
Stitches
You’ll need to know how to make a magic circle, half double crochet, puff stitch, double crochet stitch, chain, single crochet stitch, and slip stitch. Overall they are basic stitches but you’ll be working them in ways you might not have before.
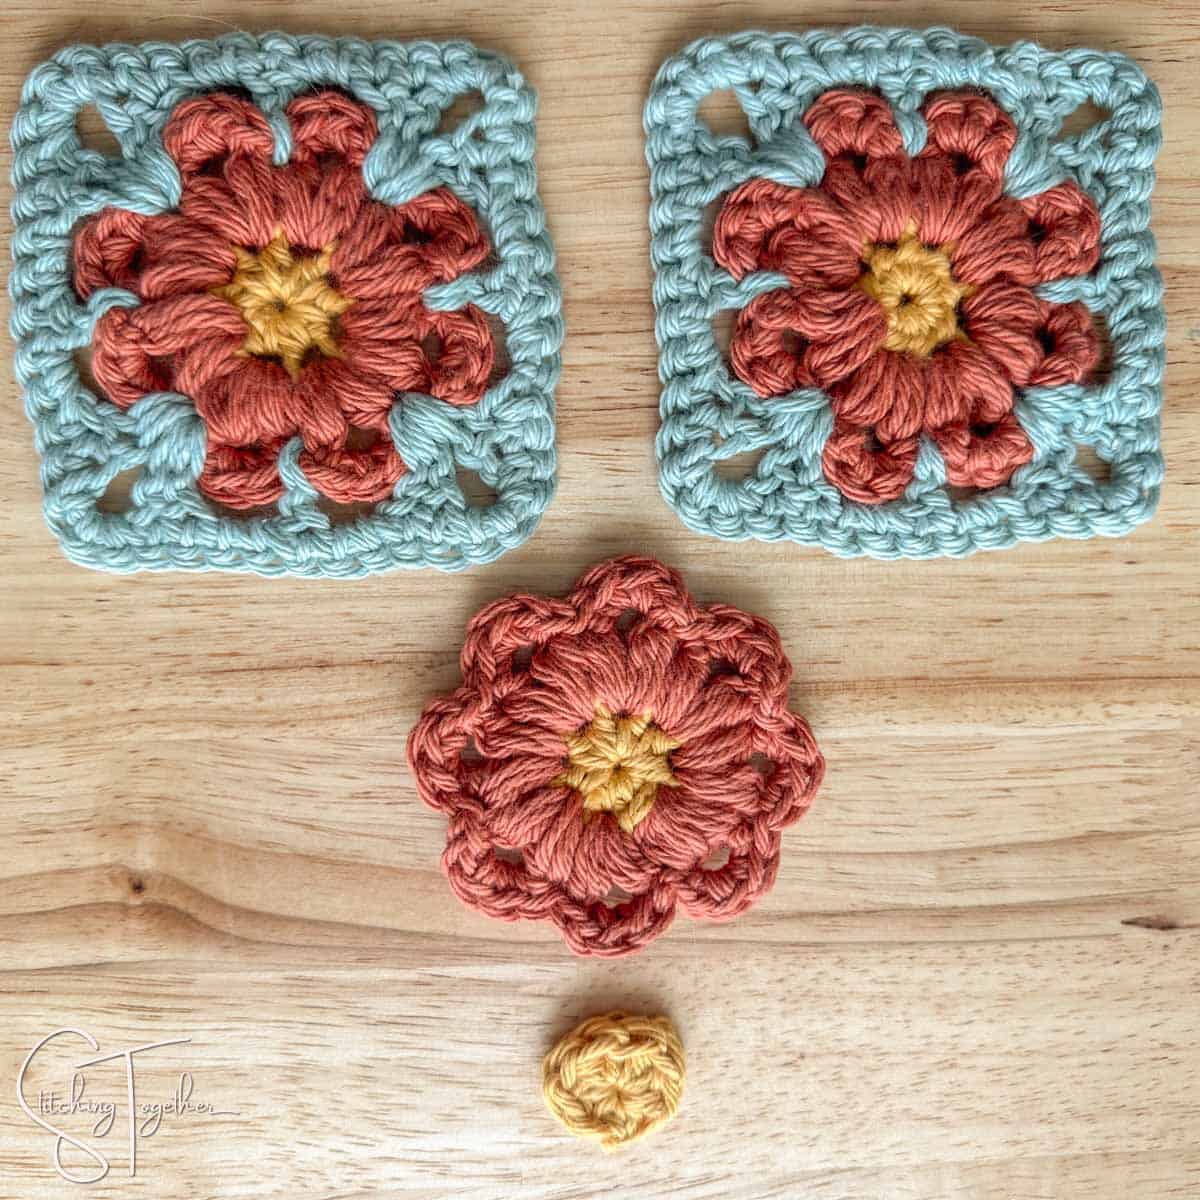
The square start with half double crochets worked in a magic circle. Then you’ll work a round of puff stitches and chain stitches. The next round works around those chain stitches to give you the outside part of the flower petals. The rest of the rounds use either double crochet stitches or single crochet stitches.
Related: Modern Table Runner Crochet Patterns
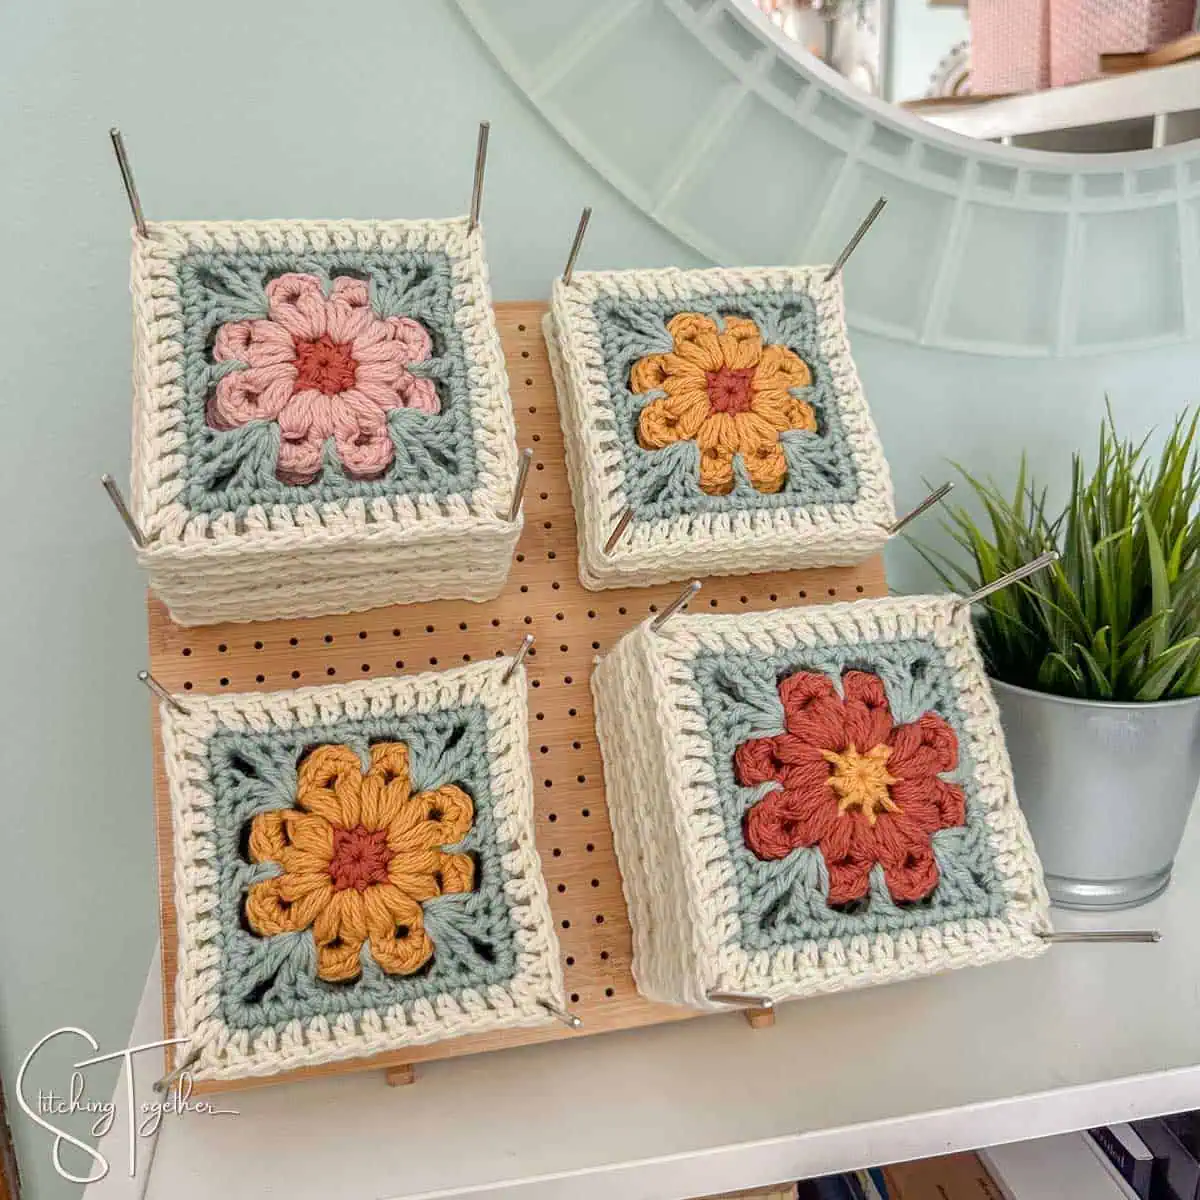
The pattern instructs to use a whip stitch for joining the squares but you can use whichever joining method you prefer. After joining the squares you’ll complete this beautiful piece by adding some rounds of single crochets.
PRO TIP
Whatever join you use, do not overtighten it as you go otherwise, no matter how much you block it, the border of your table runner will be wavy.
(Ask me how I know.)
What Yarn is Best for Crochet Table Runners?
For most kitchen items or decor, I usually use cotton yarn since it is durable and absorbent. If you are going to use this table runner on a dining room table or a coffee table, the biggest thing to worry about is that it is machine washable in the eventuality that something gets spilled on it. (Unless you don’t mind handwashing, then just feel free to disregard this advice.)
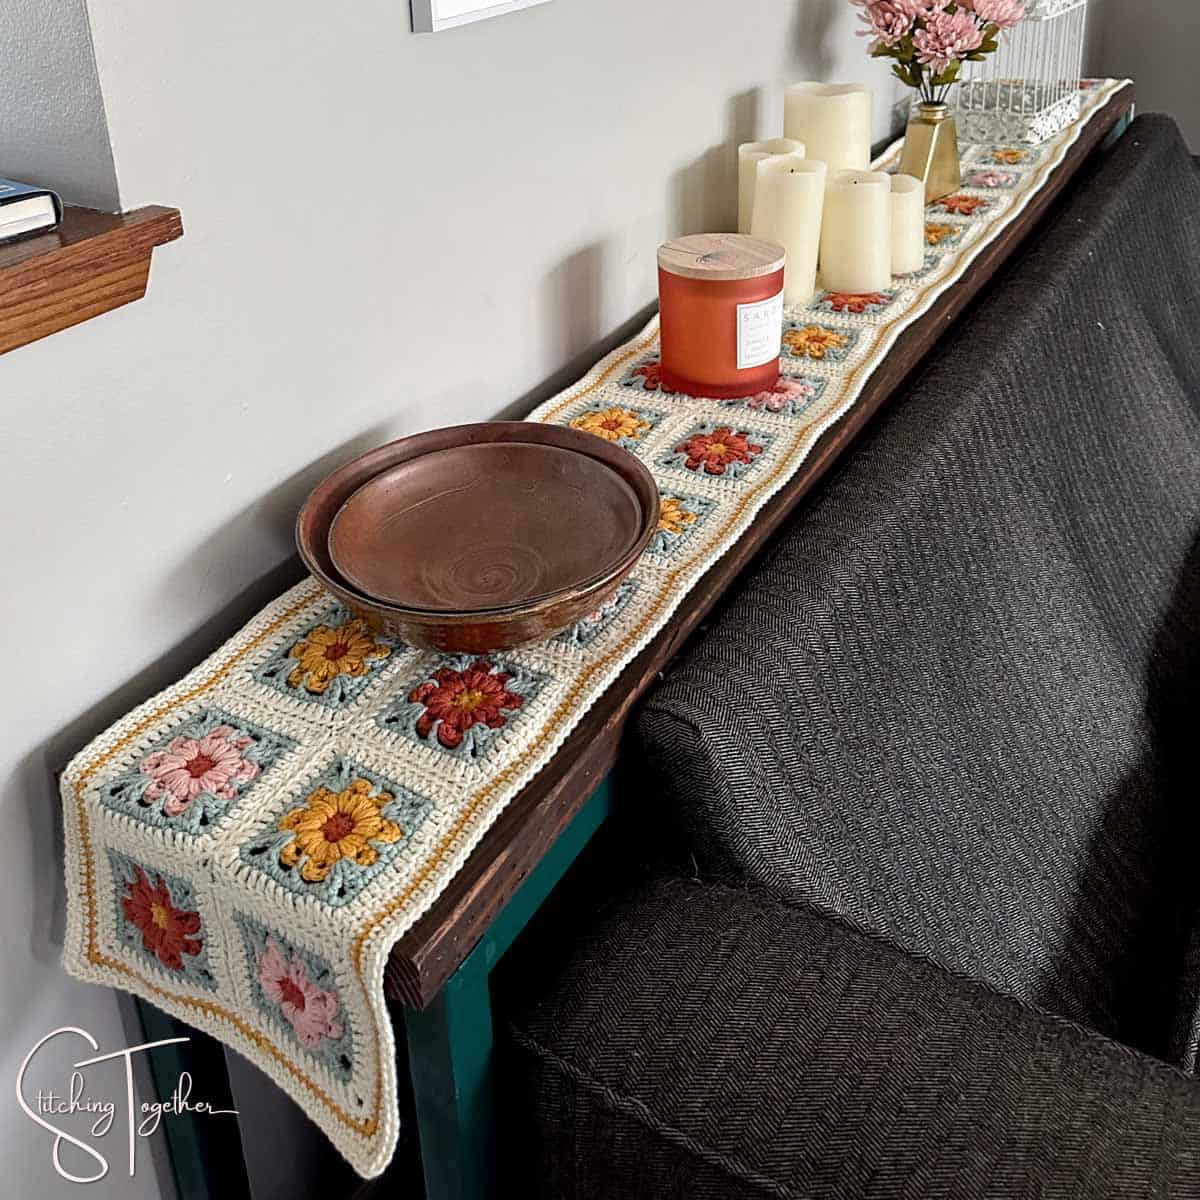
I used I Love This Cotton Yarn from Hobby Lobby mainly because I like working with it and it has a great color selection. It is a worsted-weight cotton yarn that is super soft and easy to work. It’s also machine washable and dryable.
You can see that the original Fountain Flower Squares were made with acrylic yarn and they look great. You won’t go wrong with a pretty yarn paired with this pretty square. Since I used cotton for the pattern, the substitutions I recommend are also cotton yarns that are similar to what I used.
Yarn Substitution Ideas
Lily Sugar’n Cream – Yarnspiration
Dishie – Knit Picks
Paintbox Cotton Aran – LoveCrafts
Premier Cotton Sprout – Premier Yarns
Fitting Your Table
It’s super easy to adjust the size and width of this table runner to fit your table. Since tables come in all shapes and sizes, it is best if you measure your table and decide how long and wide you’d like your runner to be.
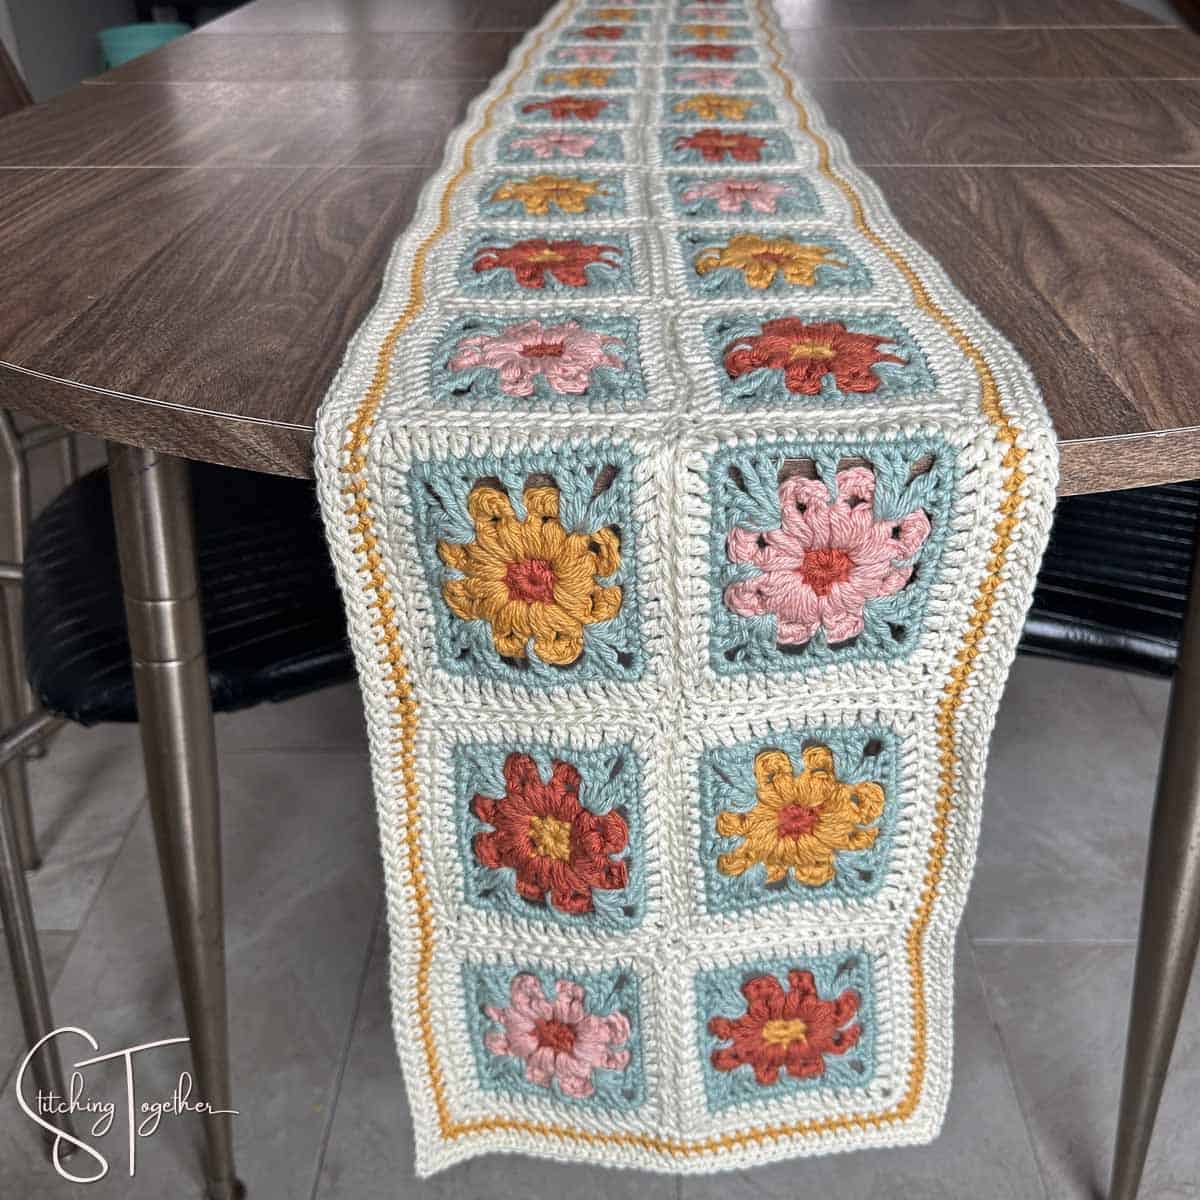
Each square measures approximately 4.5” by 4.5” plus the joins. It is best to use 5” for the squares when calculating the length since there are more joins and 4.5” for the width since there are fewer joins. The border adds approximately an inch to each side.
When measuring the length of your table, don’t forget to add length for overhang or drop. If you want it to hang over 10″ then you’ll add 20″ (10″ for each end of the table) to your table length measurement.
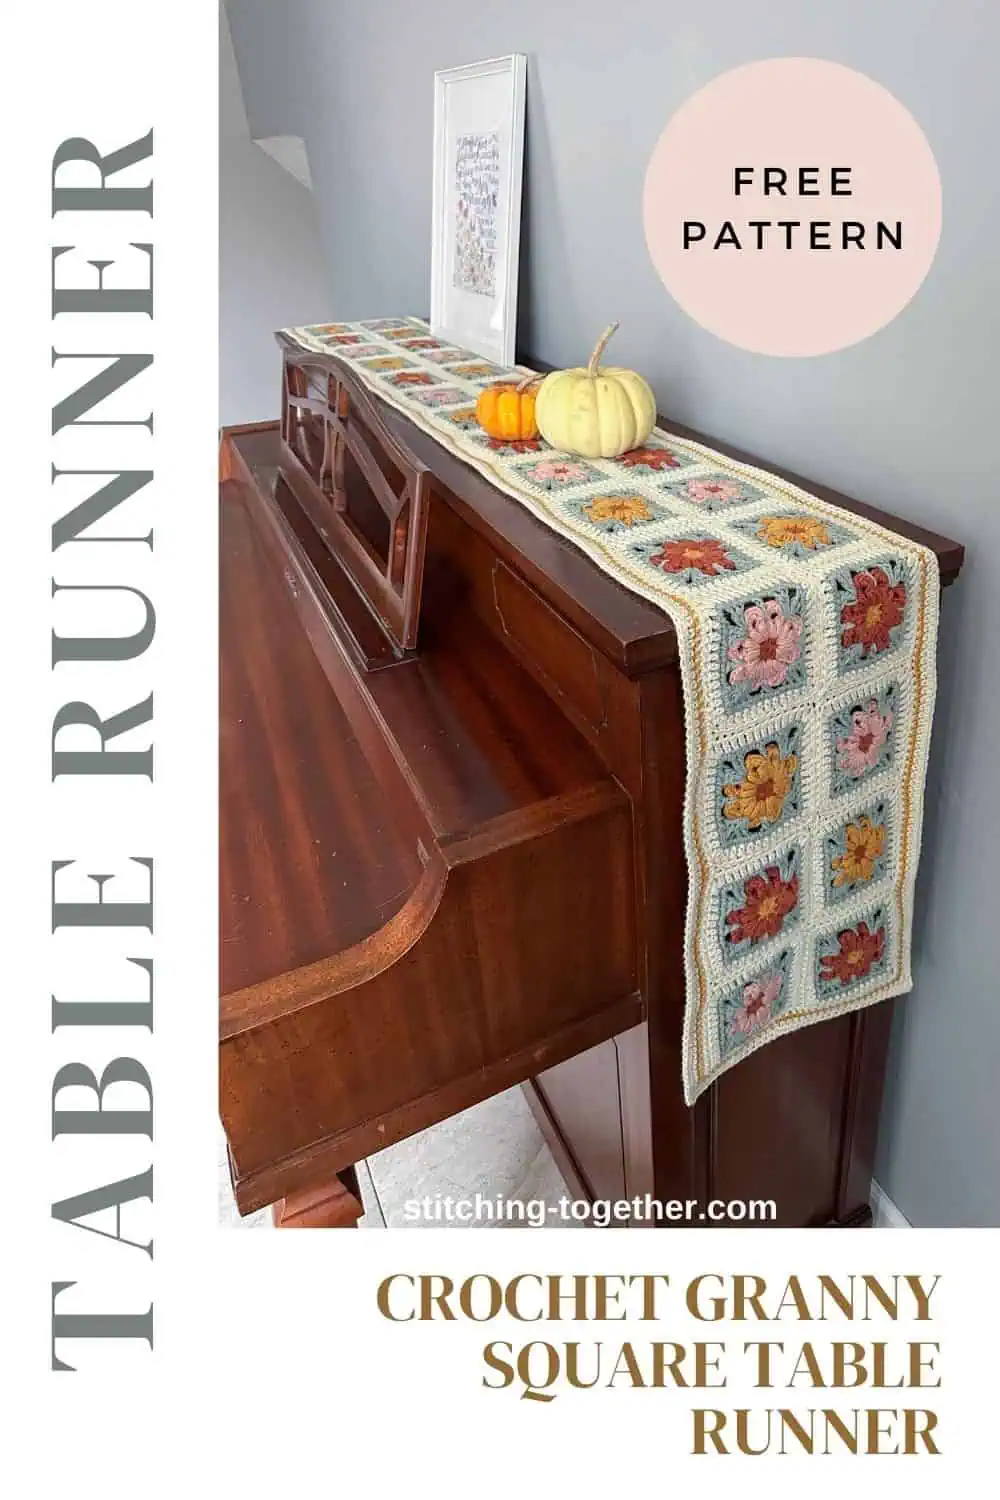
Boho Floral Granny Square Table Runner Free Crochet Pattern
Purchase the ad-free PDF version
Skill Level: Intermediate
Gauge: 1 square = 4.5” by 4.5”
Finished Size: 95” long by 11” wide
Supplies
US size I/9, 5.5 mm crochet hook
I Love This Cotton (category 4, worsted weight cotton yarn)
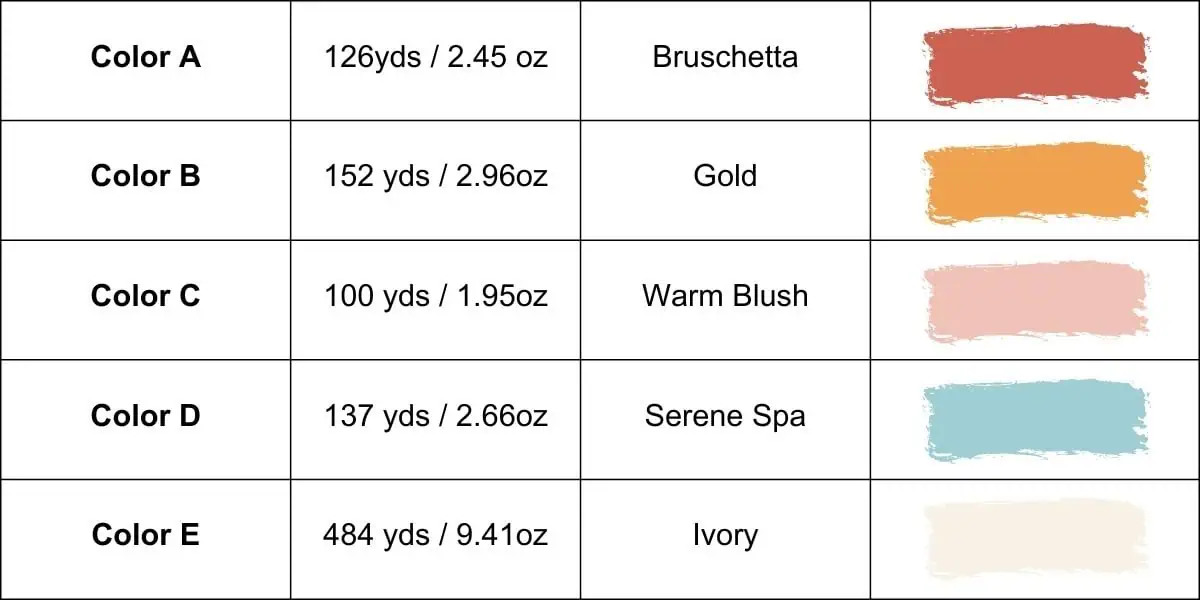
Approx. 0.38 ounces/square (see chart for total yarn yardage)
Large Eye Yarn Needle
Scissors
Save Time and Shop Online
Abbreviations
ch: chain
hdc: half double crochet
sl st: slip stitch
sc: single crochet
beg: beginning
puff: puff stitch (see special stitches)
st(s): stitch(es)
dc: double crochet
sp(s): space(s)
Notes
Brackets [ ] are used to indicate the instructions within the brackets will be repeated the specified number of times.
The ch 1 at the beginning of a round does not count as a stitch. The ch 2 that starts rounds 4 and 6 does count as a stitch.
Special Stitches
puff stitch: [yo, pull up a loop] 3 times (7 loops on the hooks), yo, pull through all 7 loops on the hook.
Granny Square Table Runner Written Pattern Instructions
Crocheting the Squares
Begin with a Magic Circle
Round 1: Ch 1, (does not count as a st here and throughout), 8 hdc in magic circle, tighten to close, join with a sl st to beg hdc. (8 hdc)
Round 2: Join next color, ch 1, [puff, ch 3 puff, ch 1] in each st around. (16 puff sts, 8 ch-3 sp, 8 ch-1 sp).
Round 3: [Sl st to ch-3 sp, 3 sc in ch-3 sp, sl st in ch-1 sp between next 2 puff sts] 8 times (24 sc)
For the next round you will be working all stitches in the ch-1 sps between 2 puff stitches made in Round 2. You will work over the sl sts made in Round 3.
Round 4: Join next color, ch 2 (counts as a st here and throughout), (dc, ch 3, 2 dc) in same sp (between puff sts), [ch 2, skip 3 sc, dc in ch-1 sp between puff sts, ch 2, skip 3 sc (2 dc, ch 3, 2 dc) in next ch-1 sp] 3 times, ch 2, skip 3 sc, dc in ch-1 sp between puff sts, ch 2, skip 3 sc, join with a sl st to beg ch 2 (20 dc, 4 ch-3 sps)
Round 5: Ch 1, [sc in next 2 sts, 3 sc in ch-3 sp, sc in next 2 sts, 2 sc in ch-2 sp, sc in dc, 2 sc in ch-2 sp] 4 times, join with a sl st to beg sc (48 sc)
Round 6: Join next color, ch 2, dc in next 2 sts, (dc, ch 1, dc) in next st, [dc in next 11 sts, (dc, ch 1, dc) in next st] 3 times, dc in next 8 sts, join with a sl st to beg ch 2 (52 dc)
Joining the Squares
With the right side of the squares facing in, join the squares in your desired configuration using a whip stitch through the back loops. Or use whatever joining method you’d like!
Border
Round 1: Join Color E anywhere on the outside of a square, ch 1, sc around adding 3 sc in each ch-1 sp at the corners, join with a sl st to beg sc
Round 2: Join Color B, ch 1, sc around, adding 3 sc in each corner sc, join with a sl st to beg sc
Round 3: Join Color E, ch 1, sc around, adding 3 sc in each corner sc, join with a sl st to beg sc
Round 4: Ch 1, sc around, adding 3 sc in each corner sc, join with a sl st to beg sc
Fasten off and weave in ends
Will you share pictures of your finished projects?
- Tag Stitching Together on Instagram with @stitching_together and use the #stitchingtog
- Upload your picture in the Tried It section of this pin
- Share your work in the Stitching Together Community.
