The Courtney Crochet Beanie Hat
Disclosure: This post may contain affiliate links. As an Amazon Associate, I earn from qualifying purchases. Please visit my Privacy Policy for disclosures and more information.
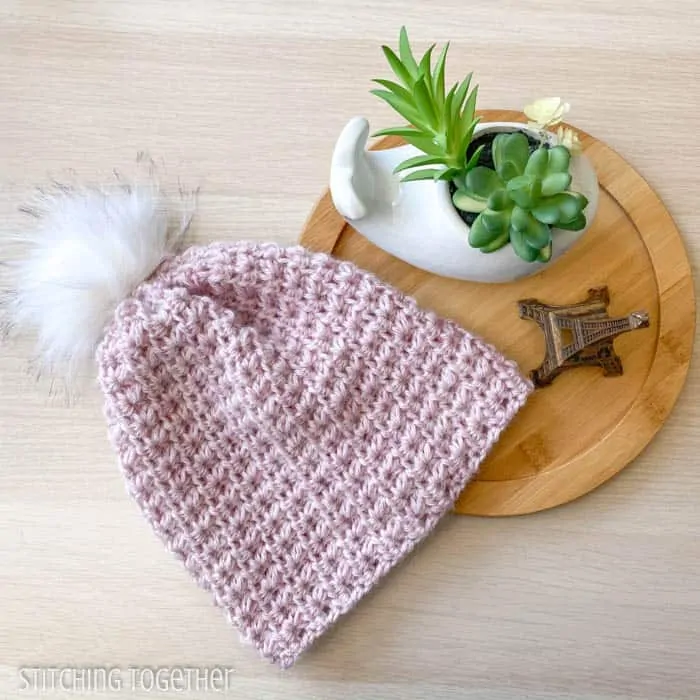
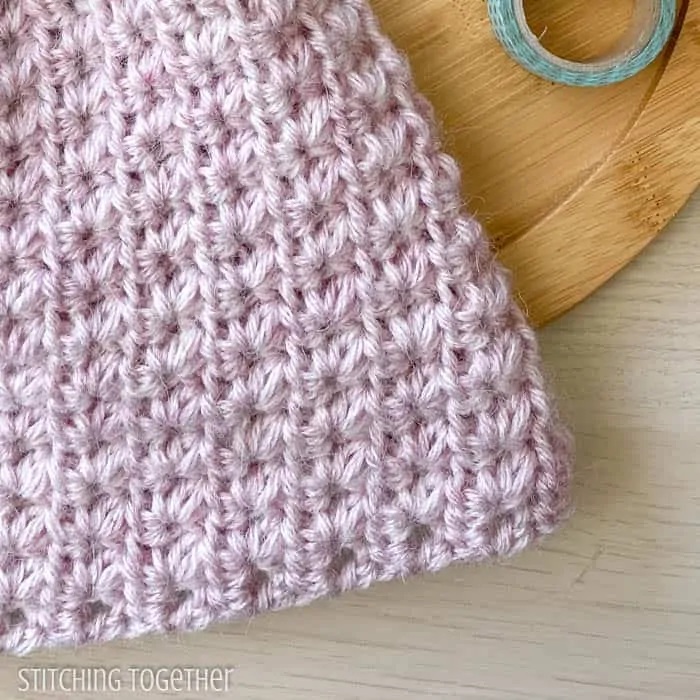
The Courtney Crochet Beanie Hat is soft, textured and feminine – unique from any hat you can grab off the rack. Pair it will the Courtney Crochet Scarf with Fringe and you’ll have a gorgeous set to wear all season.
Keep reading for the free crochet pattern or purchase an inexpensive printable version of the Courtney Crochet Beanie hat pattern.
How to make the Courtney Crochet Crochet Beanie Hat
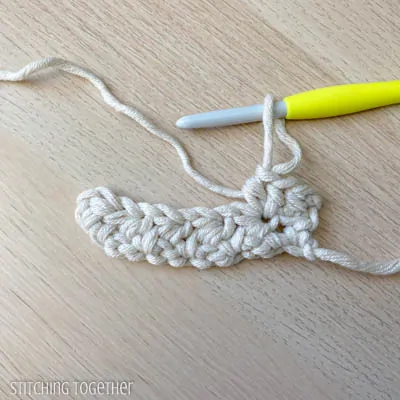
This hat has super simple construction. You’ll first crochet a rectangle that is as long as the hat will be around. (Nerd alert: I guess technically the shape won’t be a rectangle but a parallelogram since the stitches make the fabric slant.)
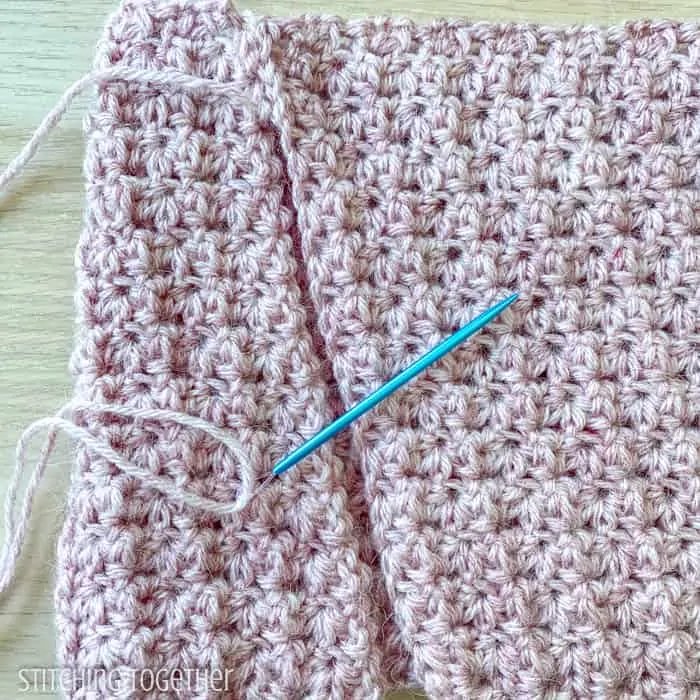
Once you are done crocheting the hat, you’ll fold the short ends together and sew them up. I ended up using a mattress stitch, but you may find another sewing technique that you like better.
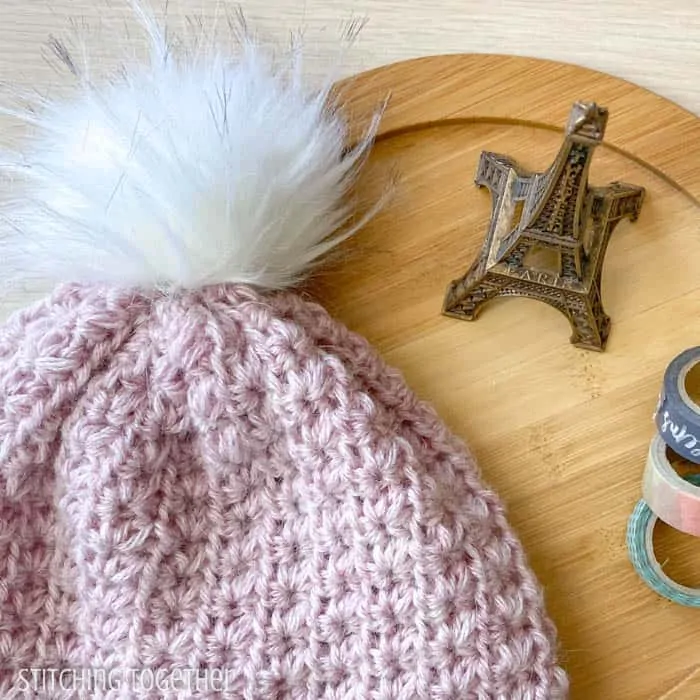
The final step is to use a strand of yarn to cinch one side of the hat closed and top it off with a pom pom (if you want). I used a faux fur pom pom I got as part of this set from Amazon, but I also think it would look so cute if you make a yarn pom pom for this hat.
Related: Easy Ribbed Crochet Hat Pattern
Stitches and yarn used for the Courtney Crochet Hat
If you’d like to read more about both the yarn and stitches used for this hat, head over to the Courtney Crochet Scarf post. I go into more detail about both in that post.
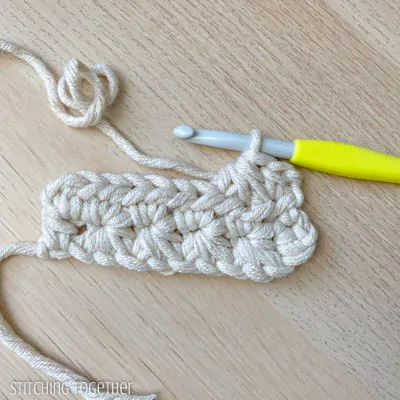
What I will say is that the lookalike star stitch used for this hat and the matching scarf is so much easier and uses less yarn than you’d expect. It might just become a new favorite stitch pattern for you!
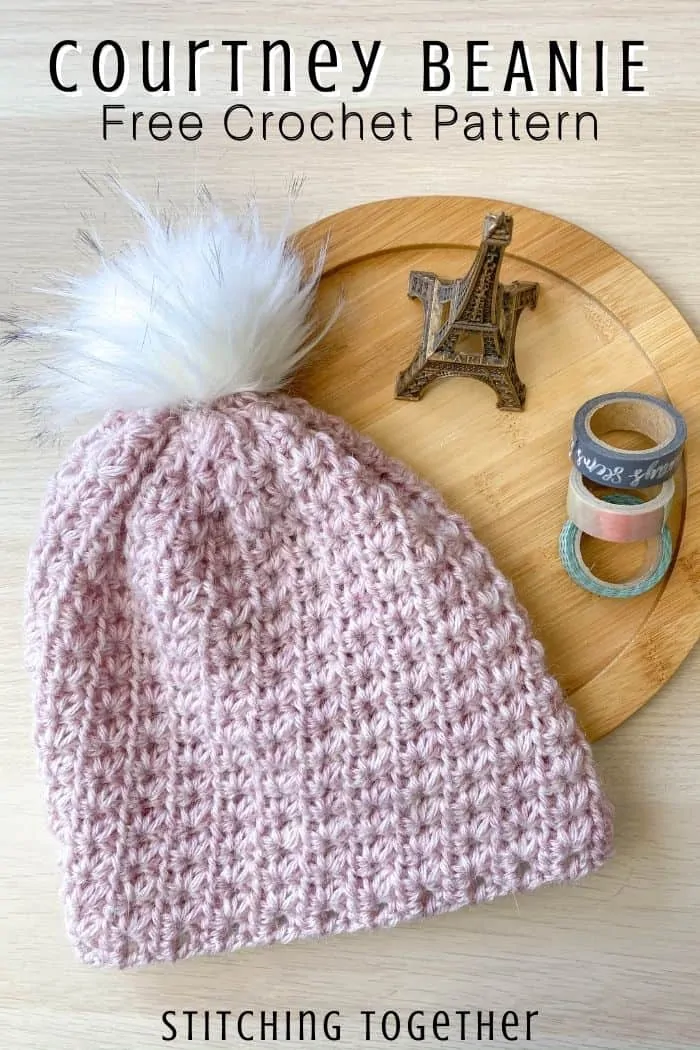
Save the Courtney Crochet Beanie Hat on Pinterest for later
The Courtney Crochet Beanie Hat Pattern
Skill Level:
Easy
Materials:
K-6.5 mm crochet hook (You can order this hook right on Amazon!)
Touch of Alpaca by Lion Brand (check the price on Amazon here)
2.5oz in Blush
Large Eye Yarn Needle – These are my favorite you can add to your Amazon cart
Pom Pom – of course this is optional but here is the set I ordered from Amazon
Abbreviations:
ch: chain
hdc: half double crochet
st(s): stitch(es)
mhdc3tog: modified half double crochet 3 together
Gauge: 4” x 4” = 12 rows by 8 mhdc2tog (taken in stitch pattern – row 2 and 3 repeat)
Finished Size: approx. 18” L by 9.25” W before sewing
Notes:
The hat is first worked as a rectangle and then sewn to form a tube. One end of the hat it then cinched closed.
The modified hdc3tog (mhdc3tog) has only one yarn over at the beginning of the stitch instead of yarning over before each time you insert the hook into the next stitch.
The chain 1 at the beginning of the row does not count as a stitch.
Stitch Instructions:
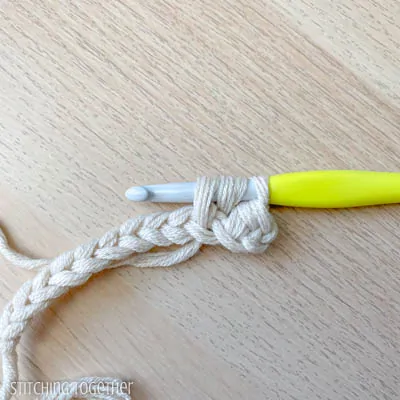
mhdc3tog: yo, insert hook into the same st as the previously finished st, pull up a loop insert hook into next st, pull up a loop, insert hook into next st, pull up a loop, yo and pull through all 5 loops on the hook.
***The first mhdc3tog of Row 1 does not start in the same st as the previously finished st. Instead start it in the next st.
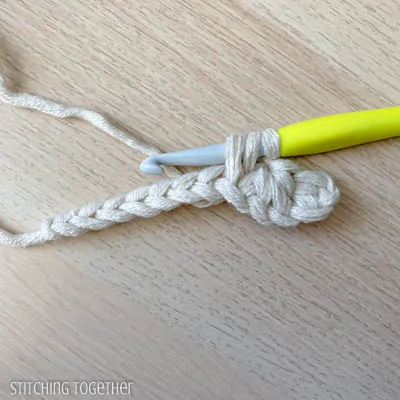
For the first mhdc3tog of row 1: hdc in the 2nd ch from the hook, yo, insert hook into the next st, pull up a loop,
insert hook into the next st, pull up a loop,
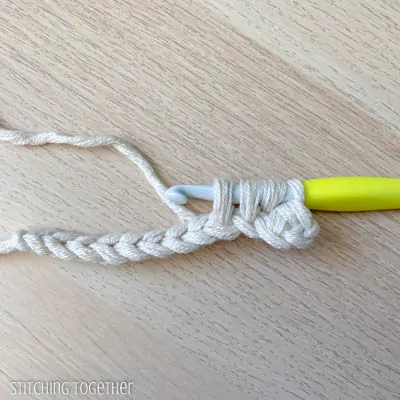
insert hook into the next st, pull up a loop,
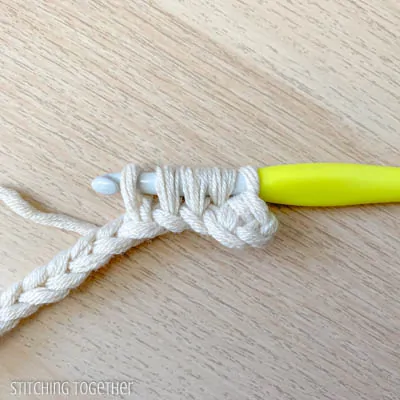
yo and pull through all 5 loops on hook
mhdc3tog: Yo, insert hook into the same st as the previously finished st, pull up a loop,
insert hook into the next st and pull up a loop,

insert hook into the next st and pull up a loop,
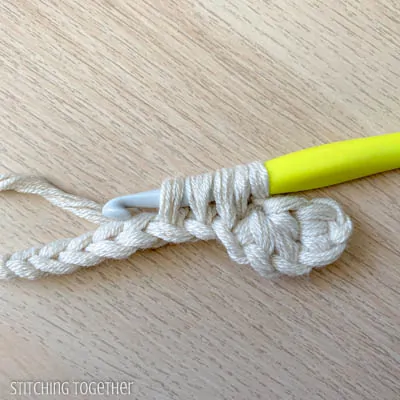
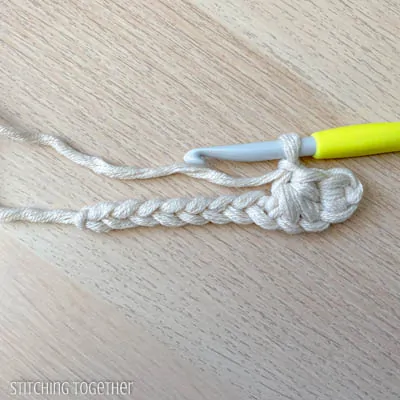
yo and pull through all 5 loops on hook. Continue to end of row putting a hdc in that last st.
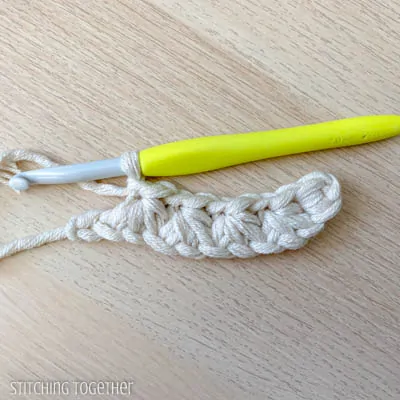
Start of Row 2: Turn, ch 1, hdc in the first st,
2 hdcs in each ch 1, hdc in the last st of the row,
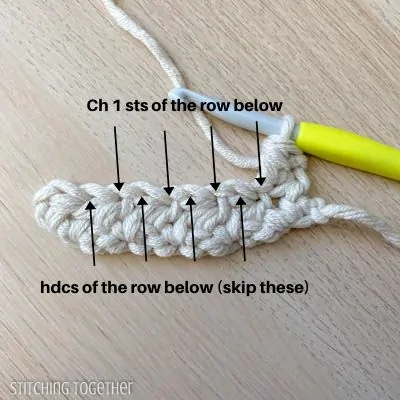
Start of Row 3: The mhdc3tog of the next row starts in the same st as the 1st hdc of the row
Pattern Instructions:
Ch 36
Row 1: hdc in the 2nd ch from the hook, mhdc3tog starting in the next st (see note), ch1, [mhdc3tog, ch 1] 12 times, hdc in the last st, turn.
Row 2: ch 1, hdc, 2 hdc in each ch 1 across, hdc in last st, turn. (34)
Row 3: ch 1, hdc, [mhdc3tog, ch 1] 13 times, hdc in the last st, turn.
Row 4-46: Repeat Rows 2 and 3
Fasten off leaving a long tail approximately 12-18”.
Sew the short ends of the hat together to form a tube.
Decide which side of the hat you want to be the top. Using a strand of yarn, weave it in and out of the stitches in the top row of the hat carefully pulling to cinch the hat closed as you work around. Add optional pom pom. Weave in all ends.
Do you like printing your patterns? You can find a print-ready PDF version of this pattern in the following places:
Will you share pictures of your finished projects?
- Tag Stitching Together on Instagram with @stitching_together and use the #stitchingtog
- Upload your picture in the Tried It section of this pin
- Share your work in the Stitching Together Community.