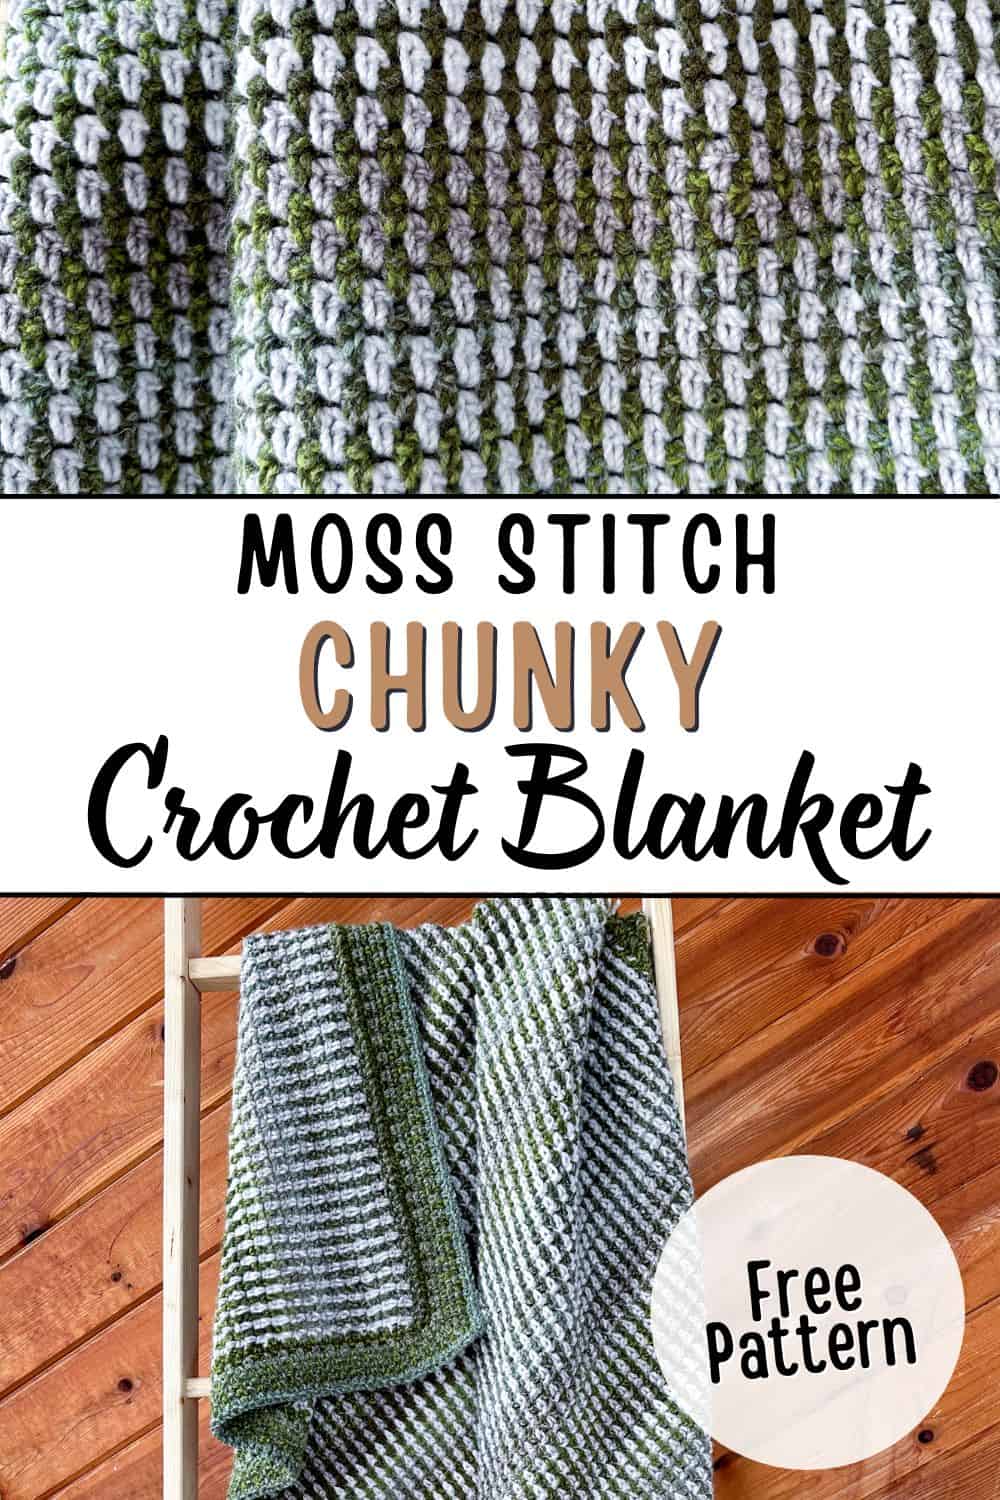
Meandering Moss Stitch Chunky Crochet Blanket Free Pattern
Disclosure: This post may contain affiliate links. As an Amazon Associate, I earn from qualifying purchases. Please visit my Privacy Policy for disclosures and more information.
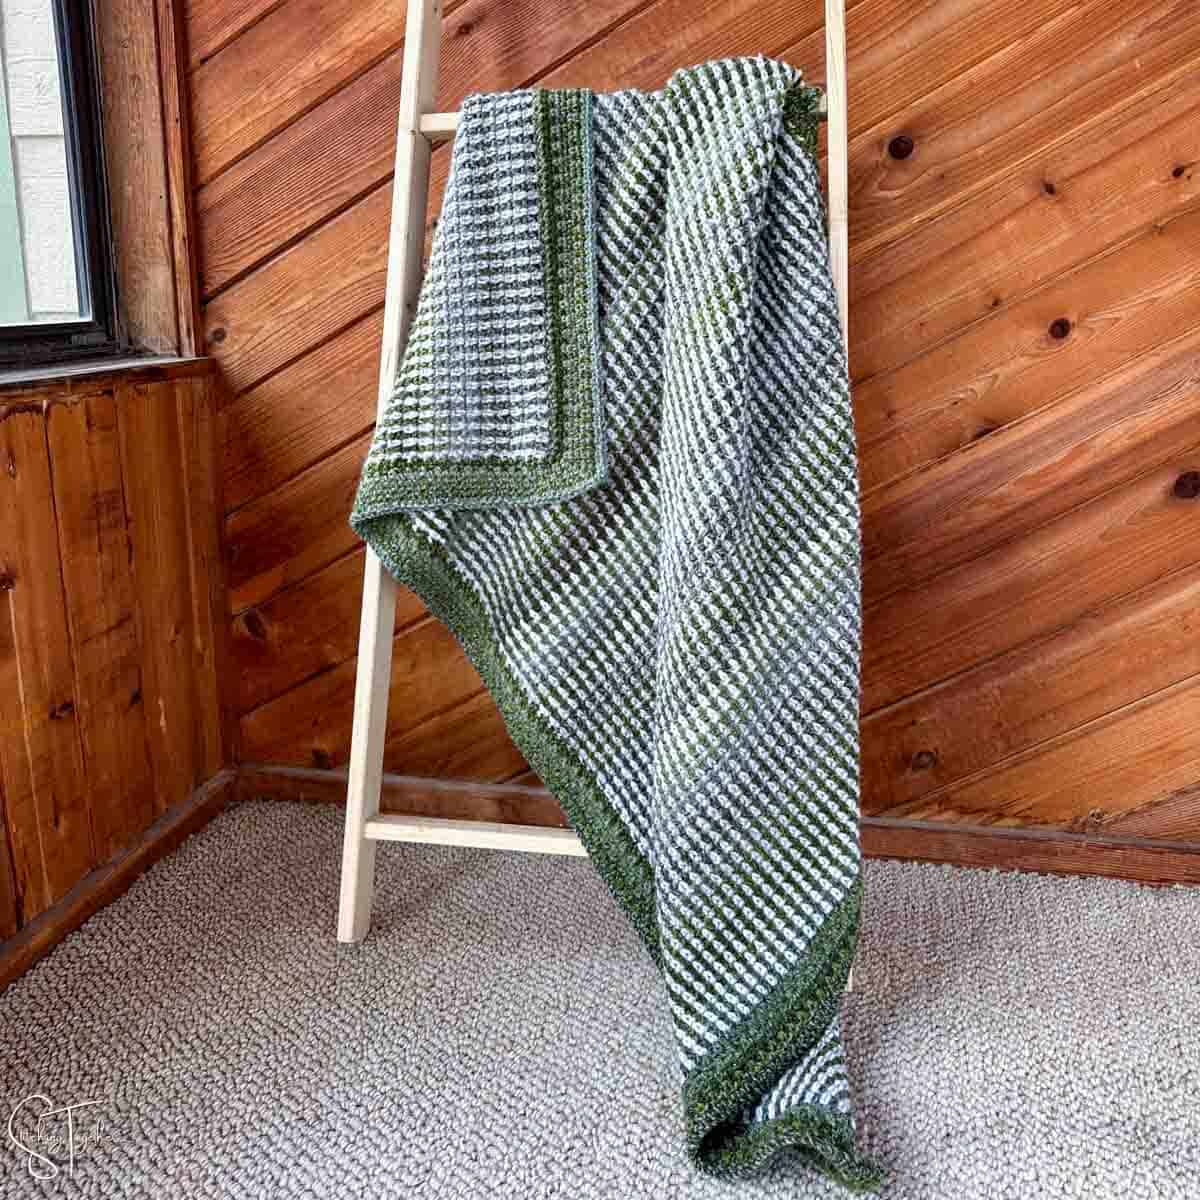
Add gorgeous color and texture to your crochet projects with this easy Moss Stitch Blanket pattern! Using two different colors of chunky self-striping yarn, this blanket is a showstopper that’s as fun to make as it is beautiful.

The classic moss stitch, with its easy-to-learn repeat, creates a cozy fabric full of texture and interest. And when paired with the rich, shifting hues of self-striping yarn, the result is a stunning design that looks far more complicated than it really is.
Whether you’re making this blanket for yourself or as a gift, you’ll love the process. So, grab your hooks and your favorite yarn, and get ready to create a chunky, colorful throw. You can find all the details and the free pattern if you keep reading, or you can purchase the ad-free PDF version here.
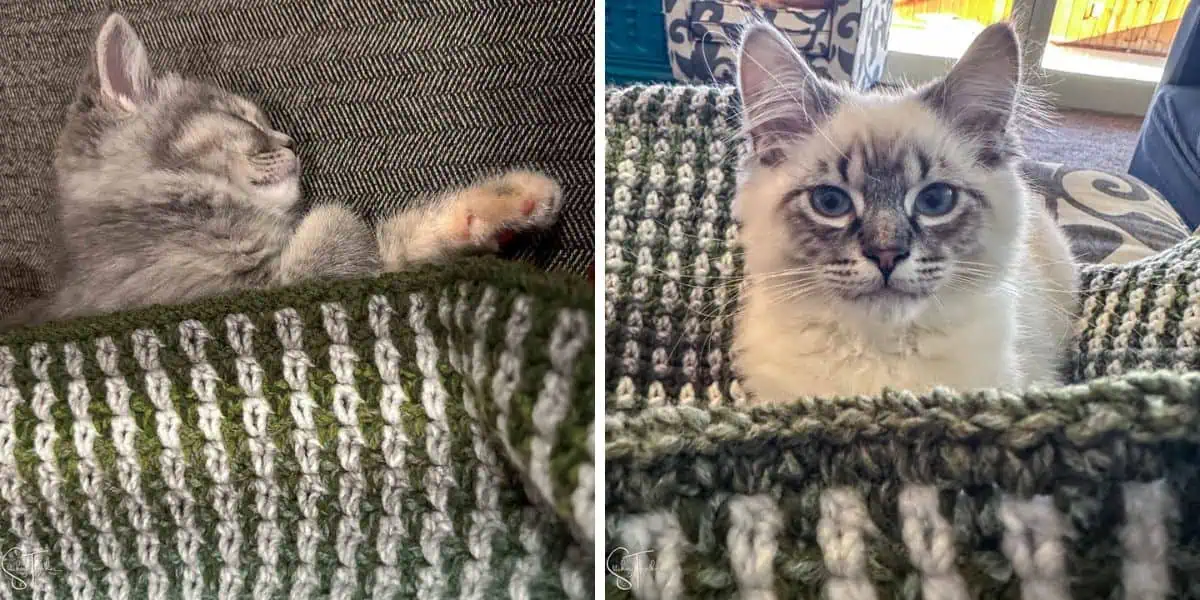
I started this blanket in December of 2023 when we brought home our new little kitten. I had a bunch of other projects going at the same time, so after making some good progress quickly, I set it aside and mostly forgot about it.
Once late fall hit, the cooler weather made me remember I had a blanket in the works, and by then, we had another kitten. Don’t they look so cute?
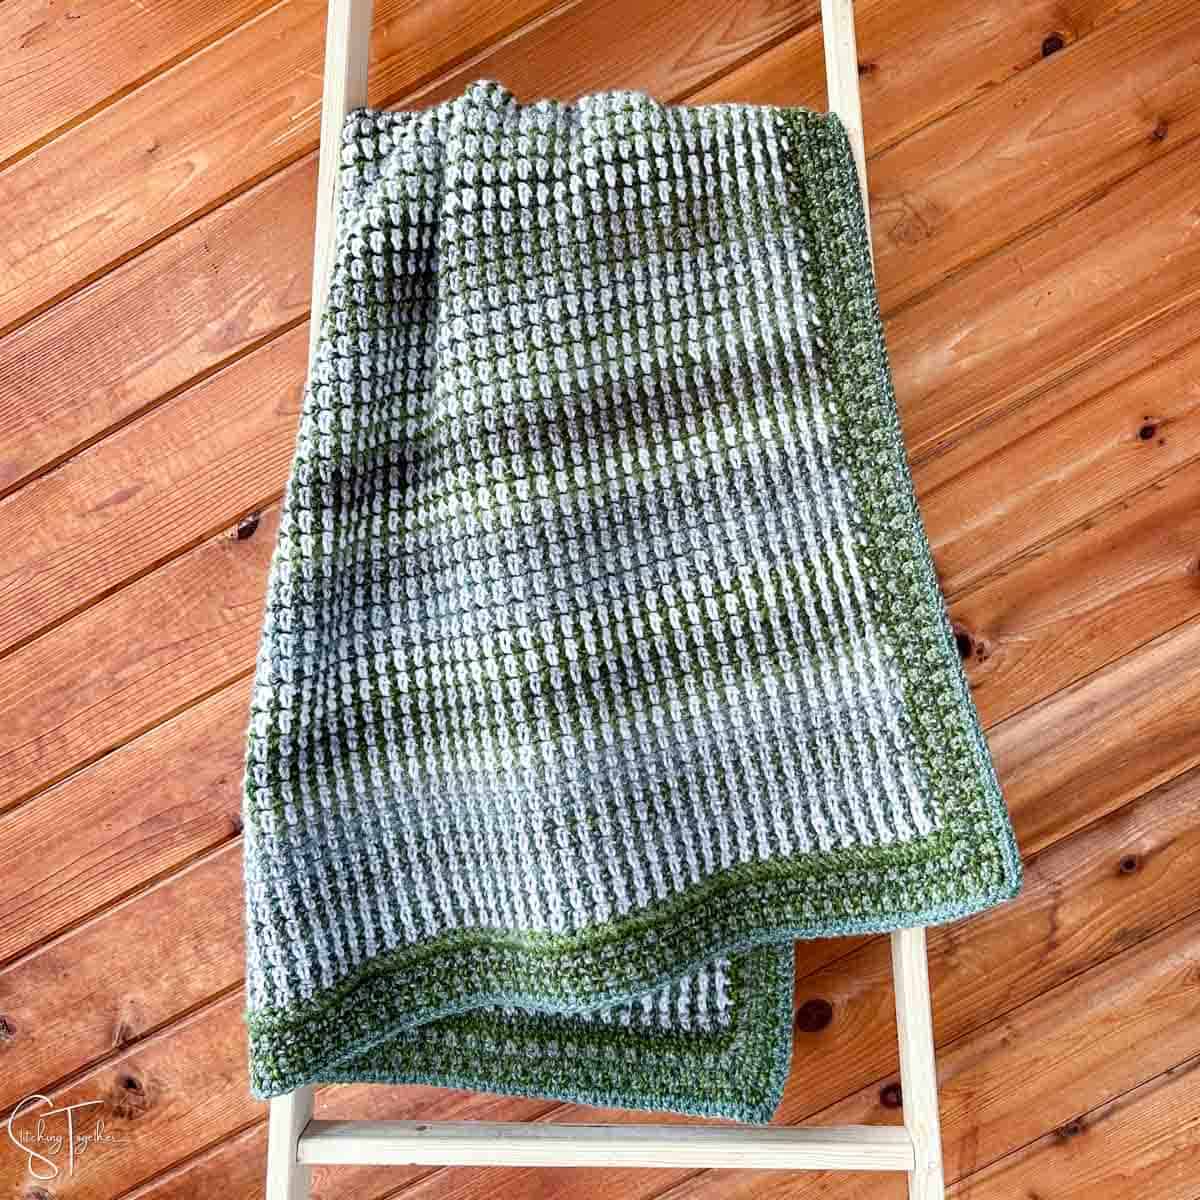
While it took me a long time to finish this blanket, it didn’t actually take a lot of crochet time. The chunky yarn plus the moss stitch gives you a cozy blanket that is quick and easy.
Stitches
Most of this chunky blanket pattern uses the moss stitch, a super easy stitch pattern consisting of single crochets and chains. You single crochet, chain, skip a stitch, and single crochet in the next stitch. On the next row, you’ll work the same pattern but all your single crochets will be worked into the chain one spaces of the row below.
The instructions for how to work the moss stitch are written in the pattern below but in case you want some extra help I have a full moss stitch tutorial that has step-by-step photos and instructions for you.

Related: Papa’s Chunky Crochet Blanket
If you’ve worked in the moss stitch before you may notice that I start and end each row a little bit differently than other versions of the most stitch. I have found working the most stitch this way gives the cleanest edge which makes it look nice if you don’t want to add a border or makes it easier if you do want to add a border.
Yarn
Premier Puzzle yarn, a category 5, Bulky weight, 100% acrylic yarn was the perfect choice for this project. It’s soft and so easy to work with, plus there’s a variety of colors so you can tailor this blanket to be exactly what you want.
Puzzle yarn comes in both solids and variegated stripes. Two different colorways of the variegated stripes were used to make this blanket.
Related: Moss Stitch Baby Blanket
If you order directly from Premier Yarns, be sure to sign up for their reward program where you’ll get a coupon and can start earning your own reward points and I’ll get reward points. Who doesn’t want to be rewarded for yarn?
Skill Level
This pattern is rated Easy, although I do think an adventurous beginner would be fine trying the pattern. Make sure you work through the Moss Stitch Tutorial if you are getting stuck at all.
The main skills you’ll need to know are changing colors, working in the round for the border, working in chain spaces, single crochet stitches, and chains.
Meandering Moss Stitch Crochet Blanket Chunky Free Pattern
Purchase the ad-free PDF version
Skill Level: Easy
Gauge: 4”x4” = 12.5 sts by 11 rows taken in the moss stitch
Finished Size: 43” W by 56” L
Supplies
Puzzle by Premier Yarns (Category 5 Bulky weight yarn, 328yds/300m, 7oz/200g)
- Sample used approximately 1606 yds (34.28 oz) of yarn total
- Color A (Green) Maze 916 yds (19.56 oz)
- Color B (Silver) Jack 690 yds (14.73 oz)
US size K/10.5, 6.5 mm crochet hook
Tapestry Needle
Scissors
Save Time and Shop Online
Abbreviations
ch: chain
tc: turning chain (the chain 1 at the start of the previous row)
sp: space
sc: single crochet
st(s): stitch(es)
sl st: slip stitch
Notes
This beautiful blanket is made using the moss stitch. The starting and ending instructions of the rows may be slightly different than other versions of the moss stitch. At the beginning of the row you’ll chain one and at the end of the rows, you’ll work into each chain one (turning chain) instead of working into the last sc.
The gorgeous color changes are made by using 2 different colorways of self-striping yarn.
To adjust the size of your blanket, keep your starting chain an even number and work an odd number of rows.
Changing Colors
Since you are using two different colors and switching between them every row, you’ll have to deal with ends. There are a few different ways I can think of to handle the ends:
- Cut the yarn at the end of each row and crochet over the ends.
- Carry the unused yarn under your stitches so it ends up on the other side of your work when you finish the row.
- Join the yarn in Row 2 at the beginning of Row 1 instead of at the end of Row 1. Every 2 rows will be worked in the same direction.
Options 2 and 3 will have the fewest ends to weave in, but option 2 will use more yarn than Option 3. The instructions are written as if you are working normally back and forth in rows.
Pattern Instructions
With Color A, ch 128
Row 1: sc in 2nd ch from hook, *ch 1, skip 1 ch, sc; repeat from * to end of row, turn. (127)
Join Color B
Row 2: ch 1, *sc in ch-1 space, ch 1; repeat from *to end of row, sc in tc, turn. (128)
Row 7-147: repeat row 2, changing colors every other row.
Border
The first round of the border is done in single crochet stitches and the following rounds are done in the moss stitch then a final round of single crochets.
Round 1: With Color A, ch 1, sc evenly around working 1 sc into each st at the top and bottom, 1 sc at the end of each row on the sides, and (sc, ch 1, sc) in each corner, join with a sl st to the first sc.
Now you’ll start working 5 rounds of moss stitch for the border
Round 2: *ch 1, skip 1 sc, sc; repeat from * around placing a (sc, ch 1, sc) in each ch-1 space of the corners, after the last corner, ch 1 and join with a sl st to the first sc of the round.
Round 3: *ch 1, sc in ch-1 space, repeat from * around placing a (sc, ch 1, sc) in each ch-1 space of the corners, join with a sl st to the first sc of the round.
Rounds 4-6: repeat round 3
Round 7: ch 1, sc evenly around working 1 sc into each st, placing (sc, ch 1, sc) in each corner, join with a sl st to the first sc. Fasten off and weave in ends.
Will you share pictures of your finished projects?
- Tag Stitching Together on Instagram with @stitching_together and use the #stitchingtog
- Upload your picture in the Tried It section of this pin
- Share your work in the Stitching Together Community.