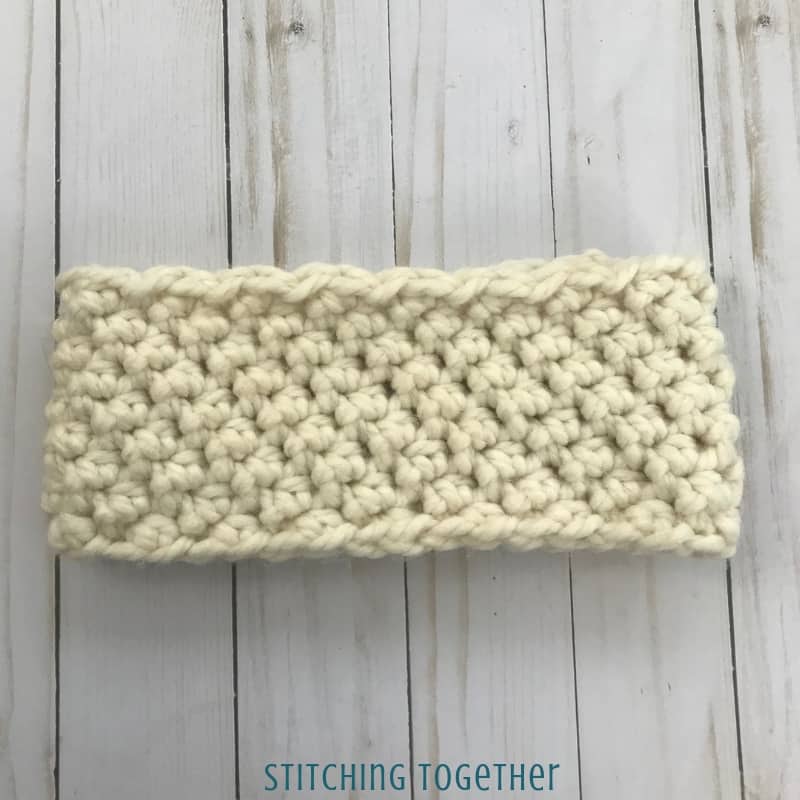
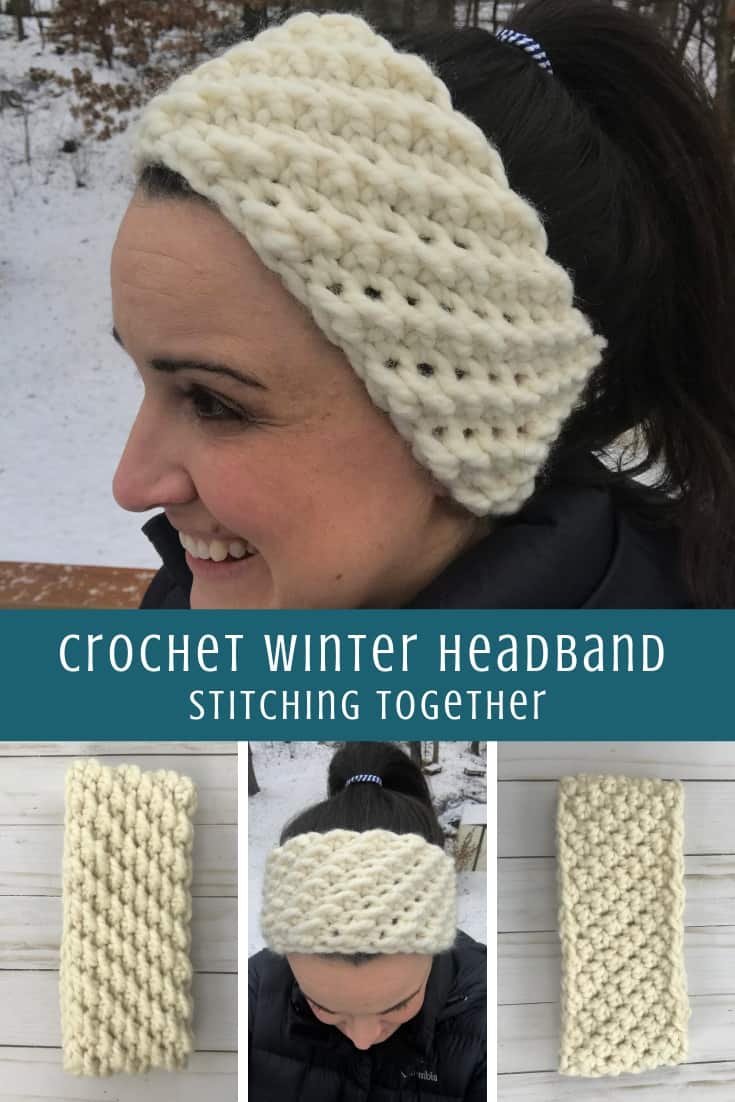
Windward Winter Headband Crochet Pattern
Disclosure: This post may contain affiliate links. As an Amazon Associate, I earn from qualifying purchases. Please visit my Privacy Policy for disclosures and more information.
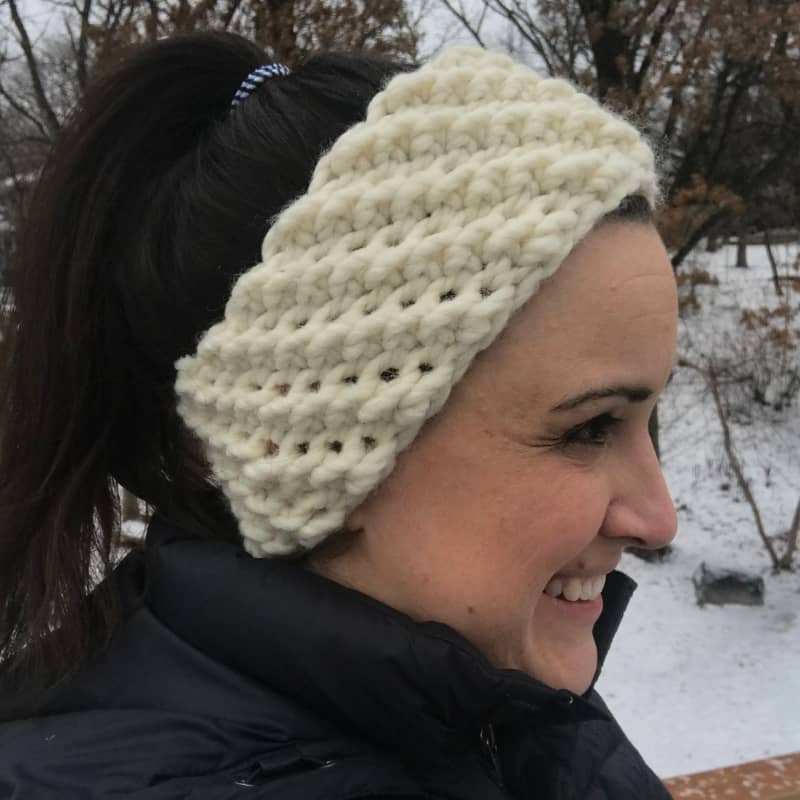
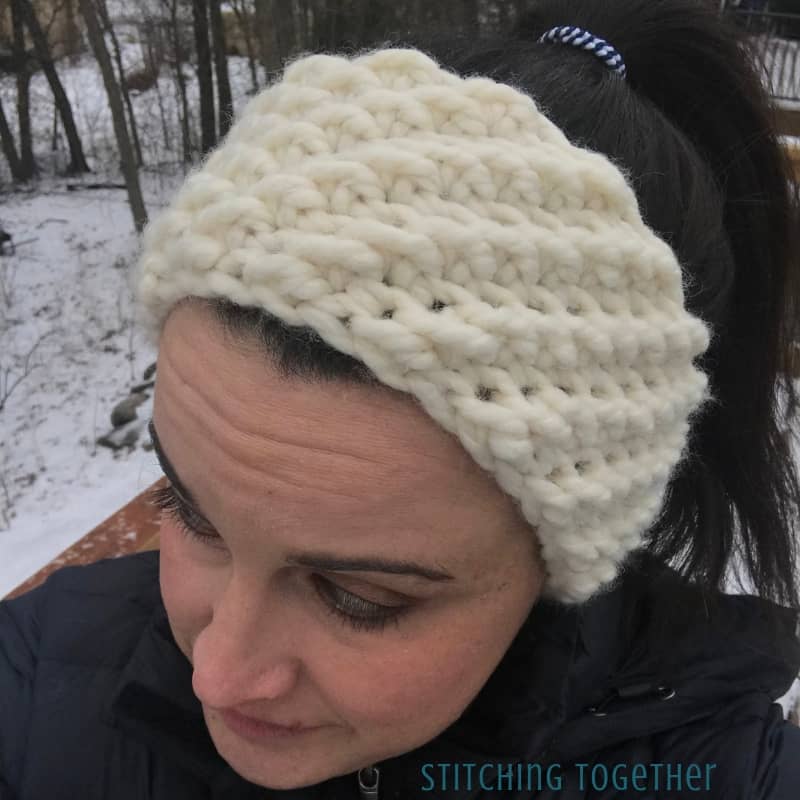
Do you need a warm crochet headband for winter? And I mean a WARM headband. One that will keep the bone chilling wind off of your ears? The Windward Winter Headband Crochet Pattern was designed to do just that and look cute in the process!
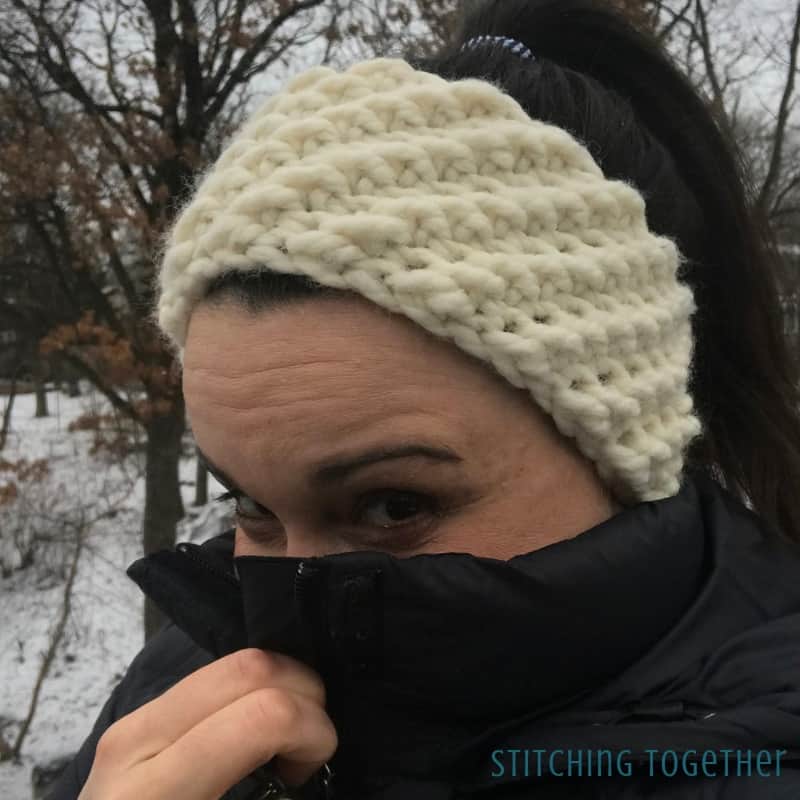
Although it is almost January, winter in Minnesota is just getting started. We’ve had a couple of days of freezing rain and those days have been MILD compared to normal. We haven’t even hit the sub zero temps yet. (Although it was super cold and windy when I went to take the photos for the headband – thank goodness it kept me warm!)
Related: Chunky Crochet Ear Warmer Pattern
A thick ear warmer under your hood, especially if your hair is up, is a life saver. (Really, I should say “ear saver”, shouldn’t I?)
Related: Crochet Hat with Brim Using the Crunch Stitch
You can scroll down and find the entire crochet winter headband pattern free of charge or you can purchase an ad-free PDF of this pattern on Ravelry or on Etsy if you prefer having it in a printable format.
How long will the Crochet Winter Headband Pattern Take?
Since you are using super bulky yarn and a large hook, this crochet winter headband whips up in around 30 minutes!
In about an hour, with one skein of Wool Ease Thick and Quick, you could have two completed headbands. (Perhaps one to gift….)
Related: Easy Crochet Infinity Scarf
Sizing the Windward Winter Headband
Don’t you love when it’s easy to adjust the size of a pattern and you can make it all your own?
The easiest way to size this is to check out the headband size chart and decide which size you want to make. Since the finished size of pattern below comes out to around 20″ it falls in the larger end of teen-lower end of medium adult range.
To adjust the size, you’ll want to keep your starting chain a multiple of 2 and either add or subtract 2 stitches at a time. For every 2 stitches you’ll be adding or subtracting a little more than an inch.
Please check your own gauge to ensure you get the best fit for you though!
Don’t forget to save the Windward Winter Headband crochet pattern on Pinterest!
Windward Winter Headband Crochet Pattern
Need help organizing your patterns? Don’t miss the Crochet Pattern Binder!
Skill Level: Easy
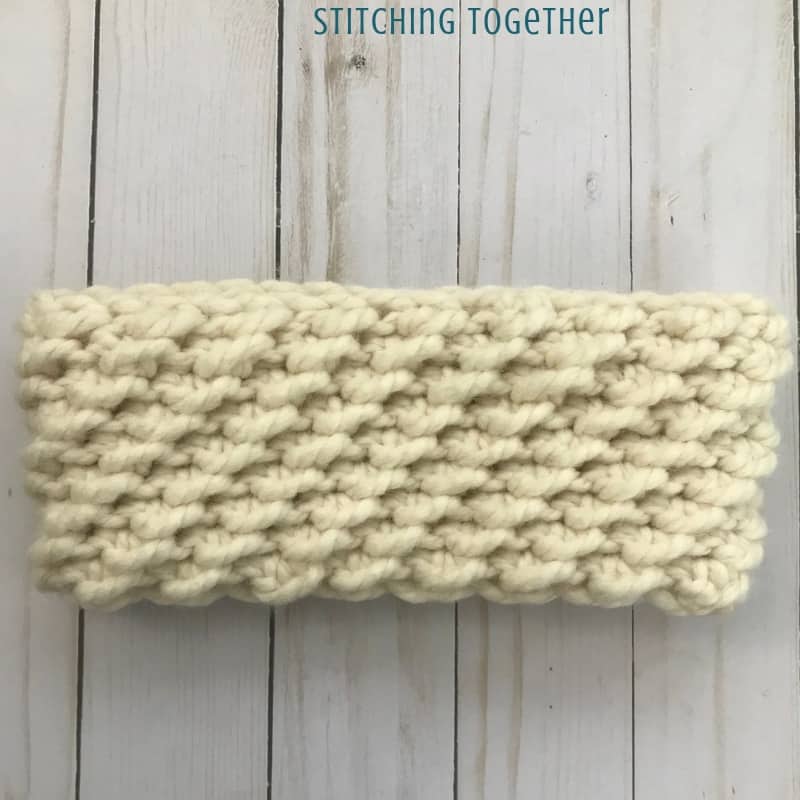
Gauge: 4″ by 4″= 9 rounds by 7 sts using the crunch stitch in the round
Final Size: approximately 20″ around by 4″ tall
Abbreviations:
ch(s): chain(s)
sl st: slip stitch
hdc(s): half double crochet
sk: skip
st(s): stitch(es)
tc: turning chain
Materials for the Crochet Winter Headband Pattern
#6 Super Bulky Yarn (6oz/170g, 160yds/97m)
-
Sample used 2.34 ounces of Lion Brand Wool-Ease Thick and Quick in Fisherman (Check prices on Amazon and on LionBrand.com)
Size N/P 10.0 mm Crochet Hook (The Clover Amour big size hooks are wonderful to use!)
Large Eye Needle (These are my favorite, especially for bulky yarn and they are inexpensive on Amazon)
Notes:
Be sure to keep your tension loose especially on the slip stitches.
The last hdc of each round will be worked in the slip stitch which joined the previous round and the first slip stitch of each round will be skipped.
Although the Crunch Stitch Tutorial shows this stitch worked in rows, it would be helpful to review to understand the basic concept of the stitch pattern.
The ch 2 at the beginning of the round does not count as a stitch.
To adjust the size simply chain a multiple of 2 until you’ve reached the desired length. Measuring after a round or two will give you the most accurately sized headband.
Cozy Crochet Winter Headband Pattern Instructions
ch 34, join with first ch to form a circle.
R1: ch 2, *sl st into next ch, hdc in next ch, repeat from * around, join with sl st to top of ch 2. (34)
R2: ch 2, *sl st into first hdc of the previous round, hdc in sl st of the previous round, repeat from * around, join with sl st to top of ch 2. (34)
Repeat Round 2 seven times for a total of 9 rounds. Fasten off and weave in ends.
[question]
Would you share pics of your finished headbands? You can do that several ways:
-
Tag Stitching Together on Instagram with @stitching_together and use the #stitchingtog
-
Upload your picture in the Tried It section of this pin
-
Save your project on Ravelry and link it to this pattern
-
Share your work in the Stitching Together Community.
[/question]
