Over the Ridge Crochet Boy Hat Pattern
Disclosure: This post may contain affiliate links. As an Amazon Associate, I earn from qualifying purchases. Please visit my Privacy Policy for disclosures and more information.
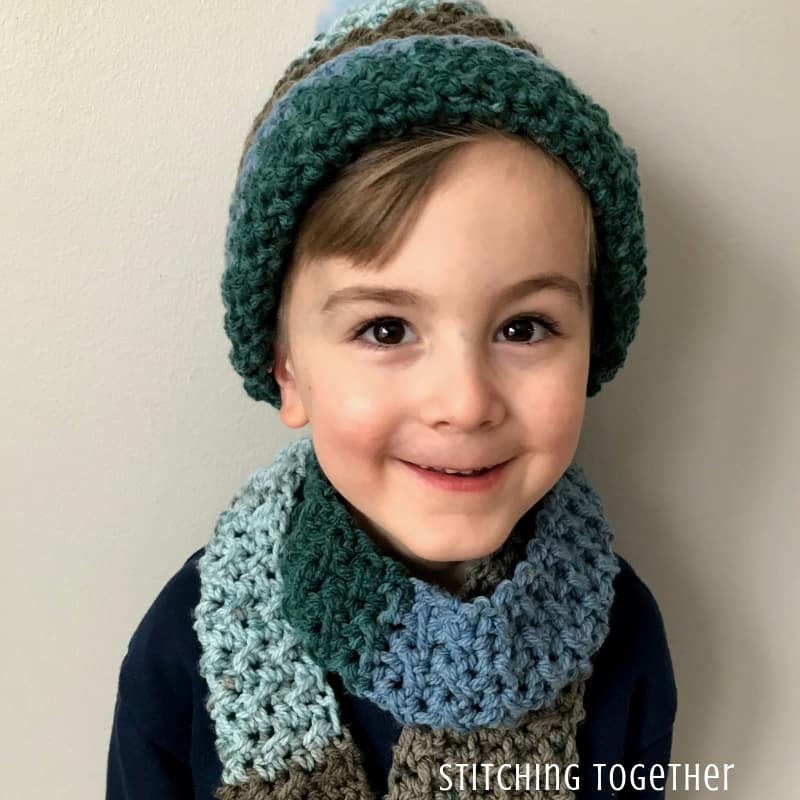
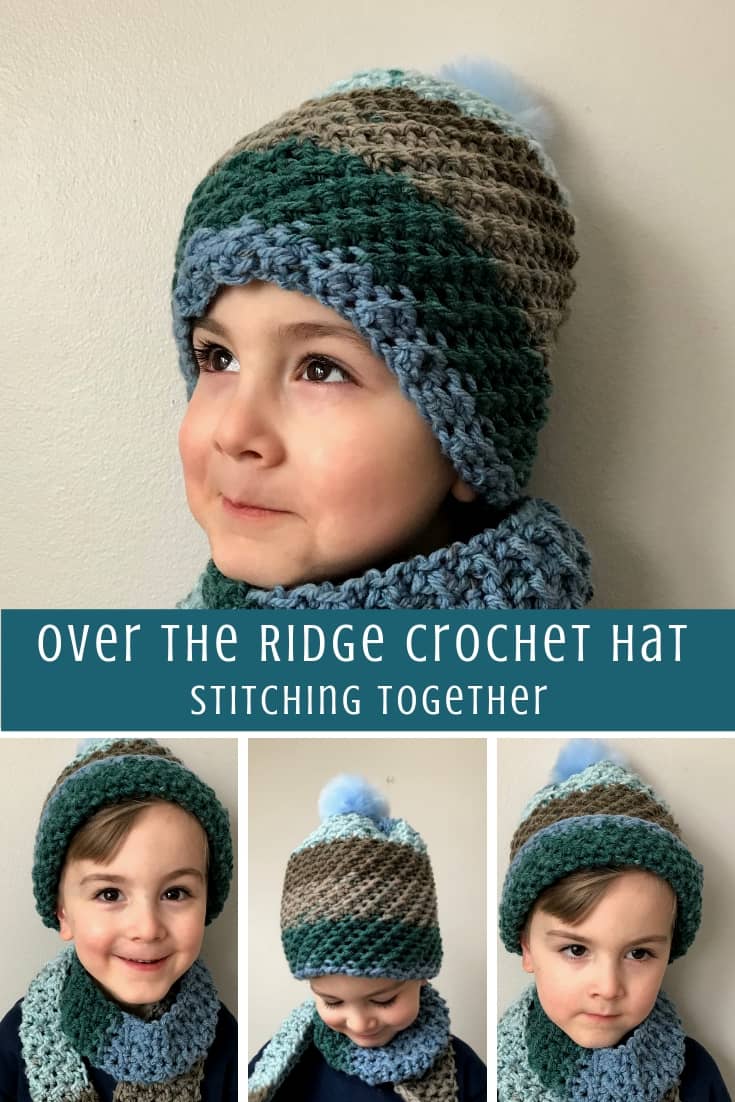
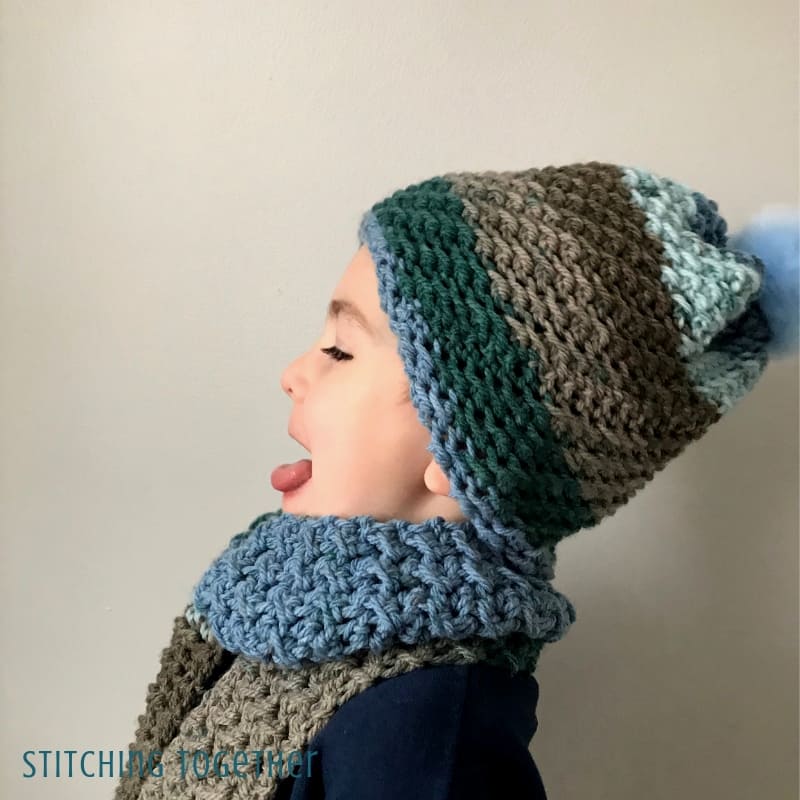
Welcome to the Over the Ridge Crochet Boy Hat Pattern! There’s no reason this just needs to be a crochet boy hat, but I made it for my oldest child who happens to be a boy. It seems like I can’t keep up with his growth so I’ve been focusing on making more warm items for him as he is rapidly growing out of everything! 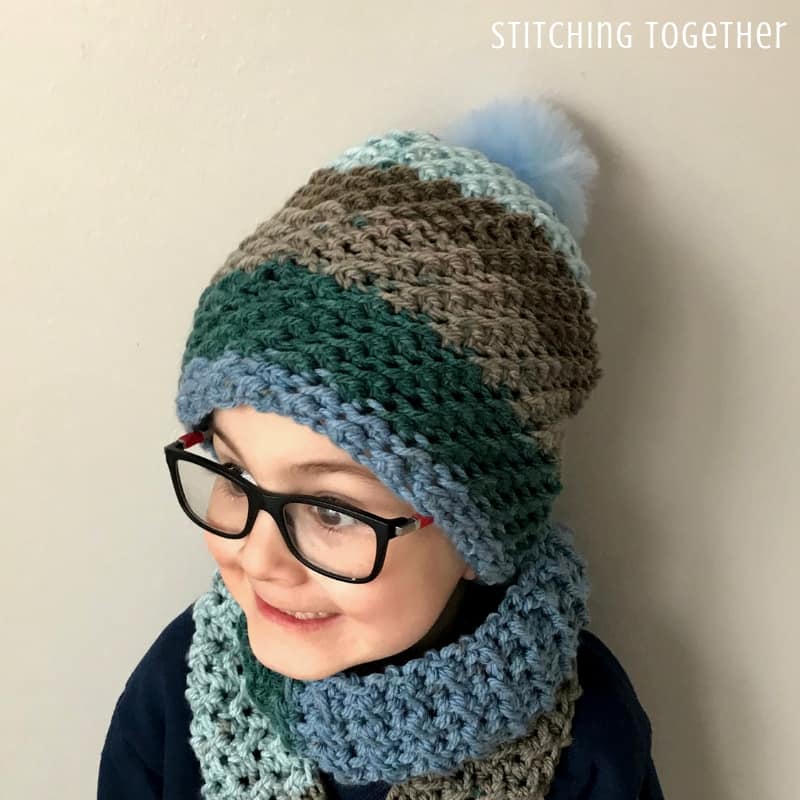
Why do kids grow so fast?
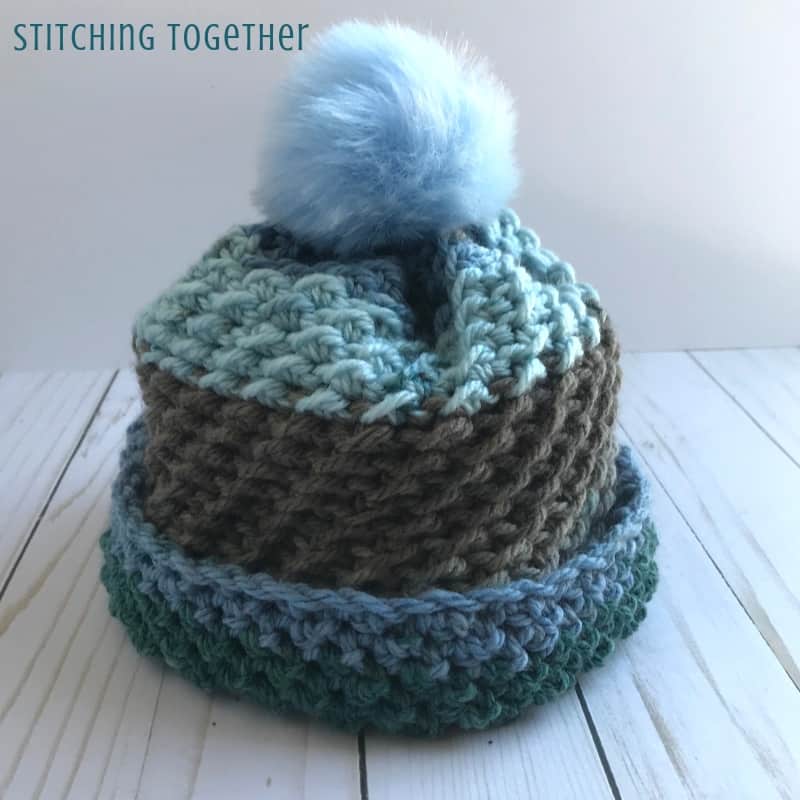
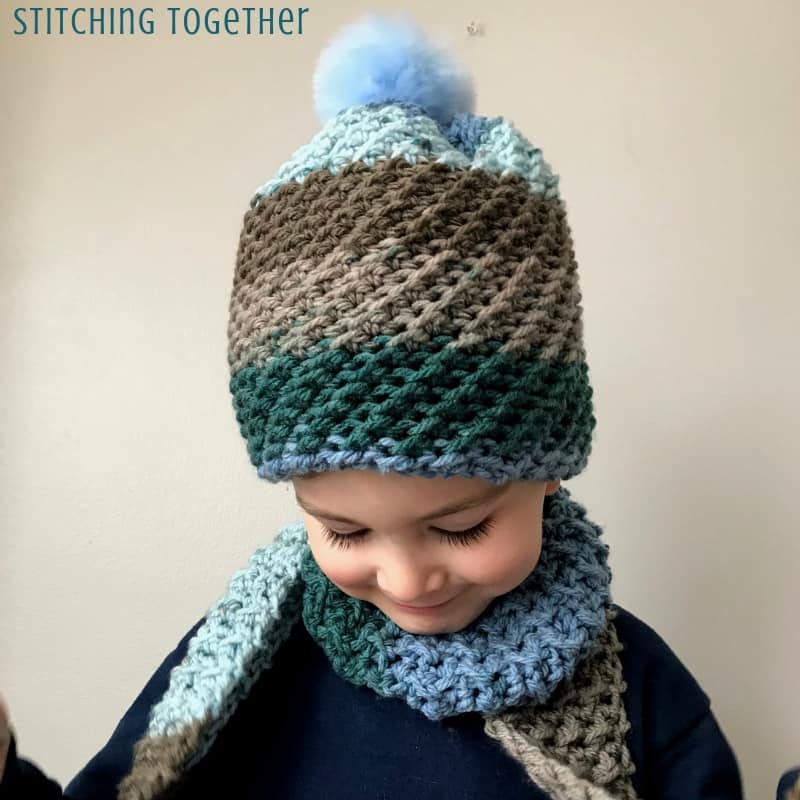
When I saw the Caron Chunky Cupcakes at Michaels in Berry Muffin, I knew my kiddo would like the colors. Plus, as a bonus, the Chunky Cupcakes come with a matching faux fur pom pom, which I knew would get his approval.
Related: Over the Ridge Crochet Hat with Brim
If you don’t care for the included pom pom, I have been using these inexpensive faux fur pom poms which I found on Amazon for other projects.
As I mentioned in the Over the Ridge Boy Scarf Pattern the Chunky Cupcake yarn is a bit stiff. Thankfully it is the kind of stiff that gets softer with use. The hat has a bit of slouch already which I expect to get better as it is worn more and more. If you aren’t a fan of the slouch, you can fold the brim up and give it a more fitted look.
Crochet Hat using the Crunch Stitch
If you’ve already seen the Over the Ridge Crochet Boy Scarf you’ll know the crunch stitch is such an easy stitch pattern which gives absolutely amazing texture. When working in the round, the third loop of the half double crochet is pushed to the same side with each round instead of alternating sides like it does when working the crunch stitch in rows. Don’t you just love that spiral effect created by the hdc’s third loop?
Depending on how you have worked your rounds, the side with the third loop may be on the inside, so double-check if you are working it and your hat isn’t looking like the pictures. Both sides of the hat are good looking so you may end up not turning it inside out for a completely different look.
The inside circumference of the hat is approximately 18 inches so it is a good-sized crochet kid hat. If you’d like to adjust the size, the ear warmer size chart works well as a guide for bottom-up hats.
Please be sure to read through the pattern notes before starting. It’s worth mentioning up here too that you will be working in the slip stitch which joined a the end of the previous round. Normally you do not count that slip stitch nor work into it, but that’s not the case here!
Don’t forget to save this pattern on Pinterest!
Over the Ridge Crochet Boy Hat
Skill Level: Easy
Gauge: 4″ by 4″= 13 rounds by 11 sts using the crunch stitch in the round
Final Size: approximately 18″ around by 9″ tall
Abbreviations:
ch(s): chain(s)
sl st: slip stitch
hdc(s): half double crochet
sk: skip
st(s): stitch(es)
tc: turning chain
Materials for the Crochet Boy Hat
Size L, 8.0mm crochet hook (You can get these great crochet hooks on Amazon!)
1 ball of #5 Bulky Weight yarn – 3.5 oz/ 138 yds
-
Sample used Caron Chunky Cupcakes in Berry Muffin
Needle (these wool needles from Amazon are my new favorites!)
Notes:
Keep your starting chain round fairly loose. You may even want to go up a hook size for the starting chain. As you work through the pattern, keep your tension loose, especially on the slip stitches.
The last hdc of each round will be worked in the slip stitch which joined the previous round.
Although the Crunch Stitch Tutorial shows this stitch worked in rows, it would be helpful to review it to understand the basic concept of the stitch pattern.
The ch 2 at the beginning of the round does not count as a stitch.
To adjust the size simply chain a multiple of 2 until you’ve reached the desired length. Measuring after a round or two will give you the most accurately sized hat.
Over the Ridge Crochet Boy Hat Pattern
ch 50, join with first ch to form a circle.
R1: ch 2, *sl st into next ch, hdc in next ch, repeat from * around, join with sl st to top of ch 2. (50)
R2: ch 2, *sl st into hdc of the previous round, hdc in sl st of the previous round, repeat from * around, join with sl st to top of ch 2. (50)
Repeat round 2 for a total of 27 rounds.
R28: ch 1, *skip hdc, hdc in sl st, repeat from * around, join with sl st to top of the first hdc. (25)
Fasten off leaving a long tail. Using a large eye needle, weave the tail through the top of the stitches in the last row and pull gently to cinch closed. Weave in ends.
Your model for your hat is a hoot!! Did he bounce around while you were trying to just get one good picture?
I’m sorry but I have a 6 yr old and I try to take pictures of him and your model made me laugh out loud. Thanks. I will crochet with joy.
trying to take pictures of kiddos is hilarious.
You have the most adorable model. And your crochet items are nice, too!