Crochet Flat Christmas Tree Pattern
Disclosure: This post may contain affiliate links. As an Amazon Associate, I earn from qualifying purchases. Please visit my Privacy Policy for disclosures and more information.
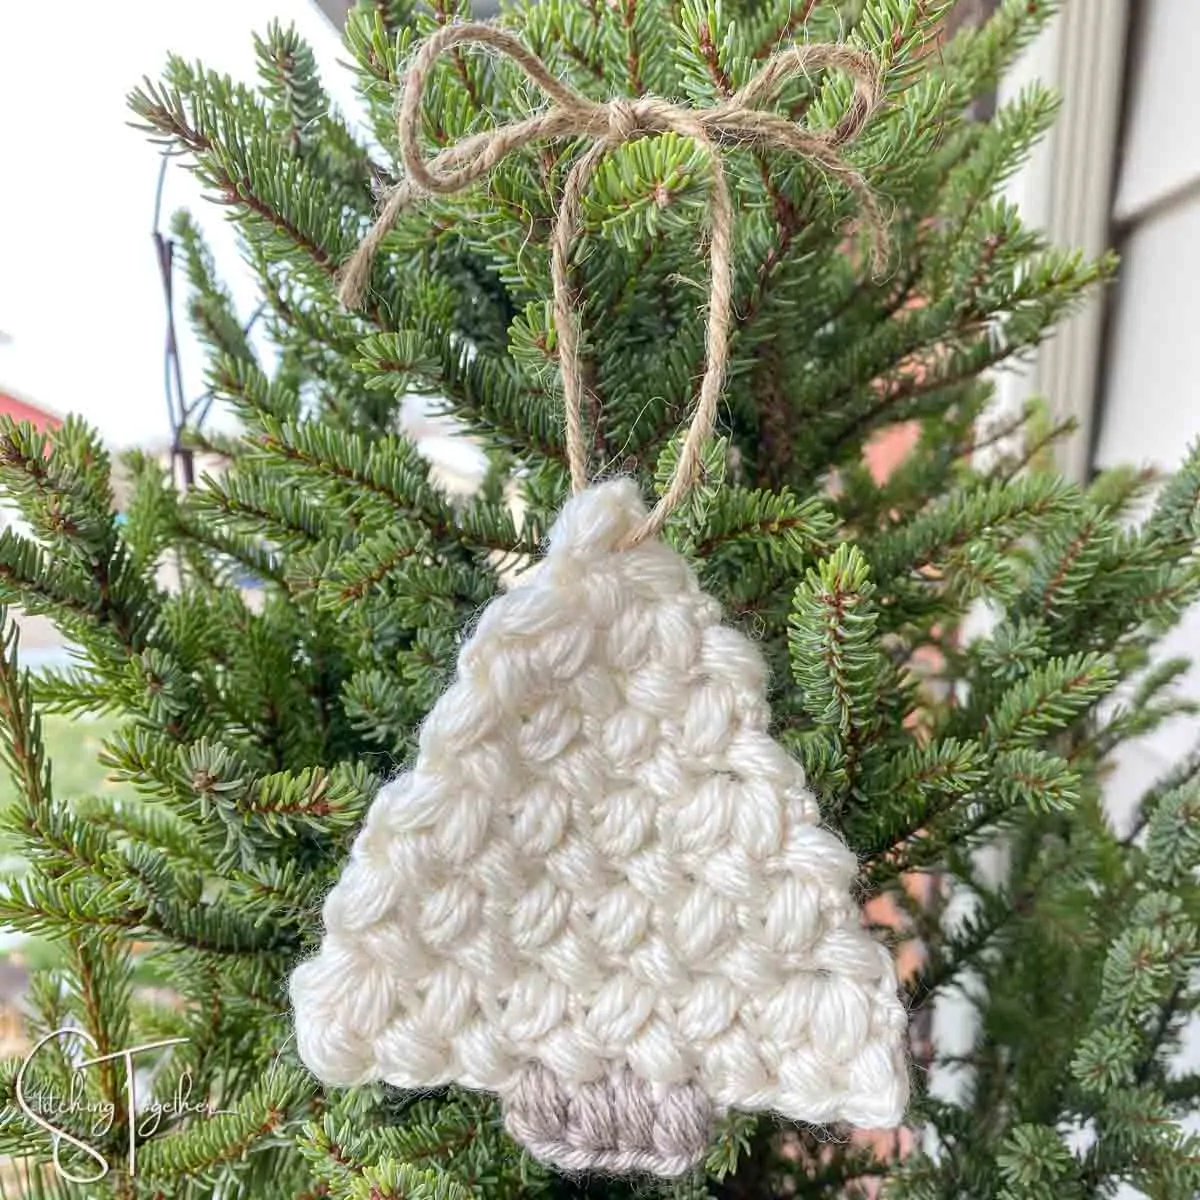
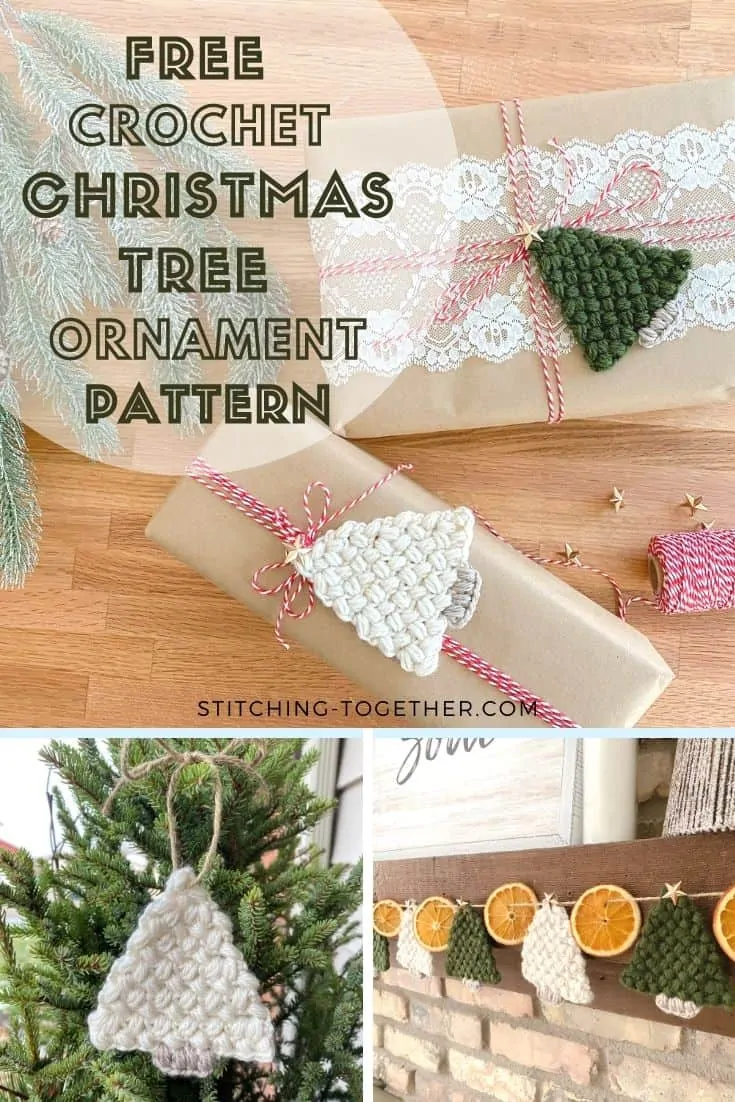
Don’t you just love a pattern that is quick and versatile? These flat Christmas Trees can be used for a garland, an ornament, or as part of your gift wrapping.
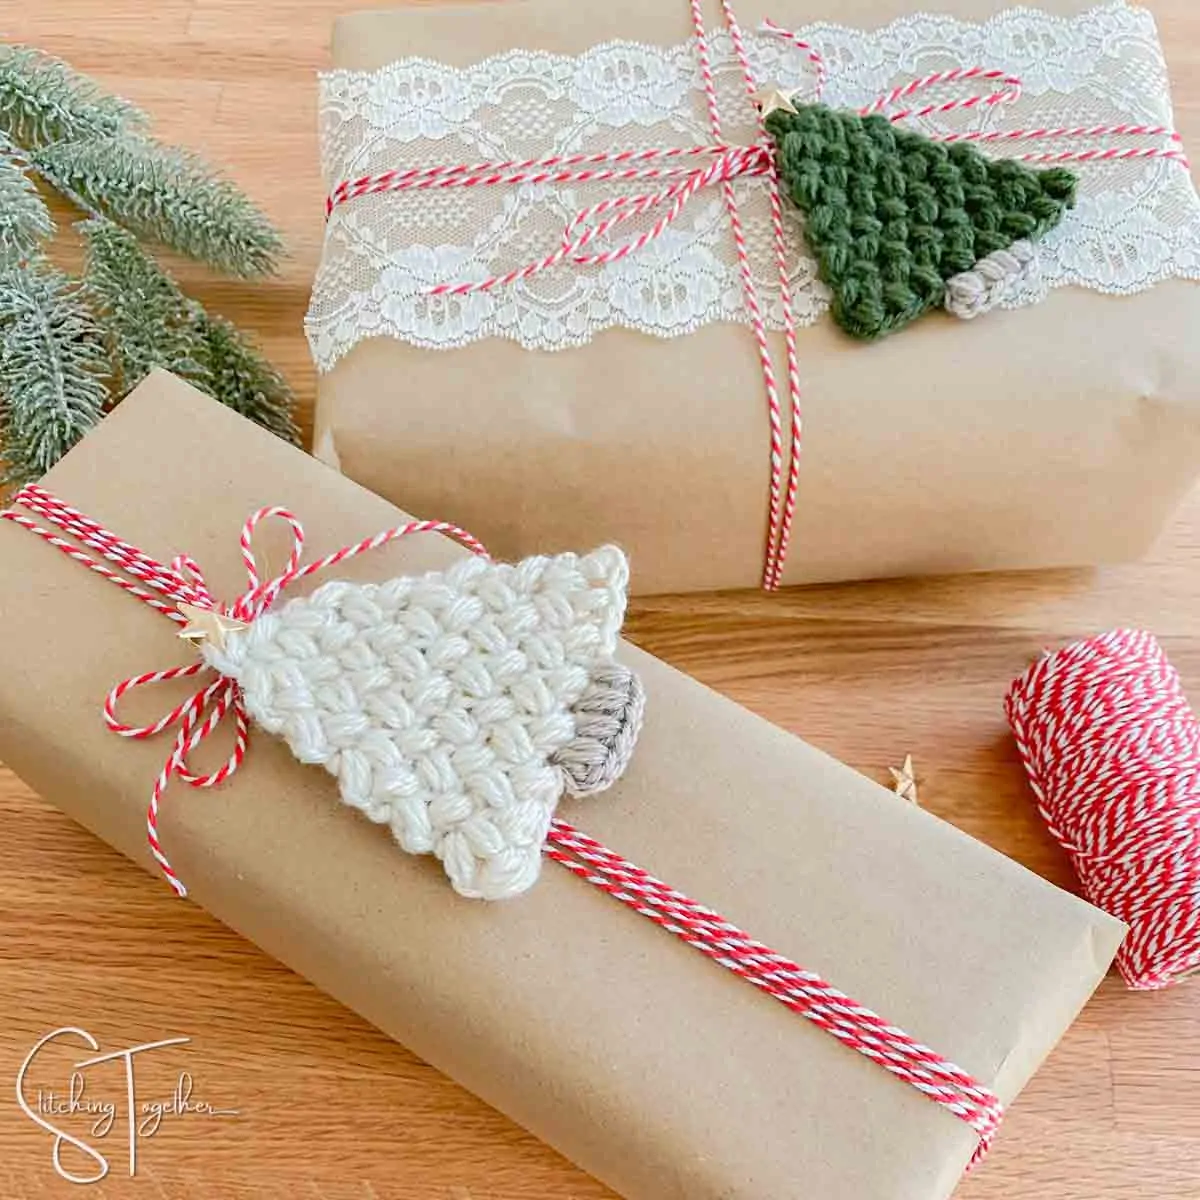
I’m sure you can think of even more ways to use these small trees and once you start making them, you won’t want to stop! Keep reading for all the details and the free crochet pattern.
Stitches Used in the Crochet Christmas Tree Ornament Pattern
If you’ve already seen the Christmas Towel Toppers, you’re probably thinking that these flat Christmas Trees look familiar. You’d be right!
While working on the towel toppers, I knew I just had to make the same type of trees that could be used as Christmas ornaments.
Don’t you just love all the texture packed into one little flat Christmas tree? That’s the magic of the bean stitch! The little zig-zag puffs keep a simple pattern interesting.
If you haven’t worked with the bean stitch before or just want a refresher, you’ll want to check out the How to Bean Stitch Tutorial which includes step by step instructions and photos.
Related: Country Christmas Stocking
Yarn to make Flat Crochet Christmas Trees
What do you consider a scrap yarn project? Less than an ounce… Less than half an ounce?
Well, these small Christmas crochet trees used less than a quarter ounce of worsted weight yarn.
I’m guessing you have some scraps around that’ll be perfect for making tree ornaments. You can grab what you have on hand that’ll match your holiday decor. I’m excited to see someone work them up in chunky yarn – wouldn’t chunky little trees be so cute?
If you’d like to use the same yarn I used, you’ll want to get your hands on Premier Everyday Anti-Pilling yarn in Cream and Pine Green.
Don’t forget to sign up for Premier’s reward program if you haven’t already. If you sign up using my link, they’ll send you a 15% off coupon. MORE YARN!
Crochet Christmas Tree Garland
So far this orange and Crochet Christmas Tree Garland is my favorite holiday decoration. (I know we aren’t that far into the season yet and I still have more holiday-making to do!)
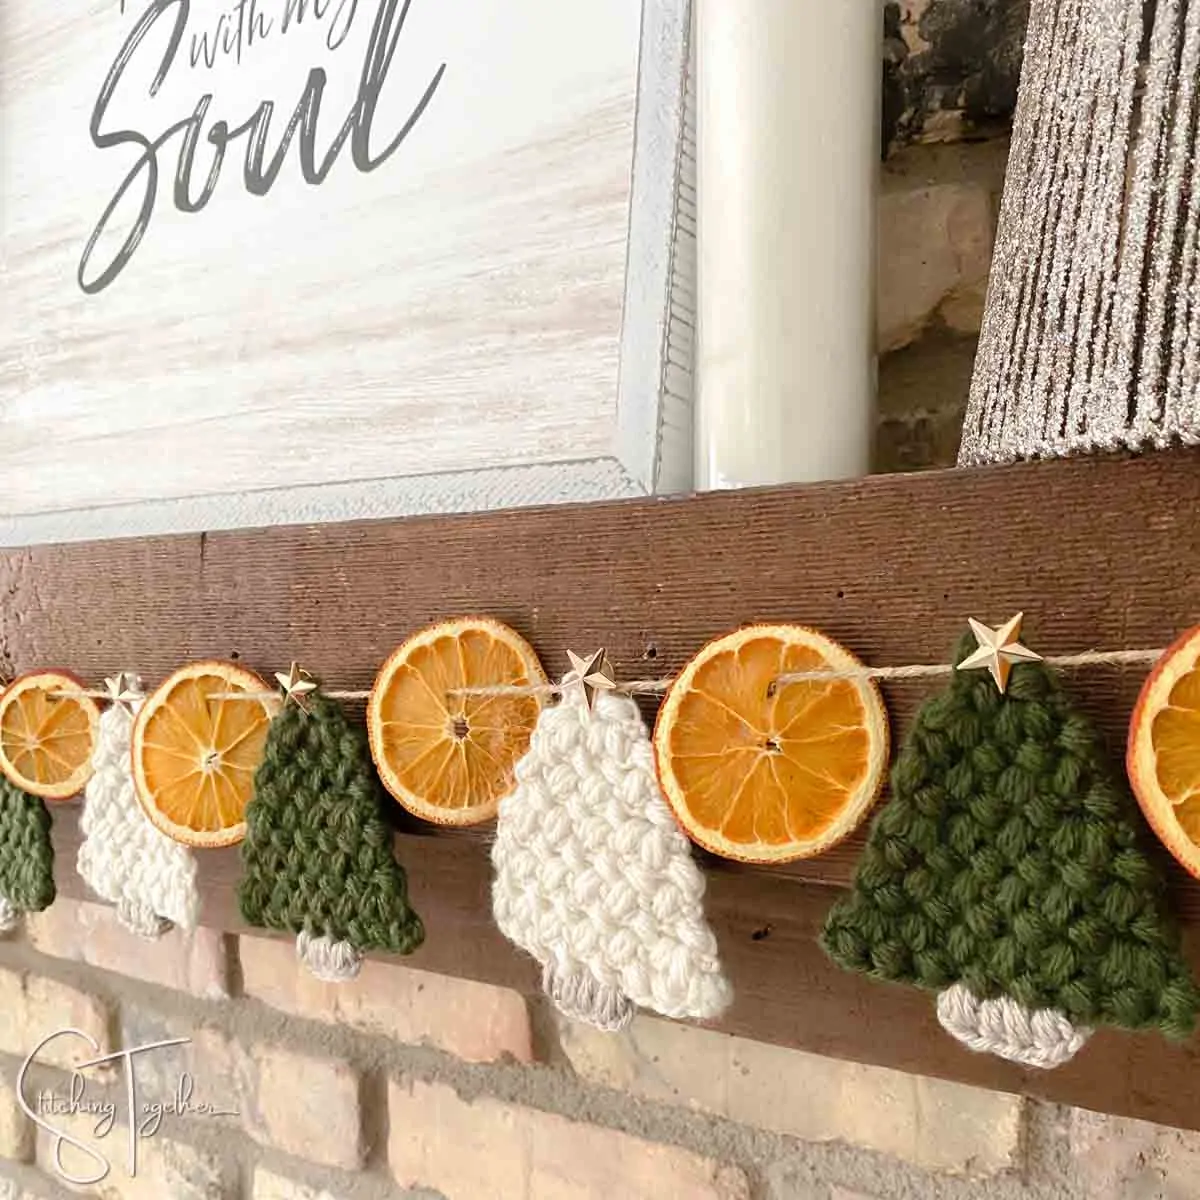
This was my first time drying oranges so I headed to The Merrythought to learn how to dry oranges for a garland. (Word of friendly warning: their site is amazing and you may just want to grab yourself a fresh cup of coffee and get comfy because once you start browsing their amazing DIYs, you won’t want to stop.)
I was pleasantly surprised by how easy it was to dry and string oranges even with my four-year-old’s help. (I don’t need to put “help” in quotes because he was literally helpful.) It was a fun project for us to do together.
To hang the Christmas Trees I used these cute little star pins I found on Amazon. They make the perfect little topper to the trees and make it easy to hang them between the oranges on the jute twine or attach the trees to your gift wrapping.
Related: Christmas Wreath Crochet Pattern
Flat Christmas Tree Crochet Pattern
Would you prefer to have the ad-free PDF of this pattern? You can get it here!
Skill Level: Easy
Materials:
US size E/4, 3.5 mm crochet hook
Worsted Category 4 yarn – 11 yds (.21 oz) of Premier Everyday Anti-Pilling in Cream or Pine Green
Large Eye Yarn Needle
Hand Needle and Thread
Optional: scrap amount of brown yarn for trunk (samples used of Premier Everyday Antipilling in Chinchilla)
.
Everything you need for this project can be ordered right on online.
Save time and shop from home!
.Jute
Abbreviations:
ch: chain
st(s): stitch(es)
bean st: bean stitch (see notes)
puff st: puff stitch (see notes)
Gauge: gauge is not critical
Finished Size: approximately 4” top to bottom and 3.5” at widest point
Notes and Special Stitch Instructions
Bean Stitch: insert hook into st and pull up a loop (2 loops on the hook), yarn over, insert hook into the same st and pull up a loop (4 loops on the hook), yarn over, insert hook into the same st and pull up a loop (6 loops on the hook), yarn over and pull through all 6 loops, ch 1 to close the stitch. To work subsequent rows, the bean stitch is worked in the bean stitch below, skipping the chain 1 that secured each stitch.
Puff stitch: [yo, insert hook into st, pull up a loop] 3 times in the same st (7 loops on the hook), yo, pull through all 7 loops on the hook, ch 1 to close the stitch.
Increases: You’ll be increasing in rows 2 and 3 and then every 4th row after that. Increases are done by working 2 stitches instead of 1 at the start and end of increase rows.
Crochet Flat Christmas Tree Pattern Instructions
Ch 2,
Row 1: Bean st in the 2nd ch from hook, turn (1 bean)
Row 2: ch 1, 2 bean sts on the side of the bean st in row 1, turn (2 beans)
Row 3: ch 1, 2 bean sts in each bean st of the row below, turn (4 beans)
Row 4: ch 1, bean st in each bean st of the row below, turn (4 beans)
Row 5: ch 1, bean st in each bean st of the row below, turn (4 beans)
Row 6: ch 1, bean st in each bean st of the row below, turn (4 beans)
Row 7: ch 1, 2 bean sts in the 1st bean st of the row below, bean st in each of the next 2 bean sts, 2 bean sts in the last bean stitch, turn (6 beans)
Row 8: ch 1, bean st in each bean st of the row below, turn (6 beans)
Row 9: ch 1, bean st in each bean st of the row below, turn (6 beans)
Row 10: ch 1, bean st in each bean st of the row below, turn (6 beans)
Row 11: ch 1, 2 bean sts in the 1st bean st of the row below, bean st in each of the next 4 bean sts, 2 bean sts in the last bean stitch, turn (8 beans)
Row 12: ch 1, bean st in each bean st of the row below, turn (8 beans)
To work the trunk
Find the center 2 bean sts and join yarn on the right of the center bean sts (so between bean 3 and 4) – you’ll work the trunk over the 4 sts (the bean sts and ch 1 that closed the bean stitches) of those 2 bean sts. Puff st in each st (4 puff sts). Fasten off and weave in ends.
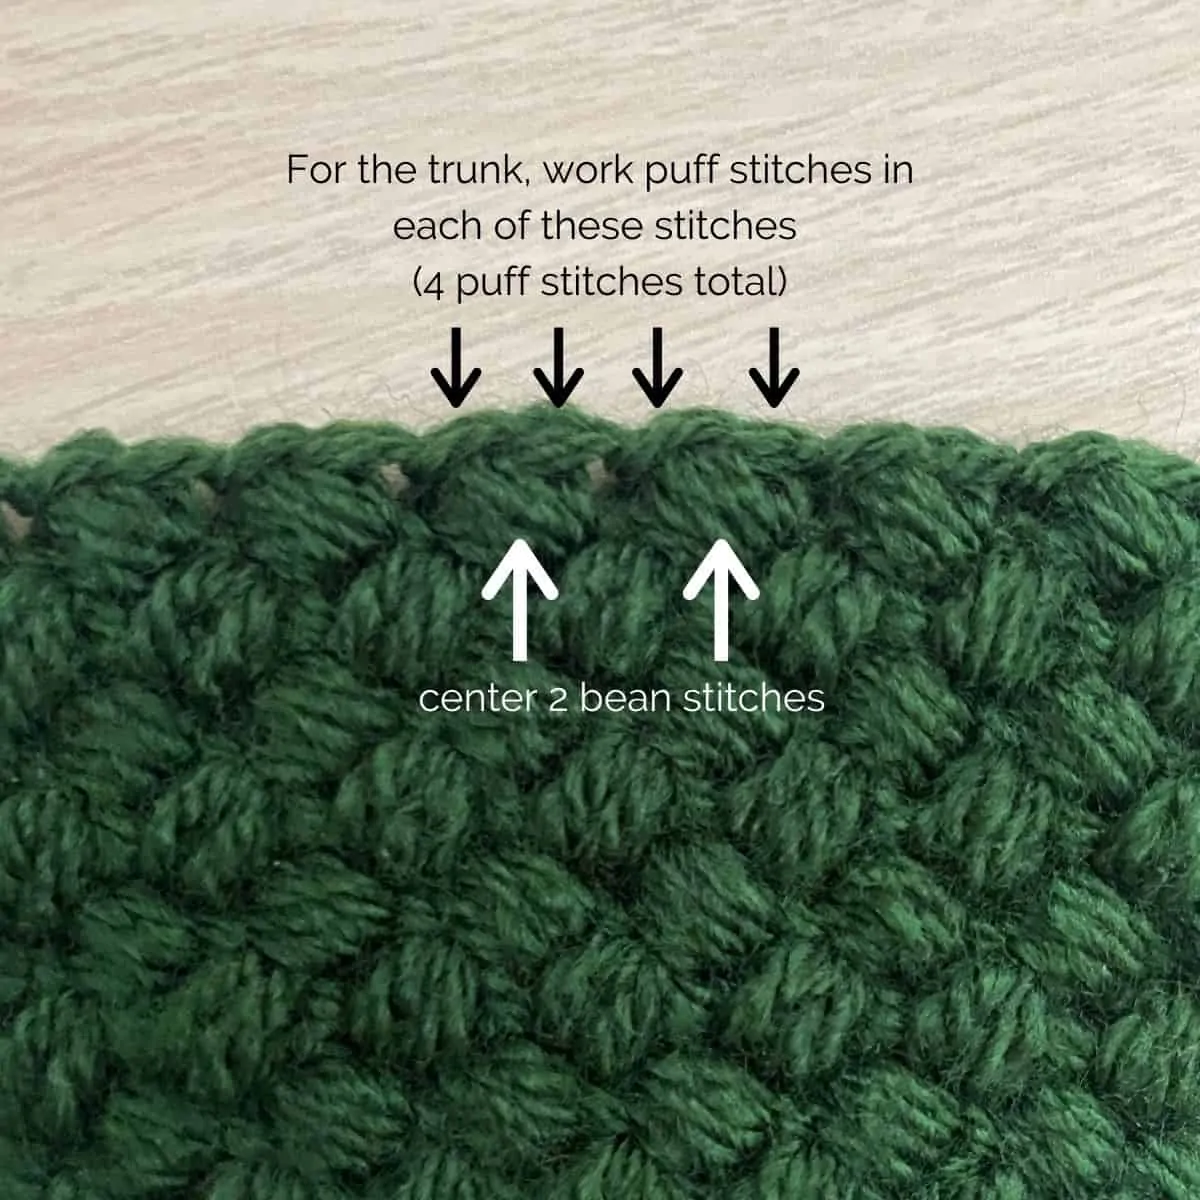
Flat Christmas Tree Photo Tutorial
Ch 2, Row 1: Bean st in the 2nd ch from hook, turn (1 bean)
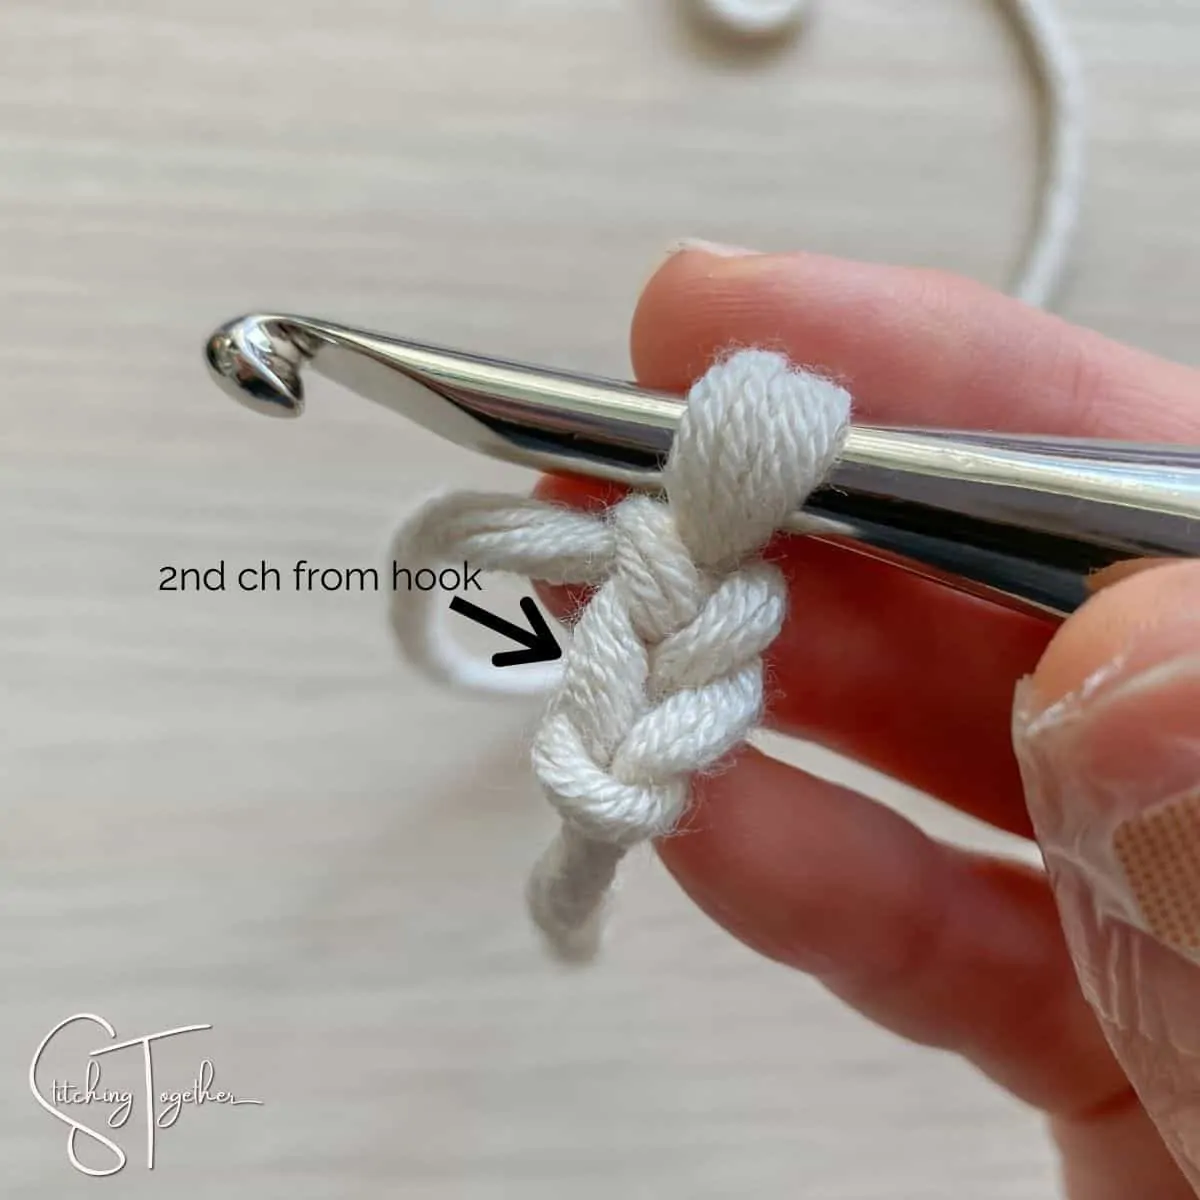
1st completed bean stitch for Row 1. (Don’t forget to chain 1 to close each bean stitch.)
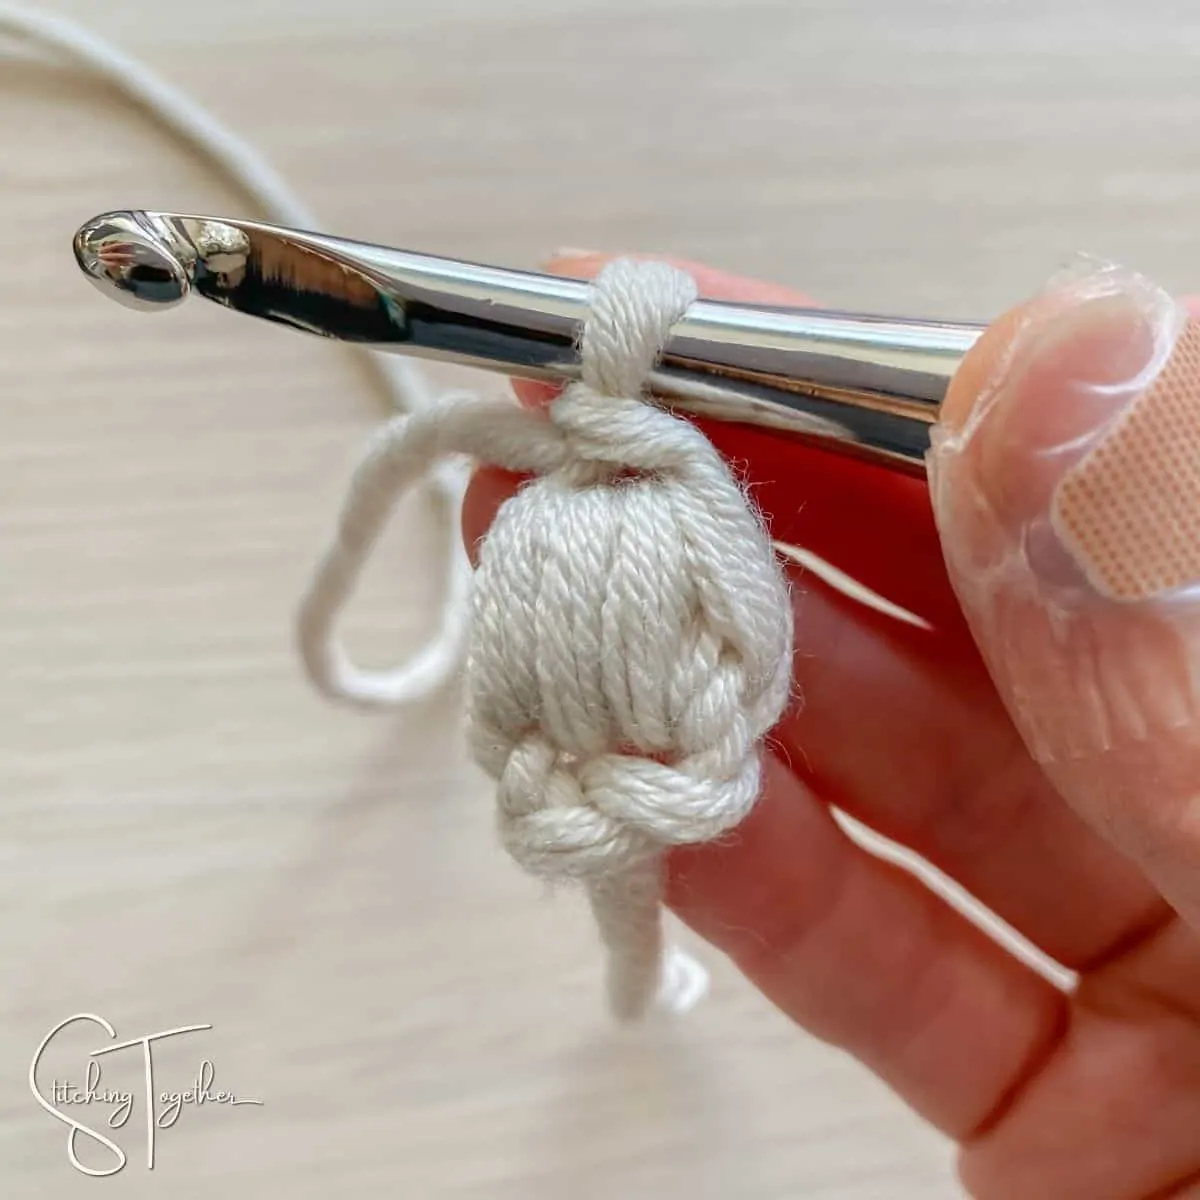
Row 2: Ch 1, 2 bean sts on the side of the bean st in row 1, turn (2 beans)
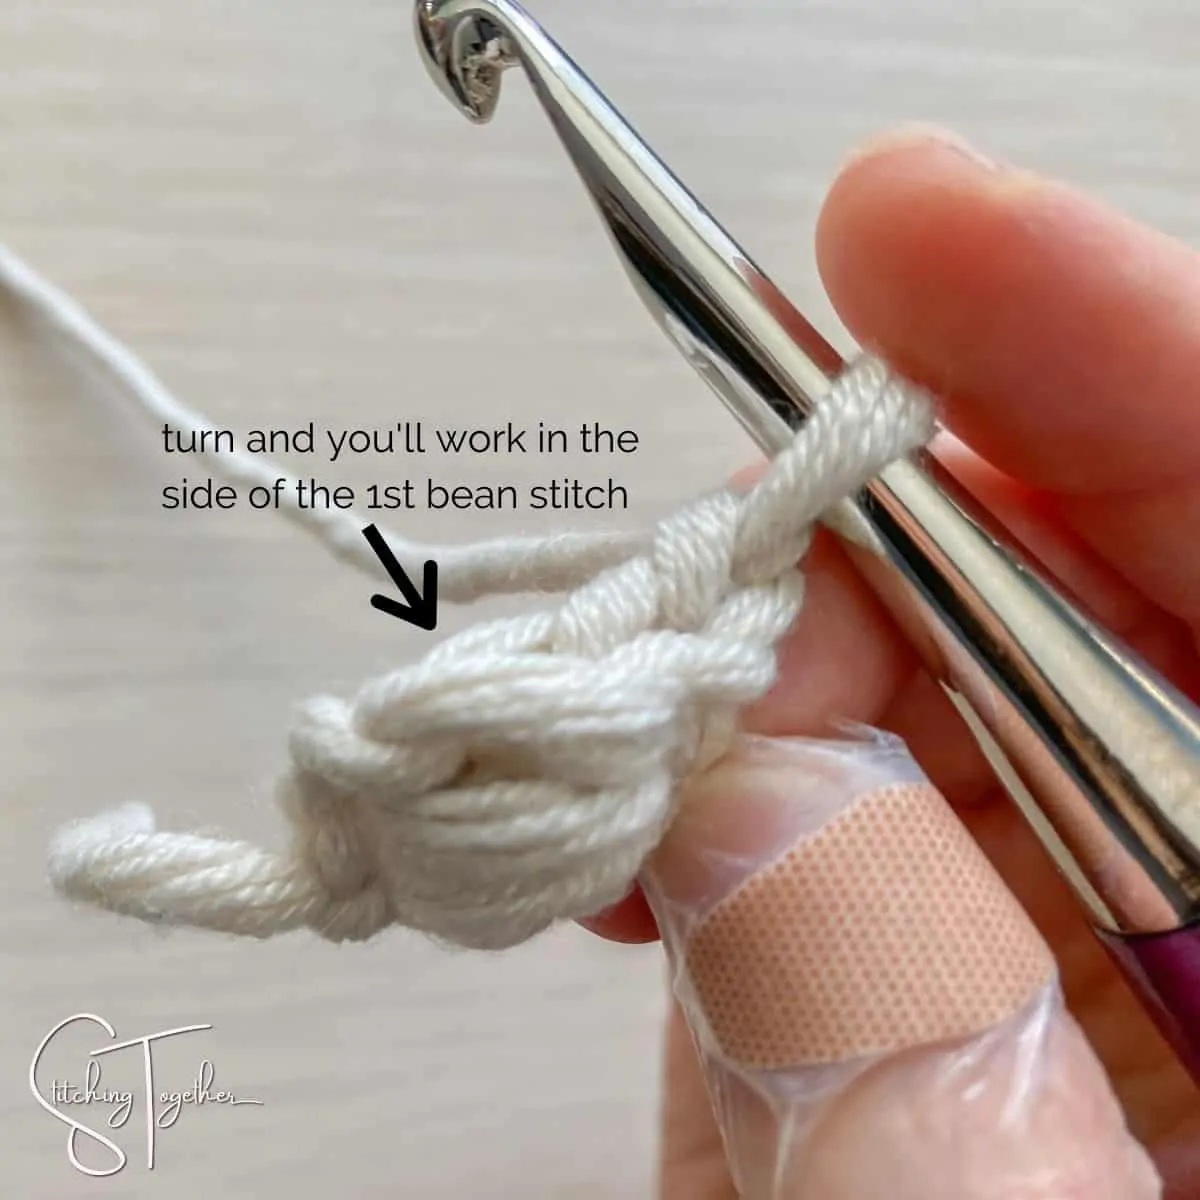
You’re doing great!
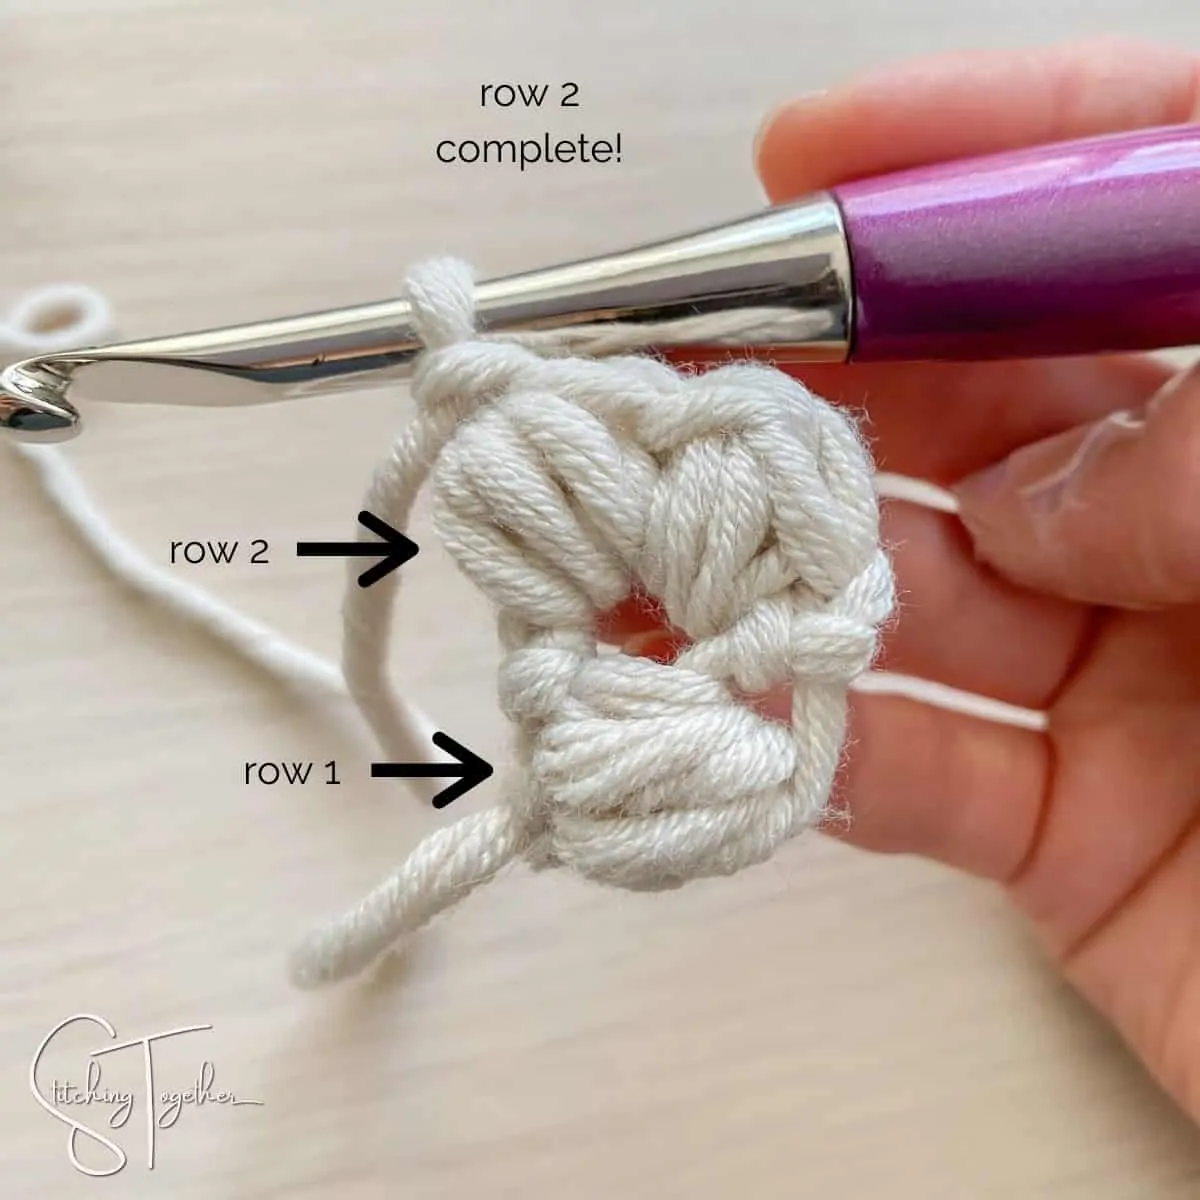
Row 3: ch 1, 2 bean sts in each bean st of the row below, turn (4 beans)
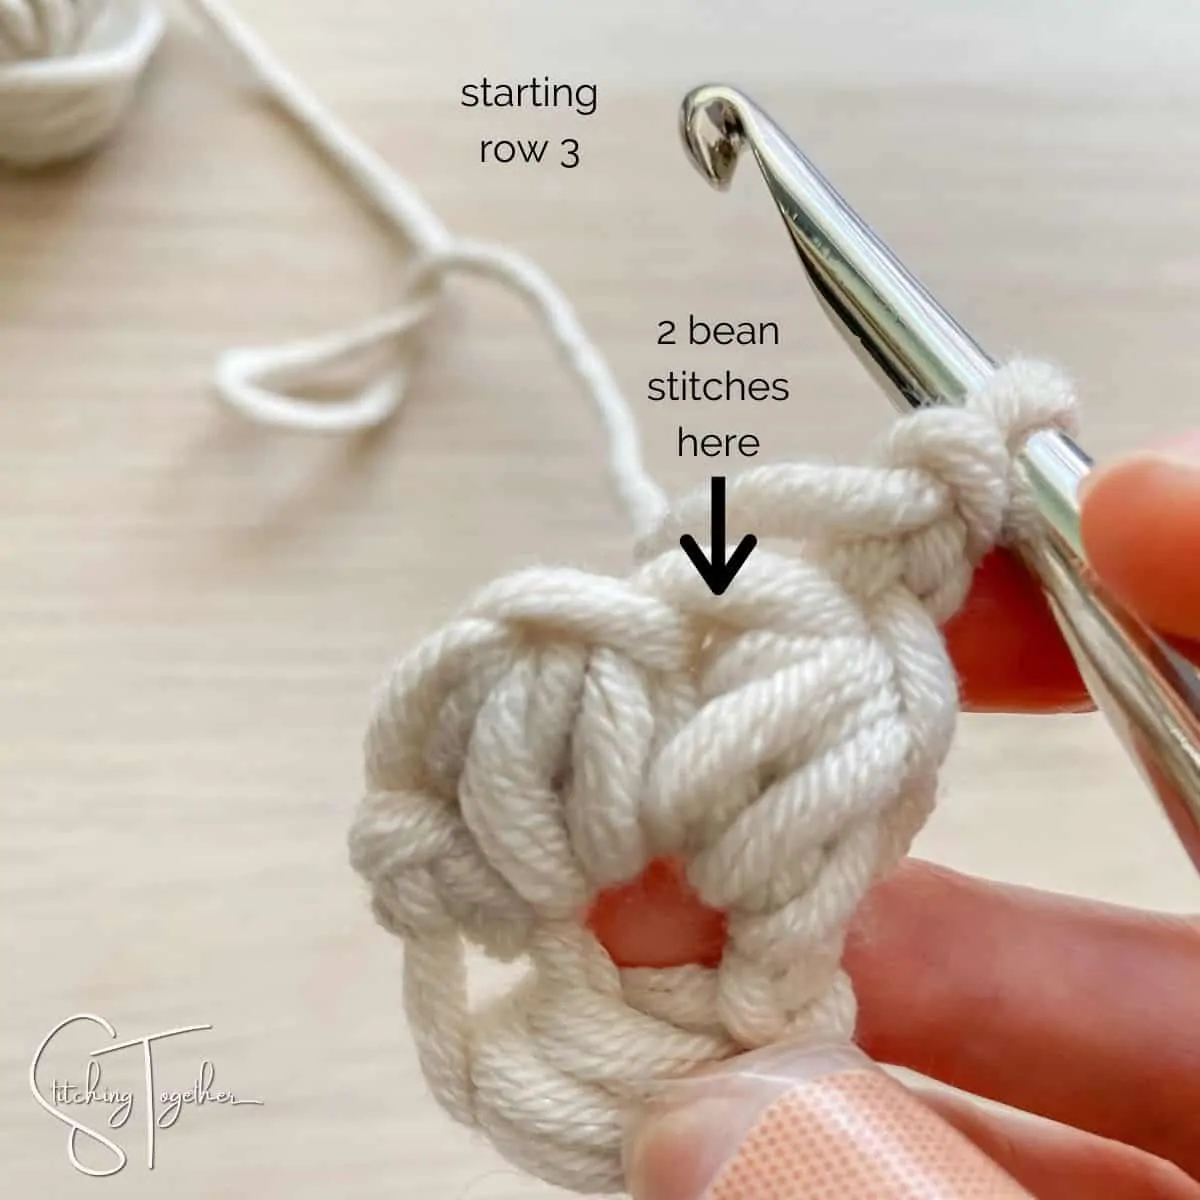
Once again, you’re working almost on the side of the stitch. Don’t worry, it’s correct!
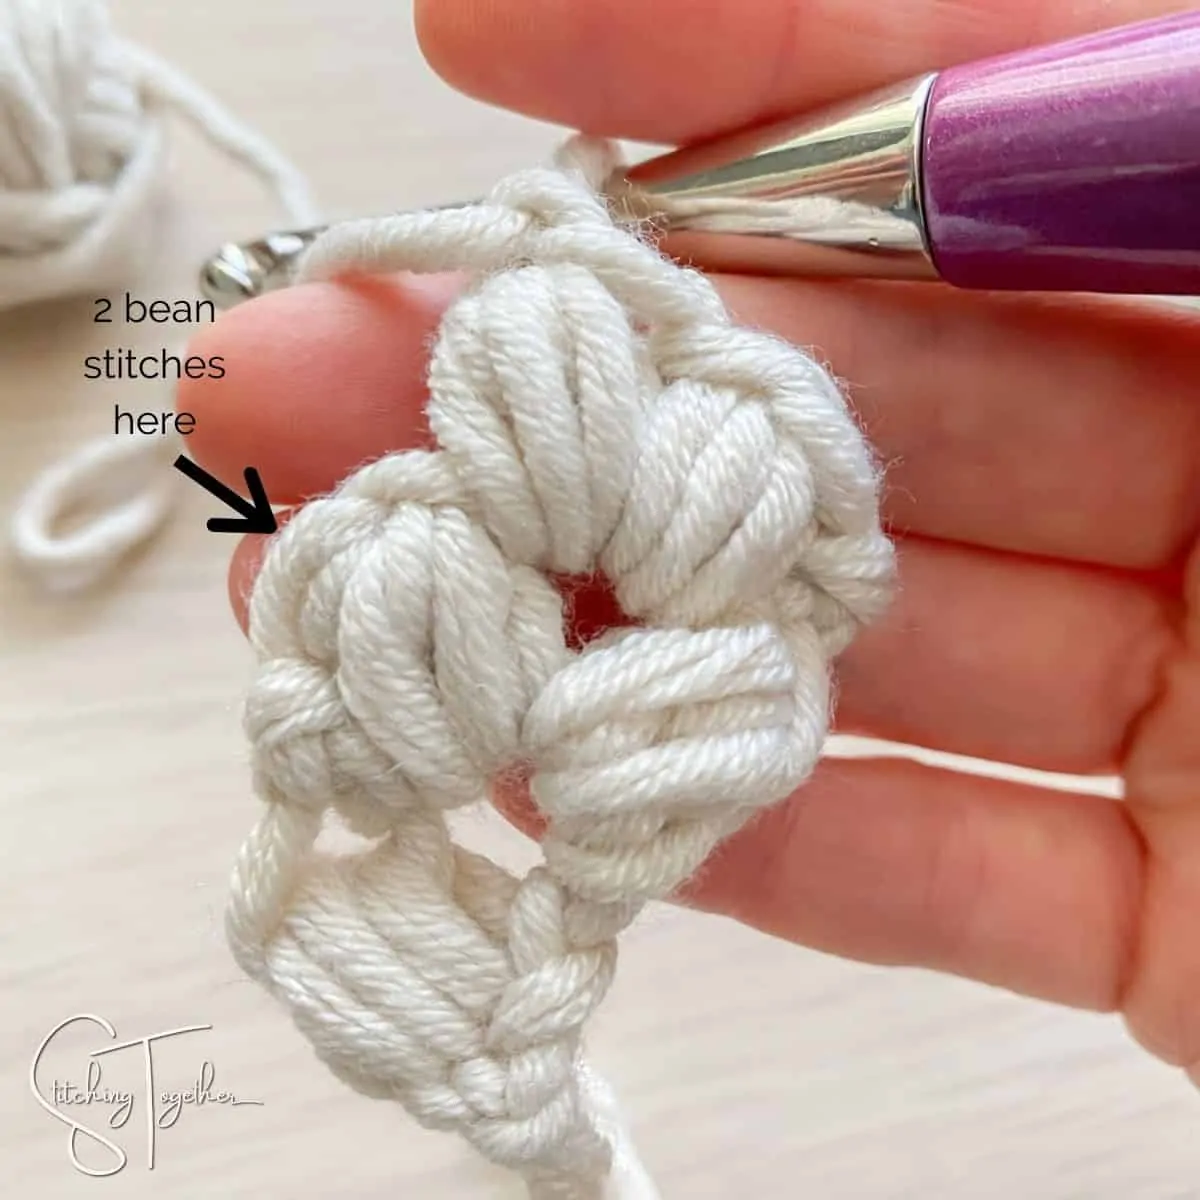
You’ve increased to four bean stitches. From now on, you’ll increase every 4th row.
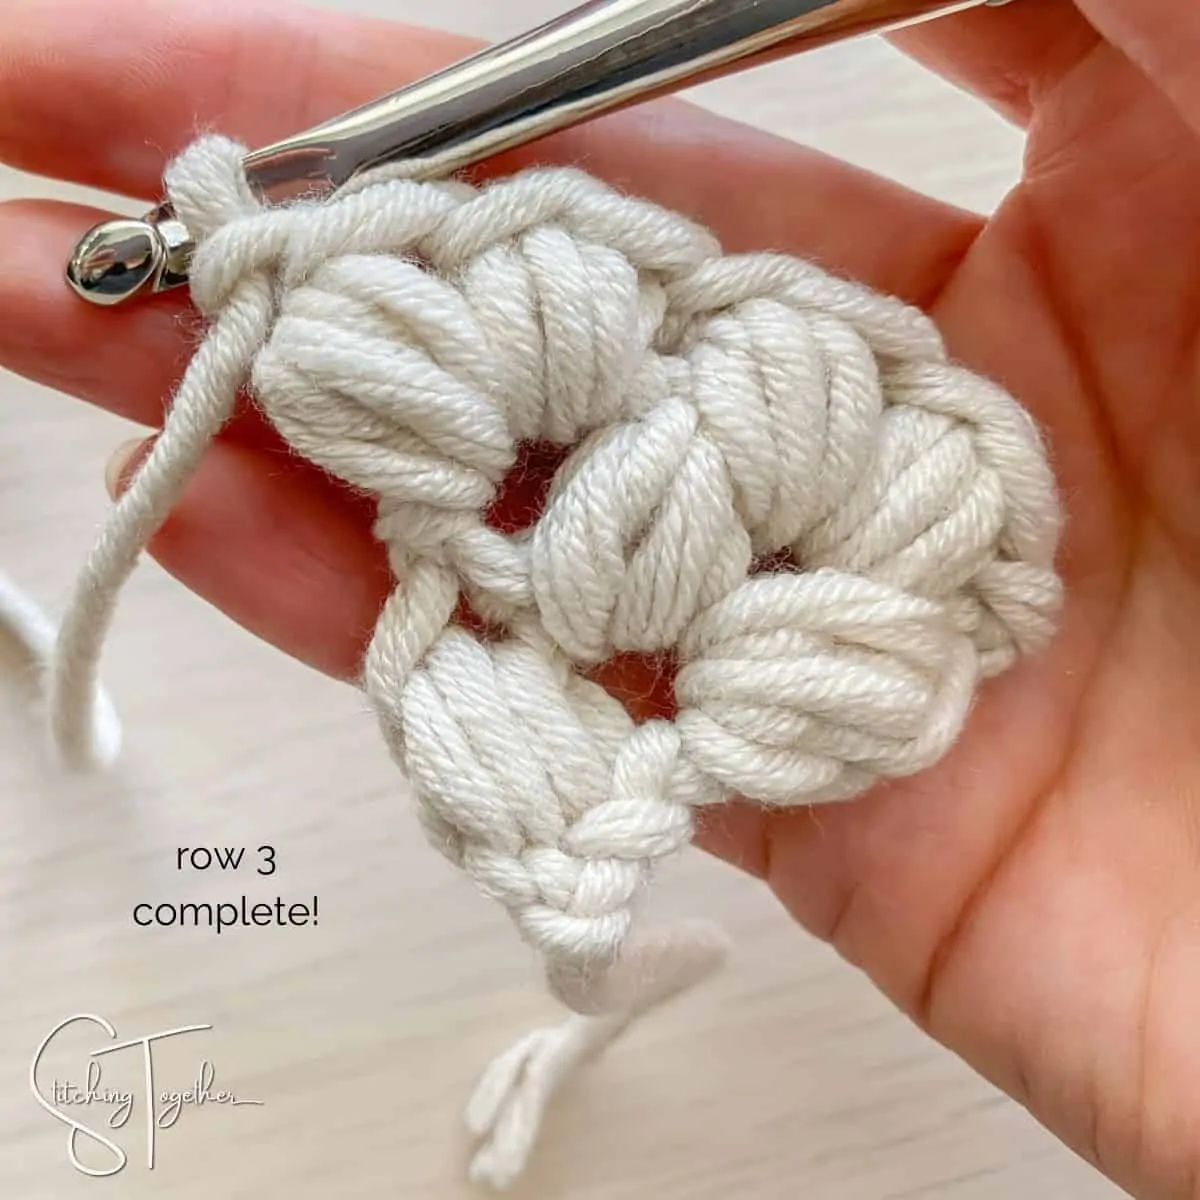
Row 4: ch 1, bean st in each bean st of the row below, turn (4 beans)
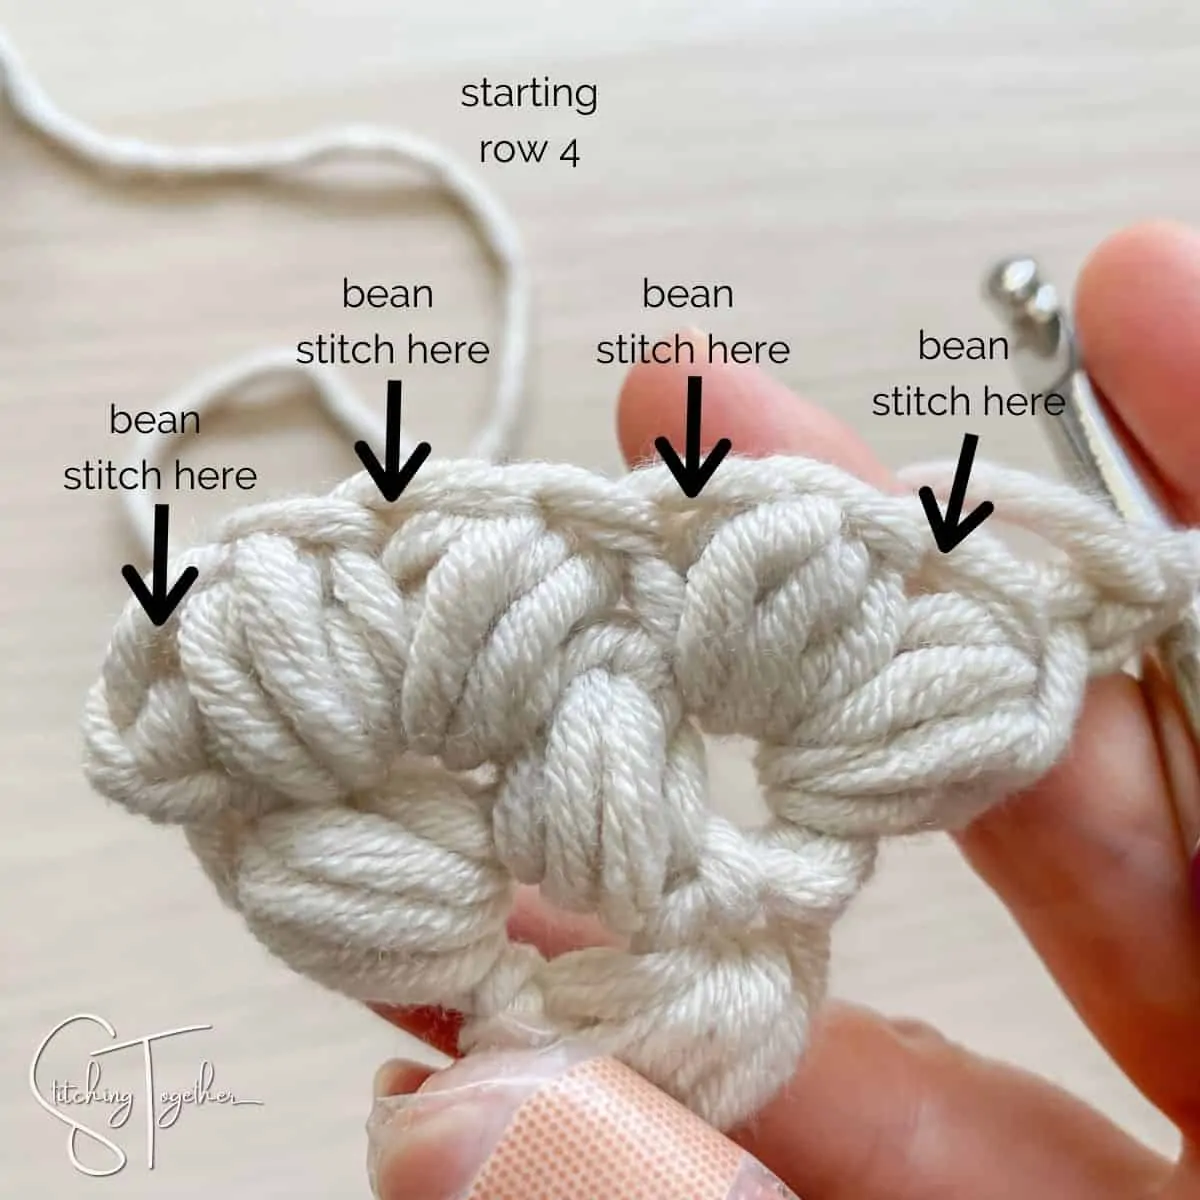
You didn’t increase in this row.
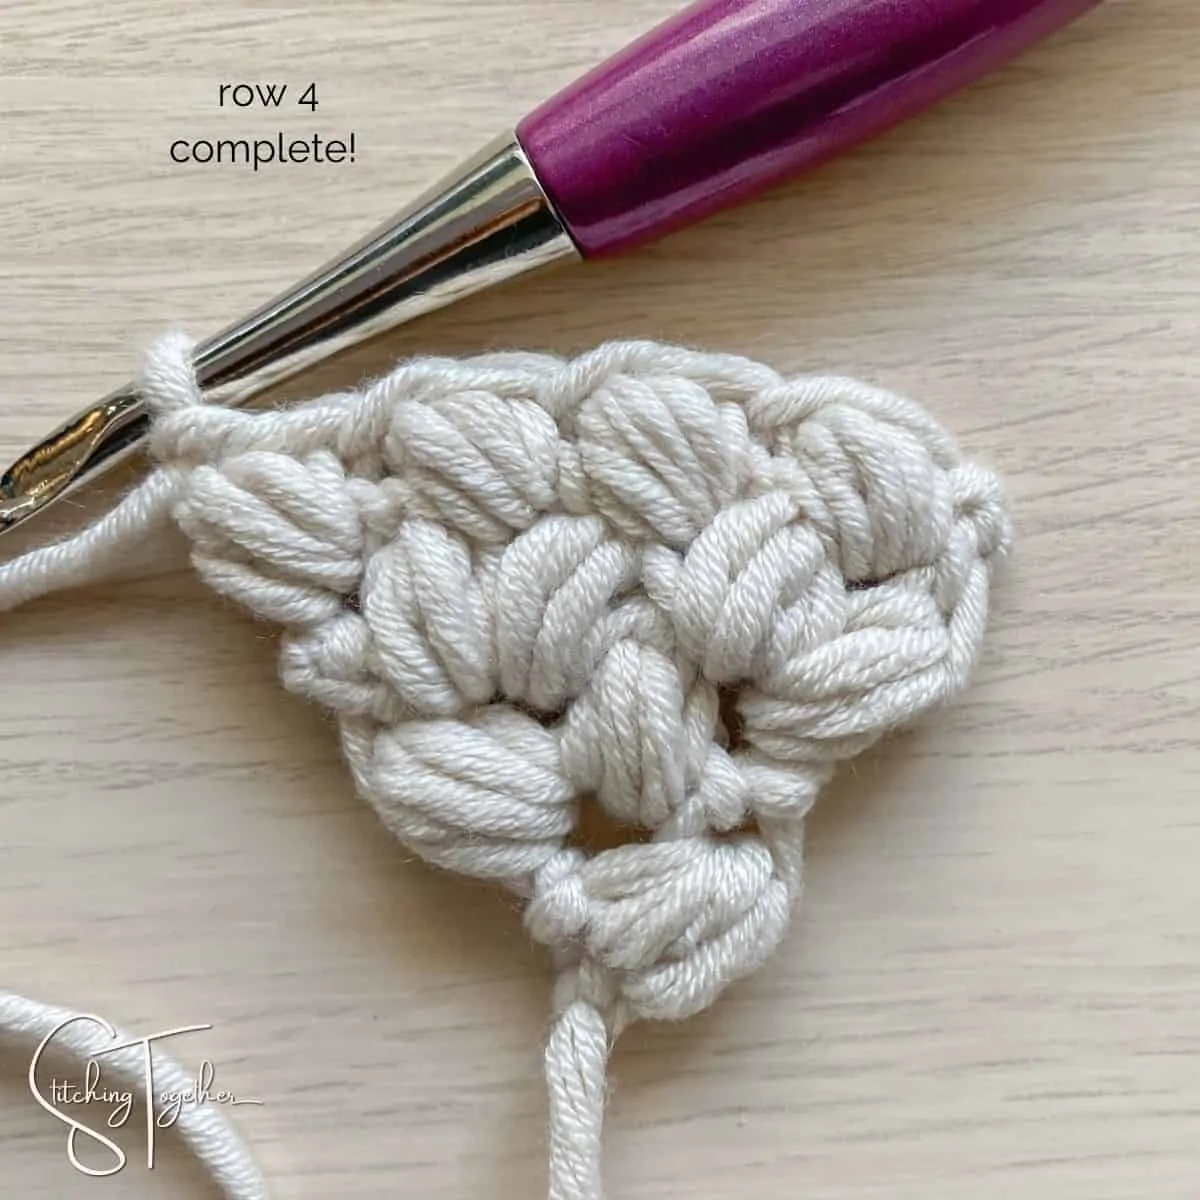
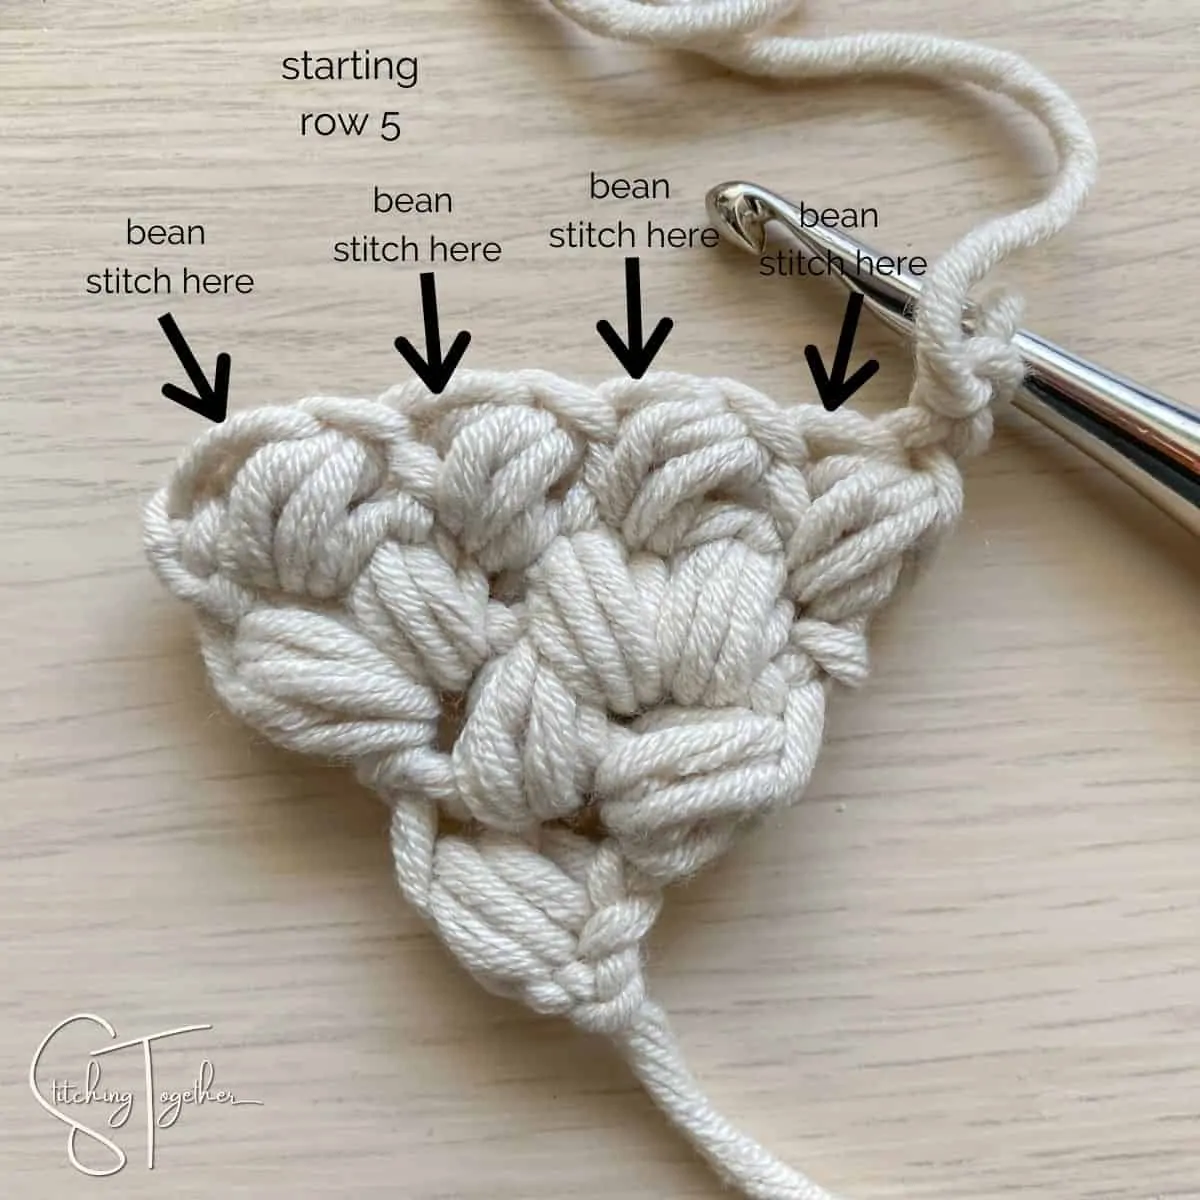
Row 5: ch 1, bean st in each bean st of the row below, turn (4 beans) Now you’ll continue working as above, increasing every 4th row until your triangle is as large as you’d like it to be.
Will you share pictures of your finished projects?
- Tag Stitching Together on Instagram with @stitching_together and use the #stitchingtog
- Upload your picture in the Tried It section of this pin
- Share your work in the Stitching Together Community.

.
If you like easy to print patterns, this pattern can be purchased in the following places:
Thanks for your support!
.
