Easy Crochet Christmas Tree Garland Pattern Free
Disclosure: This post may contain affiliate links. As an Amazon Associate, I earn from qualifying purchases. Please visit my Privacy Policy for disclosures and more information.
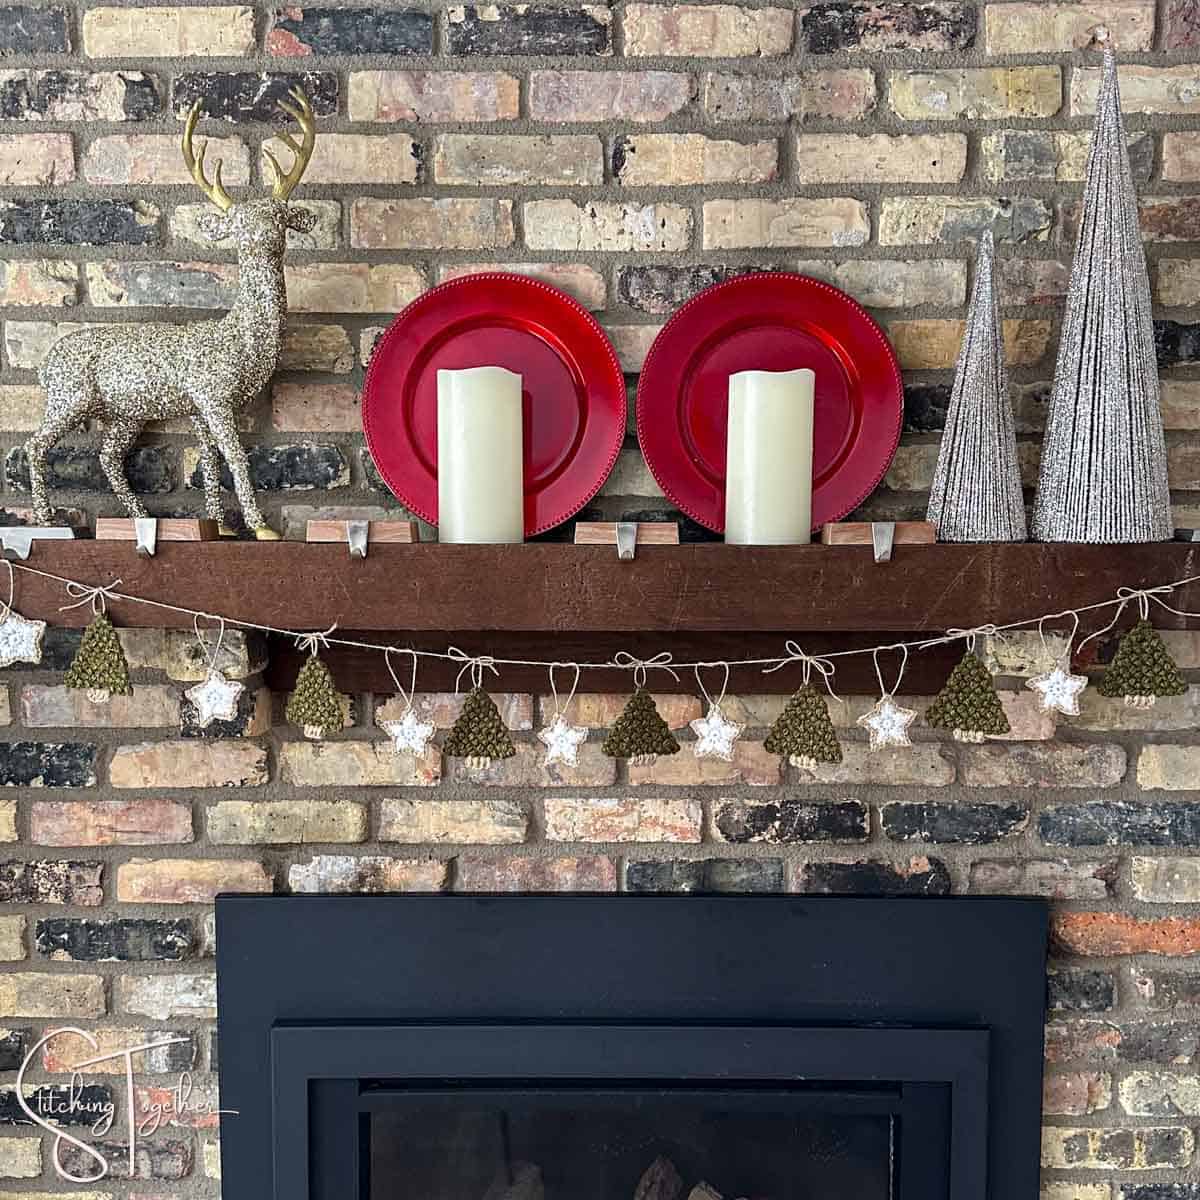
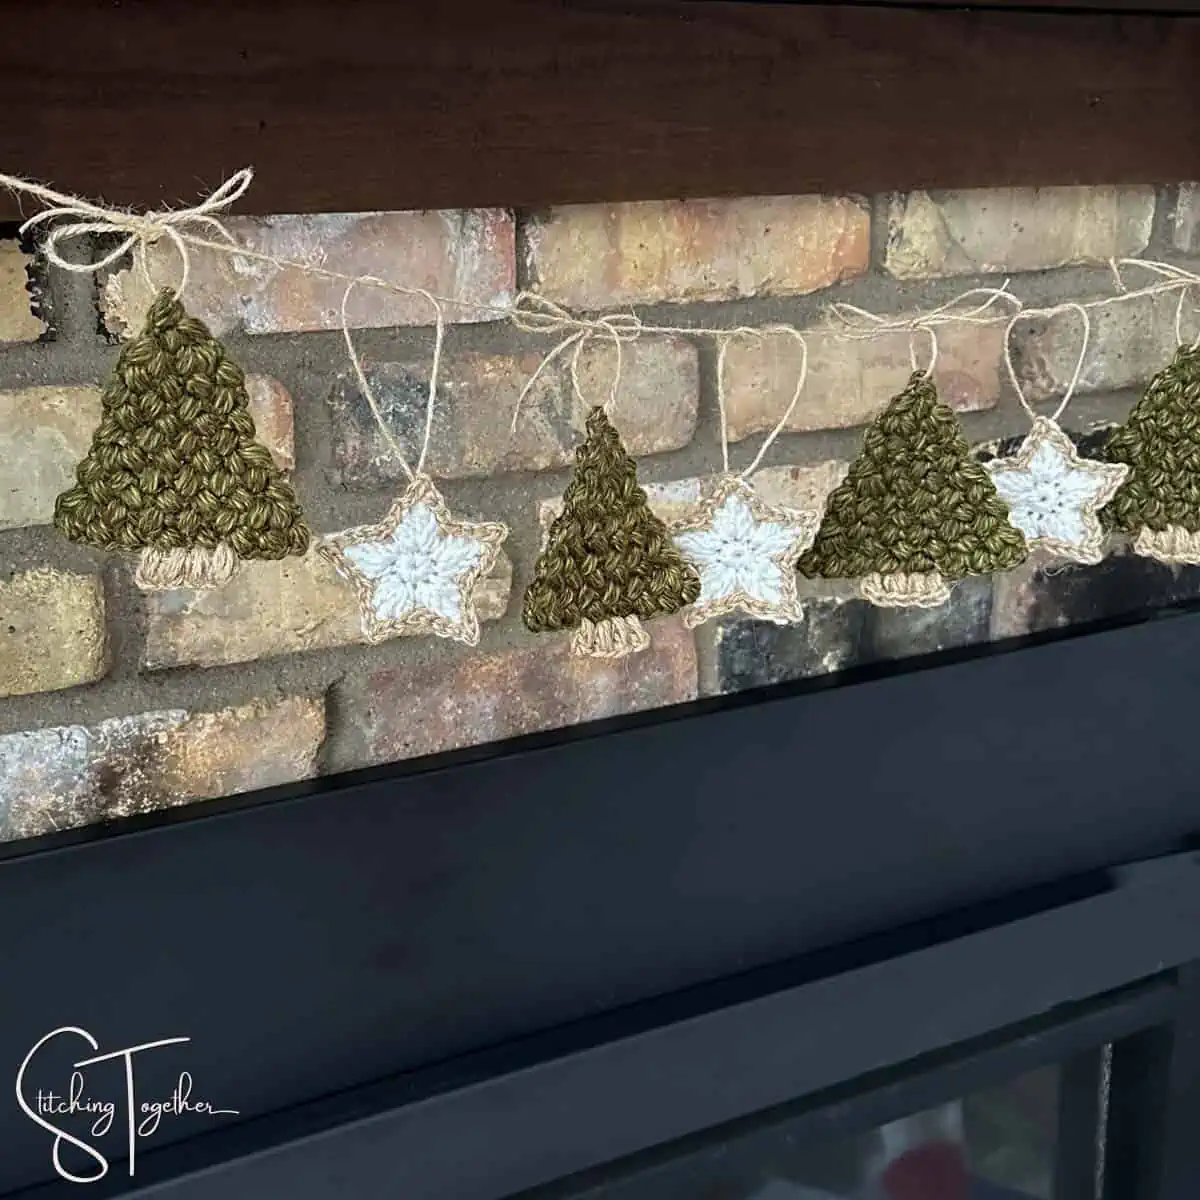
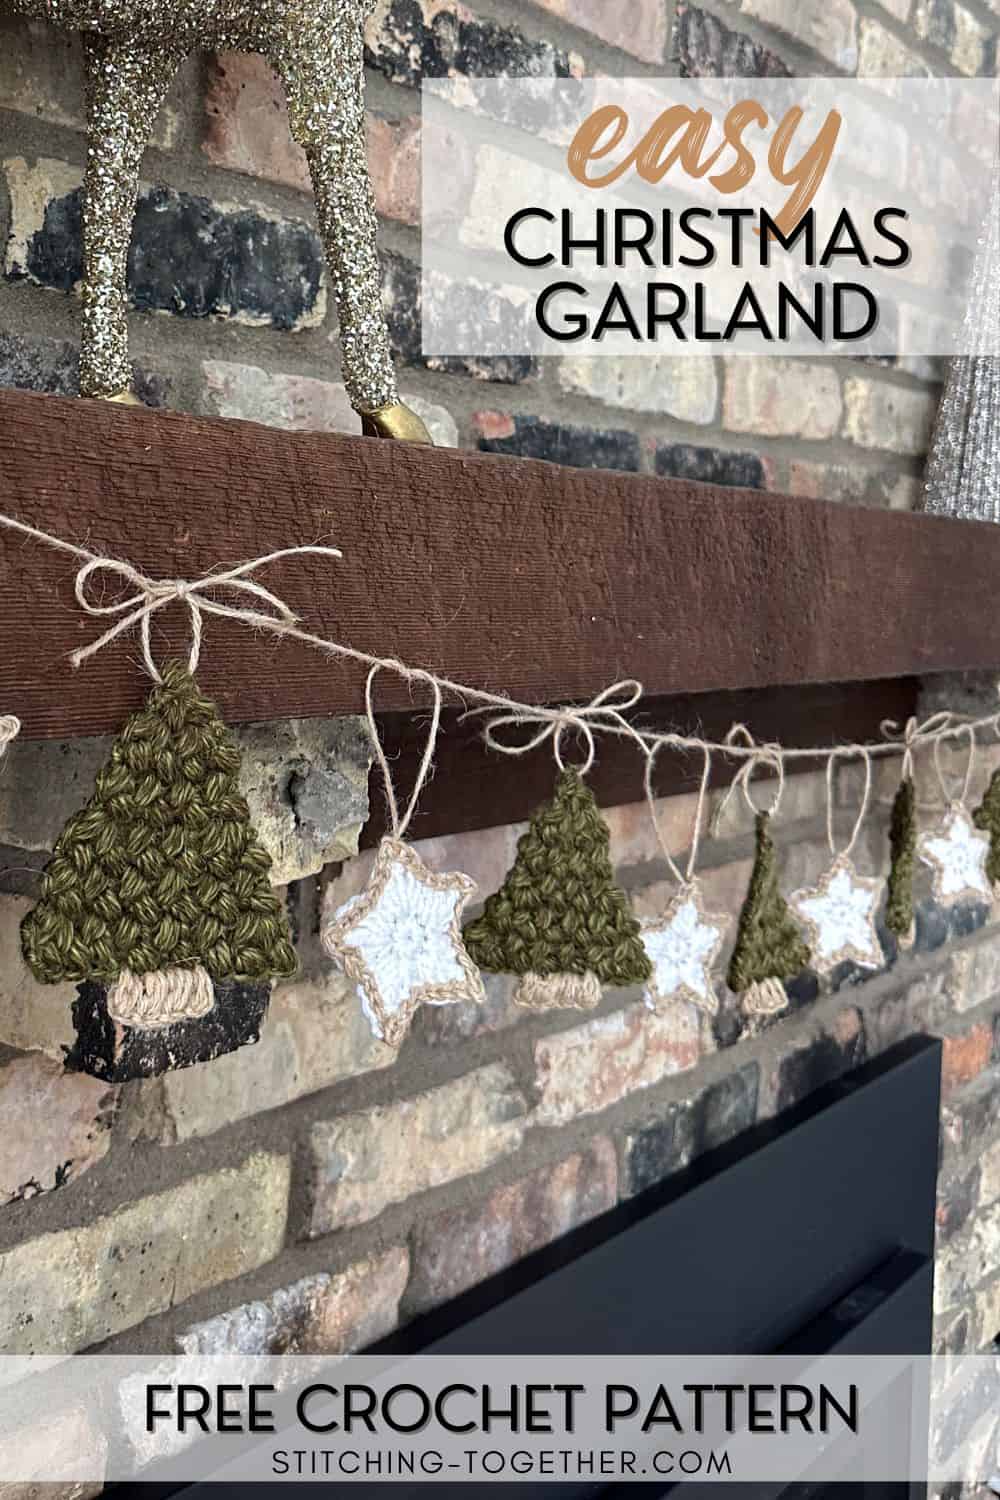
Why only use one tree to decorate for Christmas when you can hang an entire garland of adorable crochet Christmas trees? This Christmas Tree Garland pattern is perfect for decorating your fireplace mantel or anywhere you’d like to add a little handmade yuletide goodness.
You’ll love this fun project that teaches you how to make a beautiful garland you can use this holiday season.
How Do You Crochet A Christmas Tree Garland?
Are you looking for a garland FOR your Christmas tree or a garland that features crocheted trees? If it’s the second, you’re in the right place! While you COULD wrap this garland around your actual Christmas tree, especially if you made the trees in different colors, it looks best hung on a mantle or down a stairway banister.
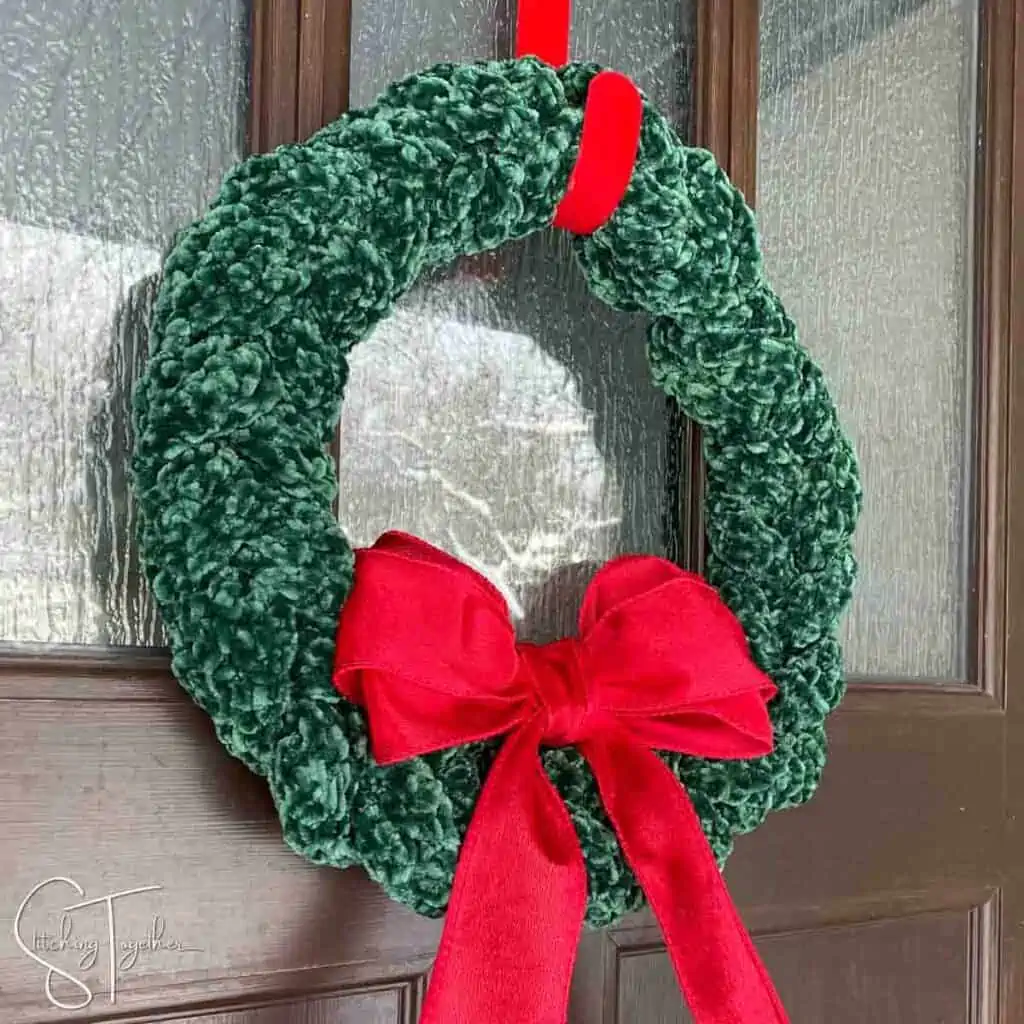
Related: Christmas Crochet Wreath
Crocheting a garland is super easy. You’ll want to find your favorite crochet Christmas tree pattern, I am partial to the Flat Crochet Christmas Tree pattern available right here on Stitching Together. You can add any other crochet pieces like Simple Stars or other decorations like dried oranges.
You’ll then want to find a way to hang your garland and secure your garland pieces. Simple!
We’ll walk through the process of making the featured garland in the steps below as well as some ideas to modify your garland.
Materials for Christmas Tree Crochet Garland
I grabbed some beautiful worsted-weight yarn and a small crochet hook to make both the trees and the stars. Instead of using yarn to embellish the crochet pieces, I used jute twine. Jute isn’t my favorite to crochet with, but these are small pieces so it wasn’t bad.
If you want your embellishments to be a little more flashy, metallic baker’s twine would look amazing. (I wish I would have thought of that BEFORE I made these, but I do like the more muted look with the jute.) You can also just use brown yarn for the tree trunks and a different color for the stars.
That’s it! If you want to add any other embellishments, searching for lapel pins is a great way to find some cute themed pins to add to your garland. This is also a great project to use up any leftover yarn in holiday colors to make a unique and festive Christmas tree garland decoration.
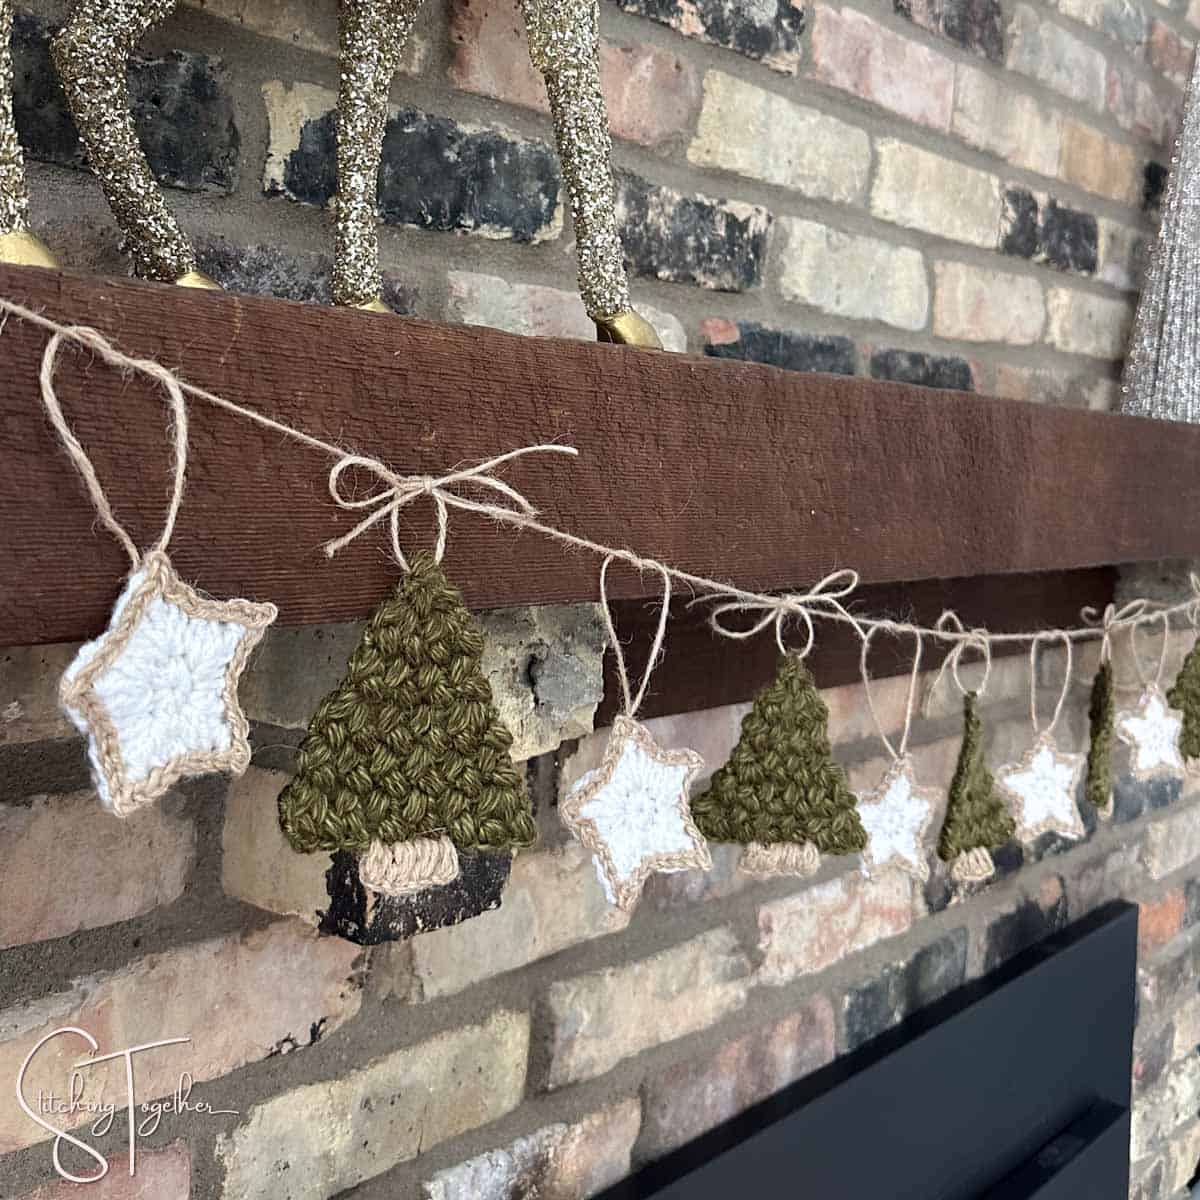
Christmas Tree Garland Crochet Pattern
Make as many trees and stars as you’d like to fill your space! I hung each crochet piece about 2″ from each other.
Christmas Trees
If you’d like to view the photo tutorial for these trees, head to the Flat Crochet Christmas Tree post.
Materials:
US size E/4, 3.5 mm crochet hook
Worsted Weight, Category 4 Acrylic Yarn
Sample Trees used approximately 11 yds/.21 oz of Heartland Yarn in Joshua Tree
Large Eye Yarn Needle
Scrap amount of jute for the trunk
Abbreviations:
ch: chain
st(s): stitch(es)
bean st: bean stitch (see notes)
puff st: puff stitch (see notes)
Gauge: gauge is not critical
Finished Size: approximately 4” top to bottom and 3.5” at widest point
Notes and Special Stitch Instructions
Bean Stitch: insert hook into st and pull up a loop (2 loops on the hook), yarn over, insert hook into the same st and pull up a loop (4 loops on the hook), yarn over, insert hook into the same st and pull up a loop (6 loops on the hook), yarn over and pull through all 6 loops, ch 1 to close the stitch. To work subsequent rows, the bean stitch is worked in the bean stitch below, skipping the chain 1 that secured each stitch.
Puff stitch: [yo, insert hook into st, pull up a loop] 3 times in the same st (7 loops on the hook), yo, pull through all 7 loops on the hook, ch 1 to close the stitch.
Increases: You’ll be increasing in rows 2 and 3 and then every 4th row after that. Increases are done by working 2 stitches instead of 1 at the start and end of increase rows.
If you’d like to see more step-by-step photos showing you how to make the tree motif, head to the flat Christmas Tree post.
Crochet Flat Christmas Tree Instructions
Ch 2,
Row 1: Bean st in the 2nd ch from hook, turn (1 bean)
Row 2: ch 1, 2 bean sts on the side of the bean st in row 1, turn (2 beans)
Row 3: ch 1, 2 bean sts in each bean st of the row below, turn (4 beans)
Row 4: ch 1, bean st in each bean st of the row below, turn (4 beans)
Row 5: ch 1, bean st in each bean st of the row below, turn (4 beans)
Row 6: ch 1, bean st in each bean st of the row below, turn (4 beans)
Row 7: ch 1, 2 bean sts in the 1st bean st of the row below, bean st in each of the next 2 bean sts, 2 bean sts in the last bean stitch, turn (6 beans)
Row 8: ch 1, bean st in each bean st of the row below, turn (6 beans)
Row 9: ch 1, bean st in each bean st of the row below, turn (6 beans)
Row 10: ch 1, bean st in each bean st of the row below, turn (6 beans)
Row 11: ch 1, 2 bean sts in the 1st bean st of the row below, bean st in each of the next 4 bean sts, 2 bean sts in the last bean stitch, turn (8 beans)
Row 12: ch 1, bean st in each bean st of the row below, turn (8 beans)
Working the tree trunk:
Find the center 2 bean sts and join jute on the right of the center bean sts (so between bean 3 and 4) – you’ll work the trunk over the 4 sts (the bean sts and ch 1 that closed the bean stitches) of those 2 bean sts. Puff st in each st (4 puff sts). Fasten off and weave in ends.
Crochet Star
Materials:
US size E/4, 3.5 mm crochet hook
Worsted Weight, Category 4 Acrylic Yarn
Sample Trees used scrap amounts of Brava Worsted from Knit Picks
Tapestry Needle
Jute
Abbreviations:
sl st: slip stitch
ch(s): chain(s)
sc(s): single crochet(s)
dc(s): double crochet(s)
tr(s): treble crochet(s)
Special Stitches:
Picot Stitch: The picot is made by chaining 2 from the last stitch made and then single crocheting into that same stitch.
Crochet Star Free Pattern Instructions
Start with a magic ring
Round 1: ch 1, 10 sc in ring, tighten to close, join with sl st to first sc
Round 2: ch 1, sc in same stitch, *[2 dc, tr, ch 2, sc in top of tr (picot), 2 dc] in next stitch, sc in next st. *repeat 4 more times. Join with sl st to first sc. Weave in ends!
Round 3: Join jute, slip stitch in each st around. Optional: Leave a long tail end to form a loop, and secure the end of the tail on the back of the star by tying a knot.
Hanging your Garland
There are so many different options to hang your garland, but the easiest is to just use a long piece of yarn or jute and hang your garland pieces from there. For the pictured garland, I secured one end of the jute to my mantle and attached the stars first.
Since I made a loop with jute on each star, I wove the hanging piece of jute through the loop, two times, so that the stars wouldn’t just slide around on a long piece of jute, but I was still able to move them around.
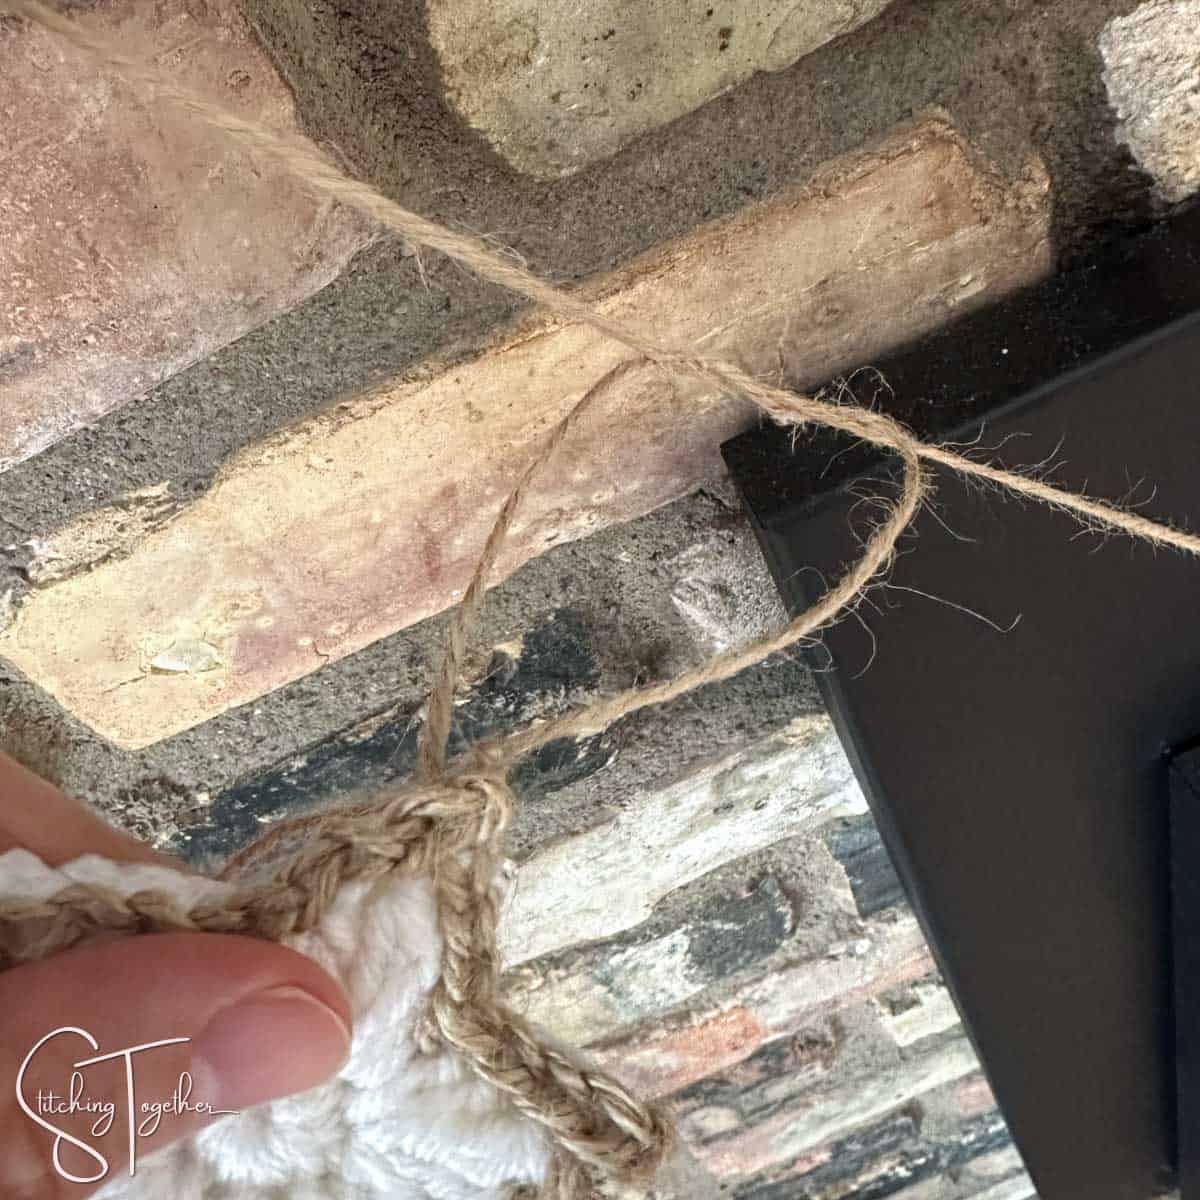
I hung all of the stars first and then attached the trees using pieces of jute that I wove through the top of the trees and then tied into a bow around the hanging jute. I just secured the other end of the other side of my mantle and that was it!
If you want to hang your garland from something I little thicker, you could also crochet a long chain or even a long row on single crochets. Either of those options will give your garland a little more structure. It would also be really cute to use Christmas lights or fairy lights with your garland. That would be an easy way to add more festive cheer to your holiday decor.
For the garland I made a couple of years ago, I used star lapel pins to hang the trees. I loved the addition of the little stars on the top of the tree. The star pins also work great if you want to use the trees as a personal touch for your gift wrapping or as a crochet Christmas tree ornament.
Will you share pictures of your finished projects?
- Tag Stitching Together on Instagram with @stitching_together and use the #stitchingtog
- Upload your picture in the Tried It section of this pin
- Share your work in the Stitching Together Community.