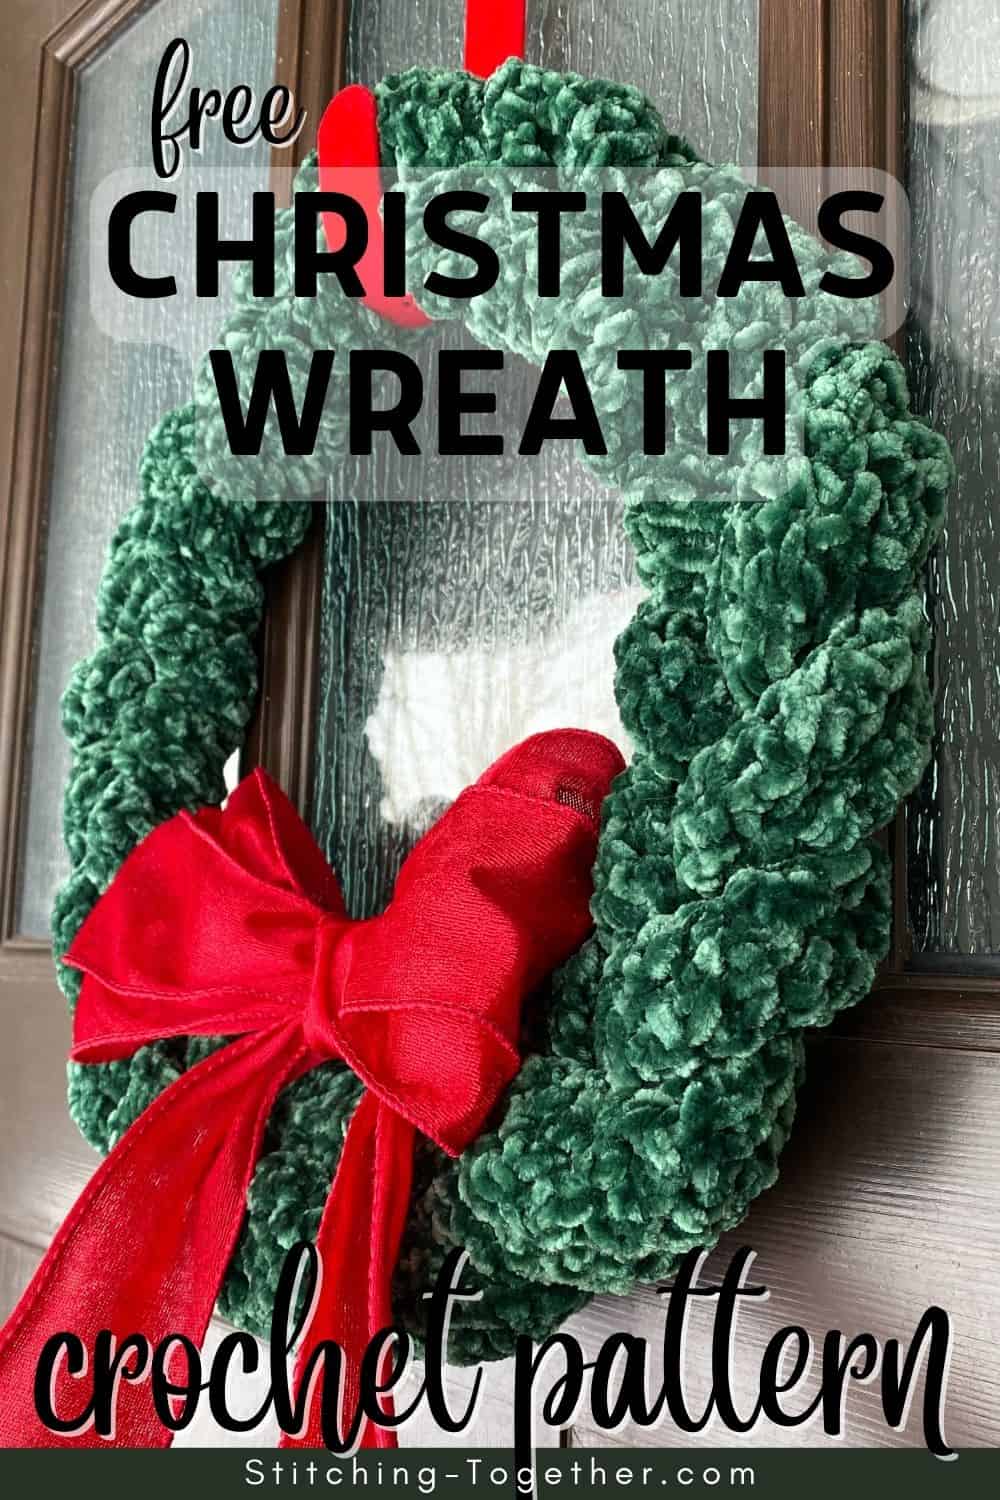
Christmas Crochet Winter Wreath
Disclosure: This post may contain affiliate links. As an Amazon Associate, I earn from qualifying purchases. Please visit my Privacy Policy for disclosures and more information.
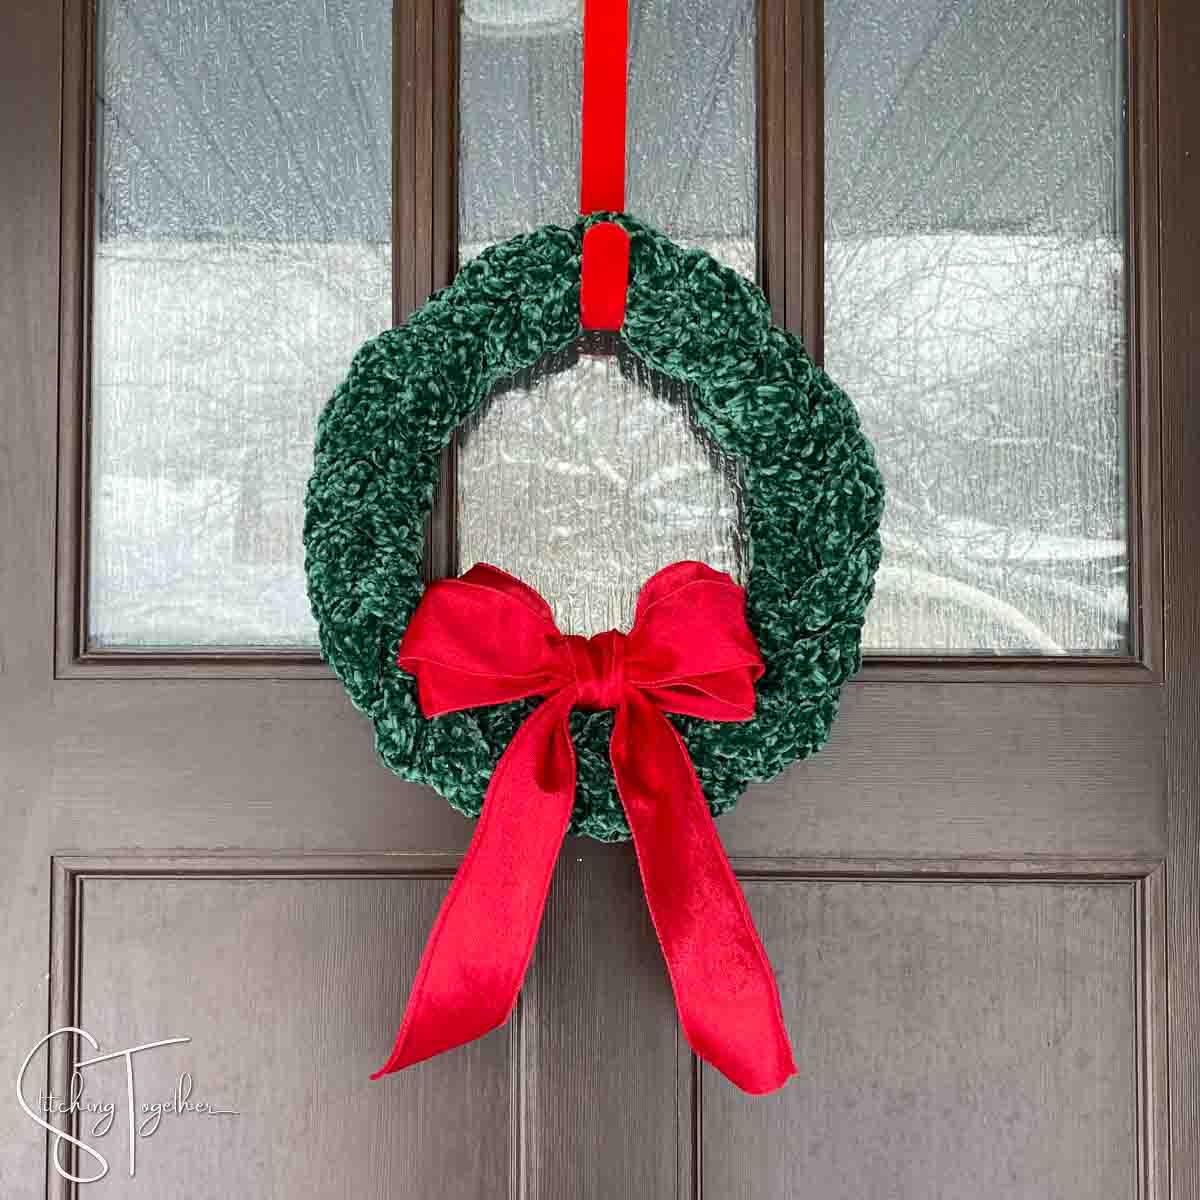
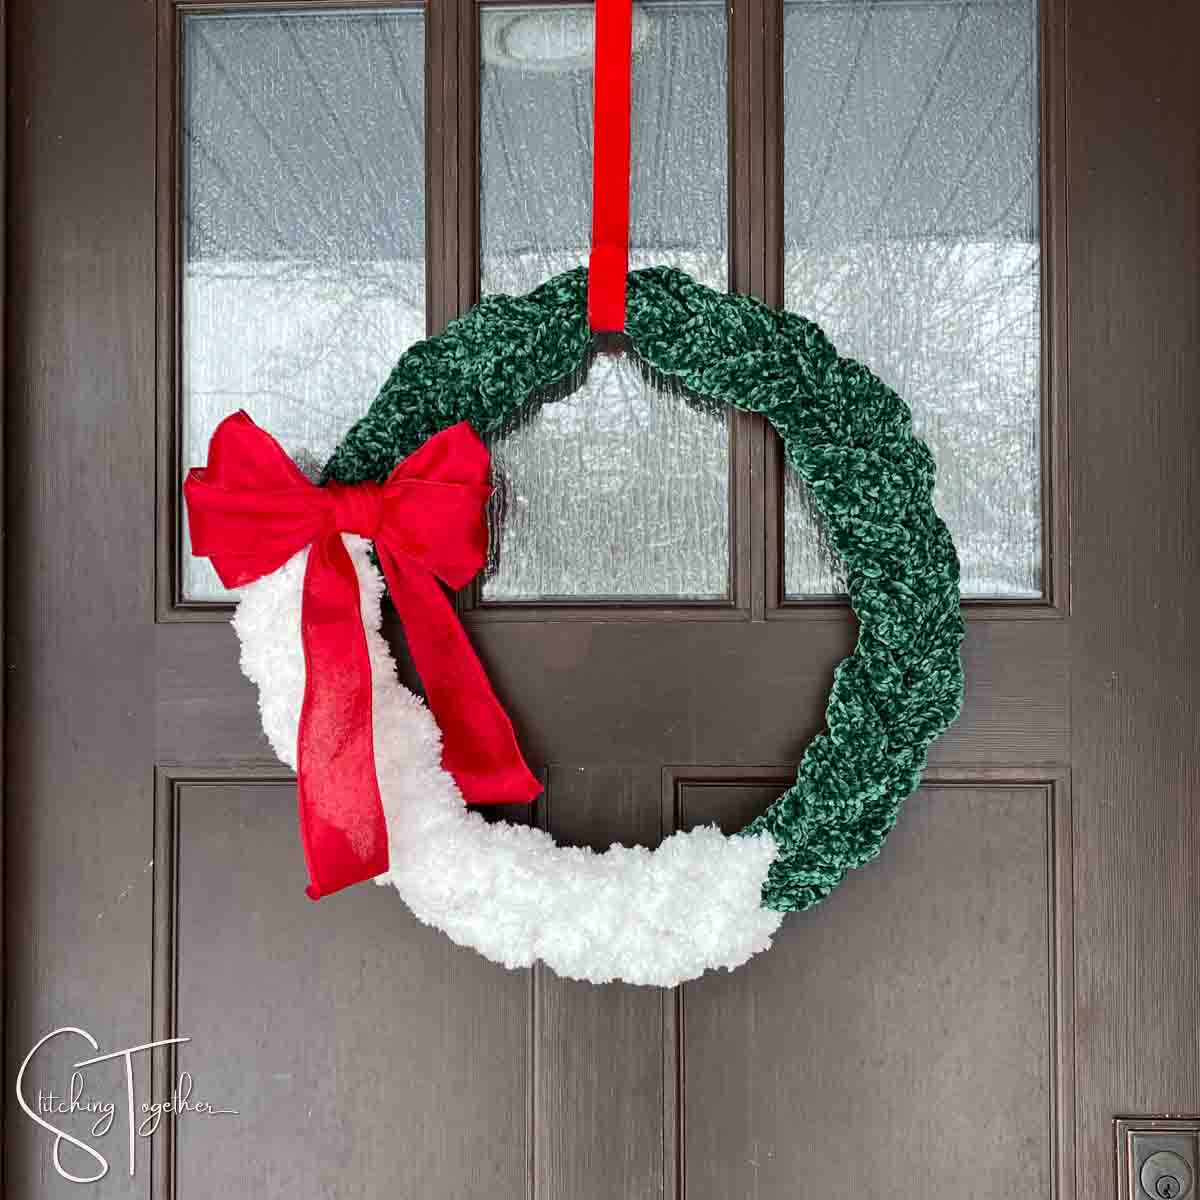
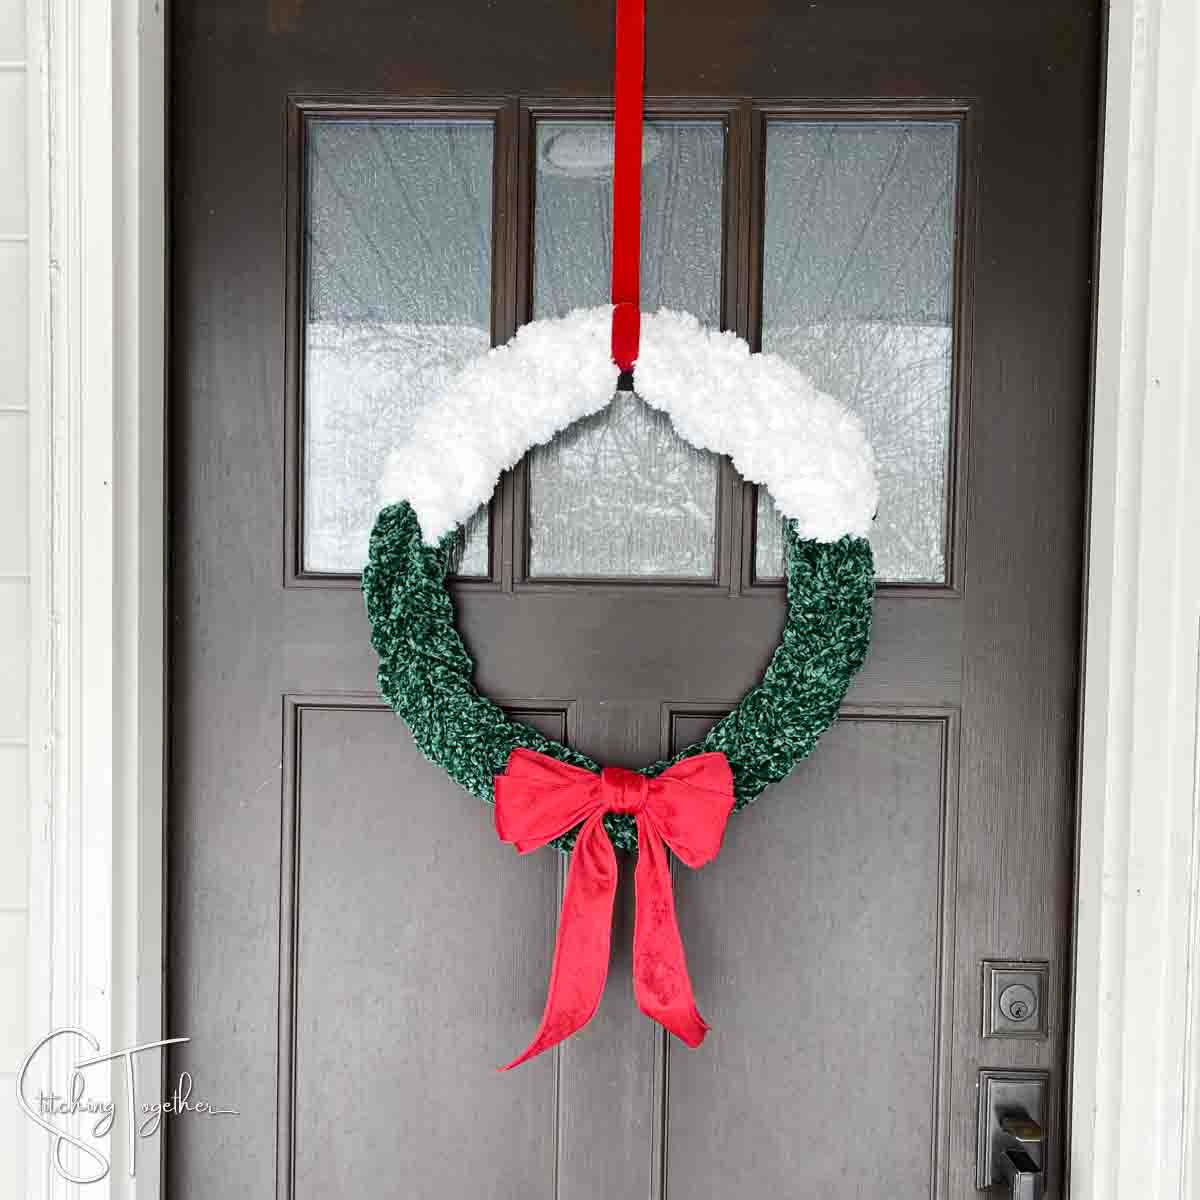
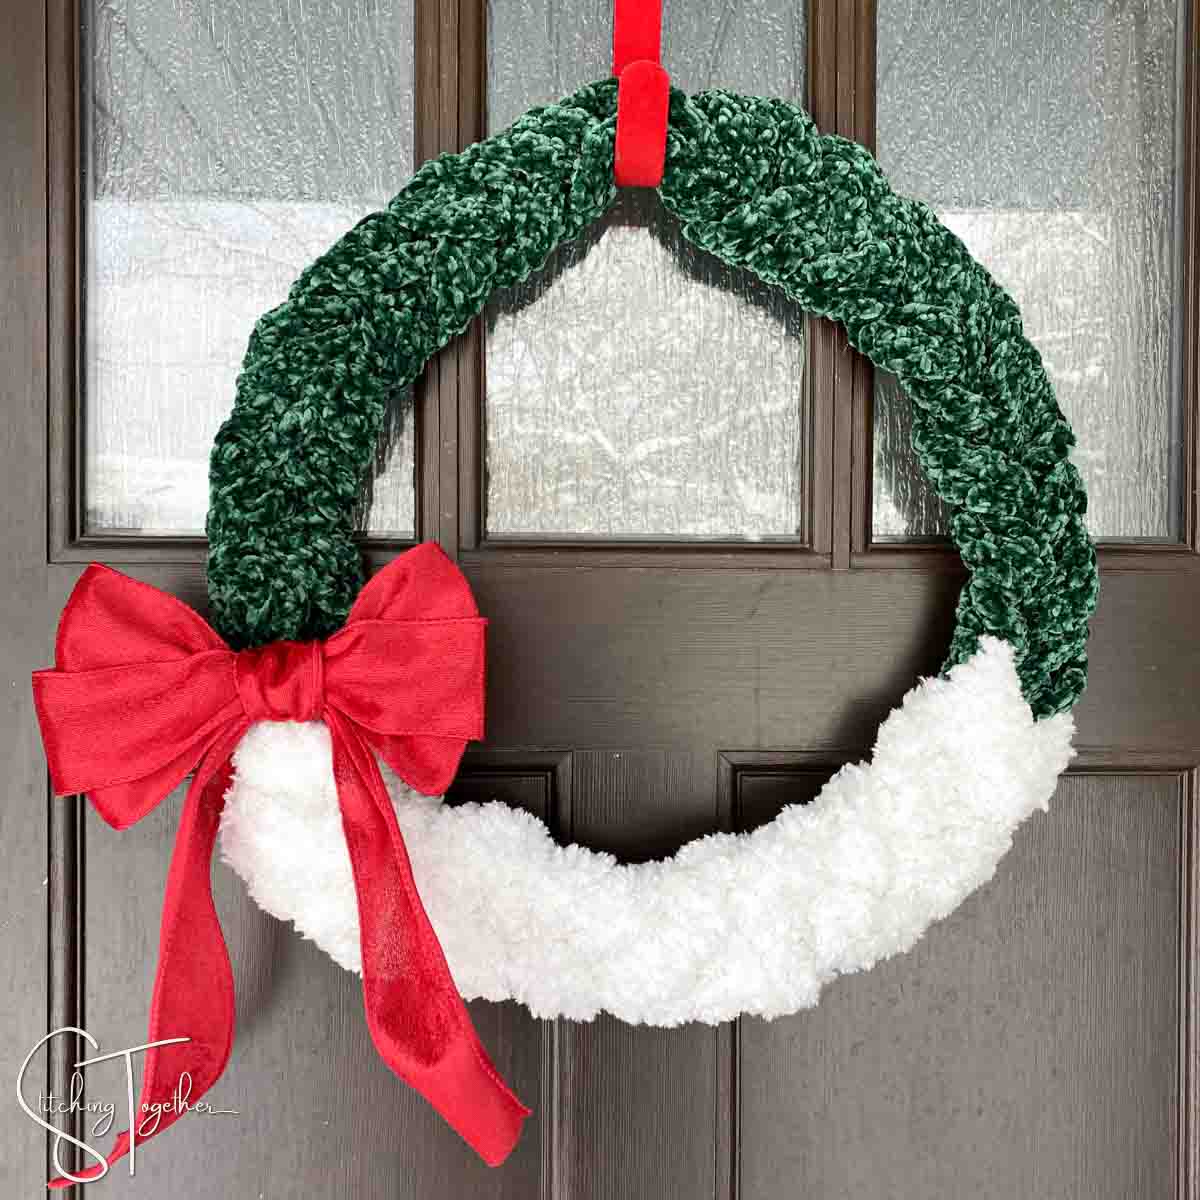
This crochet winter wreath is the perfect project to make for Christmas or for any winter occasion. It will make a beautiful decoration for your home or for a gift.
Wreaths are another item, like throw pillows, that always surprise me with how much they cost. I’ve had my eye on some wreaths I would love to put in our front window, but I just can’t justify the cost.
I found some beautifully braided velvet wreaths on Amazon and thought, I wonder if I could crochet those! Don’t you just love it when you can inexpensively DIY a project?
While the finished wreaths look simple and beautiful, the design process was not. I had no idea how long I would have to make each strip of fabric or how thick each one should be.
In the first sample, I made the fabric strips way too thick and harder to braid. I finally made them thin enough, but not long enough. There was LOTS of frogging in this design. That’s ok though. Don’t you think it was worth it? I like to get things just right so you can make a project you’re proud of!
How to Crochet a Christmas Wreath
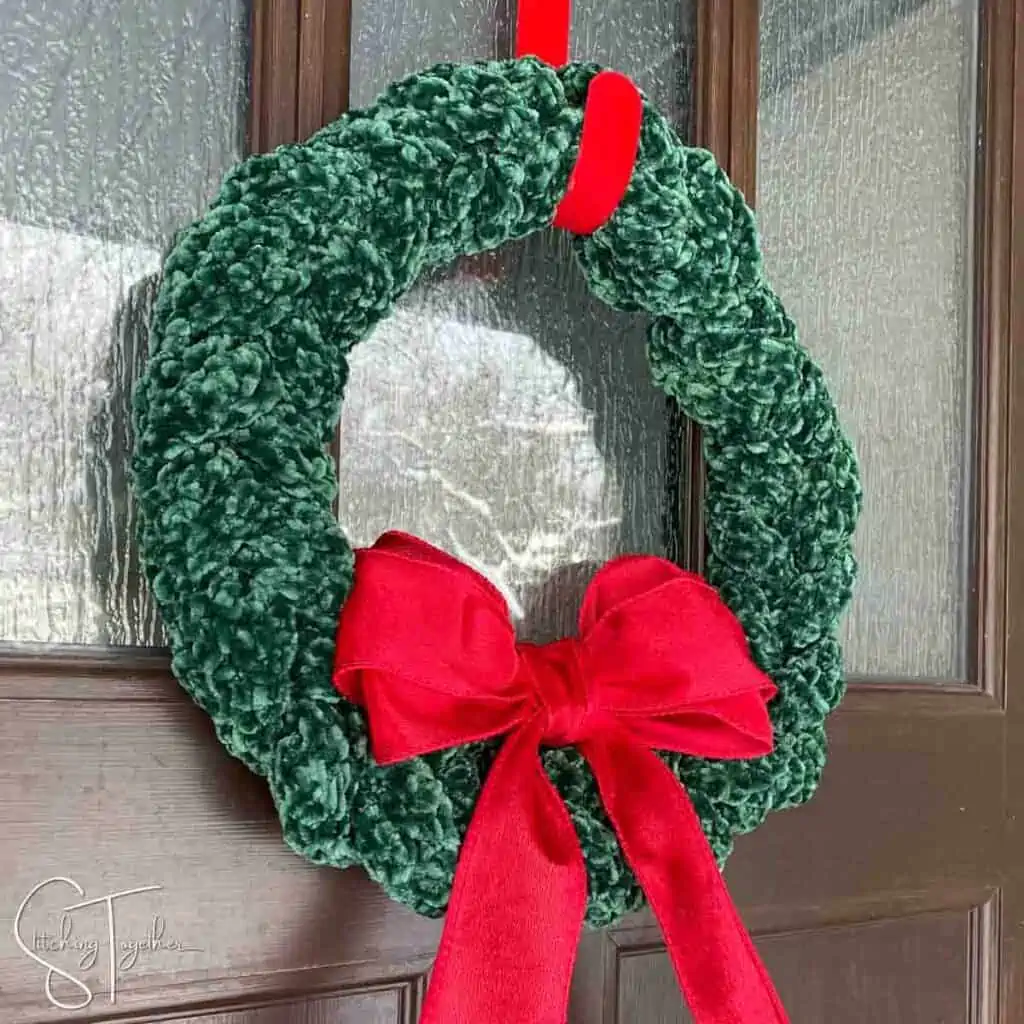
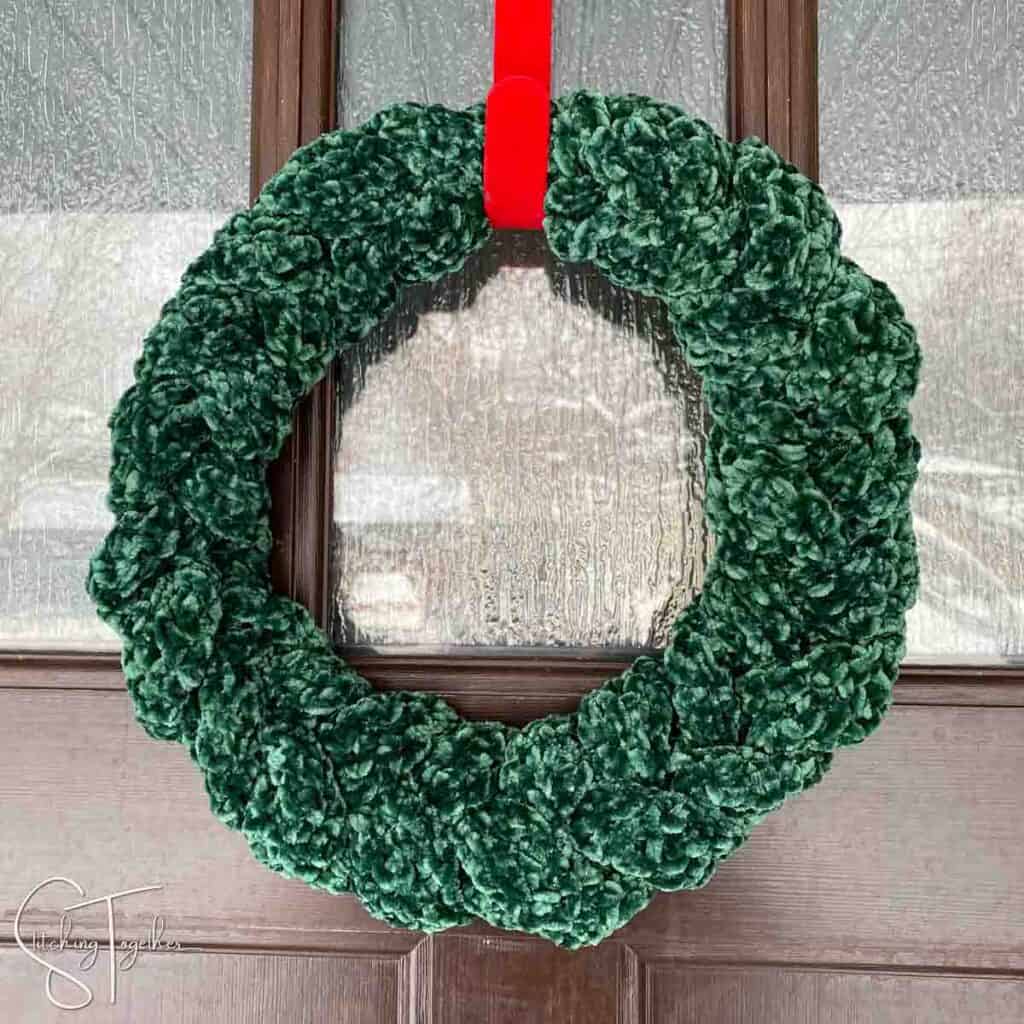
There are many different ways to crochet a wreath for your Christmas decor, some use a foam wreath form, and some hot glue their crochet piece to a cardboard wreath base, but this Christmas wreath is made using strips of crochet fabric that are braided together around a metal hoop.
I used two different hoop sizes, 12″ and 18″, and included the patterns for both sizes. The larger wreath has a yarn and color change to add some visual interest. You can easily make wreaths of different sizes using this pattern and below I’ve included instructions on how to adjust for a different size metal hoop.
Stitches Used in the Winter Wreath
For this winter crochet wreath, I used the moss stitch for several reasons. One, it creates a really flowy fabric that worked well for braiding. Two, it can be hard to see your stitches with dark velvet yarn, but working in the ch-1 spaces of the moss stitches makes it much easier. Three, the stitch created a lot of dimension in the fabric which highlights the velvety yarn.
If you haven’t tried this crochet stitch, be sure to work through the moss stitch tutorial with some practice yarn before trying this pattern. Because of the yarn, I wouldn’t rate this as a beginner pattern, but an advanced beginner who can follow the moss stitch tutorial shouldn’t have a problem working this pattern.
Yarn for the Crochet Winter Wreaths
Both crochet Christmas wreath patterns call for Bernat Velvet Yarn which is a 100% polyester category 5, bulky weight yarn.
Overall velvet yarn is fairly easy to work with, but it can be harder to see your stitches since the yarn is fuzzy and the color I used was dark. One of the best things about velvet yarn is the color dimensions it has in different lighting. There is depth and richness to the colors that really make the fabric stand out.
On the larger wreath, I also used Cozy Sherpa yarn by Loops and Threads, which is a category 6, Super Bulky Weight Yarn.
Substitution
Other velvet yarns will work well for this pattern, just be sure to check the size information. If you grab Baby Velvet yarn, it is a category 4, medium weight yarn, so you’ll need to adjust your hook size, stitch counts, and rows.
Premier Yarns has Retro Velvet Yarn that is a good match for Bernat Velvet and comes in a variety of colors.
Lion Brand has a Sherpa-type yarn called Go for Fleece but it is a category 7, Jumbo yarn. Or you could use a faux fur yarn which was my original plan but I couldn’t find enough of it in stores. There are really many options to tailor this pattern to match your style.
Decorating your DIY Winter Wreath
My goal was to design a Christmas wreath crochet pattern where the wreath would look beautiful all on its own without any embellishments.
I couldn’t resist adding a bow though! I used 2.5″ wired ribbon and loosely followed these How to Make a Bow for a Wreath instructions. Then I just used a pipe cleaner to attach the bow in different places on my wreath.
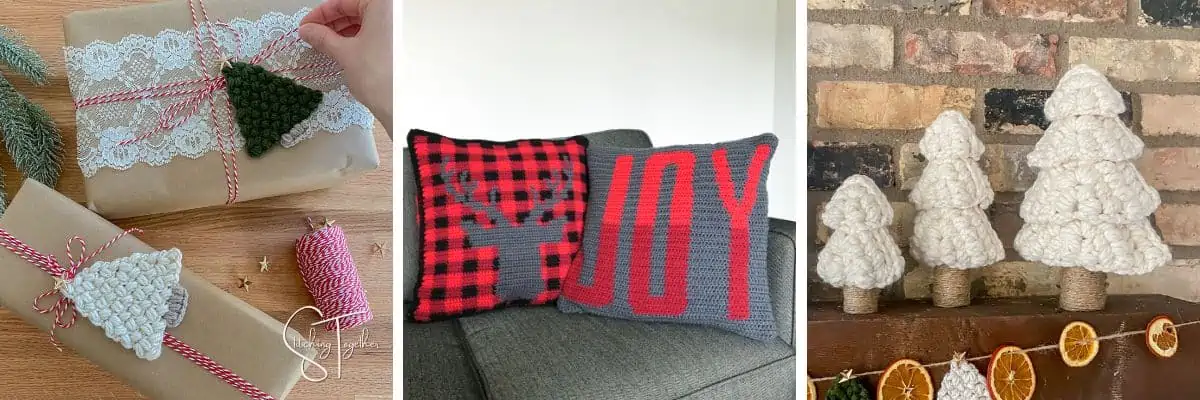
You could also add other crochet appliques like these simple crochet stars or even these flat crochet Christmas Trees.
Crochet Winter Wreath Pattern
Skill Level: Easy
Materials:
Small Wreath
US size J/10, 6.0 mm crochet hook
Bernat Velvet Yarn (Category 5, Bulky Yarn, 315yds/288m, 10.5 oz/300g)
- Sample used approximately 288 yds (9.6 oz) in Pine
Large Eye Yarn Needle
12” Metal Hoop
Large Wreath
US size J/10, 6.0 mm crochet hook
US size N/P, 10 mm crochet hook
Bernat Velvet Yarn (Category 5, Bulky Yarn, 315yds/288 m, 10.5 oz/300 g)
- Sample used approximately 288 yds (9.6 oz) in Pine
Cozy Sherpa Yarn (Category 6, Super Bulky Yarn, 93yds/85m, 7.05 oz/200g)
- Sample used approximately 204 yds (5 oz) in Blanc
Large Eye Yarn Needle
18” Metal Hoop
.
Everything you need for this project can be ordered right online
Save time and shop from home!
Large eye yarn needle (these work great with chunky yarn)
.
Abbreviations:
ch(s): chain(s)
sc(s): single crochet(s)
sp: space
tc: turning chain (the chain 1 at the start of the previous row)
st(s): stitch(es)
dc(s): double crochet(s)
Gauge: gauge is not critical
Finished Size:
Small wreath: Each fabric strip measures approximately 54” long by 3.25” wide
Large wreath: Each fabric strip measures approximately 76” long by 3.25” wide
Notes:
The strips of fabric are mostly made using the moss stitch. The starting and ending instructions of the rows may be slightly different than other versions of the moss stitch. By chaining one at the beginning of the row and working into each chain one (turning chain) to end the next row, you’ll create a smooth edge of your fabric that looks finished even without a border.
For the color/yarn change in the wreath, you switch to double crochets for the sherpa yarn since it is a larger size than the velvet yarn. If you use different yarns, you may be able to just continue with the moss stitch if the yarns are the same size.
Adjusting the size for different hoops
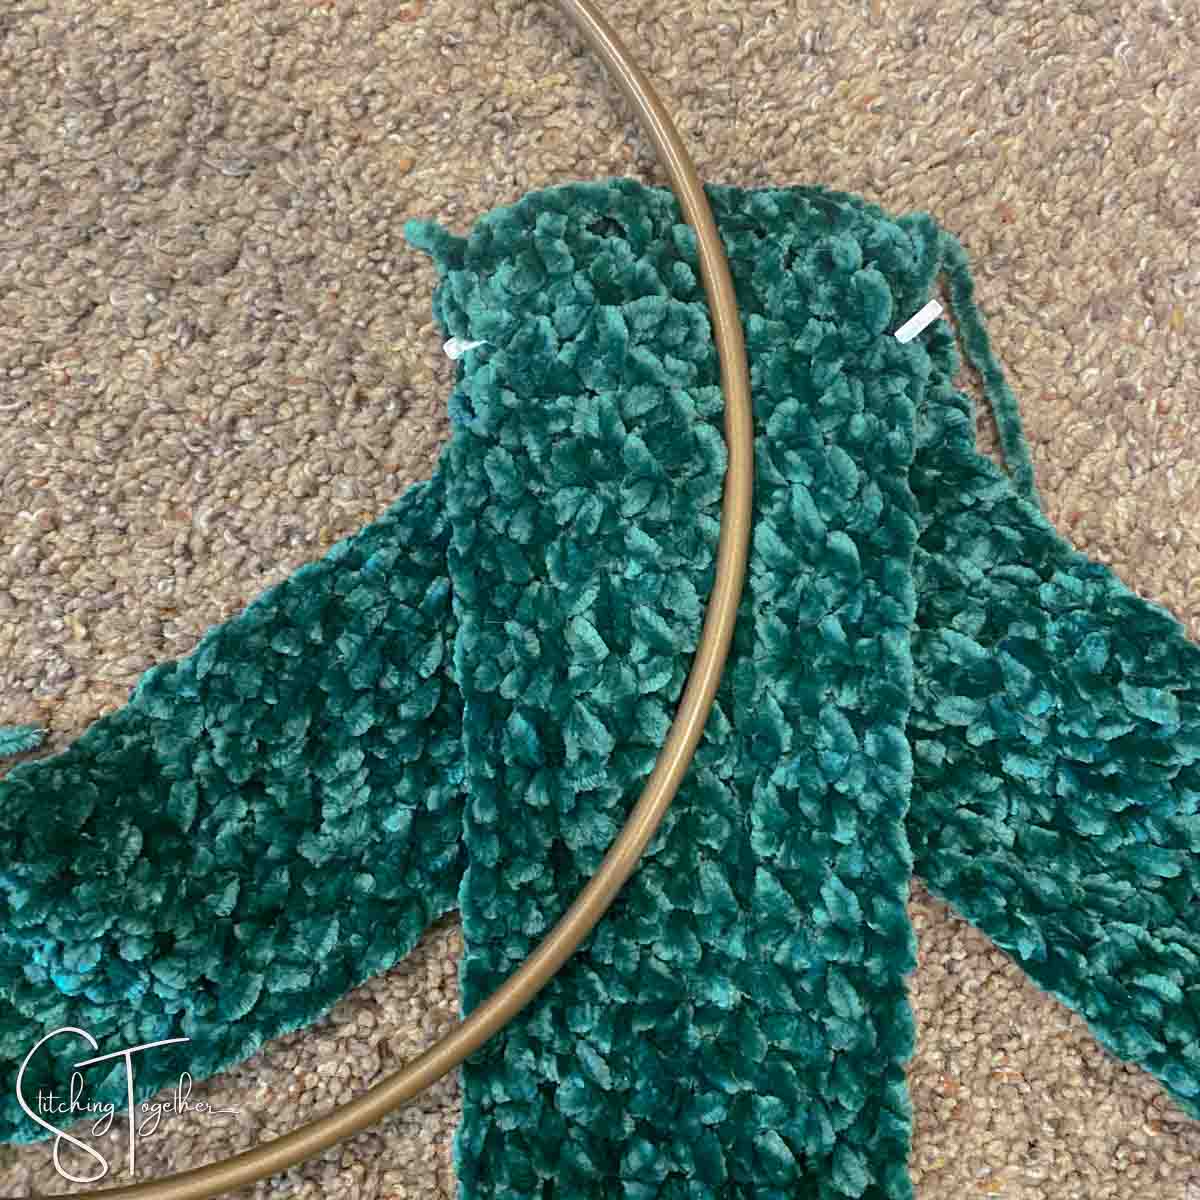
You will make 3 identical strips of fabric that will then be braided around the metal hoop.
To adjust the width of each strip, keep your starting chain an even number.
Aim to make each strip 4 times as long as the diameter of your hoop. Ex. If you are using a 14” hoop you’ll want to crochet strips that are at least 56” long for a loose braid and longer for a tighter braid. For both of my wreaths I added an extra 4” to the measurements so I could have tighter braids.
Free Crochet Wreath Pattern Instructions
Small Wreath
Make 3:
Ch 12
Row 1: sc in 2nd ch from hook, *ch 1, skip 1 ch, sc; repeat from * to end of row, turn. (11)
Row 2: ch 1, *sc in ch-1 sp, ch 1; repeat from * to end of row, sc in tc, turn. (11)
Repeat row 2 until the fabric strip measure approximately 54” or other desired length. Do not weave in ends.
Large Wreath
Make 3:
Ch 12 with velvet yarn and 6.0 mm hook
Row 1: sc in 2nd ch from hook, *ch 1, skip 1 ch, sc; repeat from * to end of row, turn. (11)
Row 2: ch 1, *sc in ch-1 sp, ch 1; repeat from * to end of row, sc in tc, turn. (11)
Repeat row 2 until the fabric strip measures approximately 49” or other desired length.
Join Sherpa yarn using 10 mm hook
Row 1: ch 2 (counts as a stitch), dc in each ch-1 sp, turn (5)
Row 2: ch 2 (counts as a stitch), dc in each dc, turn (5)
Repeat row 2 until the fabric strip measures approximately 76” or other desired length.
Leave beginning and tail ends for securing the ends of the braid, weave in any other ends
Braiding
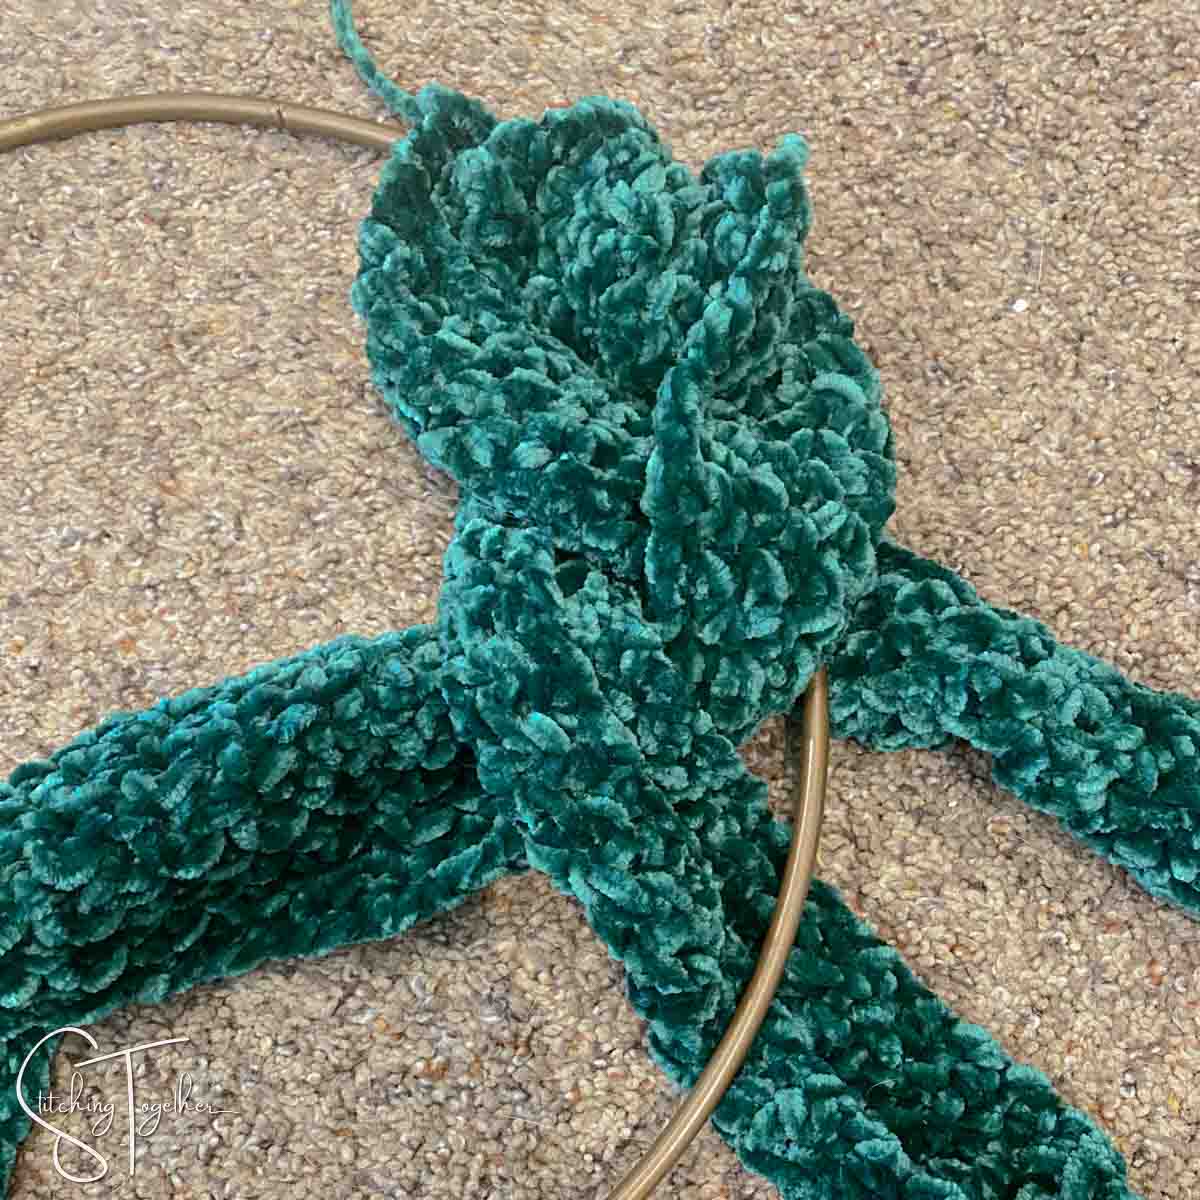
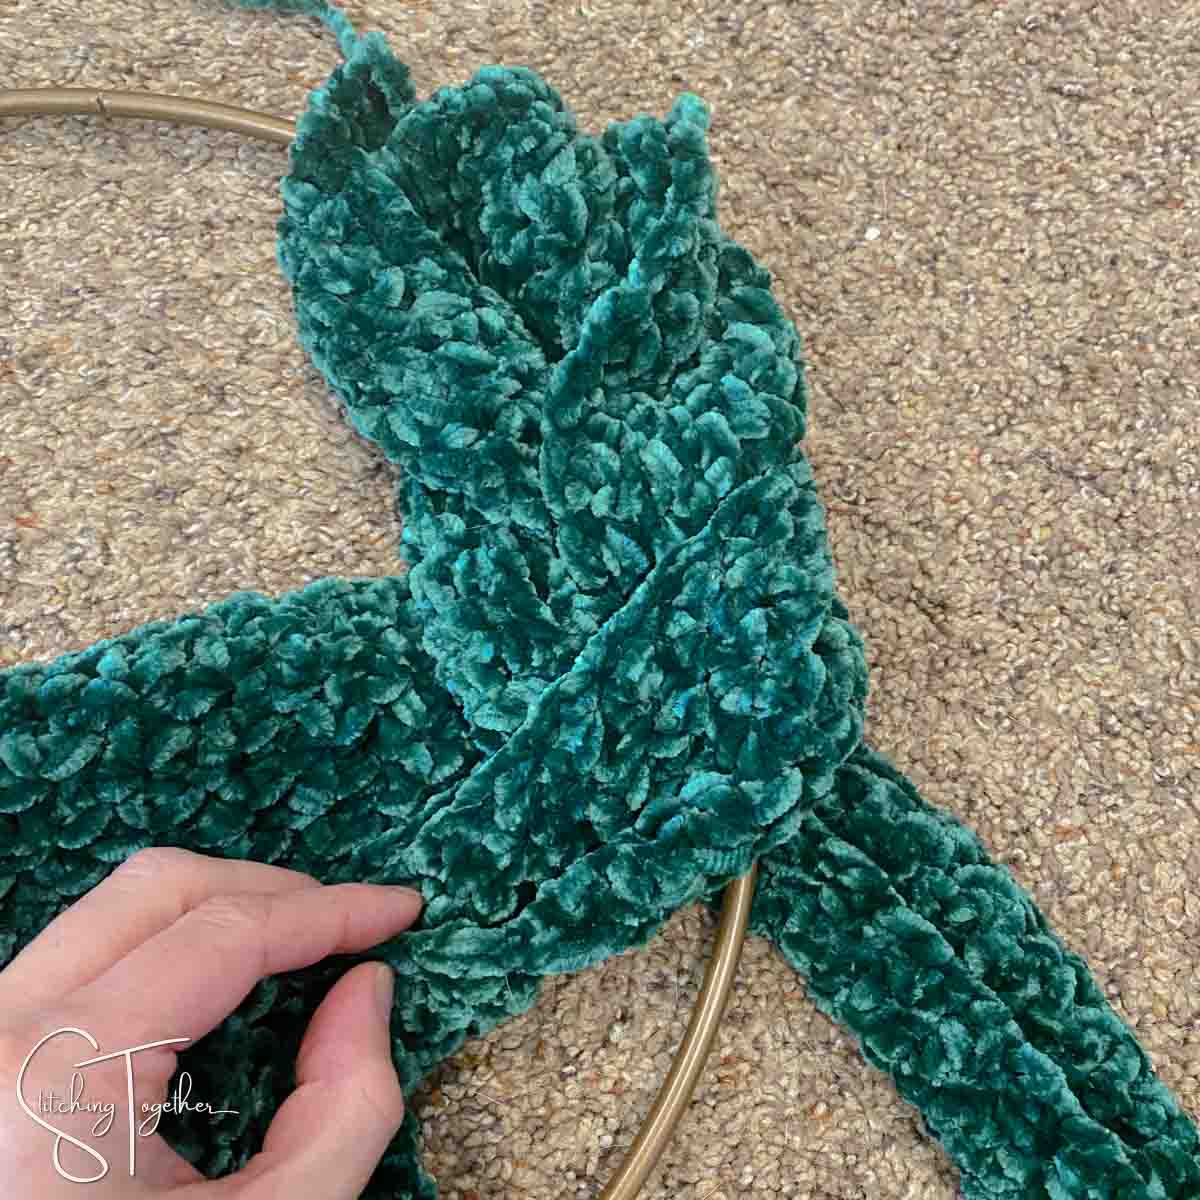
Stack the strips of fabric on top of each other (it helps to use a clip or stitch markers to hold them together) to braid and place one side of the hoop on top of the fabric so you can braid around the hoop. I put every strip braided from the left to the right, under the hoop, and each one braided from right to left over the hoop. Once you’ve braided around, tuck the ends into the beginning of the braid and use the tail ends to sew and secure the pieces together.

.
If you like easy-to-print patterns, this pattern can be purchased in the following places:
Thanks for your support!
.
Will you share pictures of your finished Winter Wreaths?
- Tag Stitching Together on Instagram with @stitching_together and use the #stitchingtog
- Upload your picture in the Tried It section of this pin
- Share your work in the Stitching Together Community.
Don’t miss these other crochet Christmas Decor Ideas: