Super Bulky Crochet Hat Pattern
Disclosure: This post may contain affiliate links. As an Amazon Associate, I earn from qualifying purchases. Please visit my Privacy Policy for disclosures and more information.
Warm. Staying warm is the goal when the thermometer is dropping like it’s hot, and this super bulky crochet hat pattern is perfect for crocheting a winter hat that’ll keep you warm through the cold weather. As you might have guessed this hat uses super bulky yarn paired with simple stitches to create a chunky ribbed beanie that works for the whole family.
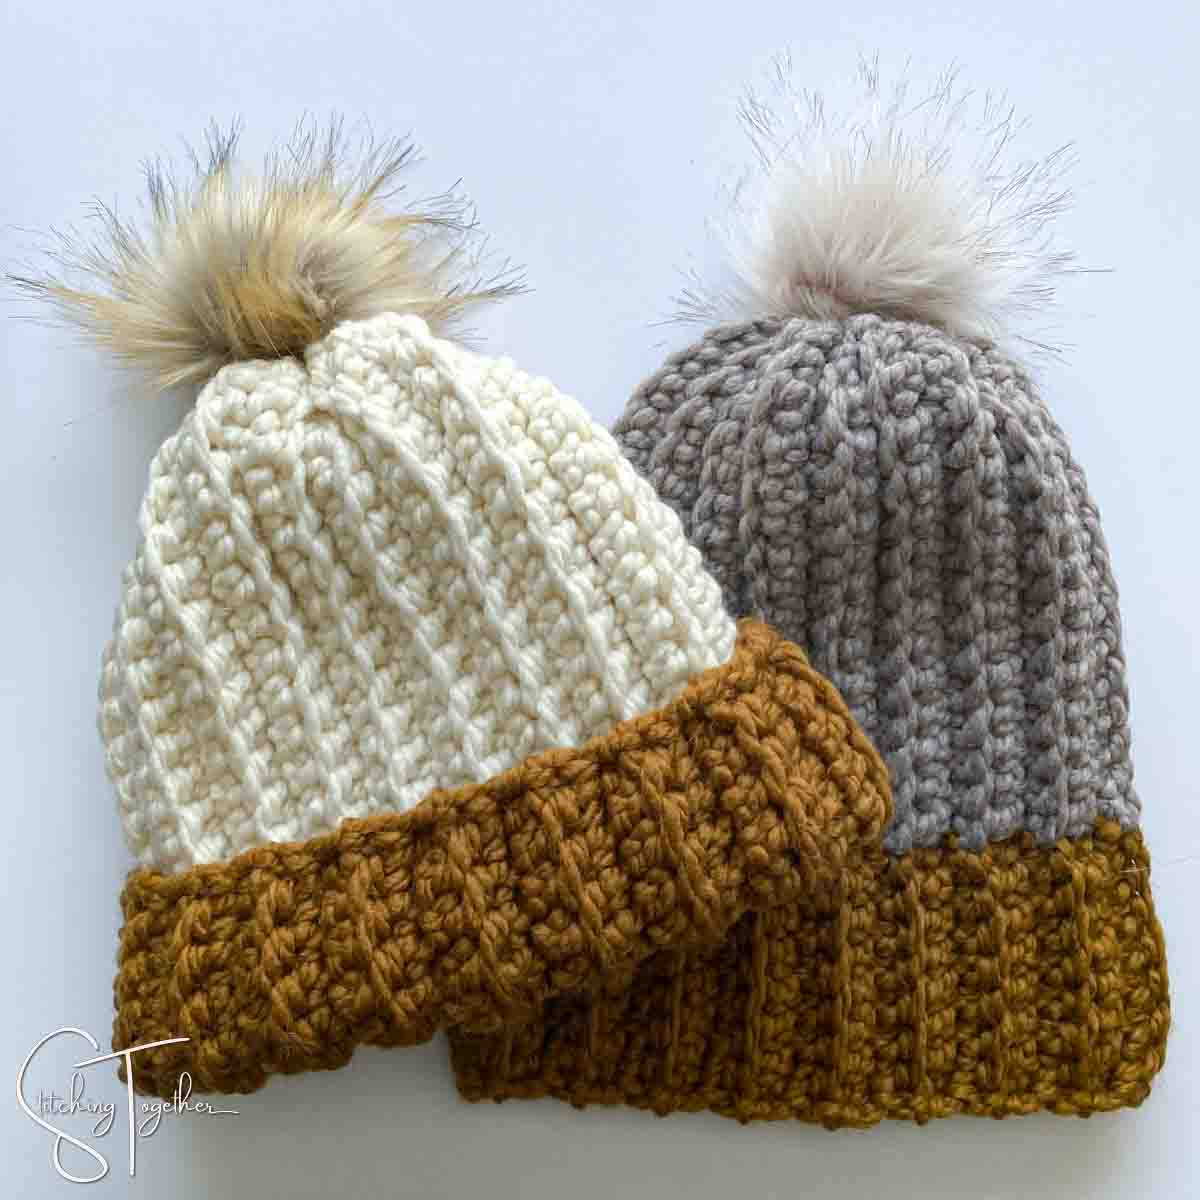
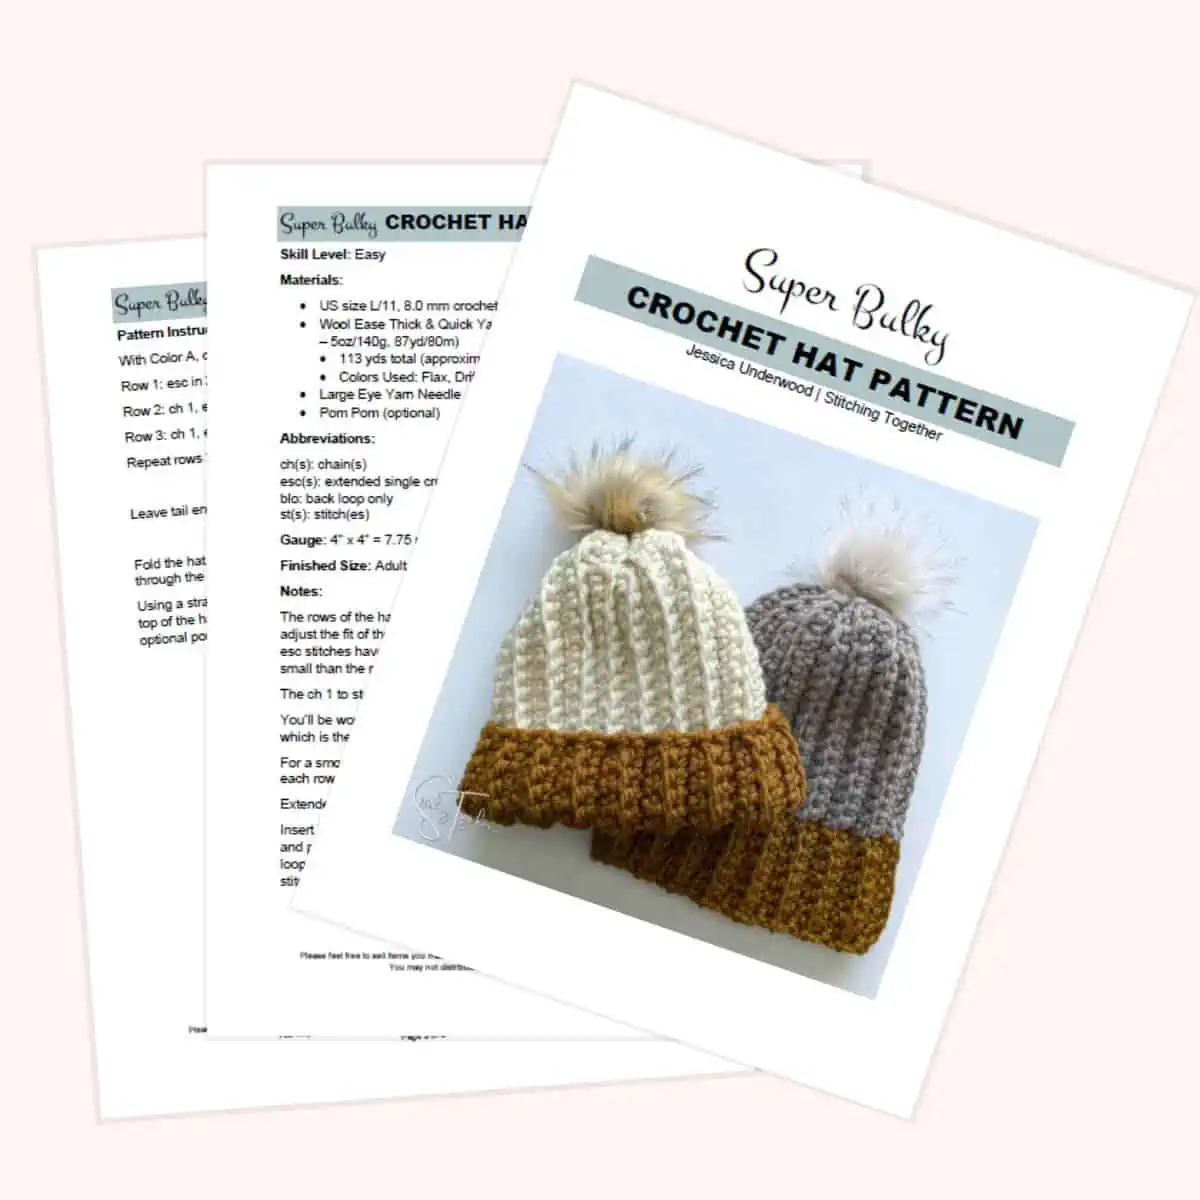
Keep reading for all the details and the free super bulky crochet hat pattern or you can purchase the ad-free PDF version here. The pattern is rated as an Easy pattern but I think it’s appropriate for all levels except absolute beginners.
Squishy Stitches
There are only 2 stitches you need to know in order to make this hat. One is a very basic crochet stitch: a chain and the other is an extended single crochet.
If you haven’t tried an extended single crochet yet, don’t worry, it is super easy and I have a step-by-step photo tutorial for you if you’re wanting some extra guidance. It’s a fun stitch to use for ribbing since it creates a really dense and bulky fabric.
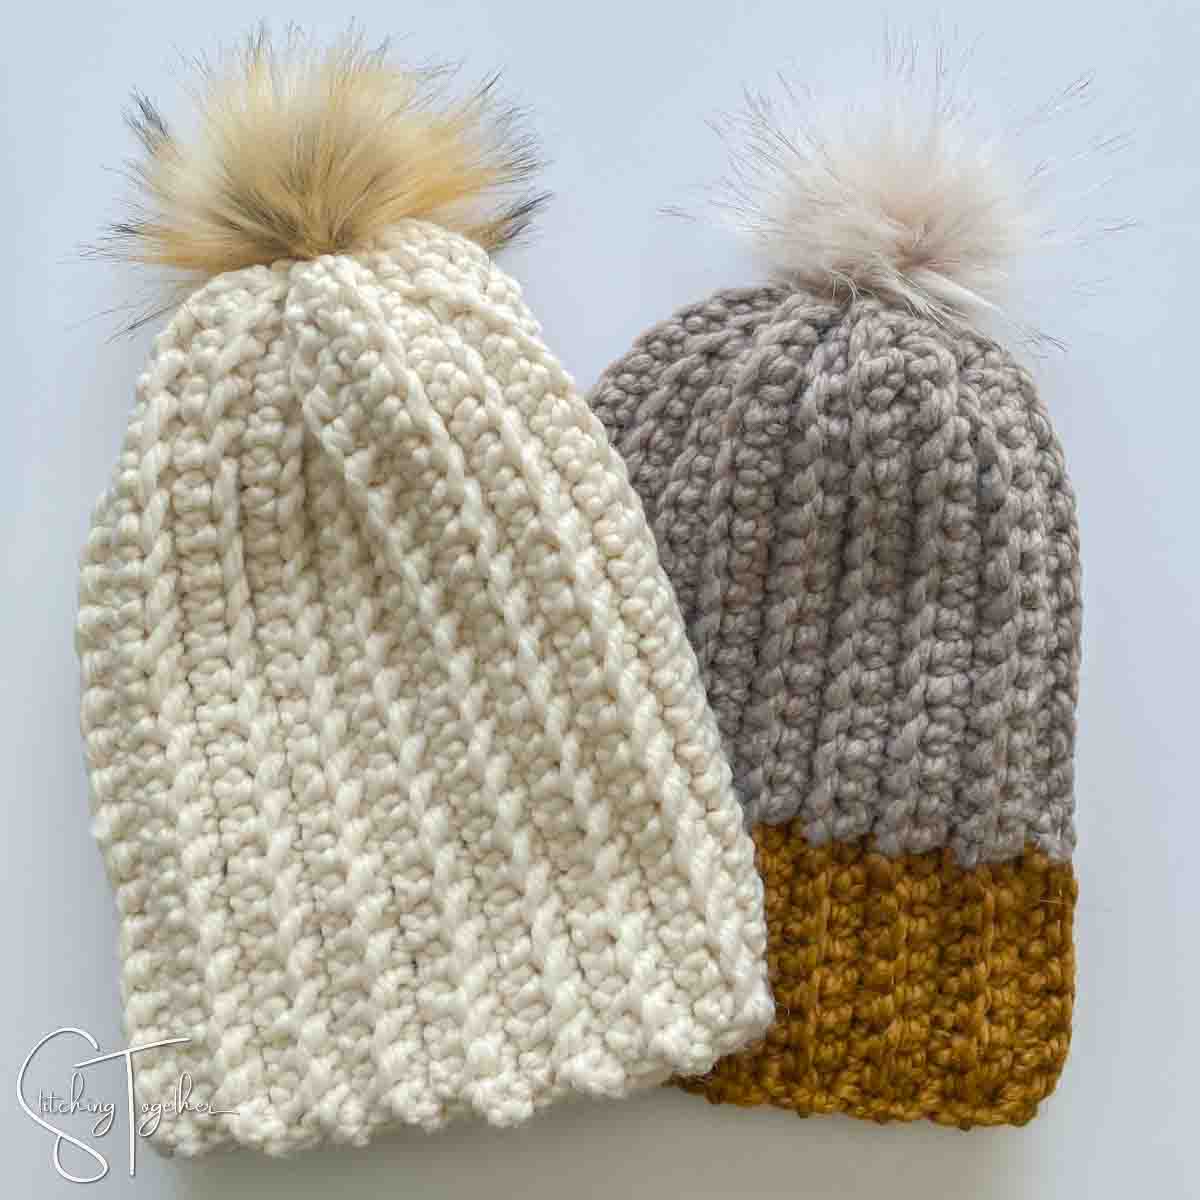
The most common and probably the easiest way to crochet a ribbed hat is to only work your stitches in the back loop, which creates that lovely ribbing by pushing the front loop forward. This hat uses exactly that technique paired with the extended single crochet stitch to make a chunky ribbed beanie that is full of depth and texture. The combination of the extending sc stitch and super chunky yarn makes a wonderfully thick and squishy, not to mention warm, fabric.
Related: The Courtney Crochet Beanie Pattern
Yarn for a Super Bulky 6 Crochet Hat
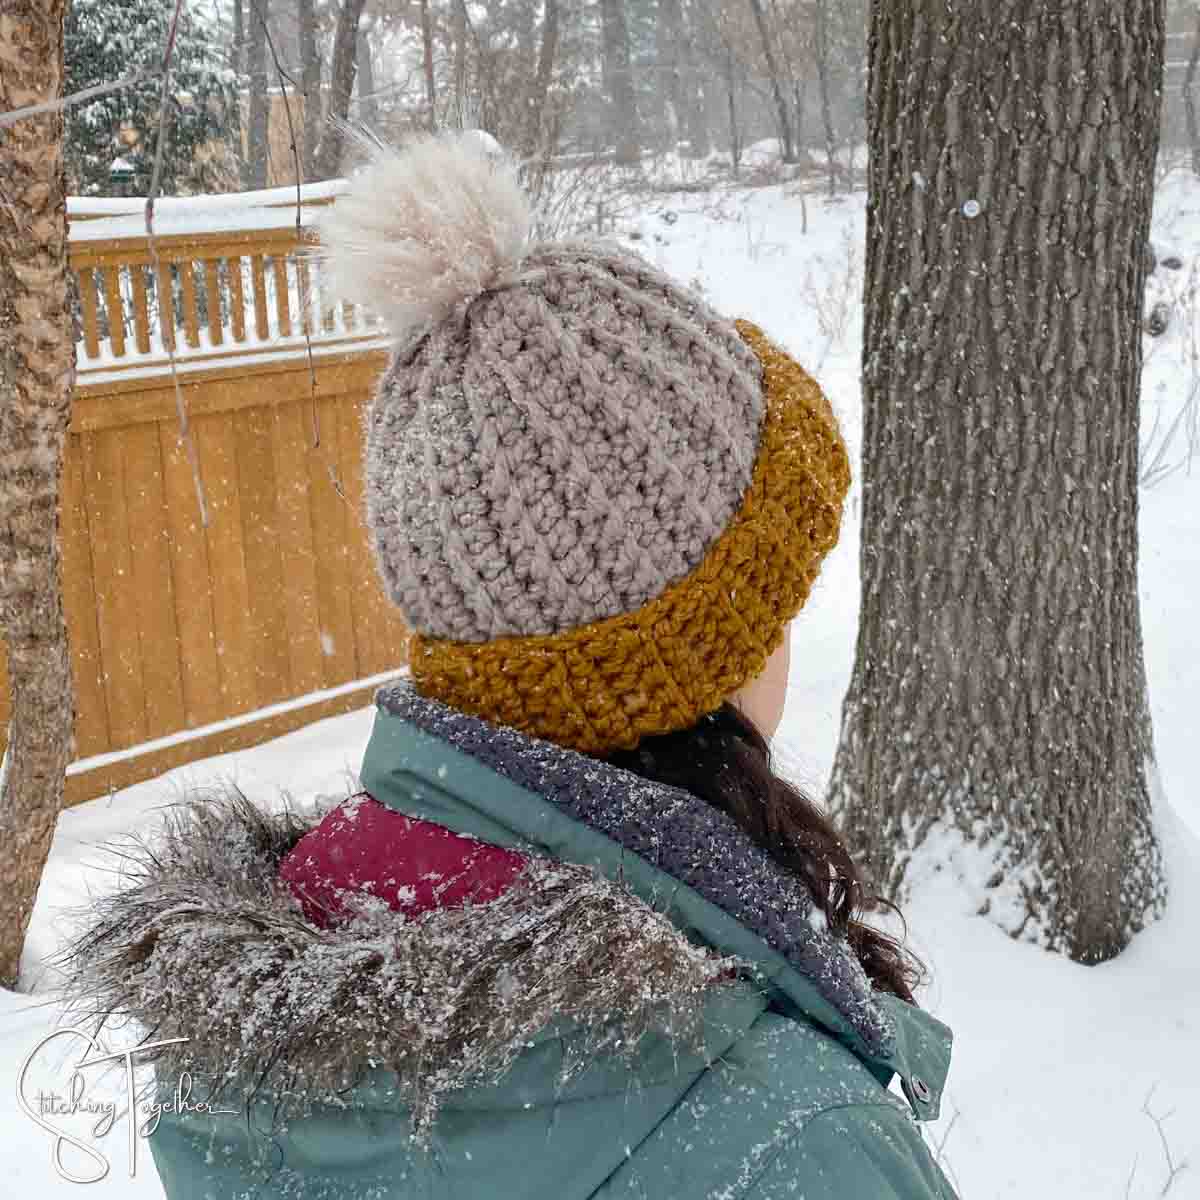
Lion Brand Wool-Ease Thick and Quick yarn is a stunning combination of wool and acrylic that is available in a wide variety of colors, making it the perfect choice for this hat project. It’s a super bulky weight yarn that is able to be machine washed and dried, so you can easily care for your finished product.
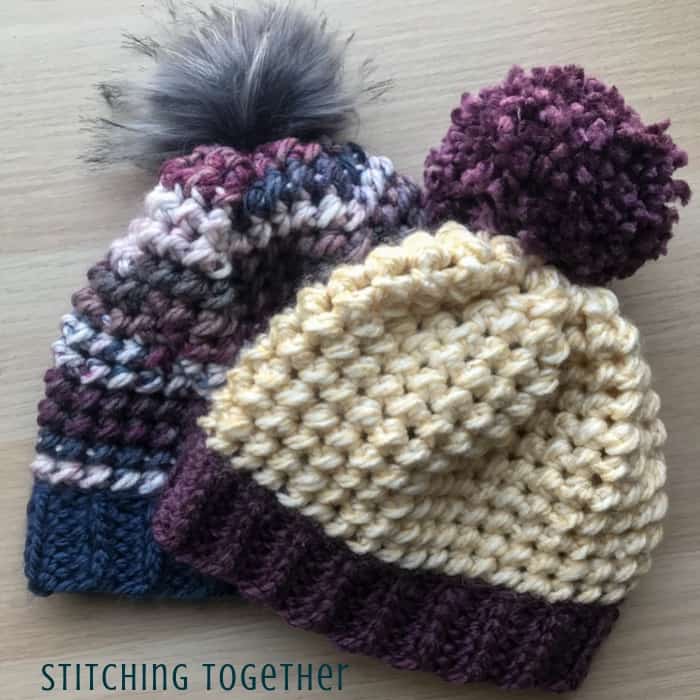
Other super bulky weight yarns will also work for this hat. I tried Re-Spin Thick & Quick for the top of one of the hats and it worked well, although I will say that it is a little thinner than Wool-Ease Thick & Quick. That was fine for the top of a hat where I don’t mind a more fitted feel around my head, but if I were going to use it for the whole hat, I would likely add another row or two to match the hat size when I used Wool-Ease.
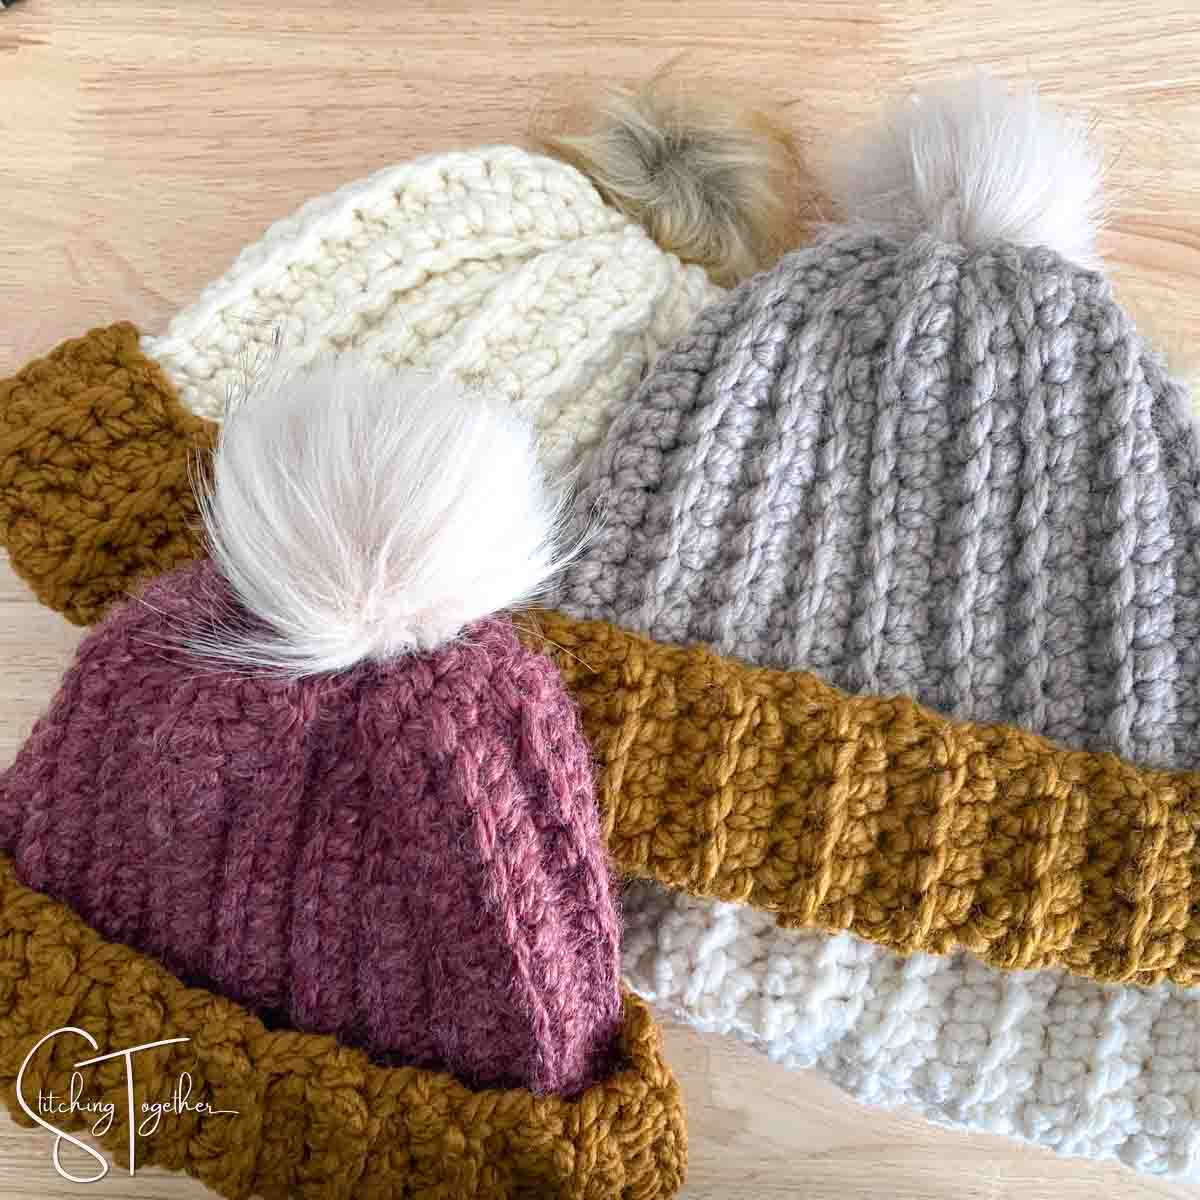
Re-Spun is 100% Recycled Polyester and I love that it has the same slightly heathered look as wool-ease. It is easy to work with and is soft and squishy!
This hat pairs great with the Stonehaven Chunky Scarf and would make a lovely gift set!
Don’t forget to save this pattern on Pinterest
Super Bulky Crochet Hat Pattern
Skill Level: Easy
Materials:
US size L/11, 8.0 mm crochet hook
Wool-Ease Thick And Quick Yarn by Lion Brand (Category 6, Super Bulky Yarn – 5oz/140g, 87yd/80m)
- 113 yds total (approximately 73 yds of Color A and 40 yds of Color B)
- Colors Used: Flax, Driftwood, or Fisherman
Large Eye Yarn Needle
Pom Pom (optional)
.
Everything you need for this project can be ordered right online
Save time and shop from home!
.
Abbreviations:
ch(s): chain(s)
esc(s): extended single crochet(s)
blo: back loop only
st(s): stitch(es)
Gauge: 4” x 4” = 7.75 rows by 7.5 escs
Finished Size: before sewing together, the hat measures 17.5” by 12”
Notes:
The rows of the hat will run vertically when the hat is finished, forming the ribbing. To adjust the hat size, you will increase or decrease the number of rows used. The esc stitches have a lot of stretch, so you’ll want to crochet your hat around 4-4.5″ small than the measured head circumference.
The ch 1 to start each row does not count as a stitch.
You’ll be working your extended single crochets in the back loop only of each row which is the loop farthest away from you as you work.
For a smoother edge, work a single crochet through both loops as the last stitch of each row.
Extended Single Crochet (esc)
Insert hook into the next stitch and pull up a loop. (2 loops on the hook.) Yarn over and pull through 1 loop on the hook. (You’ve created a chain stitch and still have 2 loops on the hook.) Yarn over and pull through both loops on the hook to finish the stitch.
Super Bulky Crochet Hat Pattern Instructions
With Color A, ch 15, join color B, ch 9
Row 1: esc in 2nd ch from hook and in the next 7 chs, join color A, 15 esc (23)
Row 2: ch 1, esc blo in the next 15 sts, join color B, esc blo in the next 8 sts (23)
Row 3: ch 1, esc blo in the next 8 sts, join color A, esc blo in the next 15 sts (23)
Repeat rows 2 and 3 until you reach a total of 34 rows.
Leave tail ends of at least 12-18”
Fold the hat to form a long tube, and sew it together with a whip stitch or other join working through the back loop of one side and the front loop of the other side.
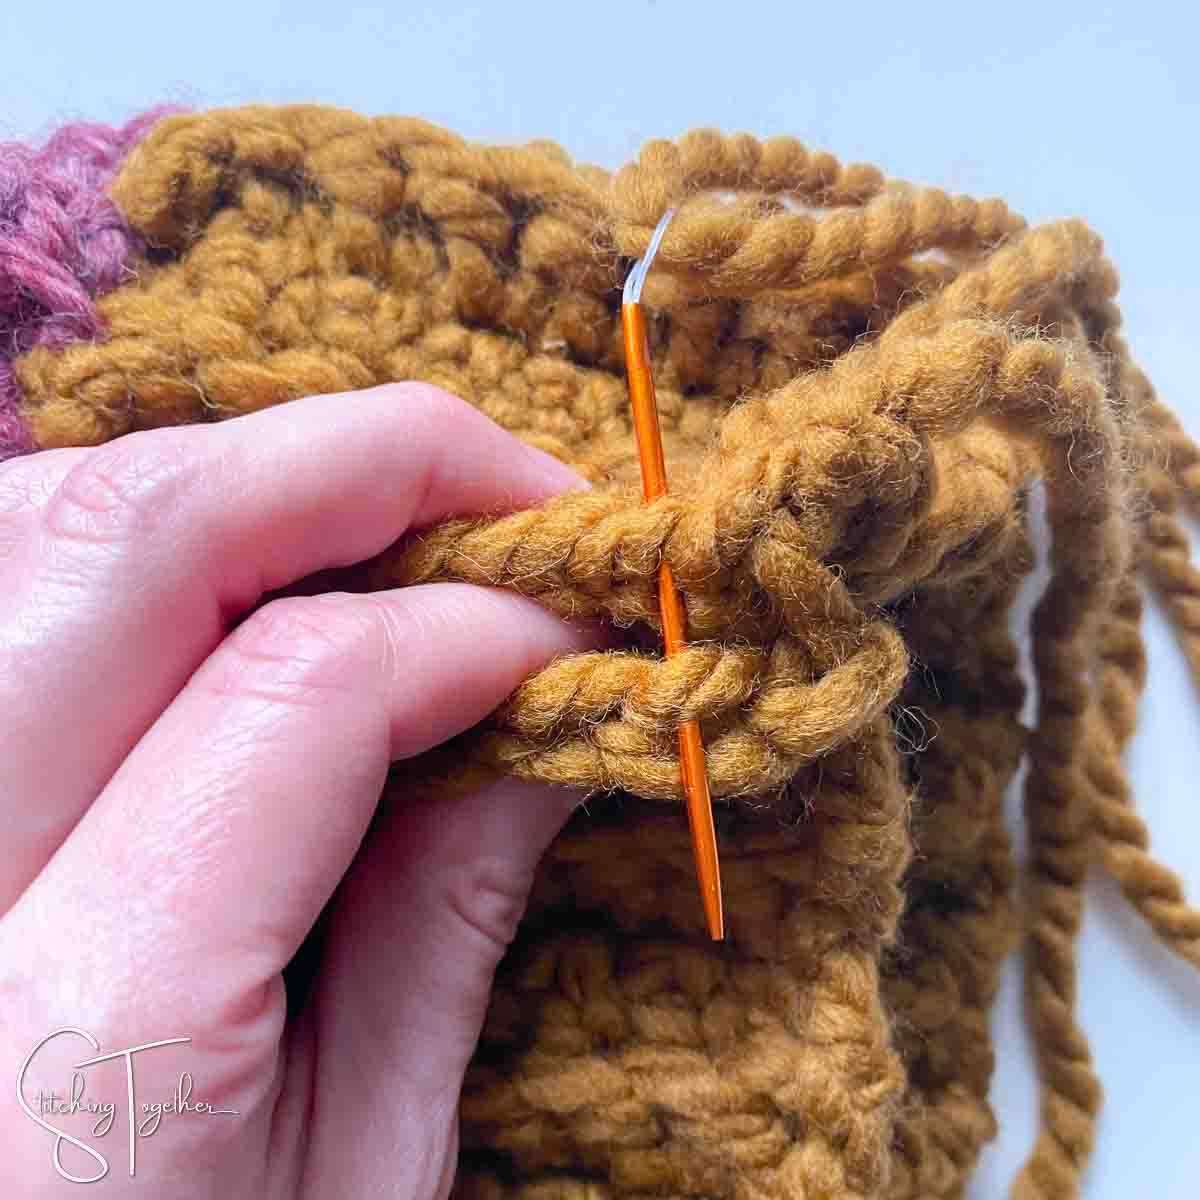
Using a strand of yarn, whip stitch around or weave it in and out of the stitches at the top of the hat carefully pulling to cinch the hat closed as you work around.
Add optional pom pom. Weave in all ends.
Changing Colors for the Brim
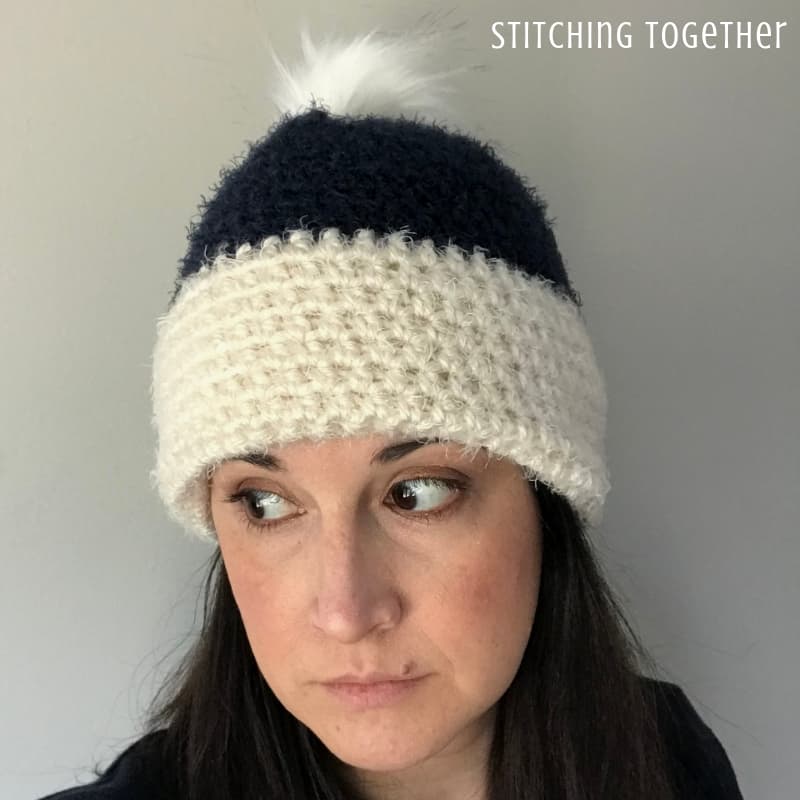
It’s super easy to change colors in the middle of your row so you have a differently colored brim. As you look through the instructions and pictures below, Color A is Fisherman (cream) and Color B is Flax.
Work the last stitch with Color B before the color change up until the very last step.
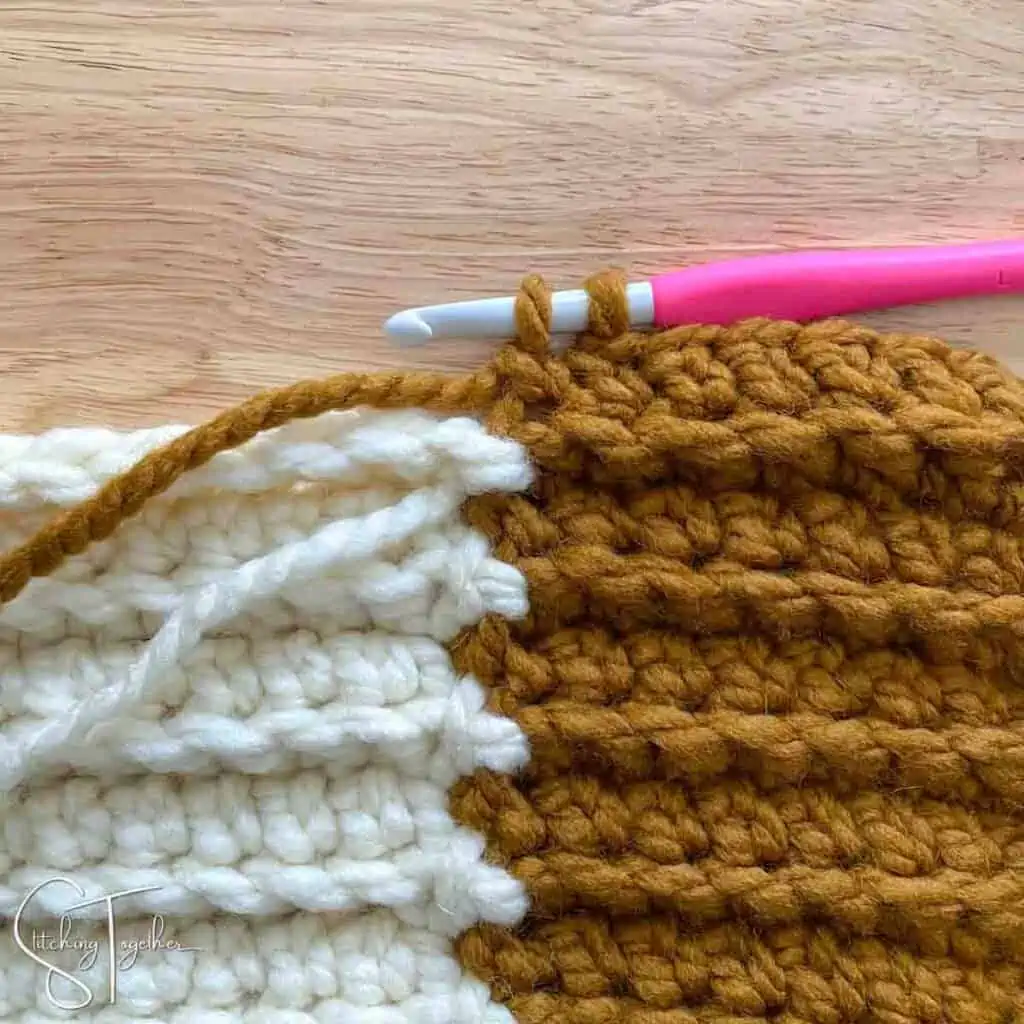
Yarn over with Color A and pull it through both loops on the hook.
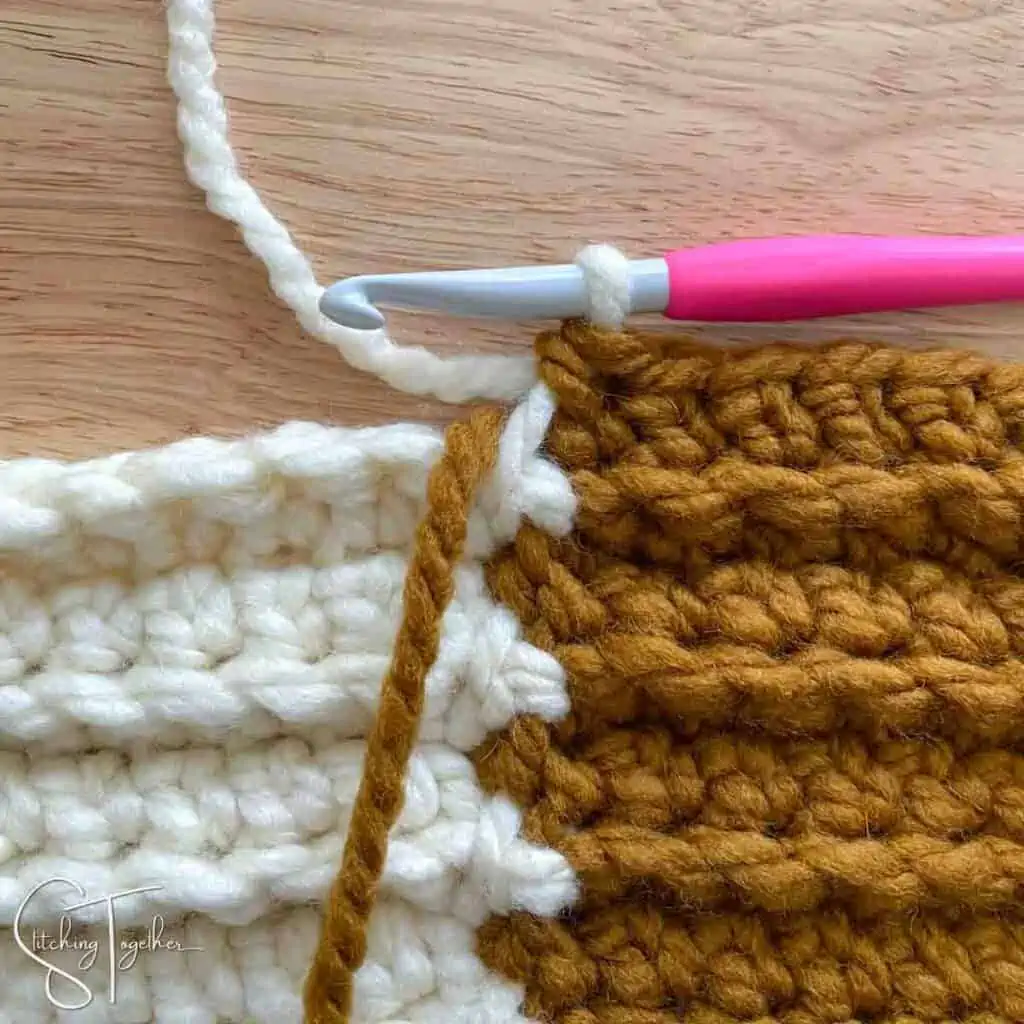
Continue working the next stitch like normal.
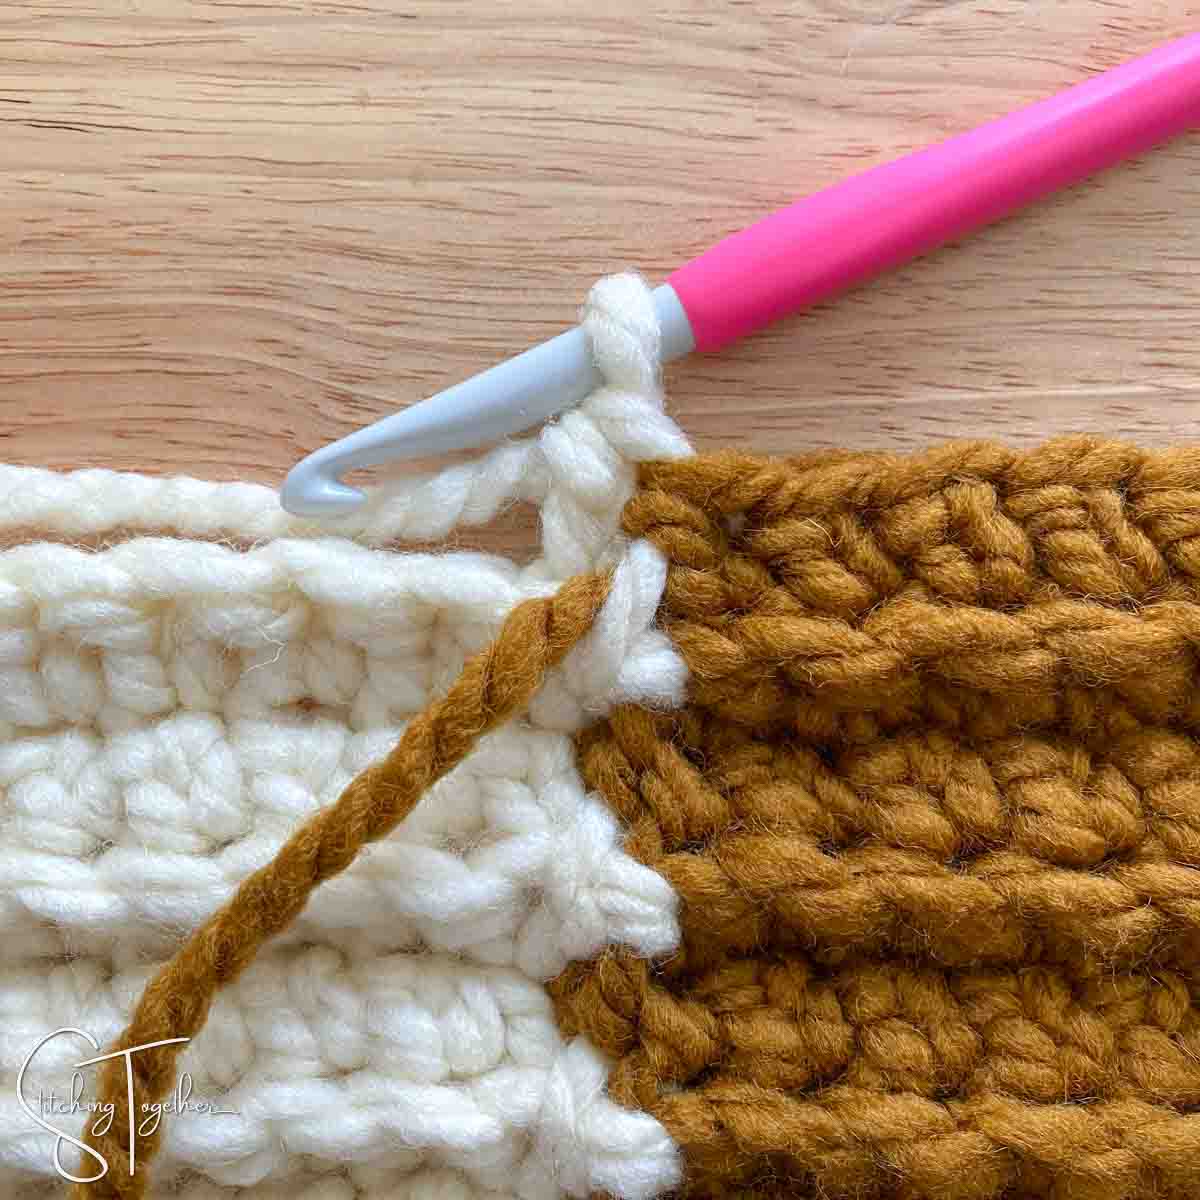
The color changes aren’t super obvious, but I wanted all of the yarn for each change to be pulled from the same side of the fabric, so I tried to make sure I pulled one of the working yarns to the front of the fabric (Color B in the pictures above) so everything was on the same side.
If you switch which side you want the color changes on randomly, you’ll end up needing to pull out a bit of your work to fix it. (Not speaking from experience or anything.)
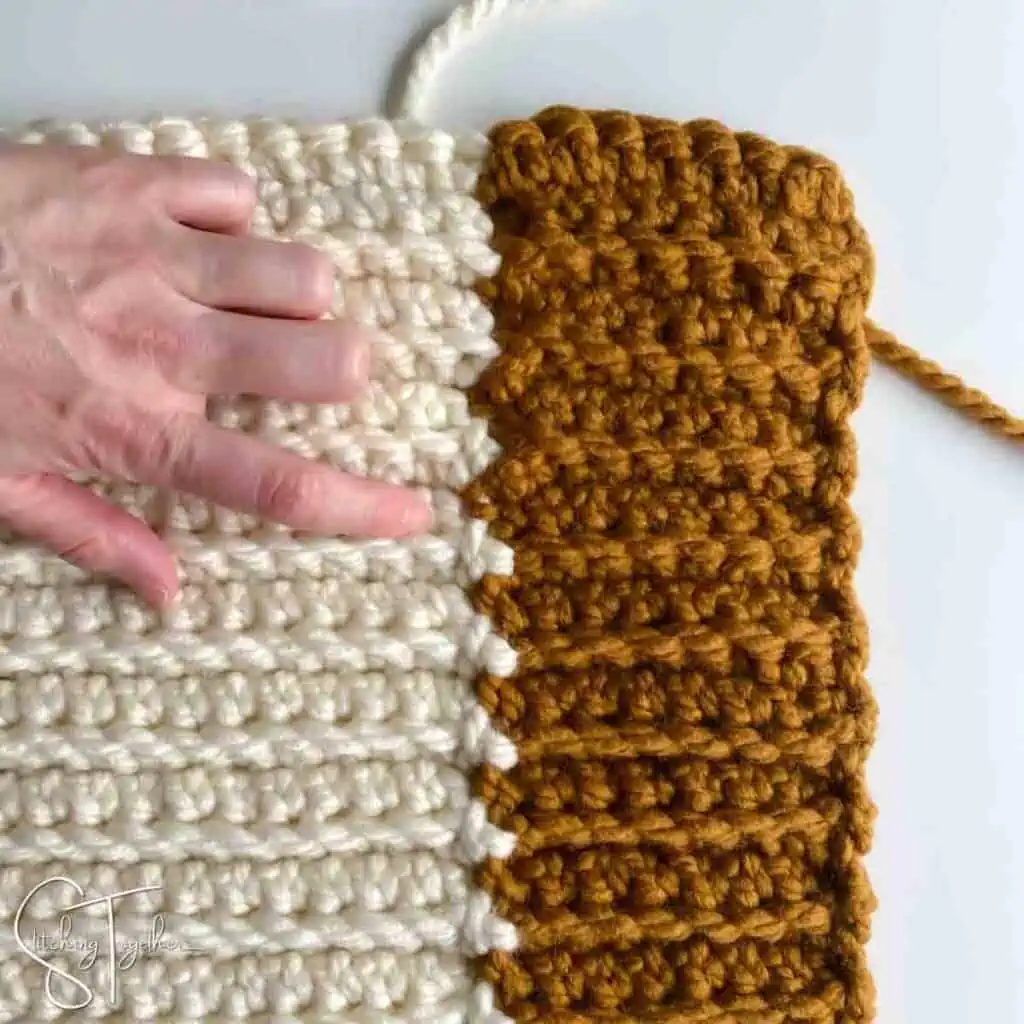
Since the brim is folded, you may not find the need to worry about it at all and just change colors like normal without making a right side or wrong side.
What will you use this crochet heart pattern for? Will you share pictures of your finished projects?
- Tag Stitching Together on Instagram with @stitching_together and use the #stitchingtog
- Upload your picture in the Tried It section of this pin
- Share your work in the Stitching Together Community
