Camellia Crochet Women’s Hat
Disclosure: This post may contain affiliate links. As an Amazon Associate, I earn from qualifying purchases. Please visit my Privacy Policy for disclosures and more information.
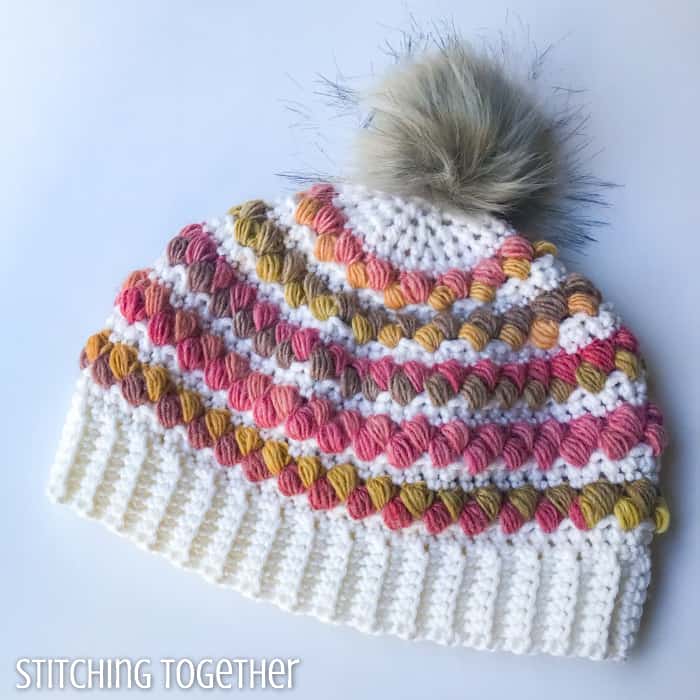
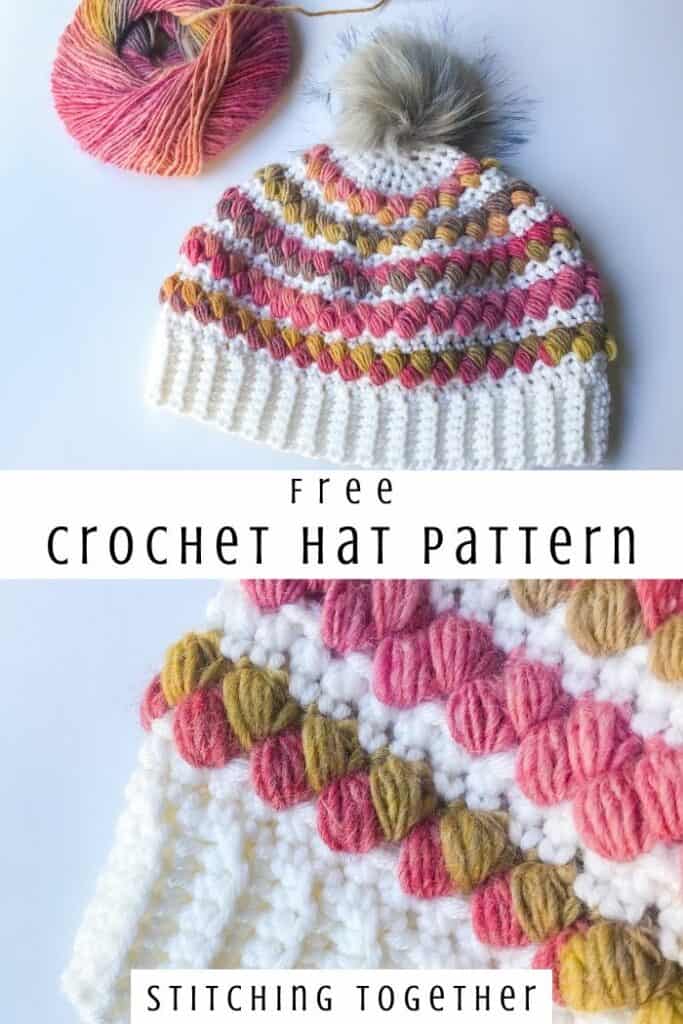
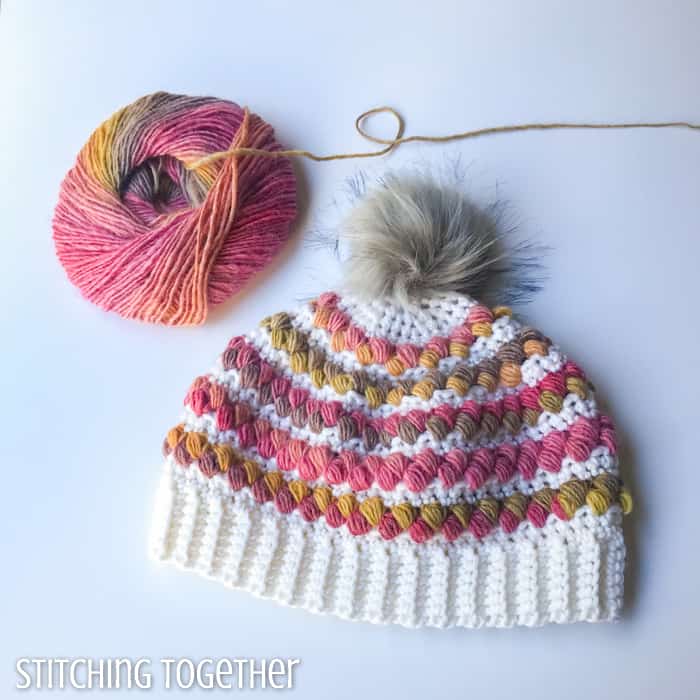
Soft yarn and stacked and slanted puff stitches make the Camellia Crochet Women’s hat as unique as it is beautiful. Keep reading for the free pattern or if you’d like an ad-free PDF of the pattern you can purchase one here.
About the Crochet Hat
How much do you love patterns that look extra complicated but actually aren’t? This one falls in that category, once you get the hang of the stitches!
If you’ve made the Eliza Ear Warmer, you have the hang of the stitches already.
The hat is started by working the band in simple single crochets in the back loop. Once the band is finished, you sew it together and then start on the main body of the hat.
Related: Peek Puff Stitch Crochet Hat
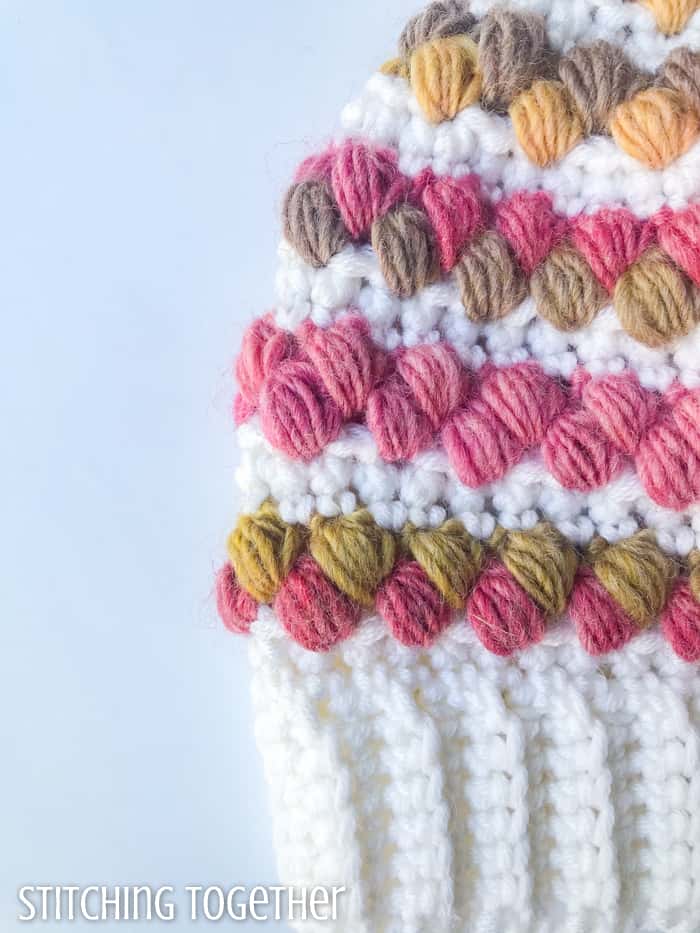
There is a four row repeat of single crochets, double stitches (you’ll read about those in the notes section) and 2 rows of puff stitches.
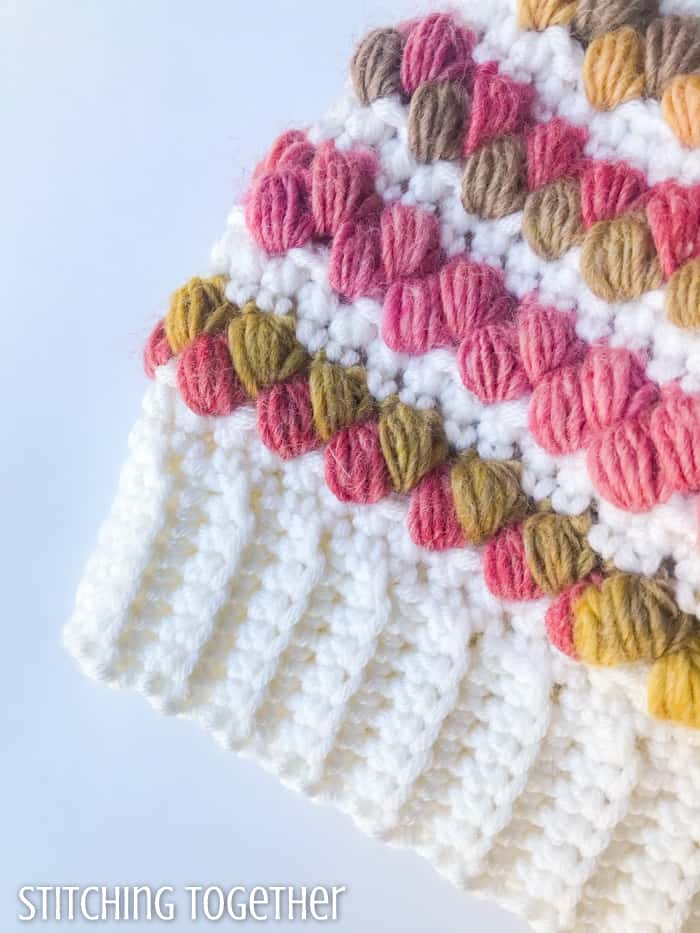
The slant of each puff stitch is created by first working a slip stitch in the next stitch and then making the puff stitch. Instead of puff stitches that stand up tall, you have a cute slant to them that allows you to stack them one on top of the other.
About the Yarn
Yarn Bee’s Must Be Merino Yarn might just be a new favorite. (And no, I don’t actually say that about all the new yarns I try.)
It is so soft and so squishy and has that wonderful bounce of wool but the smoothness of acrylic.
Related: Luxurious HDC Beanie
Do be mindful that the Yarn Bee Must be Merino comes in two different sizes: Category 3 weight (dk) and a Category 4 weight (aran).
I learned that one the hard way when I went to make this hat in an all solid color and I couldn’t figure out why it was working up so much smaller. (How did I not even notice that the yarn was thinner?)
It wasn’t until I was raving to my friend about this yarn and she was at the store sending me pictures of it while she was trying to decide what she wanted that I realized there are two different sizes. Ugh.
The hat does look adorable in an all solid, but I have yet to verify that you can use just one skein of the Must be Merino Aran to work up the entire hat.
Related: Chunky Yarn Hat Pattern
But, those puff stitches in a different yarn are really what make the hat pop. While the Chloe yarn is listed as a Category 4 yarn it is REALLY thin and had definite areas that are thinner than others.
It is no problem that the contrasting yarn is thinner than the main yarn, but if you use a different yarn, you may want to play with the puff stitches and see what you like. With thicker yarn, you may only need 7 loops on the hook instead of 9 to make the puff stitches. See what you think.
Before we get to the pattern, save it on Pinterest!
Purchase an ad-free, printable PDF of the crochet pattern right here.
Camellia Crochet Women’s Hat Pattern
Skill Level: Easy to intermediate
Materials:
US size J/10, 6.0 mm crochet hook (Did you know you can order my favorite hooks right on Amazon? Grab this size J by itself or as part of the set!)
1 skein Yarn Bee Must Be Merino Aran in White (Category 4 Medium 50% Merino Wool, 25% Acrylic, 25% Nylon 3.5oz/100g, 153yds/140m)
1 ball Yarn Bee Chloe Yarn in Sun-Kissed Grove (Category 4 Medium 70% Merino Wool, 30% Viscose 3.5oz/100g, 270yds/247m)
Large Eye Yarn Needle (These needles available on Amazon are my favorite!)
Faux Fur Pom Pom (optional – I used one of these from Amazon)
Abbreviations:
ch(s): chain(s)
sc(s): single crochet(s)
sl st: slip stitch
ds(s): double stitch aka petit pois stitch (see stitch instructions)
puff: puff stitch (see stitch instructions)
sp(s): space(s)
BLO: back loop only
CC: Contrasting Color
MC: Main Color
sc2tog: single crochet 2 together
Gauge: 1.75” x 4” =7 sc by 13 rows (taken from the band)
Finished Size: 20” around at the band by 8” tall
Notes:
Puff Stitch: [yo, insert hook into st, pull up a loop] 4 times, yo, pull through all 9 loops on hook, ch 1
Double Stitch aka petit pois: insert hook into the same stitch as the last completed stitch, pull up a loop, insert hook into the next stitch, pull up a loop, yarn over and pull through all three loops on the hook. (You are essentially doing a single crochet two together (sc2tog) but you will not be decreasing.)
Working in the ch-1 vs working into the ch-1 sp: When you work into the ch-1 of the puff, you’ll be working into the last stitch of the entire puff – the ch 1 that secures the puff. When working into the ch-1 sp, work around the entire ch-1 instead of into the stitch.
Pattern Instructions:
Ch 8 (when starting the chain, leave a 6-10” tail if sewing the band together)
Row 1: sc BLO in 2nd ch from hook and in each ch across, turn. (7)
Row 2: ch 1, sc BLO in each st turn. (7)
Repeat Row 2 until you’ve reach 68 rows or the band measures around 19” – add more or less rows to adjust the size but keep the row count an even number.
Join band with a slip stitch to form a circle or sew using the tail end of the yarn.
Round 1: Turn band on its side, ch 1, sc in the end of each row, join with a sl st in the first sc (68)
Round 2: ch 1, sc in the first st, ds (see stitch instructions) in each st around, join with a sl st in the first sc. (68)
Round 3: join CC, ch 1, puff (see stitch instructions), *skip st, sl st in the next st, puff in the same st, repeat from * around, skip the last st, join with a sl st in the first puff st. (34 puffs)
Round 4: ch 1, sl st in 1st ch-1 sp after the 1st puff, puff in the same ch-1 sp, *sl st in the next ch-1 sp, puff in the same ch-1 sp, repeat from * around, join with a sl st in the first puff st of the round (34 puffs)
Round 5: with MC, ch 1, sc in the same st, *sc in ch-1 at the top of each puff, sc in sl st, repeat from *around, ending with a sc in the last ch-1, join with sl st in first sc (68)
Round 6: ch 1, sc in first st, ds in each st around, join with sl st in first sc (68)
Rounds 7-14: Repeat Rows 3-6 two times
Start decreasing
Round 15: with CC, ch 1, puff (see stitch instructions), *skip 2 sts, sl st in the next st, puff in the same st, repeat from * around, skip the last st, join with a sl st in the first puff st. (23 puffs)
Round 16: ch 1, sl st in 1st ch-1 sp after the 1st puff, puff in the same ch-1 sp, *sl st in the next ch-1 sp, puff in the same ch-1 sp, repeat from * around, join with a sl st in the first puff st of the round (23 puffs)
Round 17: with MC, ch 1, sc in the same st, *sc in ch-1 at the top of each puff, sc in sl st, repeat from *around, ending with a sc in the last ch-1, join with sl st in first sc (46 sts)
Round 18: ch 1, sc in first st, ds in each st around, join with sl st in first sc (46)
Round 19: with CC, ch 1, puff (see stitch instructions), *skip 2 sts, sl st in the next st, puff in the same st, repeat from * around, skip the last st, join with a sl st in the first puff st. (15 puffs)
Round 20: ch 1, sl st in 1st ch-1 sp after the 1st puff, puff in the same ch-1 sp, *sl st in the next ch-1 sp, puff in the same ch-1 sp, repeat from * around, join with a sl st in the first puff st of the round (15 puffs)
Round 21: with MC, ch 1, sc in the same st, *sc in ch-1 at the top of each puff, sc in sl st, repeat from *around, ending with a sc in the last ch-1, join with sl st in first sc (30 sts)
Round 22: ch 1, sc in first st, ds in each st around, join with sl st in first sc (30)
Round 23: ch 1, *sc2tog, ds in the next 2 sts, repeat from * around, join with sl st in first sc (21)
Round 24: ch 1, sc2tog around, do not join with a sl st but continue to sc2tog until the hole closes. Fasten off and weave in ends.
Purchase an ad-free, printable PDF version of this pattern in the following places:
Will you share pictures of your finished crochet projects?
- Tag Stitching Together on Instagram with @stitching_together and use the #stitchingtog
- Upload your picture in the Tried It section of this pin
- Share your work in the Stitching Together Community.
