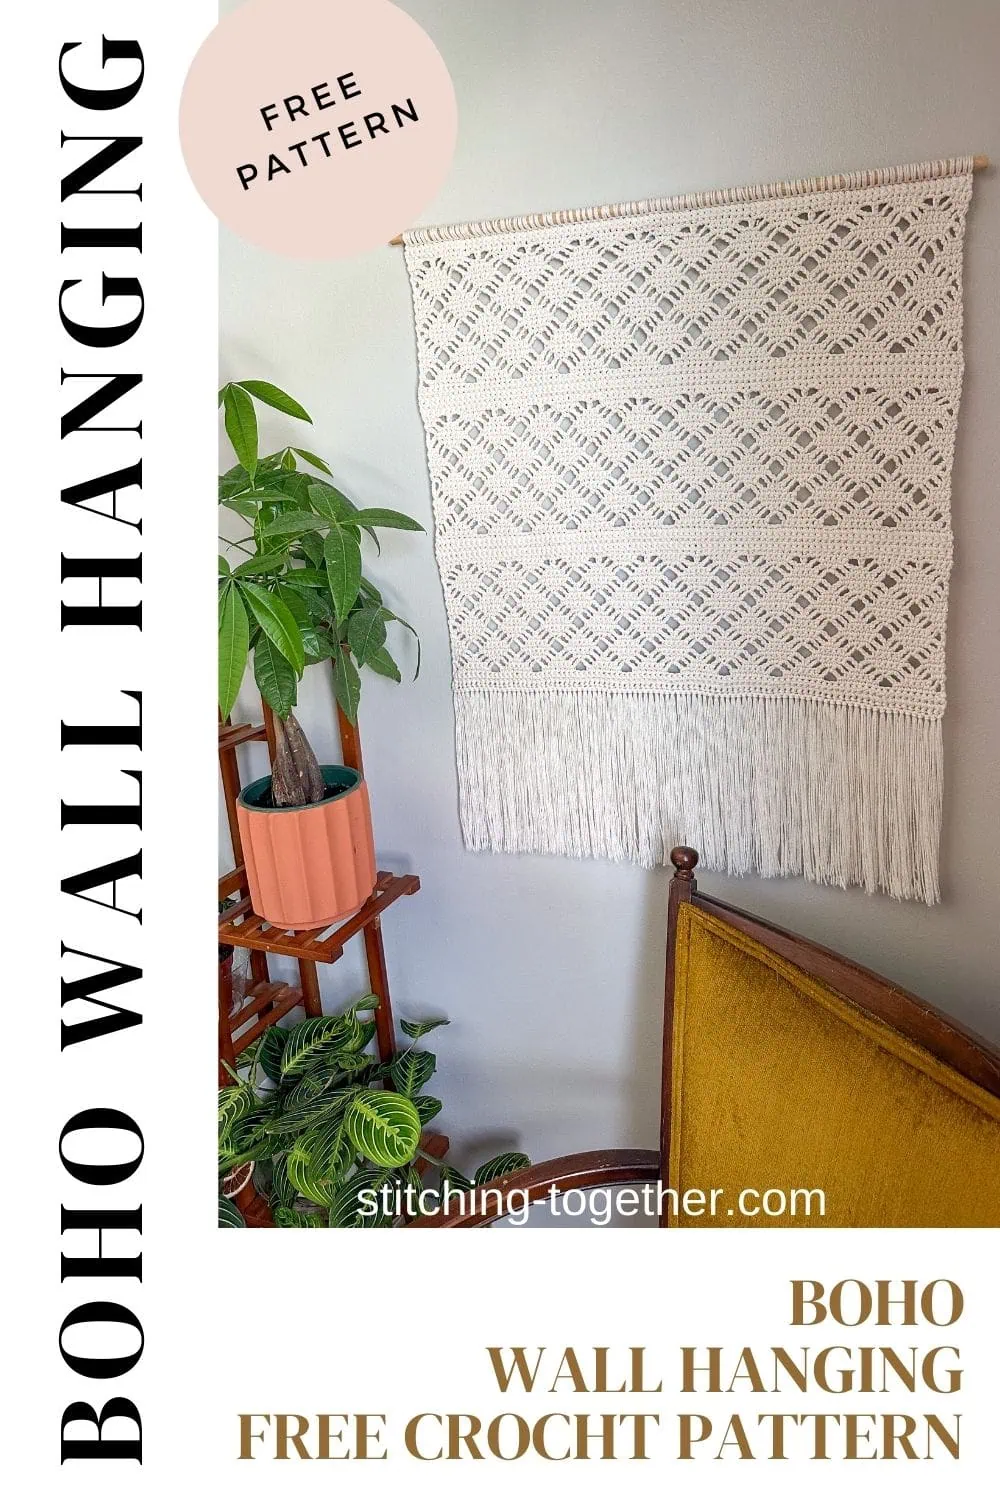
Boho Wall Hanging Crochet Pattern
Disclosure: This post may contain affiliate links. As an Amazon Associate, I earn from qualifying purchases. Please visit my Privacy Policy for disclosures and more information.
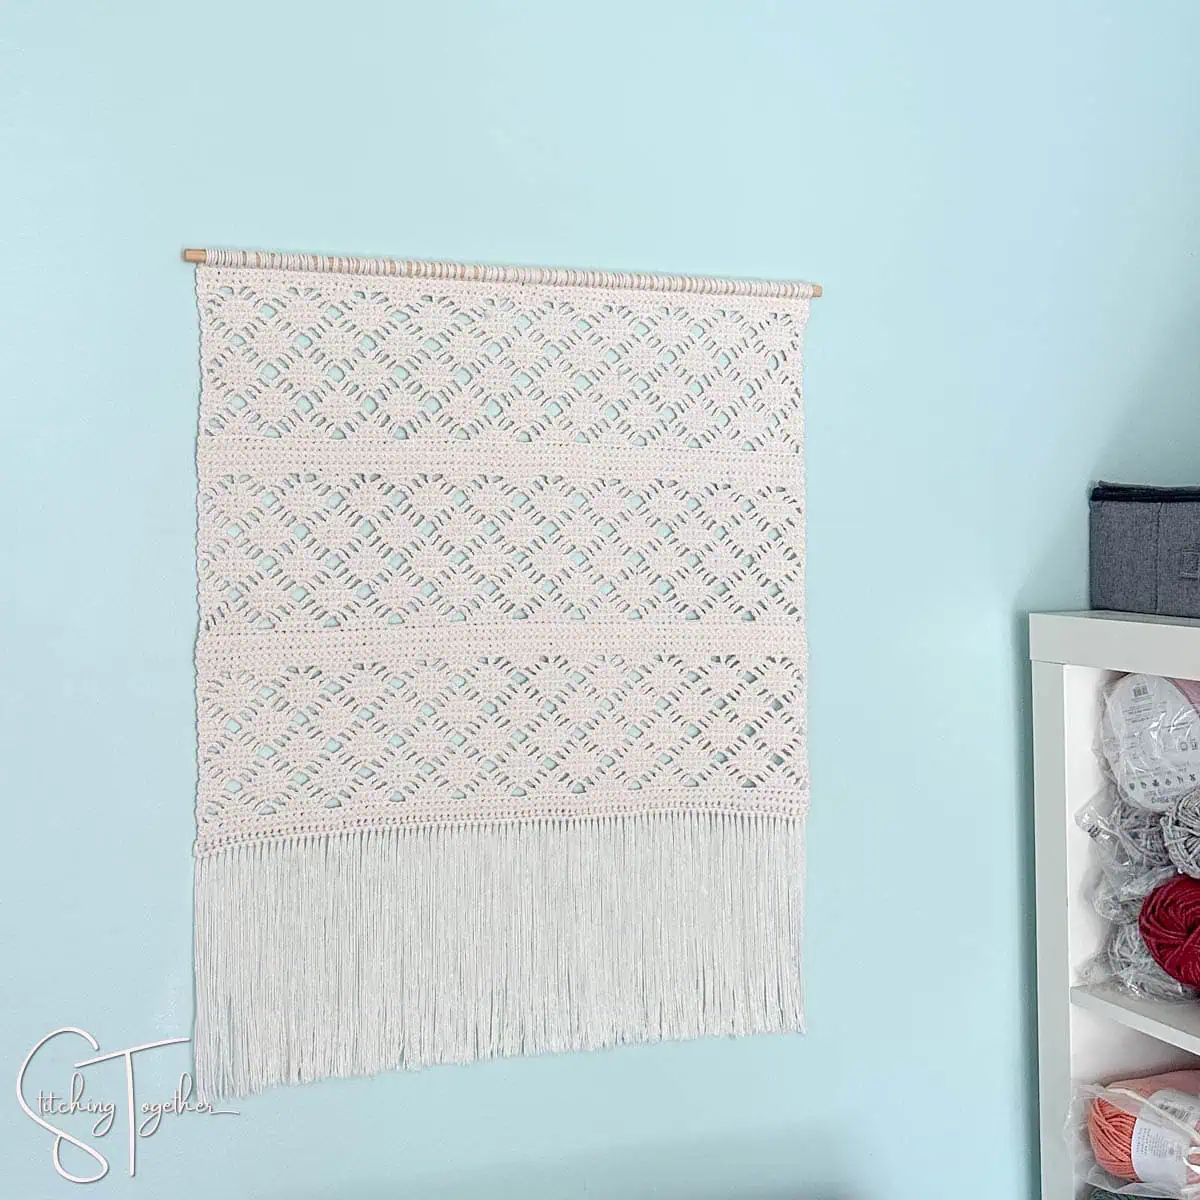
Do you have a space on your wall you just aren’t sure how to fill? Why not crochet something for it? This Boho Wall Hanging crochet pattern will give you just the thing to make to fill an empty wall space with handmade happiness.

This beautiful wall hanging uses a fun combination of stitch patterns to give you a lovely and unique piece you’ll be proud to display in your home. Keep reading for all the detail and the free online version of the pattern or you can purchase the printable PDF version, which includes a stitch chart.
Stitches
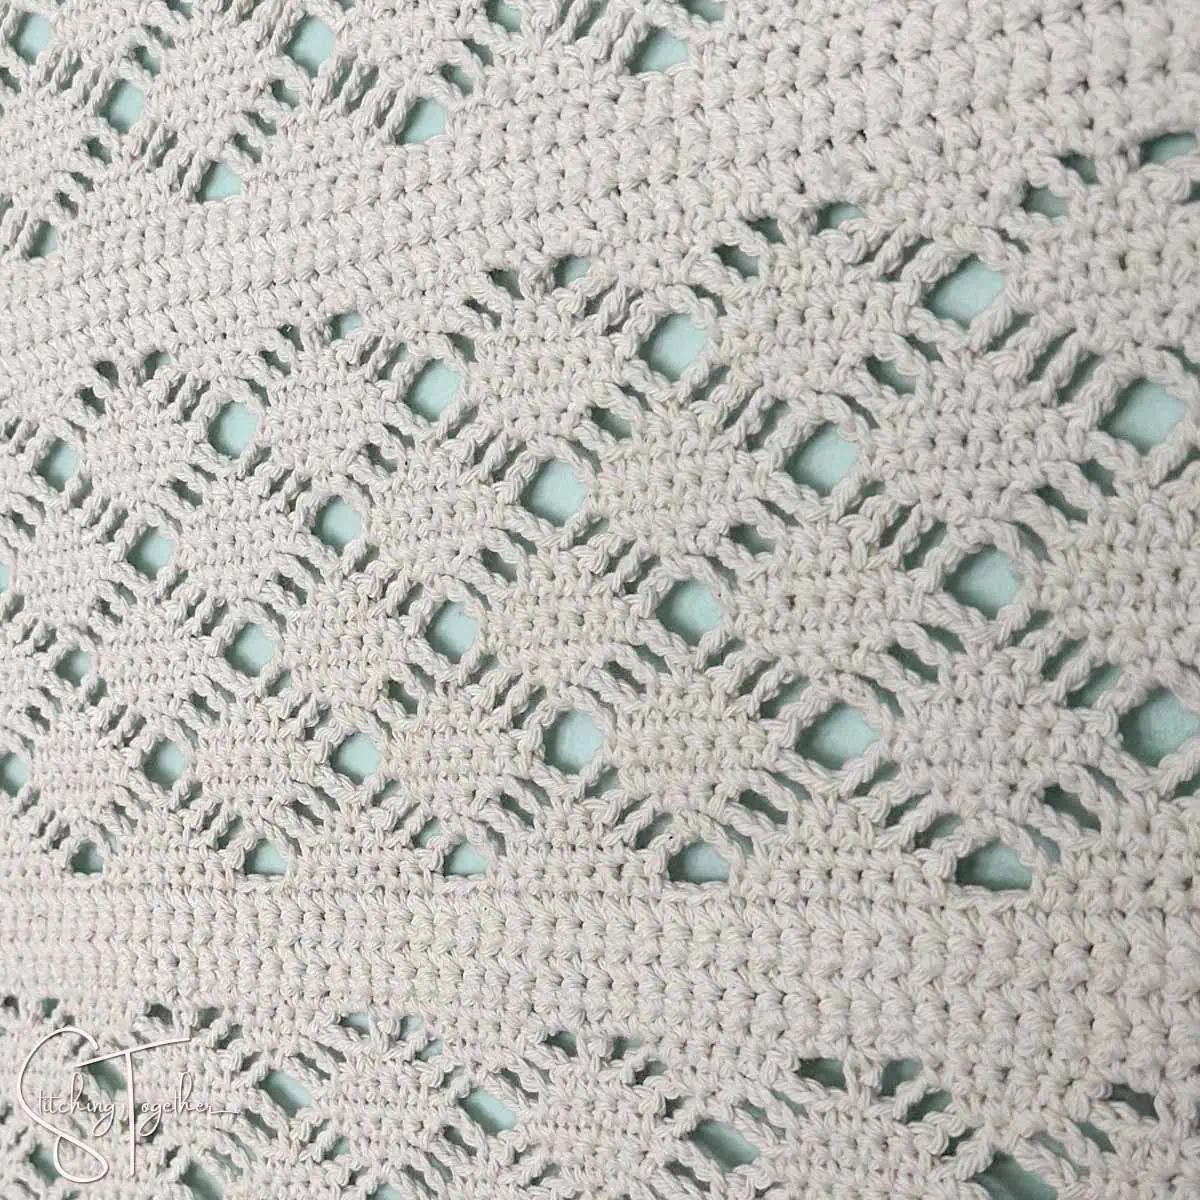
The boho wall hanging is made with a combination of the diamond lace stitch pattern and the petit pois stitch. The diamond lace stitch pattern is one of my favorites because it looks super complicated but it is simple once you get going. It is a combination basic stitches, single crochet, chains, and double crochets, but the placement of the stitches makes this not a great pattern for a beginner crocheter.
(You can see this stitch pattern used in these other crochet patterns: Wrap me in Diamonds, Diamond Lace Baby Blanket)
The petit pois stitch is also known as a double stitch. It is basically a single crochet 2 together, but you work the first part of the stitch into the same spot where the last stitch ended so you don’t end up decreasing.
The petit pois stitch creates a fabric that is thicker and has a really fun texture. Since the petit pois stitch is a bit stiffer, it helps the wall hanging maintain its shape and the solid rows break up the lacy pattern and add some visual interest.
The PDF version of the pattern also includes a chart of the lacy section of the pattern so if you work better being able to actually see where the stitches go, you’ll want to make sure you get that.
Related: Crochet Wall Decor Ideas
Yarn
You could use almost any worsted weight yarn for this pattern, but I usually like the look of natural fibers for a wall hanging, so I used cotton yarn. Lily’s Sugar’n Cream is one of my favorite 100% cotton yarns for home decor projects. It’s inexpensive, I’ve never had quality issues with it, and the Ecru color is a favorite neutral.
Of course, you can make this match your decor and use any color you’d like. You could even do the solid sections in different colors. The only thing I would avoid is a variegated yarn because I think the stitch pattern would get lost with all the short color changes. An ombre yarn would look pretty though!
Related: Rainbow Crochet Wall Hanging
Skill Level
This pattern is rated as intermediate since it has a more involved stitch pattern. While all the stitches that are used are basic crochet stitches, the pattern itself requires more attention than just zoning out to Netflix while your hook flies.
Related: Modern Wall Hanging
Boho Crochet Wall Hanging Free Crochet Pattern
Purchase the ad-free PDF version
Skill Level: Intermediate
Gauge: 2”x1” = 7 sts by 3 rows (taken in pp st section)
Finished Size: 25.5” W by 20” L without fringe
Supplies
US size I/9, 5.5 mm crochet hook
Lily’s Sugar’n Cream Yarn (# 4 medium weight cotton yarn, 4 oz/113g, 200 yards /184 meters)
- Sample used approximately 510 yds (10.2 oz) in Ecru (including fringe)
Large Eye Yarn Needle
Scissors
Stiff comb or wire brush (optional)
½” dowel rod or stick (optional)
Save Time and Shop Online
Abbreviations
fsc: foundation single crochet
tc: turning chain
sc: single crochet
pp: petit pois (see special stitches)
st(s): stitch(es)
Notes
To change the width of the wall hanging, keep the starting row a multiple of 18+1.
The ch 2 at the beginning of a row counts as a stitch. When working in the chain spaces, work your stitches around the chain and not into the chain stitches.
Special Stitches
Petit Pois (pp) stitch: To start the row, chain 2, insert hook into the first stitch (at the base of the chain 2) and pull up a loop, insert hook into the next stitch and pull up a loop. Pull through all three loops on the hook.
The next pp stitch is started in the same stitch where the last pp stitch was completed. Continue to the end of the row, placing the last stitch in the turning chain.
Boho Crochet Wall Hanging Pattern Instructions
Row 1: Fsc 91 (multiple of 18+1)
Row 2: Ch 2, pp in each stitch across, turn. (91)
Row 3: Ch 2, pp in each stitch across working final part of the last stitch in tc, turn. (91)
Lace Section
Row 4: Ch 5, *7 sc, ch 5, skip 2 sts, repeat from * until last pp and tc remain; ch 2, skip 1 st, dc in tc, turn.
Row 5: Ch 1, sc in dc, ch 3, skip ch-2 and skip 1 sc, *sc in next 5 sc, ch 3, skip 1 sc,** sc in center of ch-5 sp, ch 3, skip 1 sc, repeat from * across ending last rep at **, sc in last ch-5, turn.
Row 6: Ch 1, sc in sc below, sc at beginning of ch-3 sp, *ch 3, skip 1 sc, sc in next 3 sc, ch 3, skip 1 sc, sc at end of ch-3 sp, sc in sc,** sc in beg of ch-3 sp; repeat from * across ending last rep at **, turn.
Row 7: Ch 1, sc in next 2 sc, sc in beg of ch-3 sp, *ch 3, skip 1 sc, sc in sc, ch 3, skip 1 sc, sc in end of ch-3 sp,** sc in next 3 sc, sc at beg of next ch-3 sp; repeat from * across ending last rep at **, sc in next 2 sc, turn.
Row 8: Ch 1, sc in next 3 sc, sc in beg of ch-3 sp, *ch 5, skip sc, sc in end of next ch-3 sp,** sc in next 5 sc, sc in beg of next ch-3 sp; repeat from * ending last rep at **, sc in last 3 sc, turn.
Row 9: Ch 1, sc in next 3 sc, *ch 3, skip sc, sc in center of ch-5 sp, ch 3, skip sc, sc in next 5 sc; repeat from * ending with 3 sc in last 3 sc (instead of 5 sc), turn.
Row 10: Ch 1, sc in next 2 sc, *ch 3, skip 1 sc, sc in end of ch-3 sp, sc in sc, sc in beg of ch-3 sp, ch 3, skip 1 sc, sc in next 3 sc; repeat from * ending with sc in last 2 sc (instead of 3 sc), turn.
Row 11: Ch 1, sc in sc, *ch 3, skip 1 sc, sc in end of ch-3 sp, sc in next 3 sc, sc in beg of next ch-3 sp, ch 3, skip 1 sc, sc next sc; repeat from * ending with sc in last sc, turn.
Row 12: *Ch 5, skip sc, sc in end of ch-3 sp, sc in next 5 sc, sc in beg of next ch-3 sp, repeat from * across ending with ch 2, dc in last sc, turn.
Rows 12-23: repeat rows 5-12 – You’ll end on a Row 7 repeat.
Solid Section
Row 24: Ch 1, sc in next 3 sc, *2 sc in ch-3 sp, skip sc, 2 sc in ch-3 sp, sc in next 5 sc, repeat from * ending with 3 sc last 3 sc, turn. (91)
Rows 25-28: Repeat Row 3
Lace Section
Rows 29-48: Repeat Rows 4-23
Solid Section
Rows 49-53: Repeat Rows 24-28
Lace Section
Rows 54-73: Repeat Rows 4-23
Solid Section
Rows 74-76: Repeat Rows 24-26
Fringe
Cut 91 pieces of yarn approximately 16” long. Attach in each stitch along the bottom of the wall hanging.
Use a stiff comb or wire brush to brush out the yarn into separate strands for a fuller look.
Blocking
Blocking is optional but your piece will probably need to be blocked before it is done. Since I used cotton yarn, I gave mine a good steam blocking, especially to get the fringe nice and smooth.
Hanging
To hang on a dowel rod or a stick cut a length of yarn approximately 9 yds (more if you use a thicker dowel rod or stick) and work through the stitches of the top row.
Using a tapestry needle, leave approximately a 4” tail, work through the 1st stitch on either end, around the rod and back through the same stitch twice. Continue to the next stitch then all the way across. There will be 2 loops around the rod per stitch.
You can use an additional length of yarn tied to each end to hang the piece on your wall or use hooks to hold the dowel rod.

Will you share pictures of your finished projects?
- Tag Stitching Together on Instagram with @stitching_together and use the #stitchingtog
- Upload your picture in the Tried It section of this pin
- Share your work in the Stitching Together Community.