How to Crochet a Coaster
Disclosure: This post may contain affiliate links. As an Amazon Associate, I earn from qualifying purchases. Please visit my Privacy Policy for disclosures and more information.
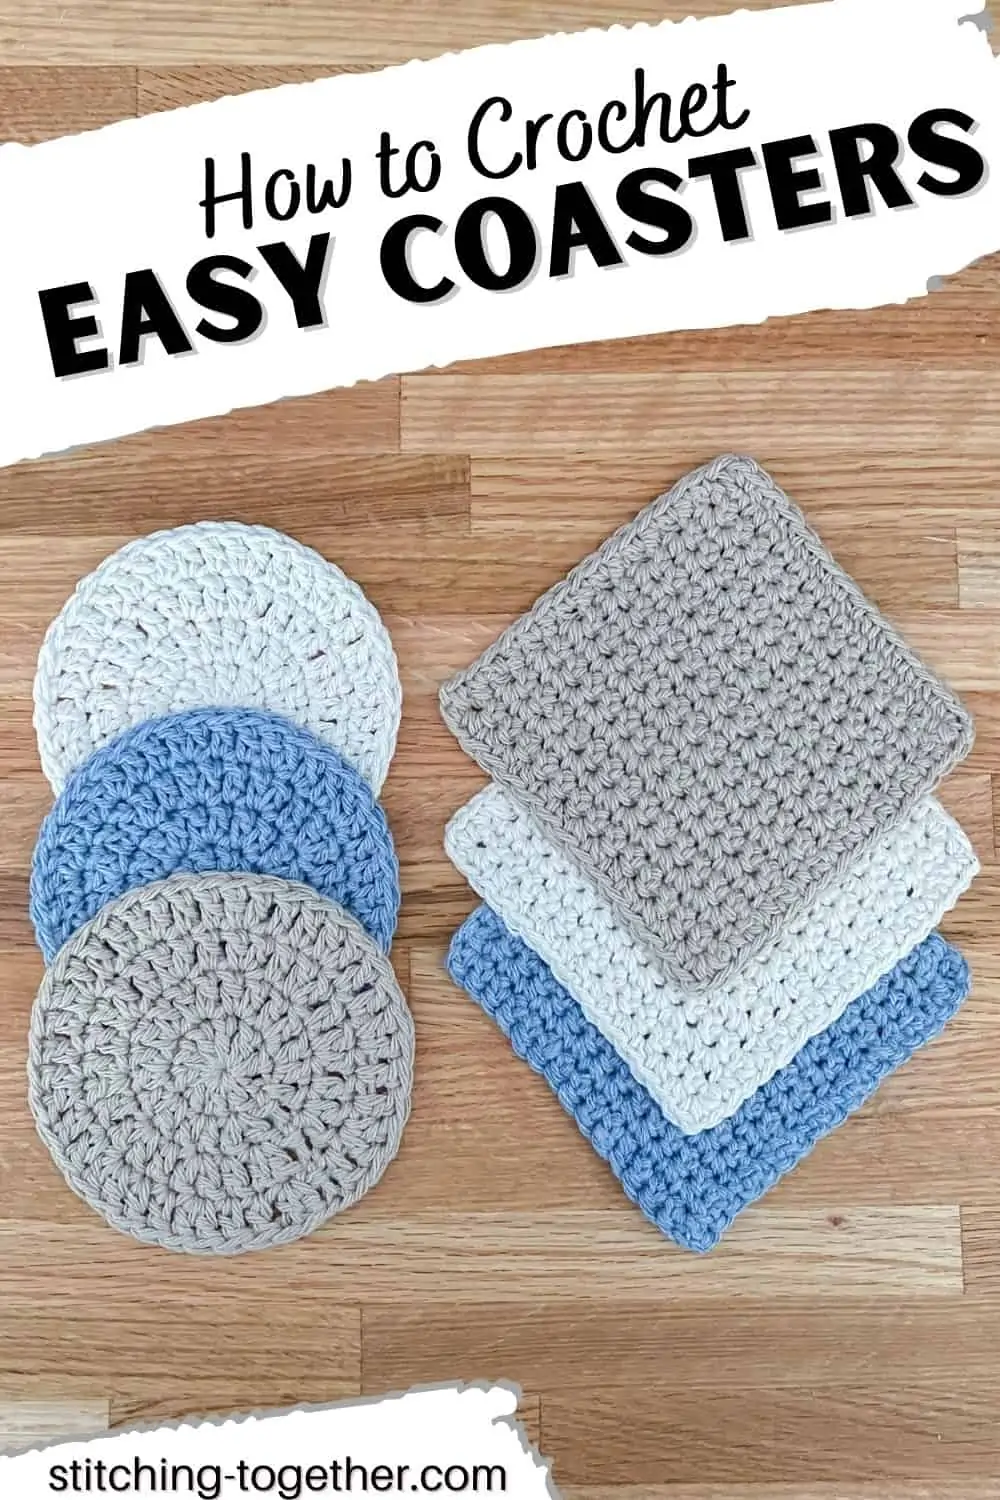
Are you ready to learn how to crochet a coaster? Whether you’re just beginning your crochet journey or you are a more advanced crocheter, this ultimate guide to crocheting coasters is sure to be useful. Learn what you need to make easy crochet coasters with this tutorial and free crochet patterns.
Do you just want the patterns? You can purchase the ad-free PDF version here.
Why Crochet Coasters
Dishcloths are usually my favorite projects for beginners or anyone trying out new stitches, but coasters are a close second. Coasters are great because they are such small projects that don’t require a large investment of time or yarn.
Crochet coasters are also wonderful because they can be made in a variety of colors to match any decor scheme. A crochet coaster set works well as housewarming or co-worker gifts.
Plus, if your drink happens to slosh over the side of your cup, your handy crochet coaster can absorb small spills and further protect whatever surface it is sitting on. Then you can toss them in the wash when they need it.
Best Yarn for Coasters
A crochet coaster can be made in most types of yarn, however, I have found cotton yarn or a cotton blend to be the best yarn for coasters. Cotton is absorbent enough to catch any small spills or condensation from cold drinks.
I usually like to make sure that the cotton I am using is machine washable and dryable too. (This isn’t necessary but I manage to spill… frequently… so my coasters end up in the wash regularly.)
For this tutorial, I will be using Lily’s Sugar ‘n Cream yarn, which is a worsted weight yarn, that is 100% cotton and that can be washed and dried. Sugar ‘n Cream, and the similar cotton Peaches & Creme, are both usually easy to find in stores.
How to Crochet a Coaster
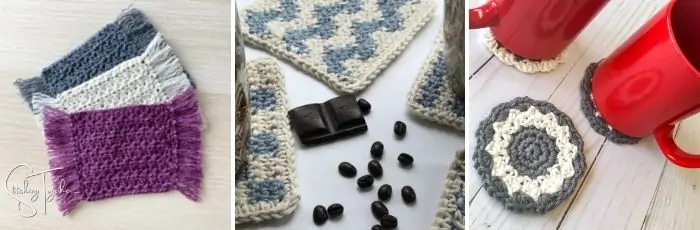
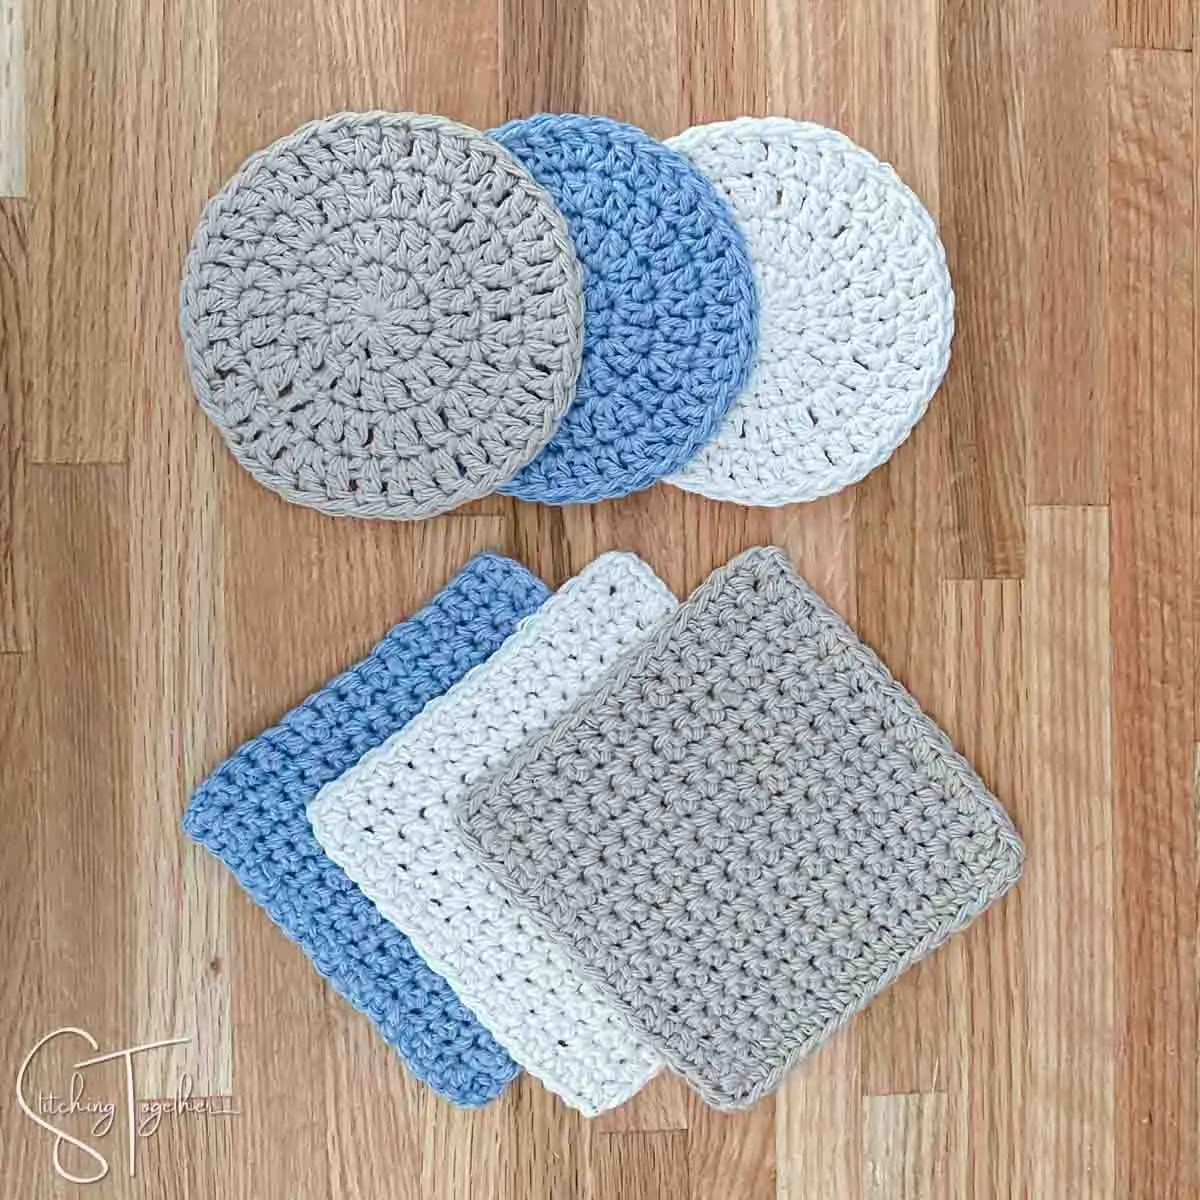
There are two basic shapes generally used for coasters, which are a square and a circle. Of course, once your crochet skills grow you can tackle other shapes like these leaf-shaped coasters or these heart coasters.
Even these basic shapes can be made in different ways like working a square in rows or starting the square from the center and circles can be worked in joined rounds or as continuous rounds. For this tutorial, we are going to work the square coaster pattern in rows and work the circle coaster pattern in joined rounds.
What size to make your crochet coasters
It’s really up to you what size you want your coasters to be. I find anywhere between 3 and 5 inches wide to be a good size.
If you want to make your square coasters to a specific size, you can use a tape measure, measure after completing your first row and adjust accordingly.
The round coasters are a bit easier to adjust the size, you’ll just stop adding rounds when it’s wide enough for your liking!
Skills you need to know before getting started
While both of these are easy crochet coaster patterns, you need to know some basic crochet skills before starting this free crochet coaster pattern.
For the square coaster, we are going to be working in rows of single crochets. You’ll want to know how to make a starting chain, work into the starting chain, single crochet, turn at the end of rows, and chain to start each row.
Even if you are just beginning to crochet and learn these skills, you should find the square coaster a wonderful practice project.
For the round coaster, you’ll want to know how to start with a magic circle, double crochet, place 2 double crochets in the same stitch (increase), and join stitches with a slip stitch.
We will also be using stitch markers for this part of the tutorial, but don’t worry if you don’t have them. You can use a bobby pin or safety pin instead.
Once you’ve mastered these easy crochet coasters, you’ll want to check out these Funky Crochet Coasters and these Christmas Crochet Coasters. You’ll never run out of amazing coaster patterns.
One last thing, all instructions use US crochet terms.
Don’t forget to save this guide on how to crochet a coaster on Pinterest
Free Crochet Coaster Patterns: The details
If you are just practicing, you can grab scrap yarn and an appropriately sized crochet hook and get started! If you are ready to start crocheting your first usable coaster, here are some helpful details:
Yarn: Lily’s Sugar ‘n Cream yarn (Ecru, Jute, and Stonewash)
The round coasters used 0.24 oz of yarn each and the square coasters used 0.37 oz
Crochet Hook: US H/5.0 mm
Yarn Needle (helps for weaving in those ends)
Finished Sizes:
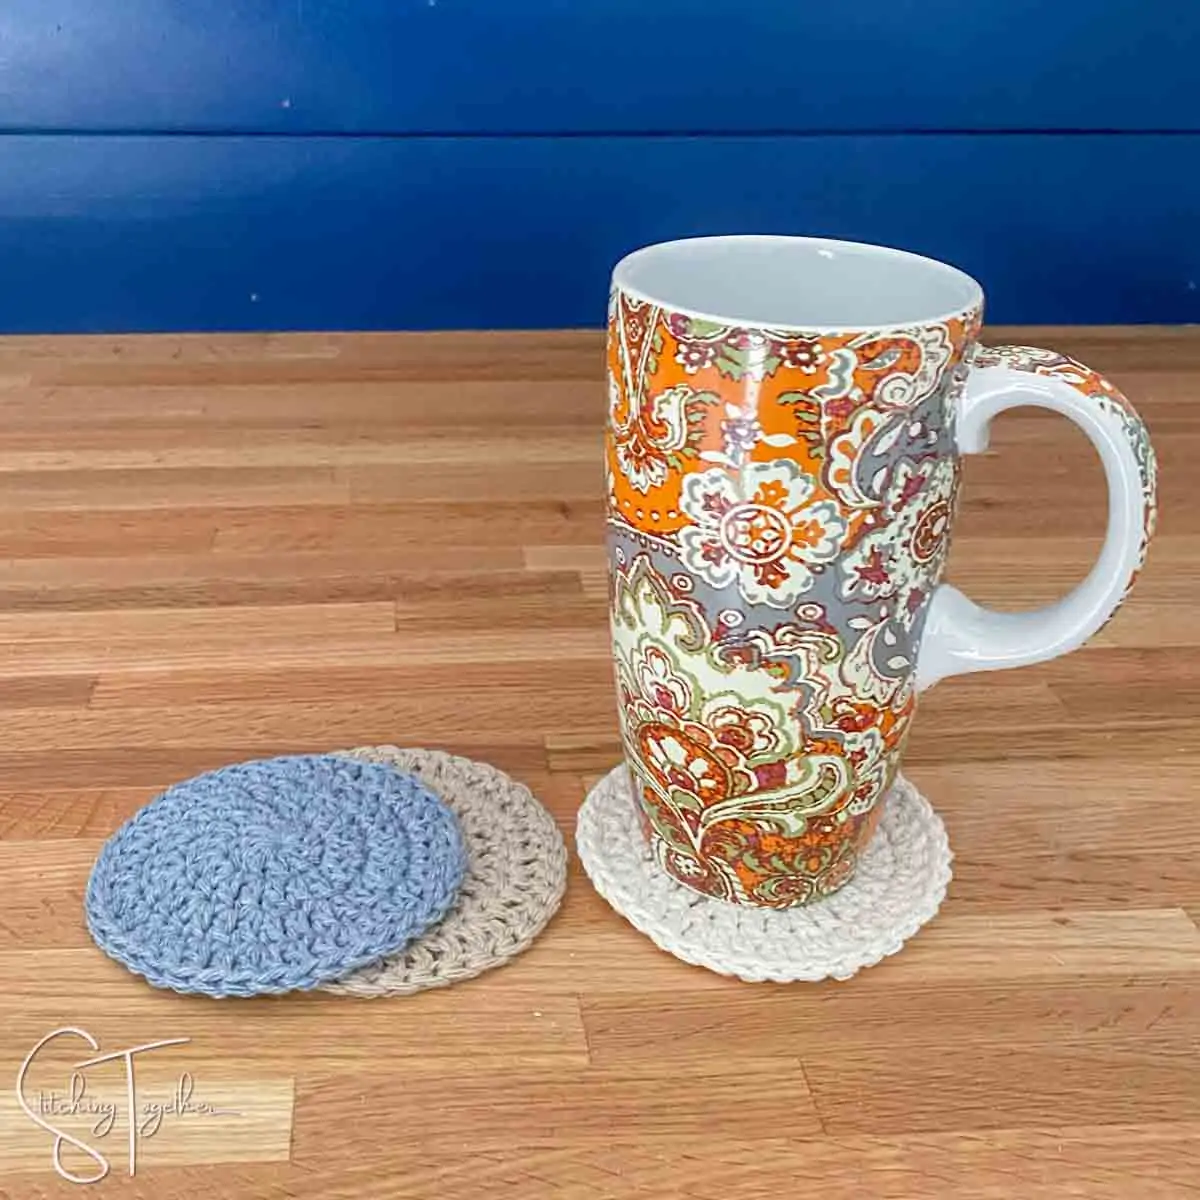
Round Coaster: 4″ across
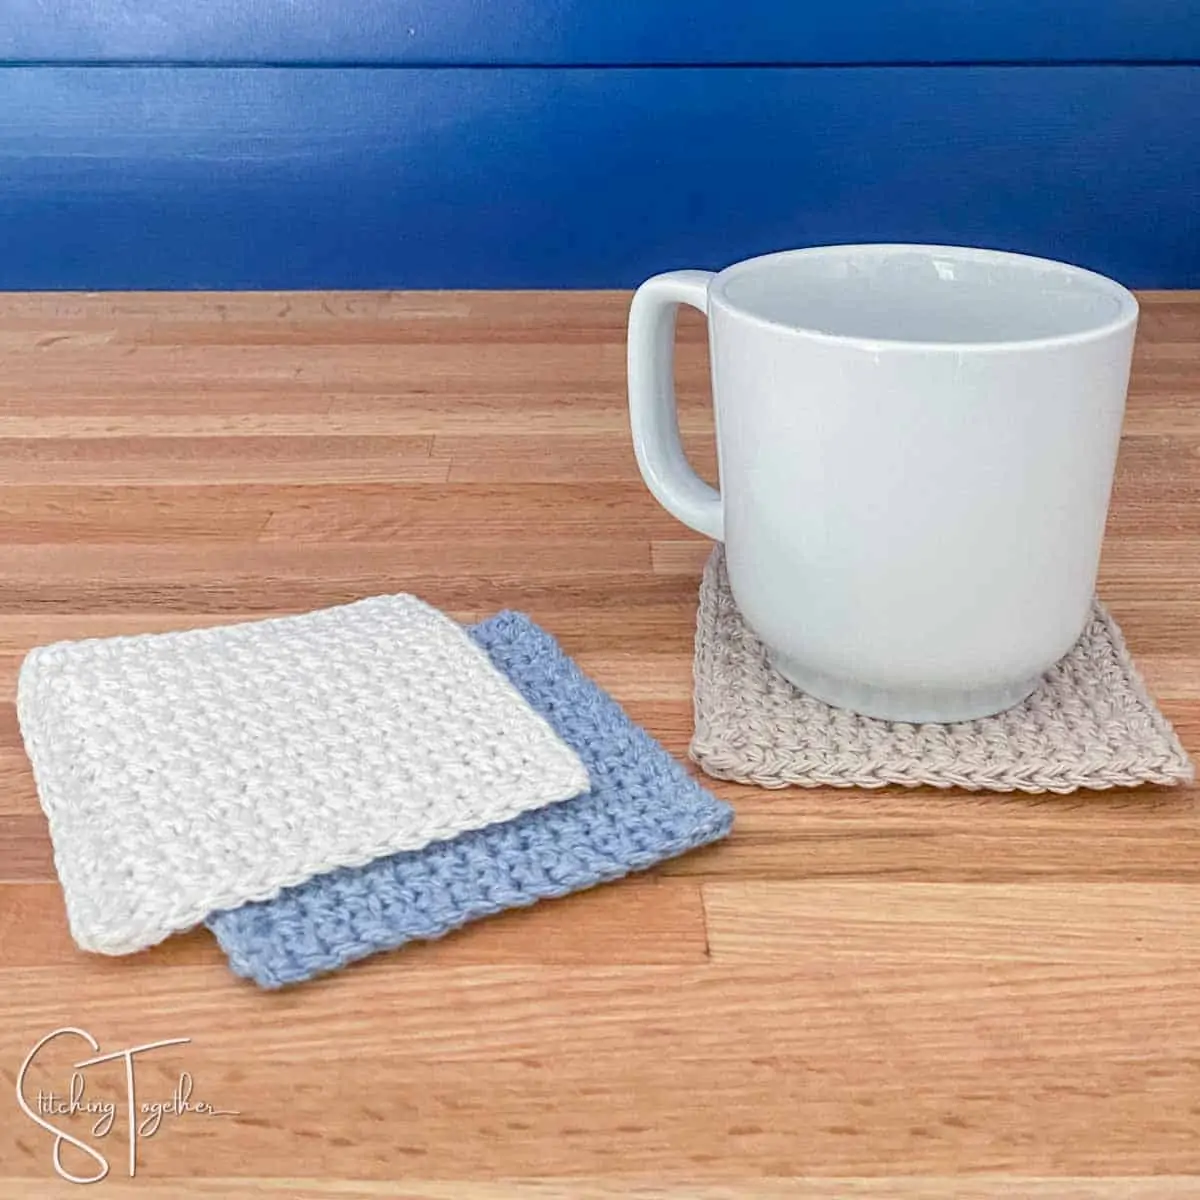
Square Coaster: 4.25″ by 4.25″
.
Everything you need for this project can be ordered right online
Save time and shop from home!
Lily’s Sugar’n Cream Cotton Yarn
.
Square Coaster Crochet Pattern
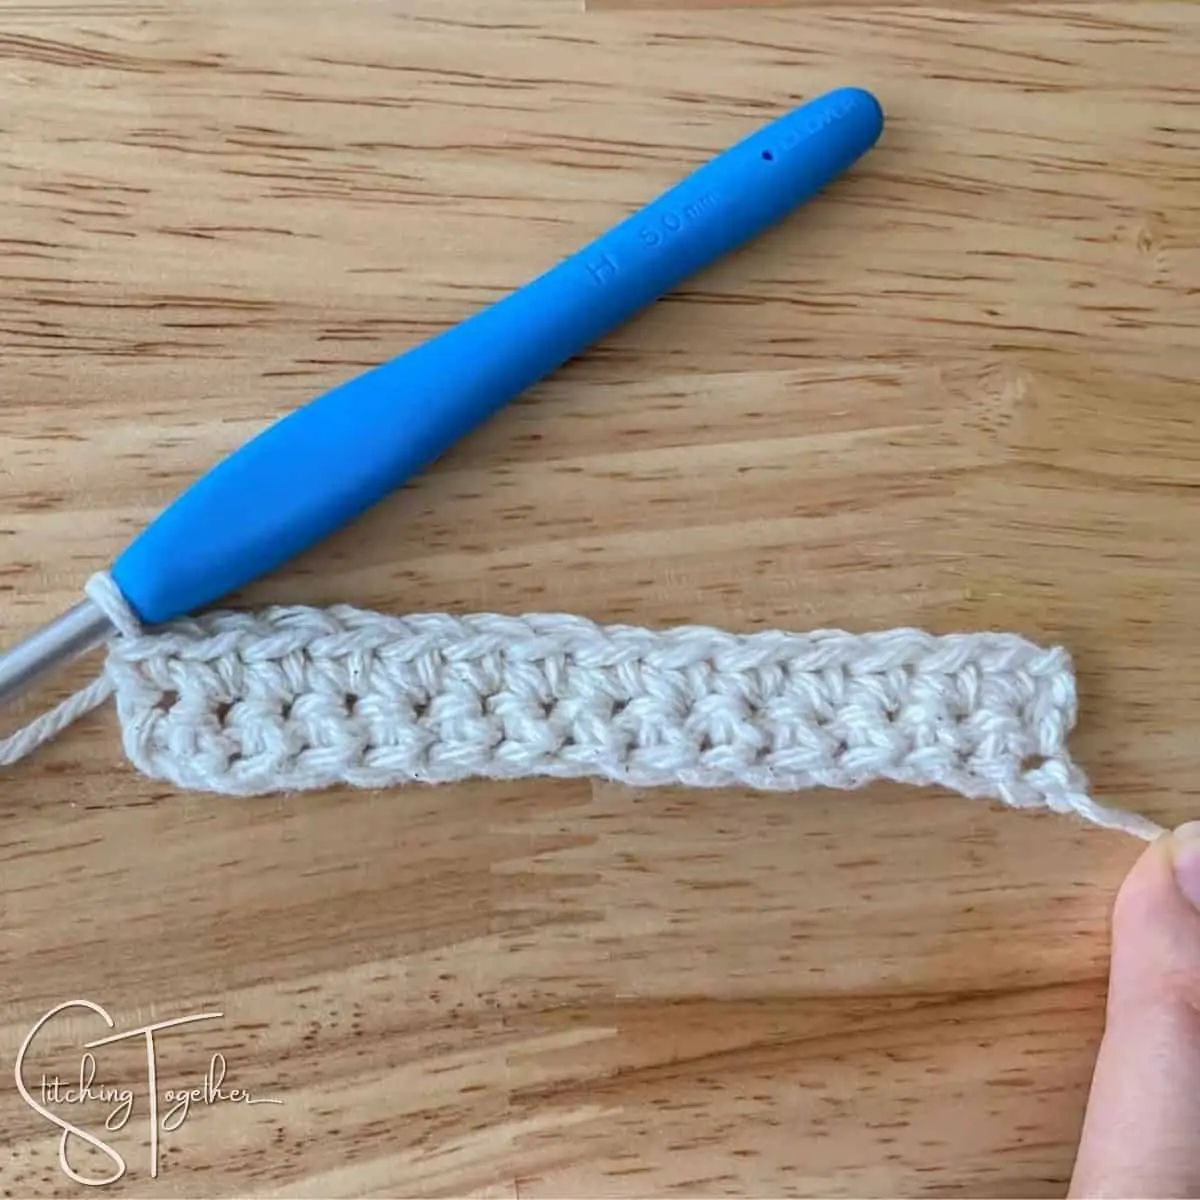
Start by chaining 15
Row 1: single crochet in the 2nd chain from the hook and in each chain across.

You’ll have 14 single crochets at the end of row 1. Turn.
Row 2: Chain 1, single crochet in each stitch across.
Row 3-16: Repeat row 2 until you have a total of 16 rows or you’ve made a square.

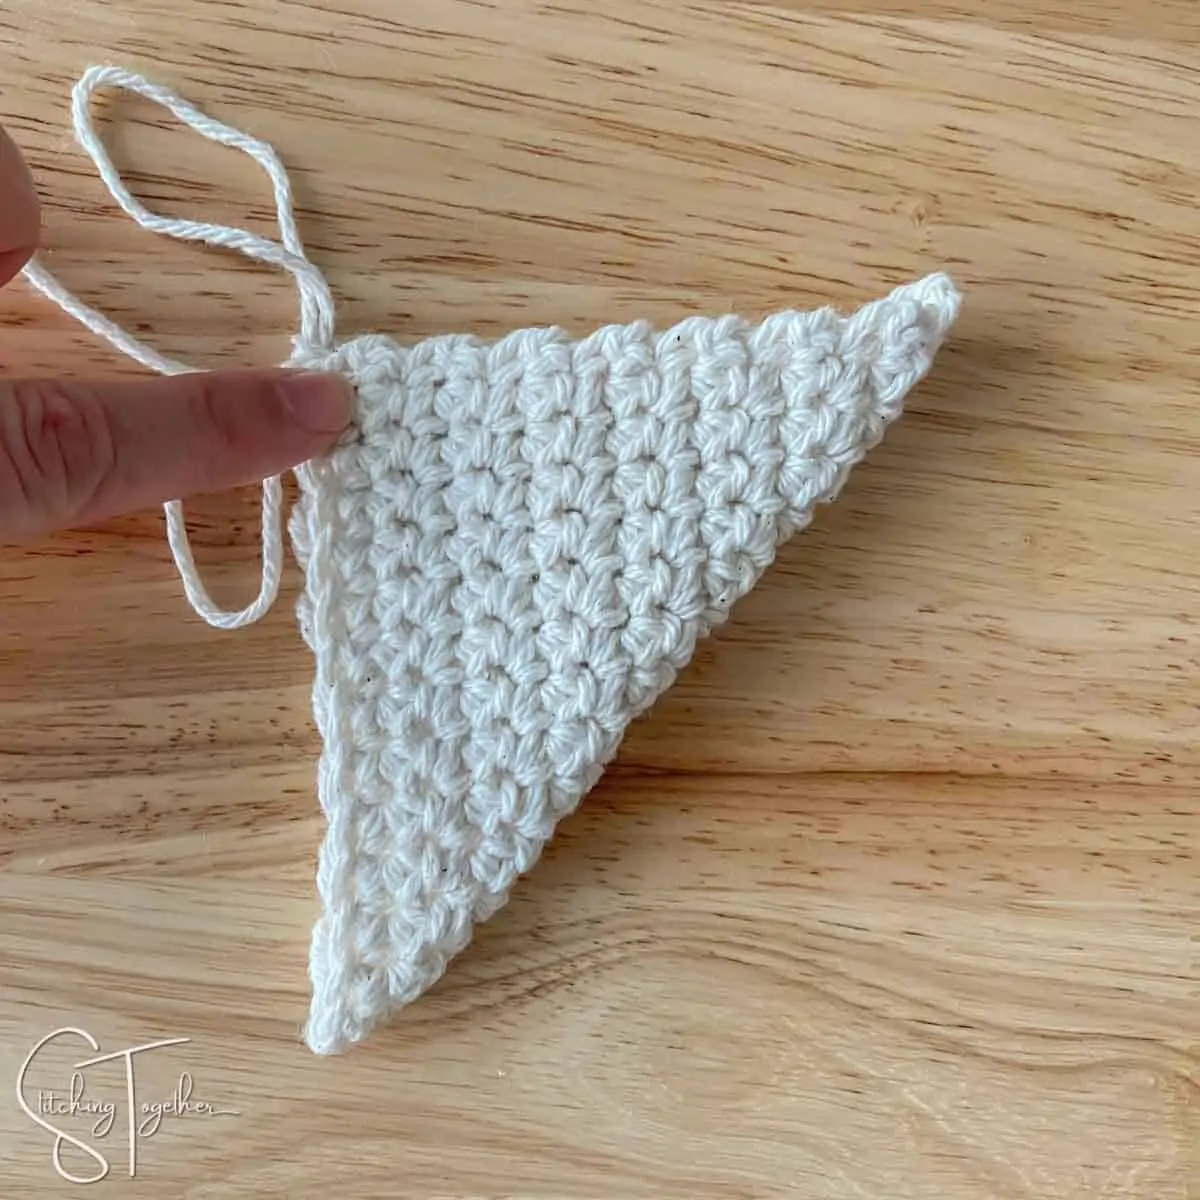
One of the ways I like to check for squareness is just by folding my project in half diagonally and seeing how closely the sides line up.
Adding the optional border.
You can stop right there and you already have a pretty little square crochet coaster or you can keep going and add a simple border.
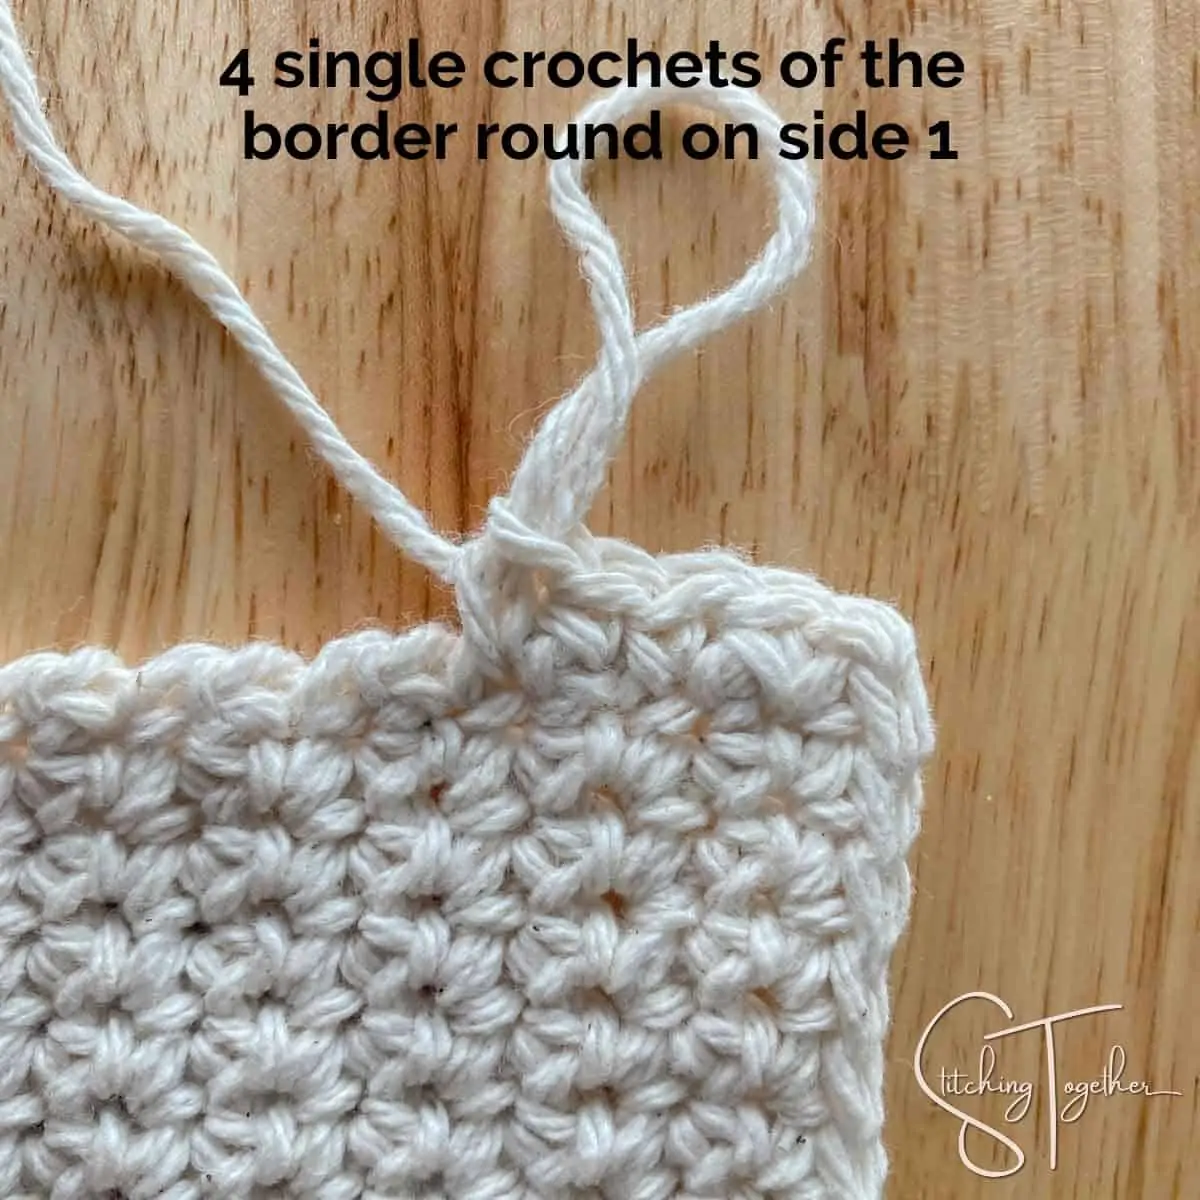
To add the border chain 1 and add another row of single crochets across the top of the coaster. At the corner, chain 1 and turn the coaster so you can now work on side 1 of the coaster.
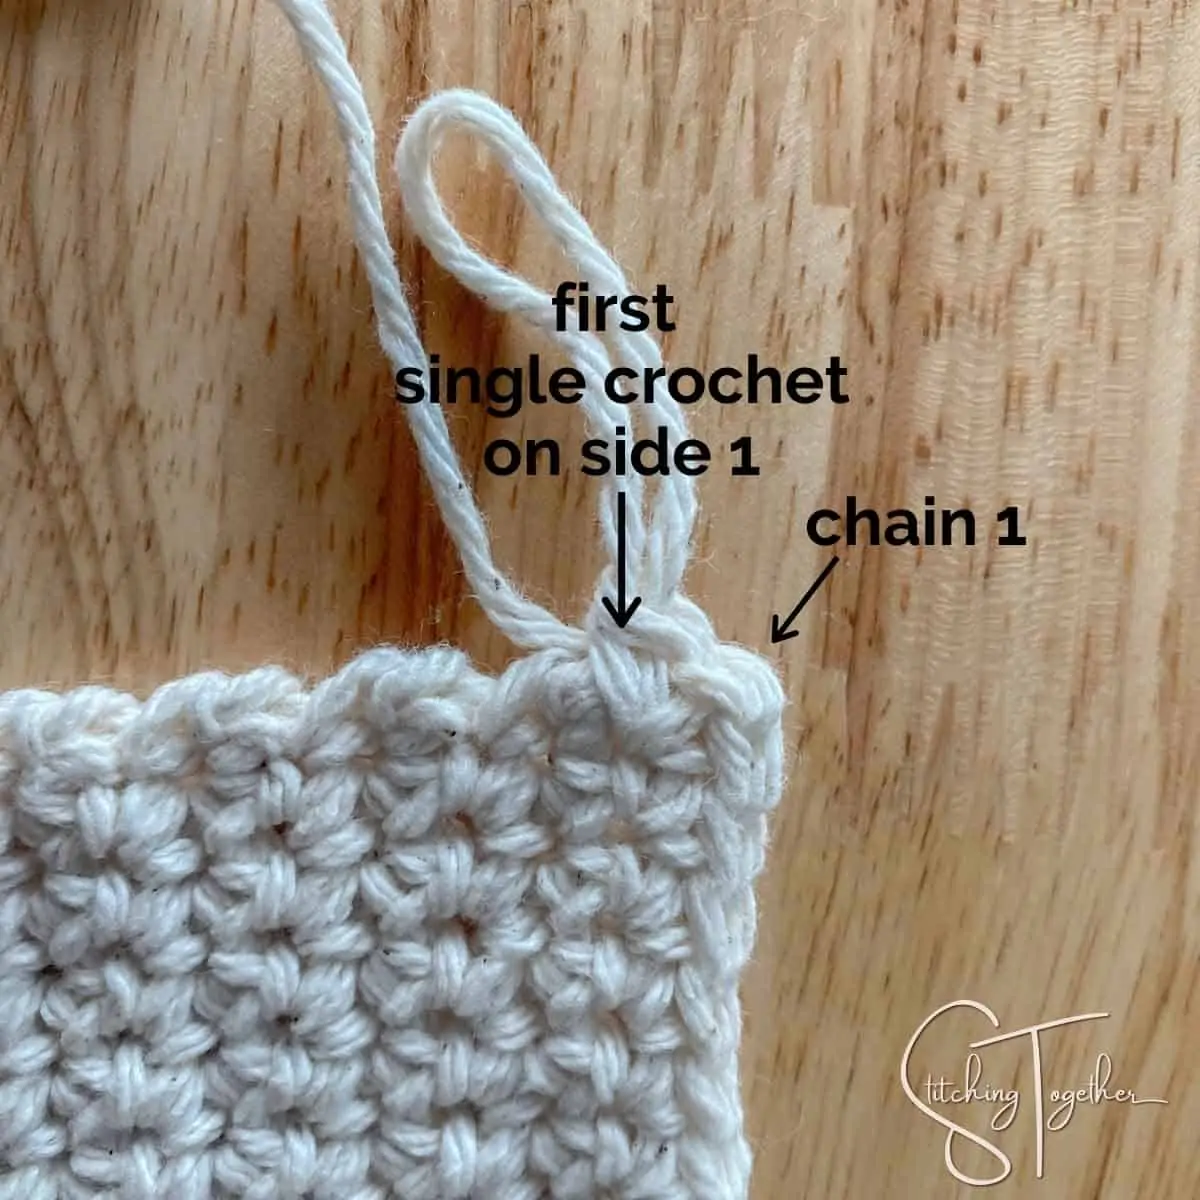
Single crochet into the stitch at the end of each row.
Once you’ve reached the bottom of the coaster, chain 1 and turn so you can work along the bottom. Single crochet in each chain stitch across the bottom of the coaster.
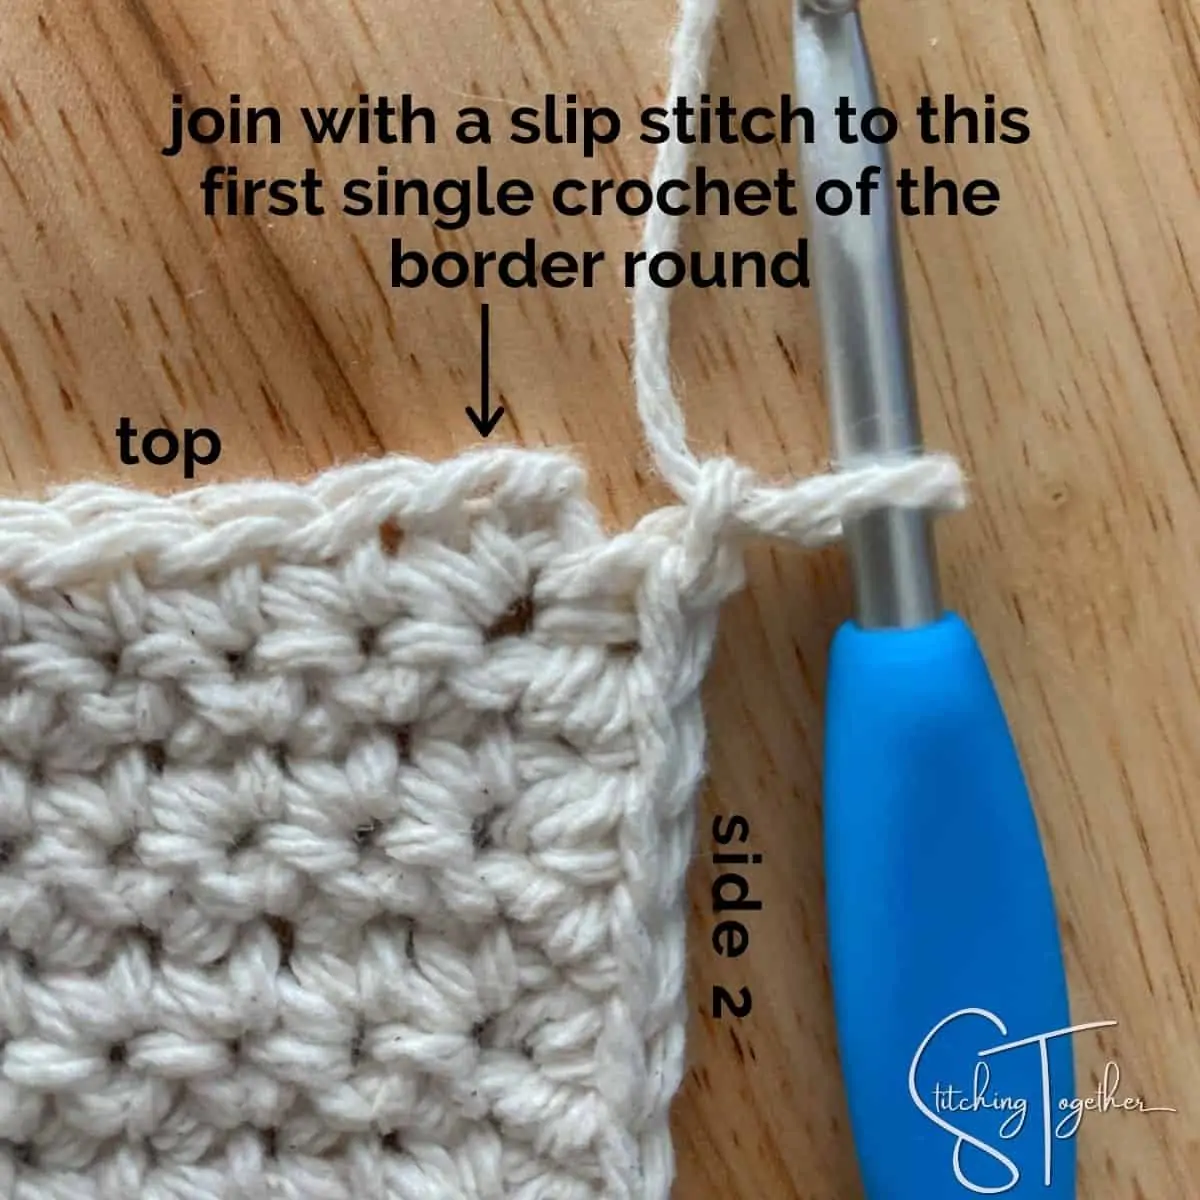
Chain 1 and turn to work on side 2. Single crochet into the stitch at the end of each row.
Chain 1 and join with a slip stitch to the first single crochet of border round. Fasten off and weave in all ends.
There you go, you have a finished coaster! You can see that my coasters aren’t exact and perfect squares. That’s normal and if you are just a beginner, your coasters might be even less squared.
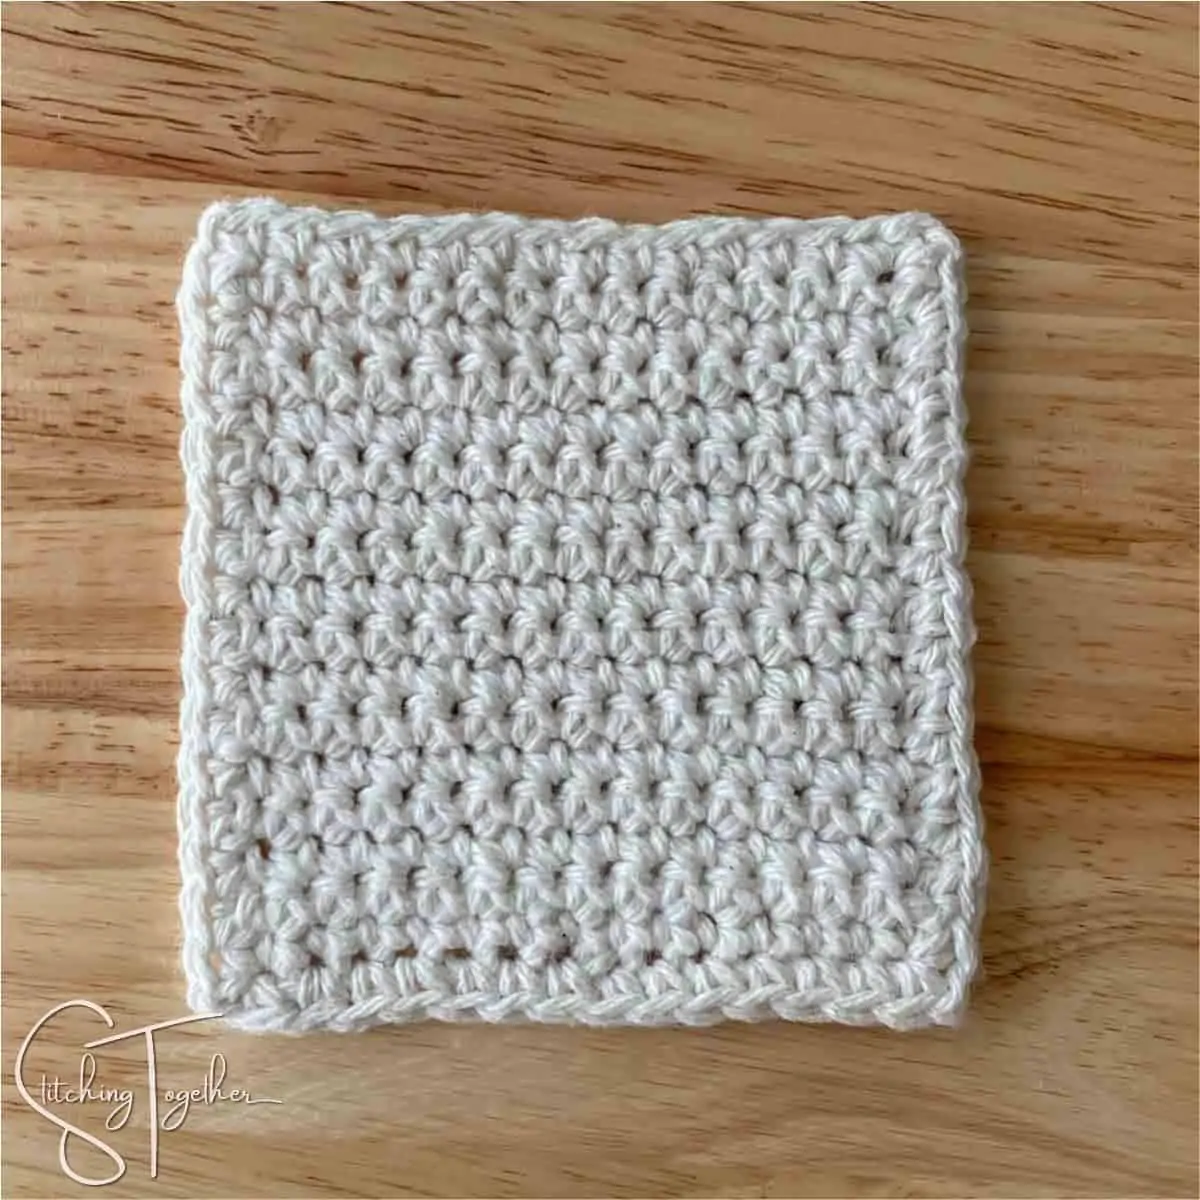
You can gently massage and pull the stitches into place to square it off more or you can also block the coasters, which is what I did before taking the final pictures.
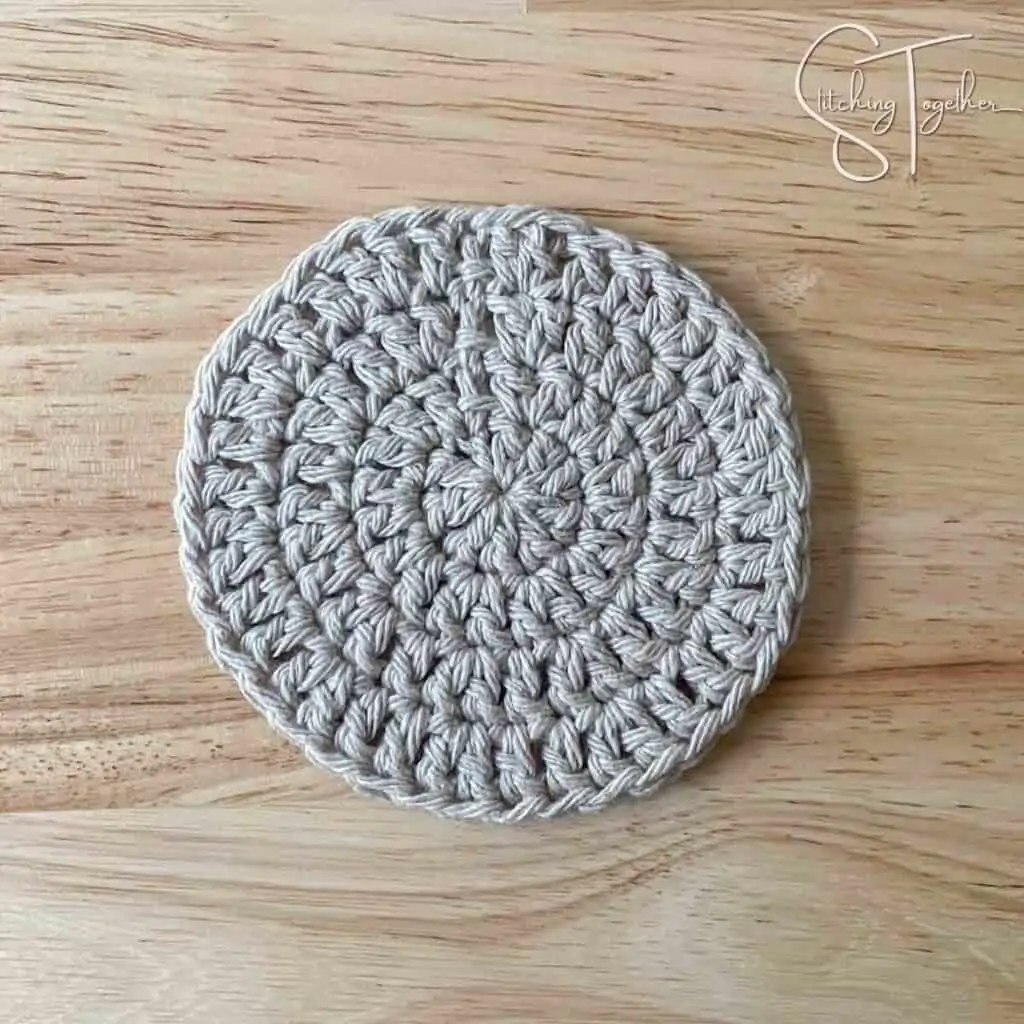
Round Coaster Crochet Pattern
Start with a magic circle
Round 1: chain 2 (counts as your first double crochet), 9 double crochets in magic circle,

tighten to close, and join with a slip stitch in the top of chain 2.

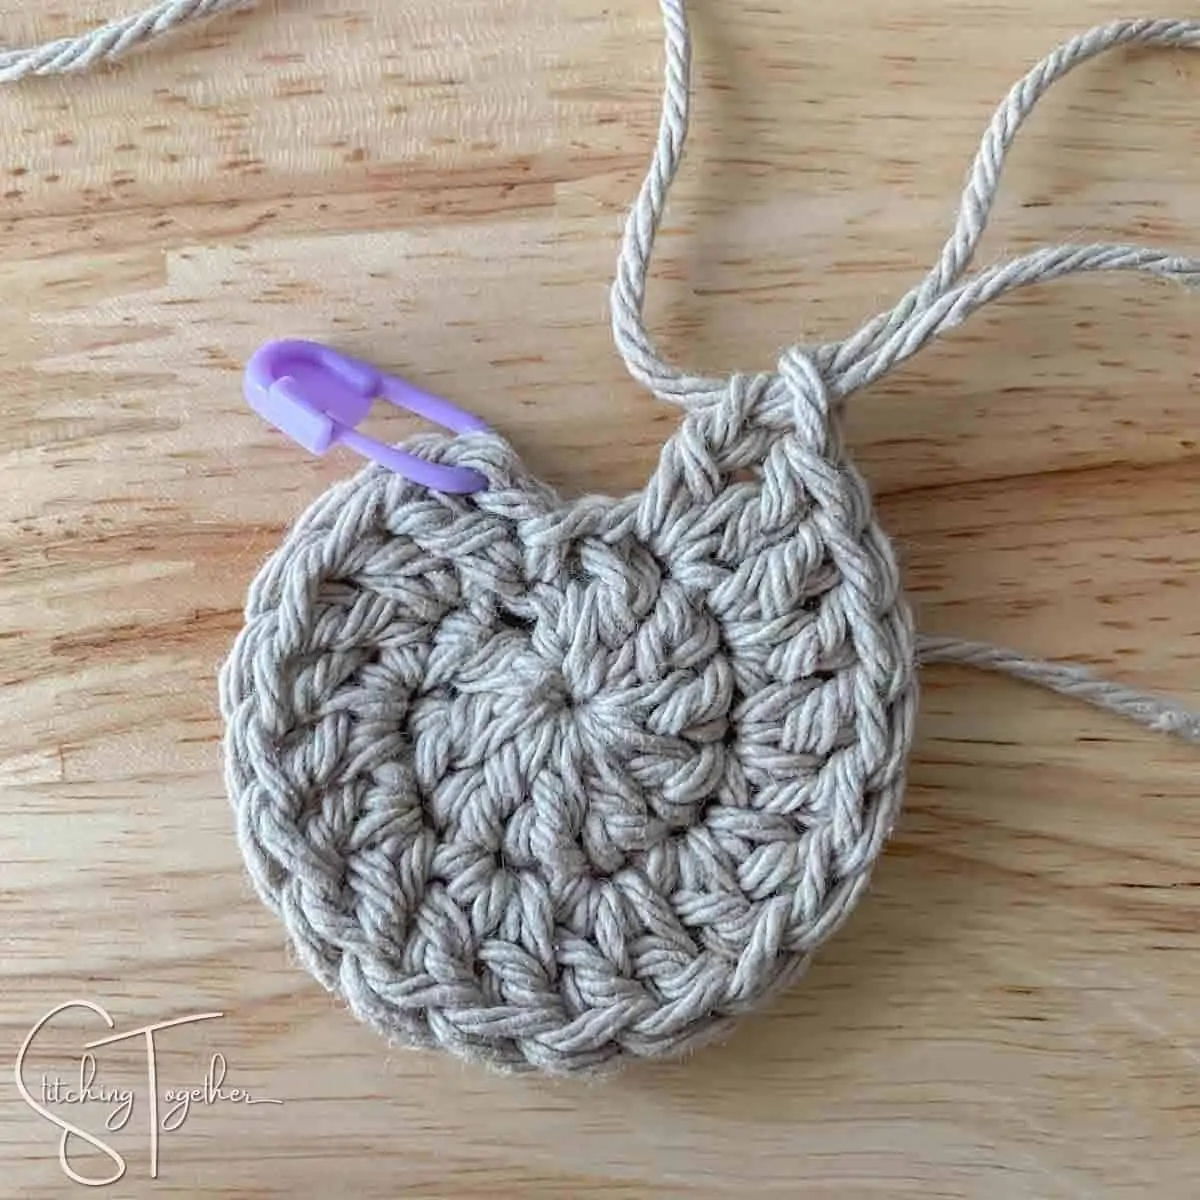
Round 2:
You are going to increase in each stitch of this round which means you’ll make two double crochets in each stitch of round one. Side note: I started using a stitch marker this round so I would easily know where I am joining the last stitch with the top loop of the chain 2.
Chain 2 (counts as your first double crochet), double crochet in the same stitch,
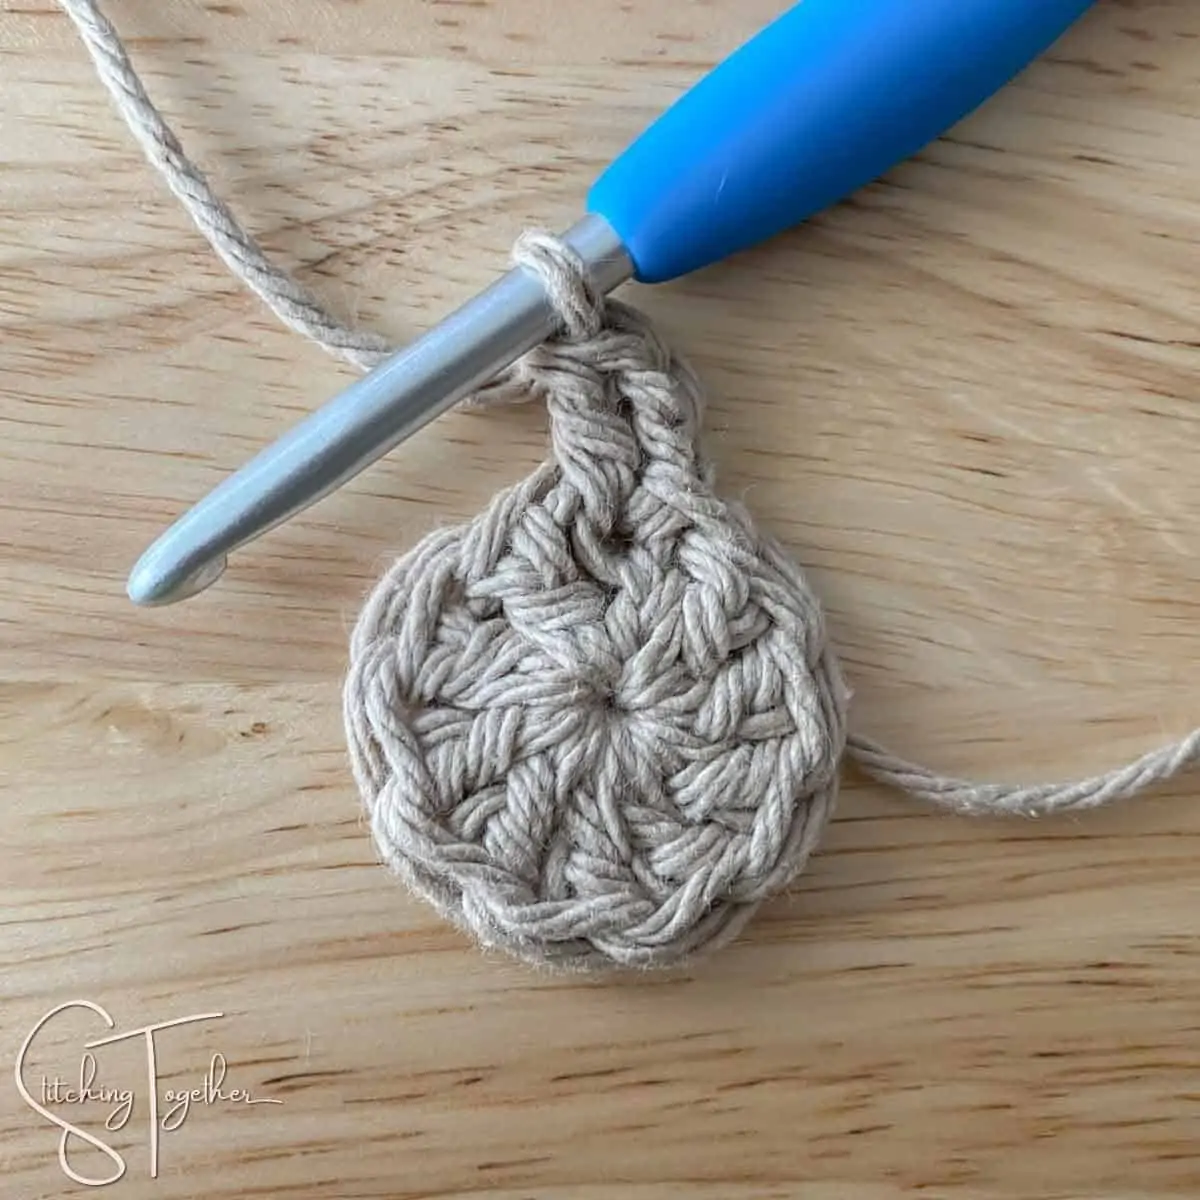
2 double crochets in each stitch around, join with a slip stitch to the top of the chain 2. You’ll have 20 double crochets in this round.
Round 3:
You are going to increase in every other stitch in this round.
Chain 2 (counts as your first double crochet), *2 double crochets in the next stitch,
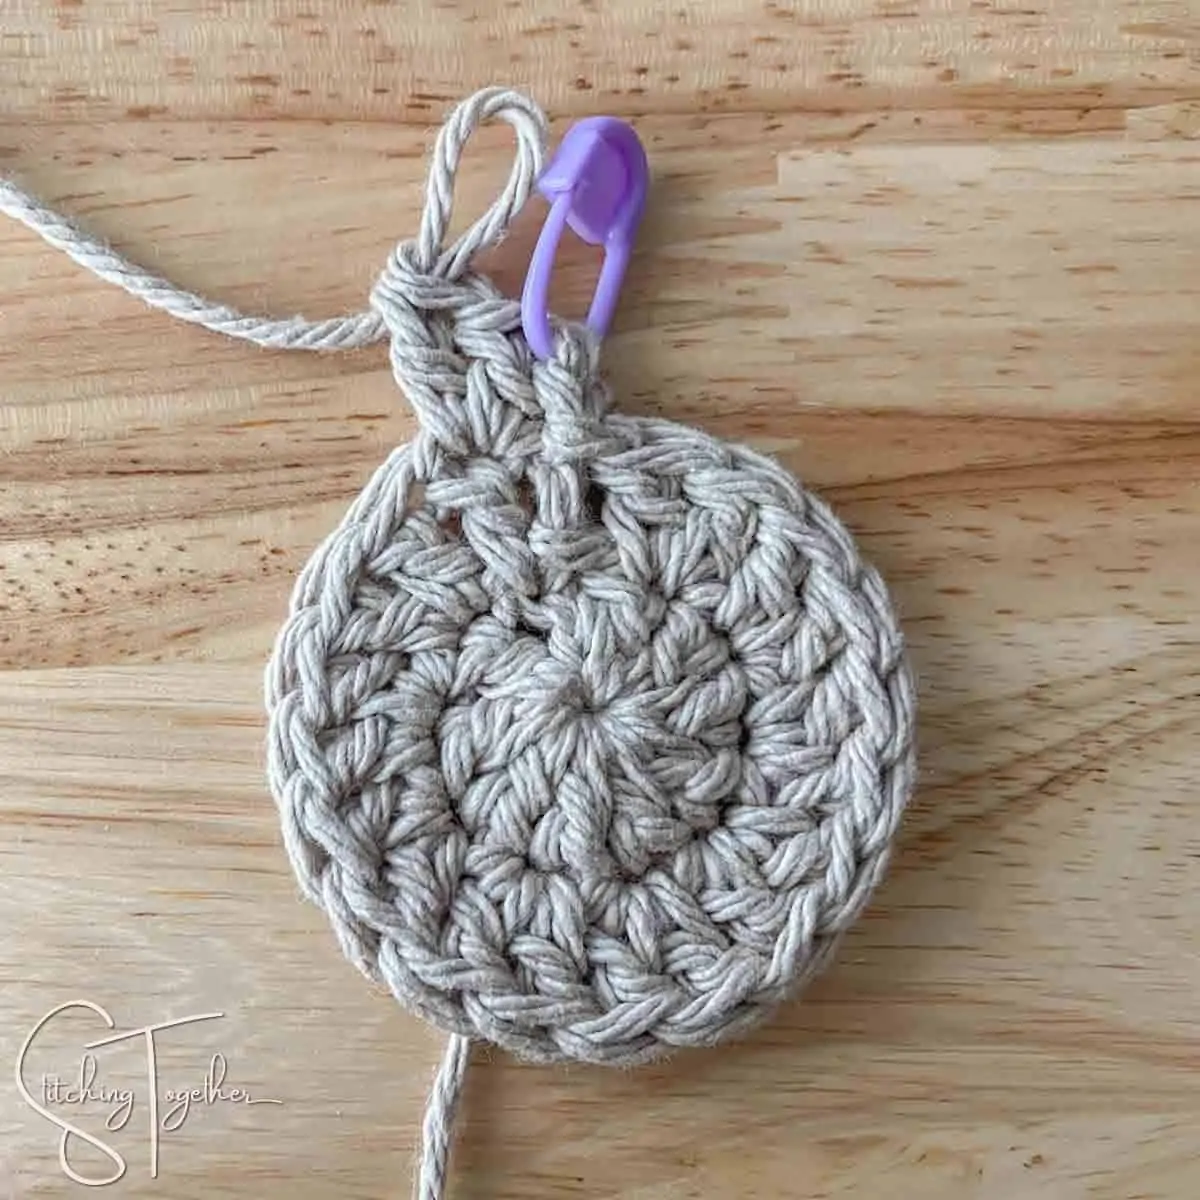
1 double crochet in the next stitch, repeat from * around ending with 2 double crochets in the last stitch,
join with a slip stitch to the top of the chain 2. You’ll have 30 double crochets in this round.
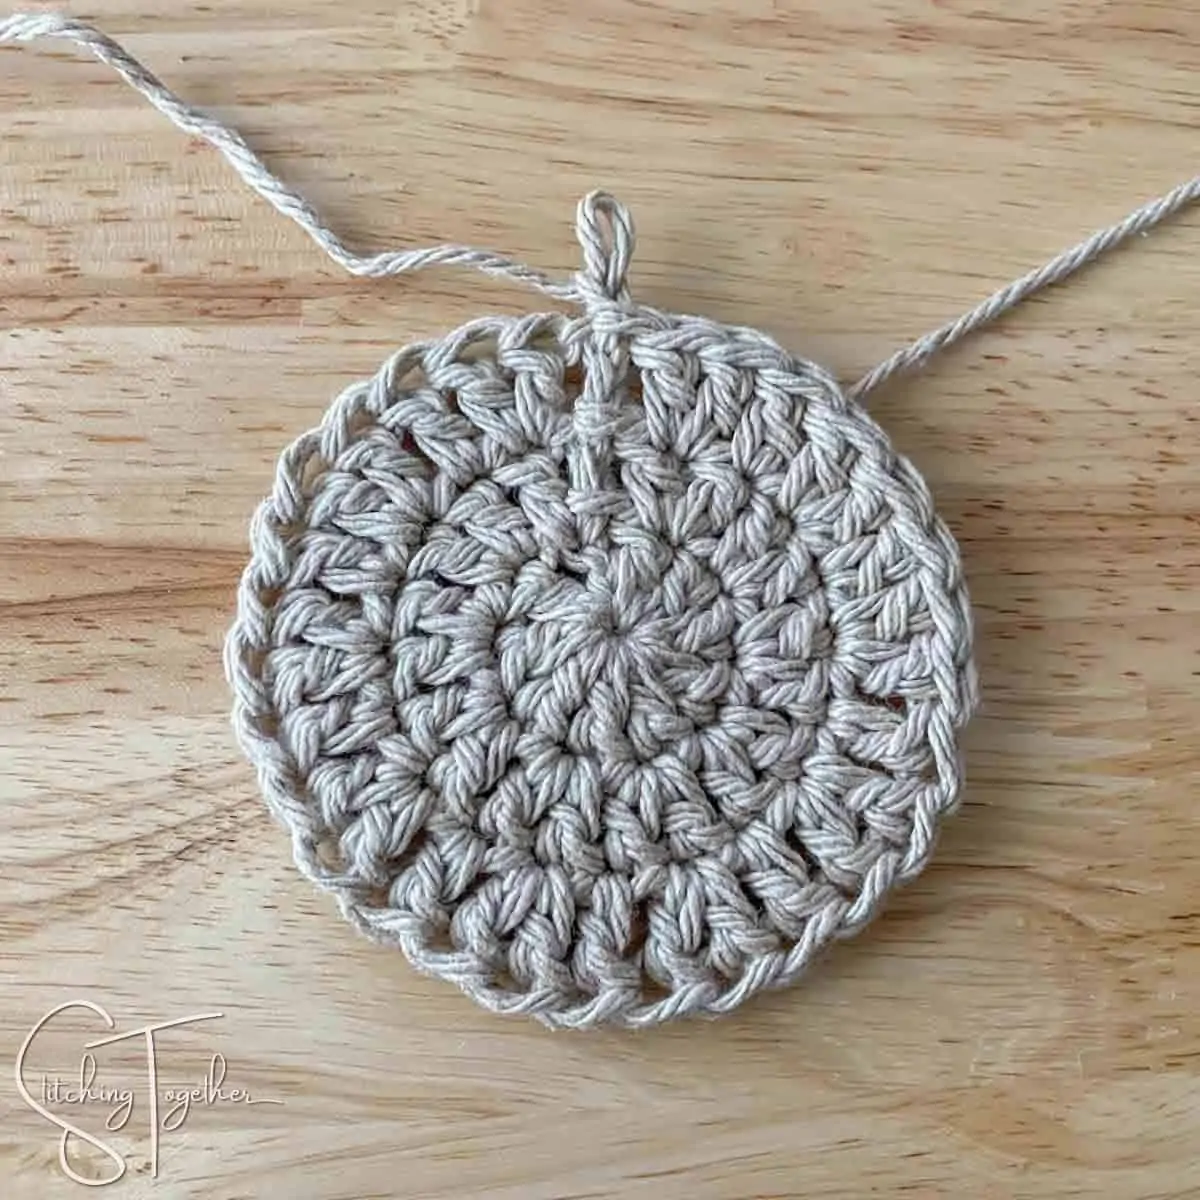
Round 4:
Round 4 will increase every 3rd stitch.
Chain 2 (counts as your first double crochet), *1 double crochet in the next stitch, 2 double crochets in the next stitch, 1 double crochet in the next stitch, repeat from * around ending with 2 double crochets in the last stitch,
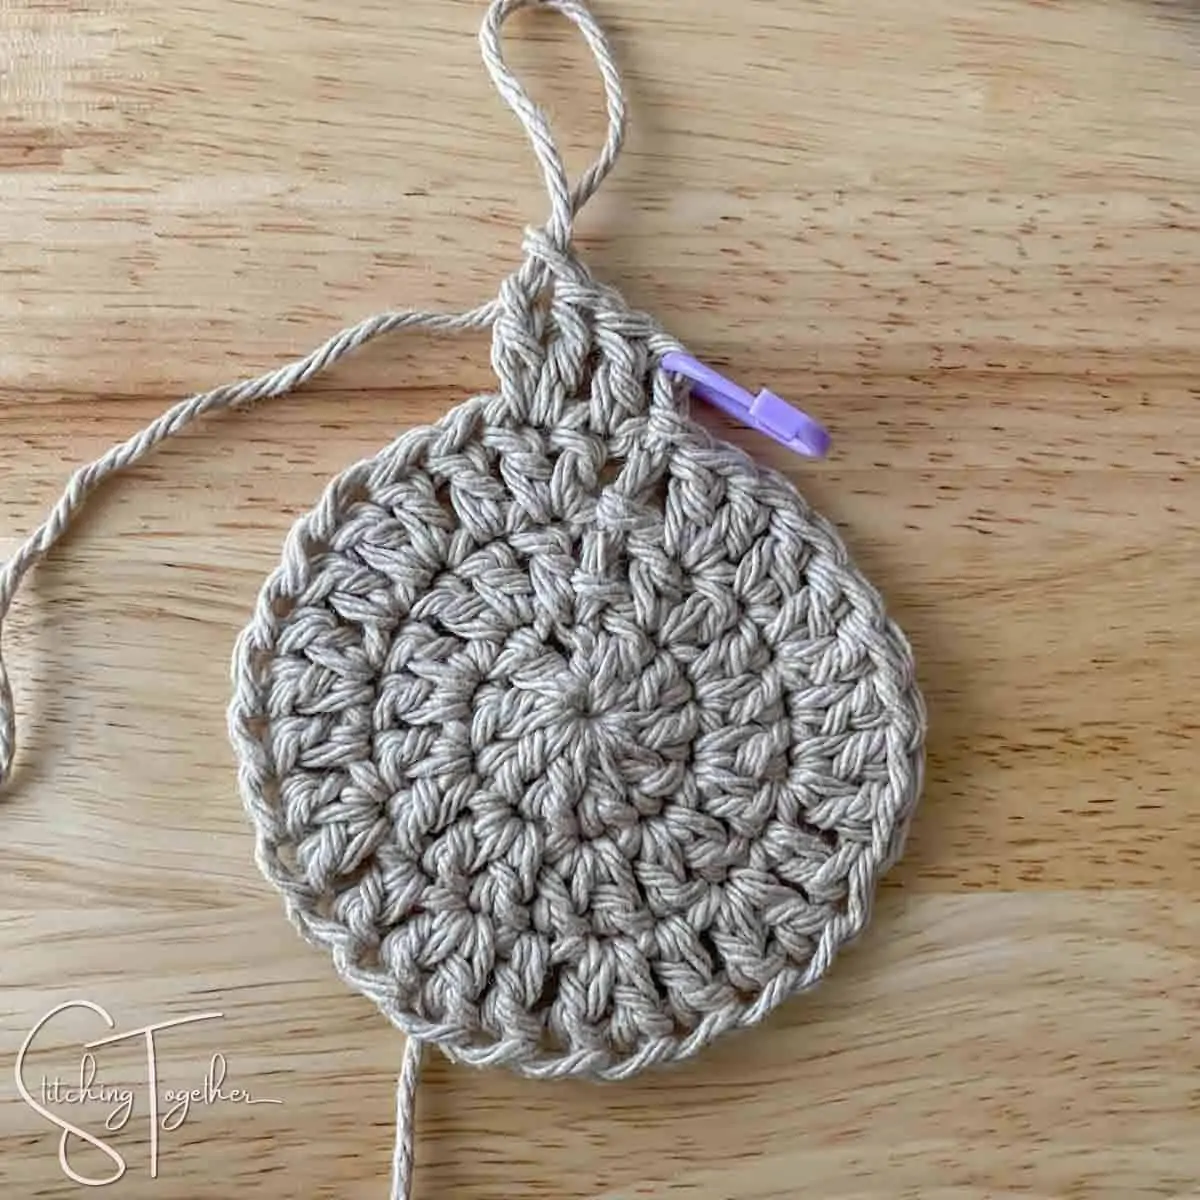
join with a slip stitch to the top of the chain 2. You’ll have 40 double crochets in this round. Fasten off and weave in ends.
Wasn’t that simple? Now you have two easy crochet coaster patterns you can use any time you need a quick crochet project. Here are some other beautiful crochet coaster patterns you’ll want to check out: