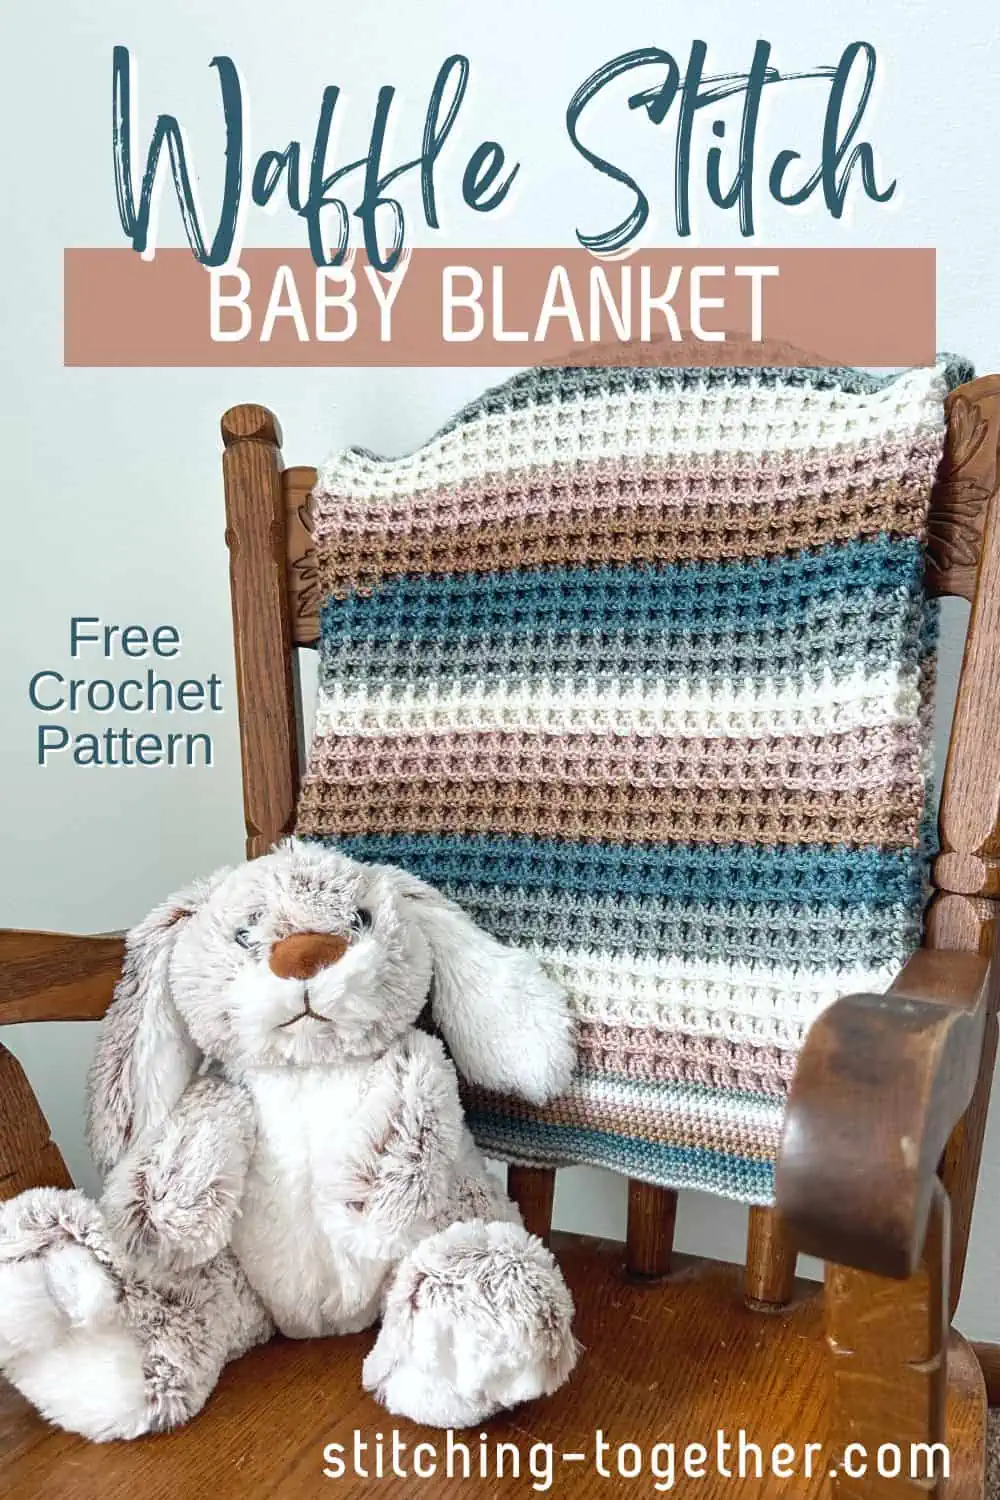
Waffle Stitch Baby Blanket Free Crochet Pattern
Disclosure: This post may contain affiliate links. As an Amazon Associate, I earn from qualifying purchases. Please visit my Privacy Policy for disclosures and more information.
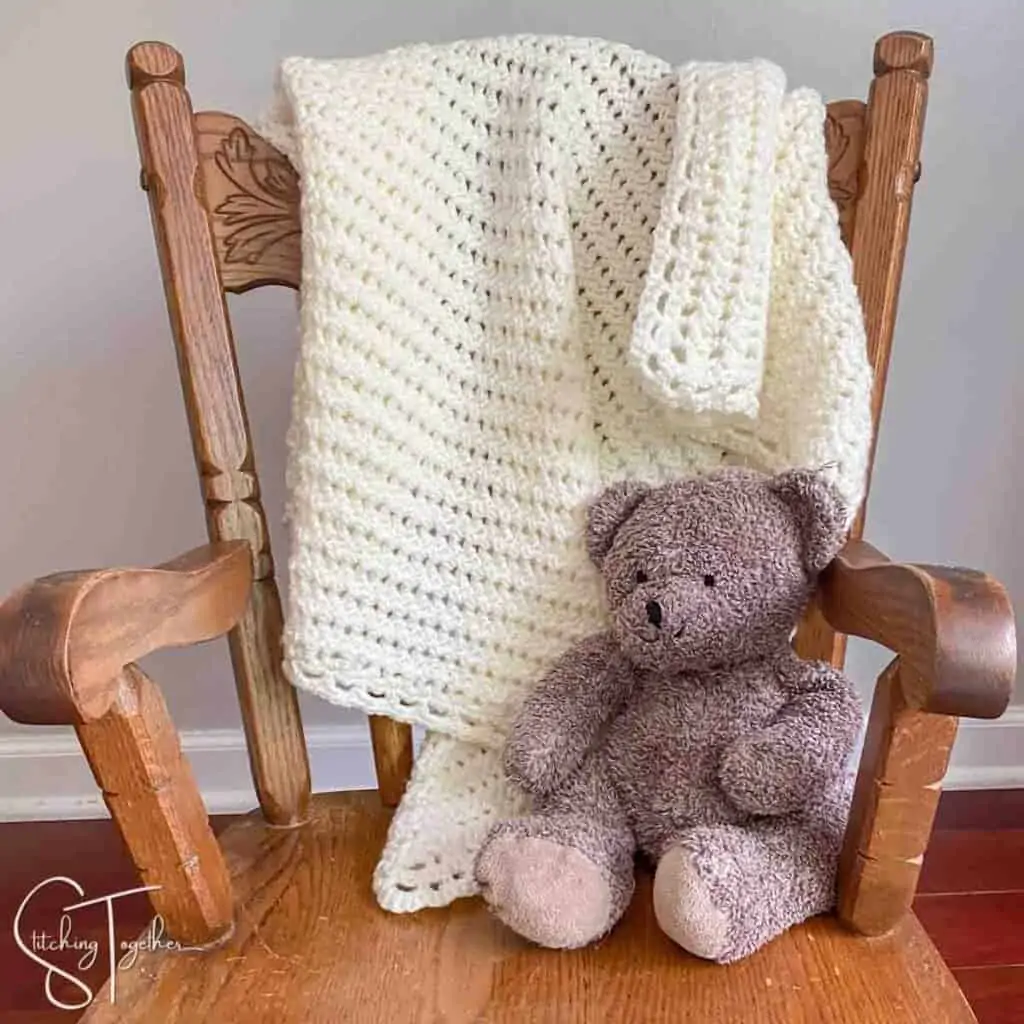
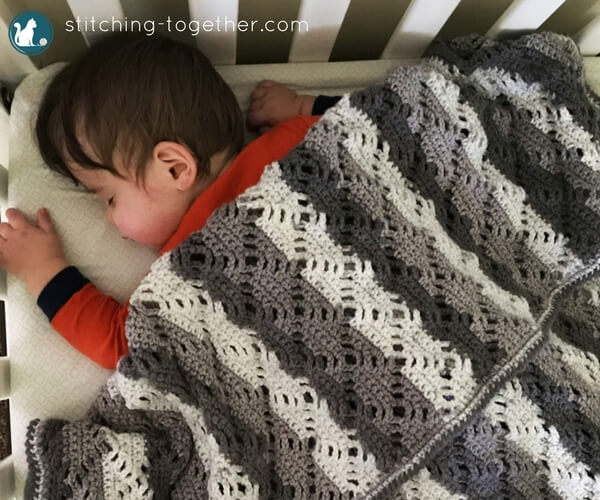
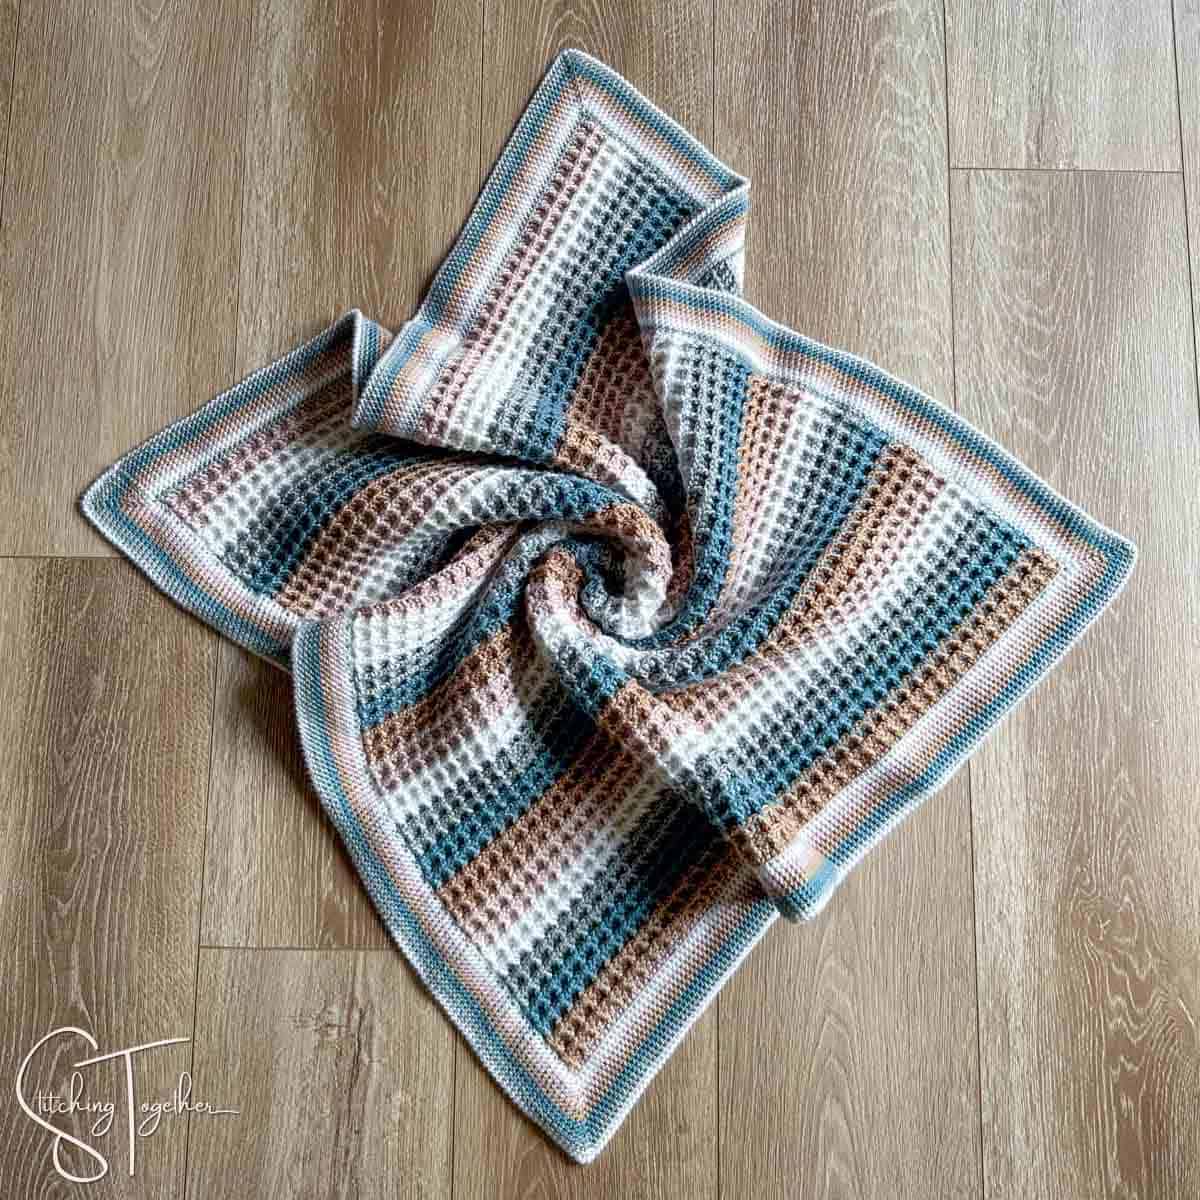
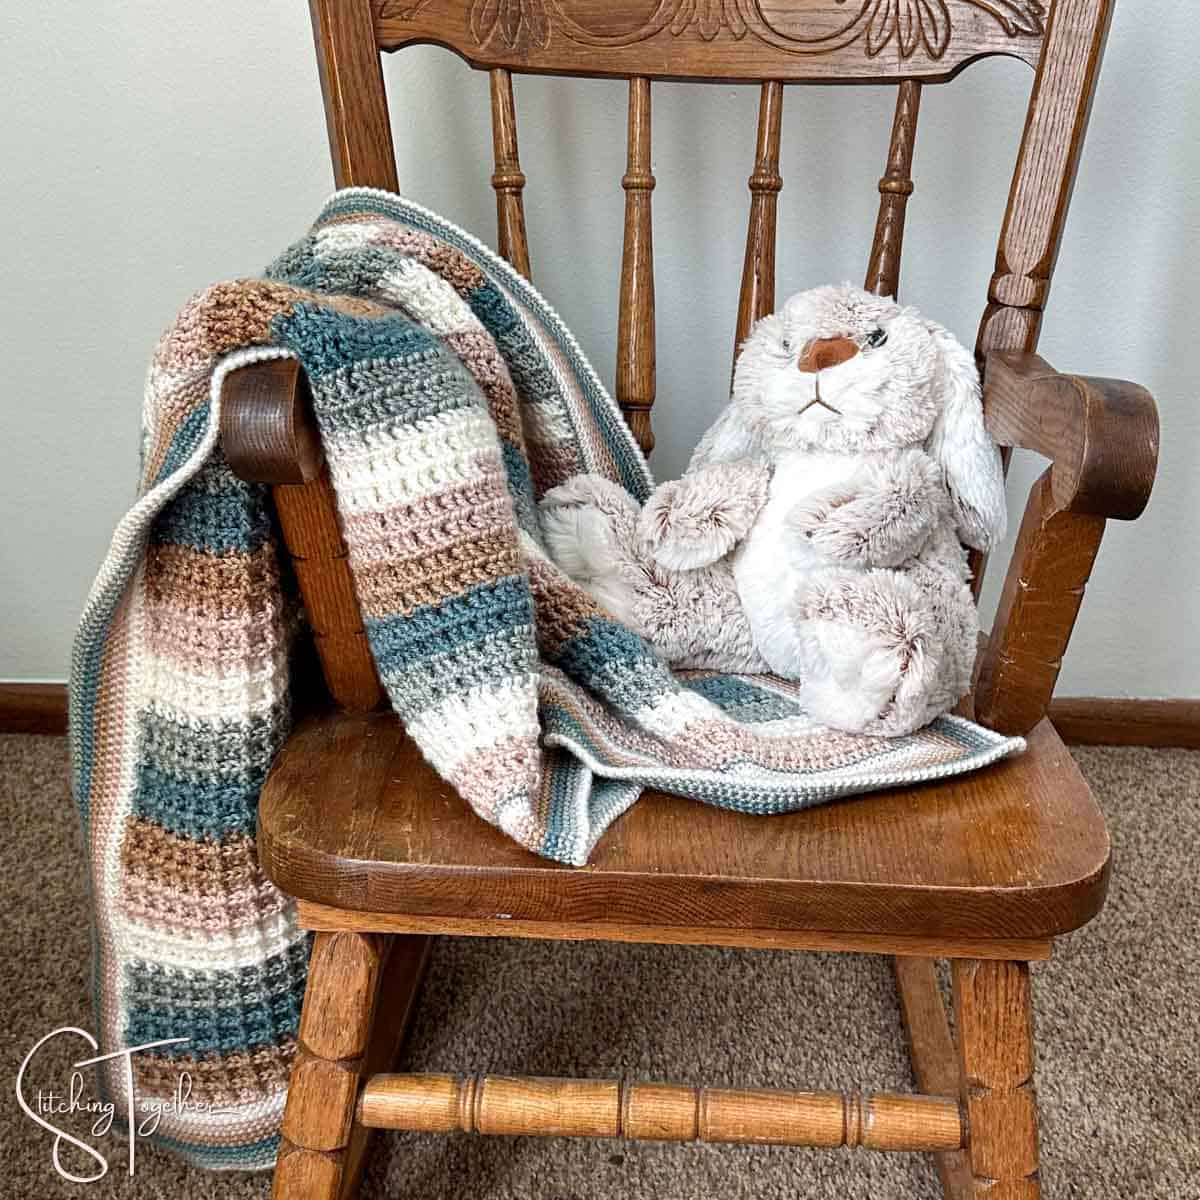
A cute and squishy baby just needs to be wrapped in a cute and squishy blanket, don’t you think? This waffle stitch baby blanket is the perfect amount of soft warmth and squish that is sure to be cherished for years.
Keep reading for all the details and free waffle stitch baby blanket pattern or you can purchase the ad-free PDF here.
How to Crochet a Waffle Stitch Baby Blanket
After finishing the easy Waffle Stitch Crochet Blanket, I wanted to see what a waffle stitch pattern would look like in light-weight yarn. I figured a lighter yarn paired with the waffle stitch would work great for a baby blanket. I wasn’t wrong!
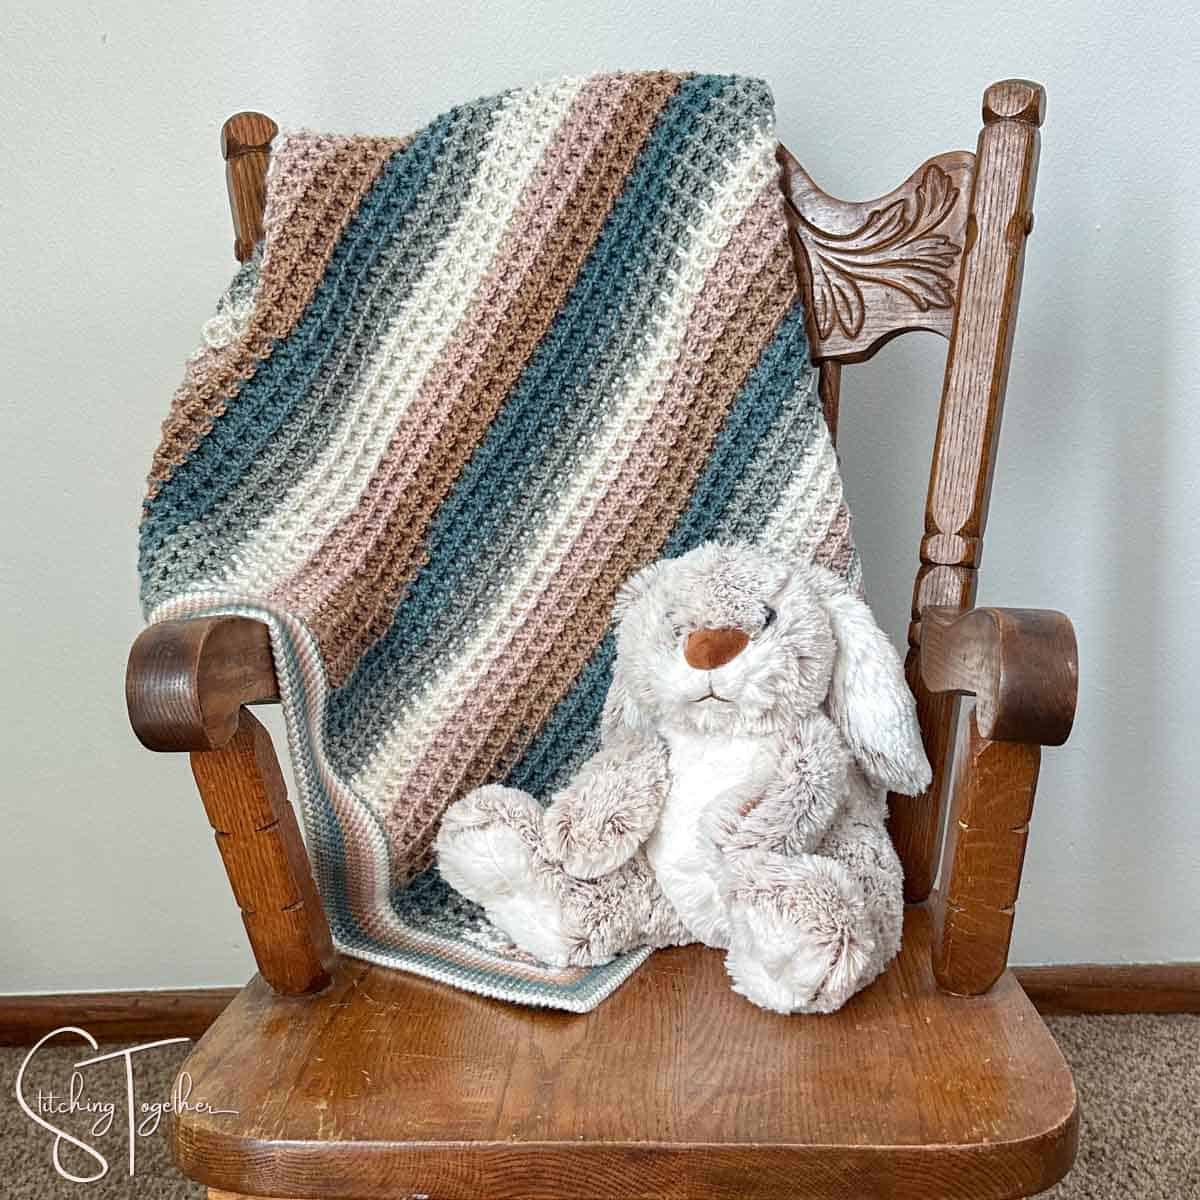
The amazing texture, soft yarn, and stripes are an absolute winning combo and you’ll love working up this pattern.
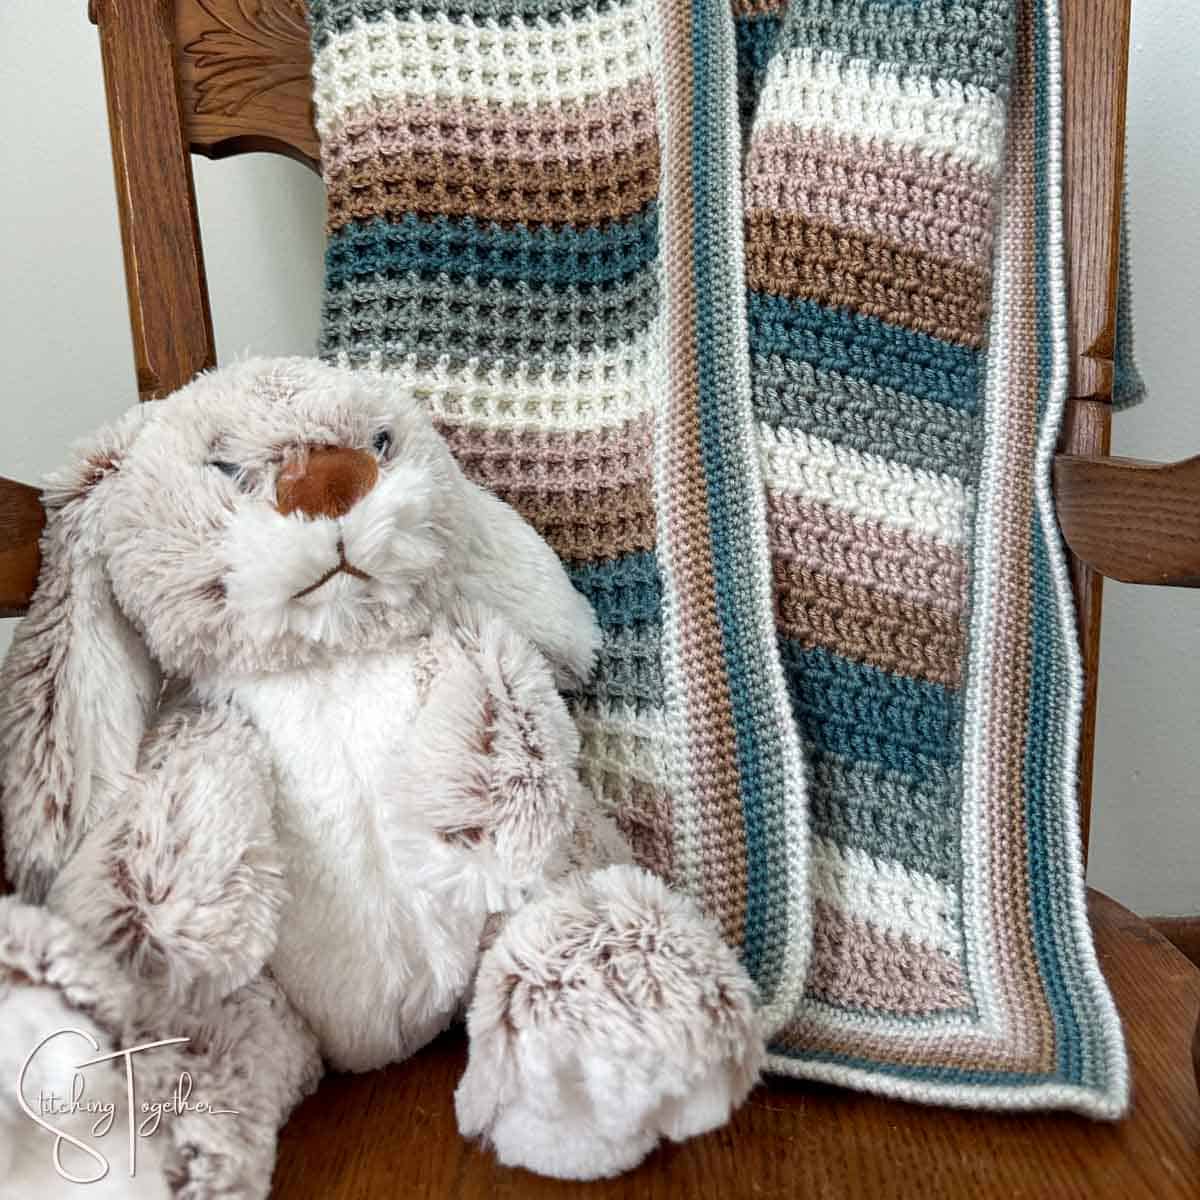
It’s super simple to make this gorgeous crochet waffle stitch baby blanket. You’ll crochet the body of the blanket in rows using the waffle stitch which is just a combination of double crochet stitches and front post double crochet stitches. Then you’ll finish the waffle baby blanket by adding a simple single crochet border that ends with one round of reverse single crochets.
Related: Waffle Stitch Crochet Patterns
Yarn Used in the Waffle Stitch Baby Blanket Pattern
I’ve loved every type of anti-pilling yarn I’ve tried from Premier Yarns, so I was excited to try their Anti-Pilling DK Colors yarn for the first time. It did not disappoint.
Anti-Pilling DK Colors is a #3, lightweight, acrylic, self-striping cake yarn that is currently available in 25 colorways. Each cake has 5 different colors and there are so many gorgeous combinations that you may have a hard time choosing which one to use. (I certainly did!)
Premier Rewards
You can join the Premier Yarns reward program here and you’ll get a coupon and I get reward points.
Related: Flower Granny Square Baby Blanket
Really the self-striping yarn is what makes this baby blanket extra gorgeous. The blanket will look amazing in a solid color because the waffle stitch pattern can stand out on its own, but the combo of the waffle stitch plus the stripes is lovely.
There are many great light weight baby yarns out there and below you’ll find some ideas for choosing a different yarn. You don’t have to stick with an acrylic yarn either. Cotton would work really well for this pattern too.
Yarn Substitution Ideas
Anti-Pilling Everyday DK – Premier Yarns
Sweet Roll DK – Premier Yarns
Butterfly – Premier Yarns
Mandala Yarn – Lion Brand
Mandala Baby Yarn – Lion Brand
Ice Cream Big Scoop Yarn – Lion Brand
Related: Waffle Stitch Blanket Pattern
The Waffle Stitch
The waffle stitch is one of the prettiest stitch combinations (don’t tell the others) and it’s great because it produces a fabric that looks like it was complicated to make but it is actually pretty easy.
To work the waffle stitch, you’ll need to know how to chain, double crochet, and front post double crochet. Can you believe that just those basic stitches can create so much texture? Cleverly alternating between double crochets and front post double crochets is all you need to create those cute little boxes that look like the pattern on waffles.
If you are new to the waffle stitch, you’ll want to head over to the waffle stitch tutorial and do a practice swatch as you learn the stitch combination.
Related: Moss Stitch Baby Blanket Free Crochet Pattern
Waffle Stitch Blanket Border
Fabrics made with just the waffle stitch actually look great without a border, but I knew I wanted to add a little something extra yet simple to this baby blanket.
The simple border is made up of 11 rounds of single crochet stitches followed by a round of reverse single crochet aka the crab stitch.
The reverse single crochet is worked just like its name suggests… in reverse. You won’t turn your work, but keep it facing you and insert your hook in the stitches to the right instead of to the left. (For those of you who are left-handed, it’s the opposite for you!)
Don’t worry if that sounds complicated, it does take a little practice, but I also have a step-by-step reverse single crochet tutorial to walk you through the crab stitch and you’ll get the hang of it in no time.
Related: Suzette Stitch Baby Blanket Free Crochet Pattern
Waffle Stitch Baby Blanket Pattern Free
Skill Level: Easy
Materials:
US size G/6, 4.0 mm crochet hook
Premier Anti-Pilling DK Colors (category 3, light weight 5 oz, 383 yds)
The sample used approximately 1915 yds (25 oz) in Strata
Large Eye Yarn Needle
.
Everything you need for this project can be ordered right online
Save time and shop from home!
Premier Anti-Pilling DK Colors
.
Abbreviations:
ch: chain
dc: double crochet
st(s): stitch(es)
fpdc: front post double crochet
sc(s): single crochet(s)
Gauge: 4” by 4” = 24 sts by 16 rows (taken in waffle stitch pattern)
Finished Size: approximately 32” by 32”
Notes:
The chain 2 to start each row counts as a stitch.
I tend to crochet with a tight tension so 2 chains give me enough height to start a row of double crochets. If your tension is looser, you may want to chain 3 to start each row.
If you’d like to make a different size, keep your starting chain a multiple of 3+2.
Reverse single crochet: insert your hook in the stitch to the right of your chain 1, pull up a loop, yarn over and pull through both loops on the hook. Continue working the reverse single crochet from left to right. For a full tutorial on the reverse single crochet visit https://www.stitching-together.com/how-to-crochet-the-crab-stitch-or-reverse-single-crochet/
Pattern Instructions:
Ch 155
Row 1: dc in 4 ch from hook and in each st across, turn. (153)
Row 2: ch 2 (counts as first dc), *fpdc in next st, dc in next 2 sts, repeat from * until the last 2 sts; fpdc in next st, dc in top of ch, turn
Row 3: ch 2 (counts as first dc), *dc in next st, fpdc in the next 2 sts, repeat from *until the last 2 sts; dc in next st, dc in top of ch, turn
Repeat rows 2 and 3 until you’ve reached a total of 106 rows.
Start single crochet border:
Round 1: ch 1, sc evenly around working 1 sc into each st along the top and bottom, 2 sc in the end of every row along the sides, and (sc, ch 1, sc) in each corner, join with a sl st to the first sc.
Rounds 2-11: ch 1, sc in each st around and (sc, ch 1, sc) in each corner, join with a sl st to the first sc. Round 12: reverse single crochet in each stitch around. Fasten off and weave in ends.
Related: Sedge Stitch Crochet Baby Blanket
Will you share pictures of your finished projects?
- Tag Stitching Together on Instagram with @stitching_together and use the #stitchingtog
- Upload your picture in the Tried It section of this pin
- Share your work in the Stitching Together Community.